DIY Belt Guide - How to Make Your Own Leather Belt

This is a picture of the very first leather item that I made: a belt. I've worn it for years, and it's worked, but it definitely isn't pretty. I made a ton of mistakes (as you do when you first starting something) and it shows. I made the belt with snaps instead of rivets, the holes aren't evenly spaced, and the the burnishing on the edges are rough. I figured it was finally time to make a new one and hopefully share some of what I've learned along the way so your "first belt" looks a little bit better than mine did.

Old Belt

Old Belt

New Belt!

New Belt!

What You Need:

  • 8-12oz Leather (a side)

  • Strap Cutter

  • Leather Knife (or Rotary Cutter)

  • Leather Glue

  • Leather Dye

  • Beeswax

  • Thread & Needles

  • Long Ruler (4ft+)

  • Hammer

  • Hole Punch

  • Divider

  • Skiving Knife (Optional)

  • Diamond Chisels

  • Scratch Awl

  • Craft Spong

  • Canvas Cloth

  • Rivets

  • Rivet Setter

  • Belt Buckle (cheap ones can be found at Amazon. Quality ones can be found at Buckleguy.com).

Step 1: Prep the Leather for the Strap Cutter

Need: Leather, Leather Knife, Scratch Awl

IMG_9641.jpg

This step assumes that you've bought finished leather or that you dyed and finished leather yourself. If you need help dying the leather, check out THIS POST.

For the strap cutter to work you need to have a straight edge on the leather. Your first step will be making that first straight cut across the leather. This is fairly simple. Just grab you long ruler (preferably at least 3 ft) and set it across the top of the leather. The goal is to get it as close to the edge as possible with out having any part of the ruler come off the leather. This will create a long straight cut with the least amount of scrap. It's ideal to do this along the part of the leather that would have been along the spine of the cow. This is for two reasons. One, it generally yields fewer scraps as this part of the leather is already fair straight, unlike the bottom of the leather that will have peninsulas from the legs. Second, the leather that's from this spine area is a bit tougher than the leather from the belly. This tougher leather is what you want for a belt. Once you've marked a clean straight line across the leather with the ruler and scratch awl, go ahead and make your cut with the leather knife.

Step 2: Cutting out the Strap

Need: Leather with a straight edge, Strap cutter

Strap cutters are great. They save a ton of time when cutting out straps and belts, but with the speed comes the possibility of badly messing up the cut. If this is your first time using a strap cutter, no need to panic, just go slow. Before making the cut, set the strap cutter to the desired belt width. Most the belts I make are at 1 1/4" but you can go larger or smaller, just make sure that the whatever width you choose matches the size of the belt buckle you have for the project. 8-12oz is thick leather, so make sure that the space between the twin arms is enough to fit the leather through. This can be quickly adjusted with the nut on the end of the twin arms, opposite of the blade. With width and thickness set, go ahead and make your cut with the strap cutter, starting at one end of the leather and pulling towards yourself and into the leather. It is extremely important that you keep the straight edge of the leather pressed into the flat handle of the strap cutter. If the leather slips beyond the handle or the handle pulls away from the leather, the strap your cutting will no longer be straight. If you mess up here, it's not a huge deal, but you will waste some leather. You'll have to go back to the first step and cut off the messed up straight, ensuring you have another straight edge to work with.

IMG_9643.jpg
IMG_9658.jpg

Step 3: Cutting the Strap to Length

Need: Leather Strap, Divider, Ruler, Scratch Awl, Leather Knife

There's a lot of different ways to measure a belt, but by far the easiest and safest way is to use an old belt that fits well. If you have a belt that fits well, measure from the start of the leather at the base of the buckle to the hole that fits the best. That will give you a starting length. You'll then want to add 3" for the leather that folds over the buckle, 3" more for the addition holes, and then another 5" for the end of the belt. Long story short, you'll need to add 11" to your "starting length." I.e. So, if your starting length is 46", add 11", and the strap length you'll need to cut is 57".

ThePerfectFittingBelt_01.png

Once you know the perfect fit measurement, it's time to cut the end of the belt. The arrow shape at the end of belts is called an "English Point." There's two ways to achieve this shape. One is to have a English Point Punch, but most of us don't have one of those unless we are pumping out a lot of belts. The other method is using a divider. To do this, set the divider to the width of the belt. As mentioned above, most belts are around 1 1/4" in width, but you may have chosen something different, so set the divider whatever width you chose at the previous set. Then, using a ruler, measure the width (1 1/4") down the strap, and make a small mark on both edges of the strap. After, set the arms of your divider on the marks. Finally, press down and rotate one arm upward, while making sure the other arm does not move. Doing this will create an arc. Repeat this process with the other arm. With this finished, you should have marked out the English Point shape onto your strap. Use your knife to cut it out. If you need more help creating the English Point, check out this BLOG POST for more details.

With the English Point cut, measure from its tip toward the other end of the belt to whatever your perfect fit measurement is. Then make a straight cut across the leather. You now have what will become your belt.

IMG_9671.jpg
IMG_9675.jpg

Step 4: Punching the Holes

Need: Cut Leather Strap, Ruler, Scratch Awl, Hammer, Hole Punch.

Use the ruler to measure out the first hole, 5 inches from the tip of the English Point. Create a mark at that 5" point in the middle of the belt. Then create the other 4 holes 1" from the previous always moving away from the English Point.'

With the five holes marked use the hammer and hole punch to make the holes. If you have multiple sized punches, you may want to test them out on a scrap piece of leather to see which best fits the tongue of the buckle.

Next on the opposite end of the belt, create two marks in the center of the strap 2 5/8" and 3 3/8" in. Punch a hole at both of these marks with the same size punched you used for the previous holes.

Using your ruler and scratch awl, create two lines to connect the two holes you just created. Then using a ruler and your knife, carefully cut out that small strip of leather, making sure not to cut beyond the two holes.

Don’t let the English Point on this picture confuse you. If you followed the directions correctly, it should be squared off and the other end of your belt should have the English Point.

Don’t let the English Point on this picture confuse you. If you followed the directions correctly, it should be squared off and the other end of your belt should have the English Point.

I was trying something new when I made this and tried an English Point on both ends of the strap. It didn’t work out like I hoped. Sorry for the confusion!

I was trying something new when I made this and tried an English Point on both ends of the strap. It didn’t work out like I hoped. Sorry for the confusion!

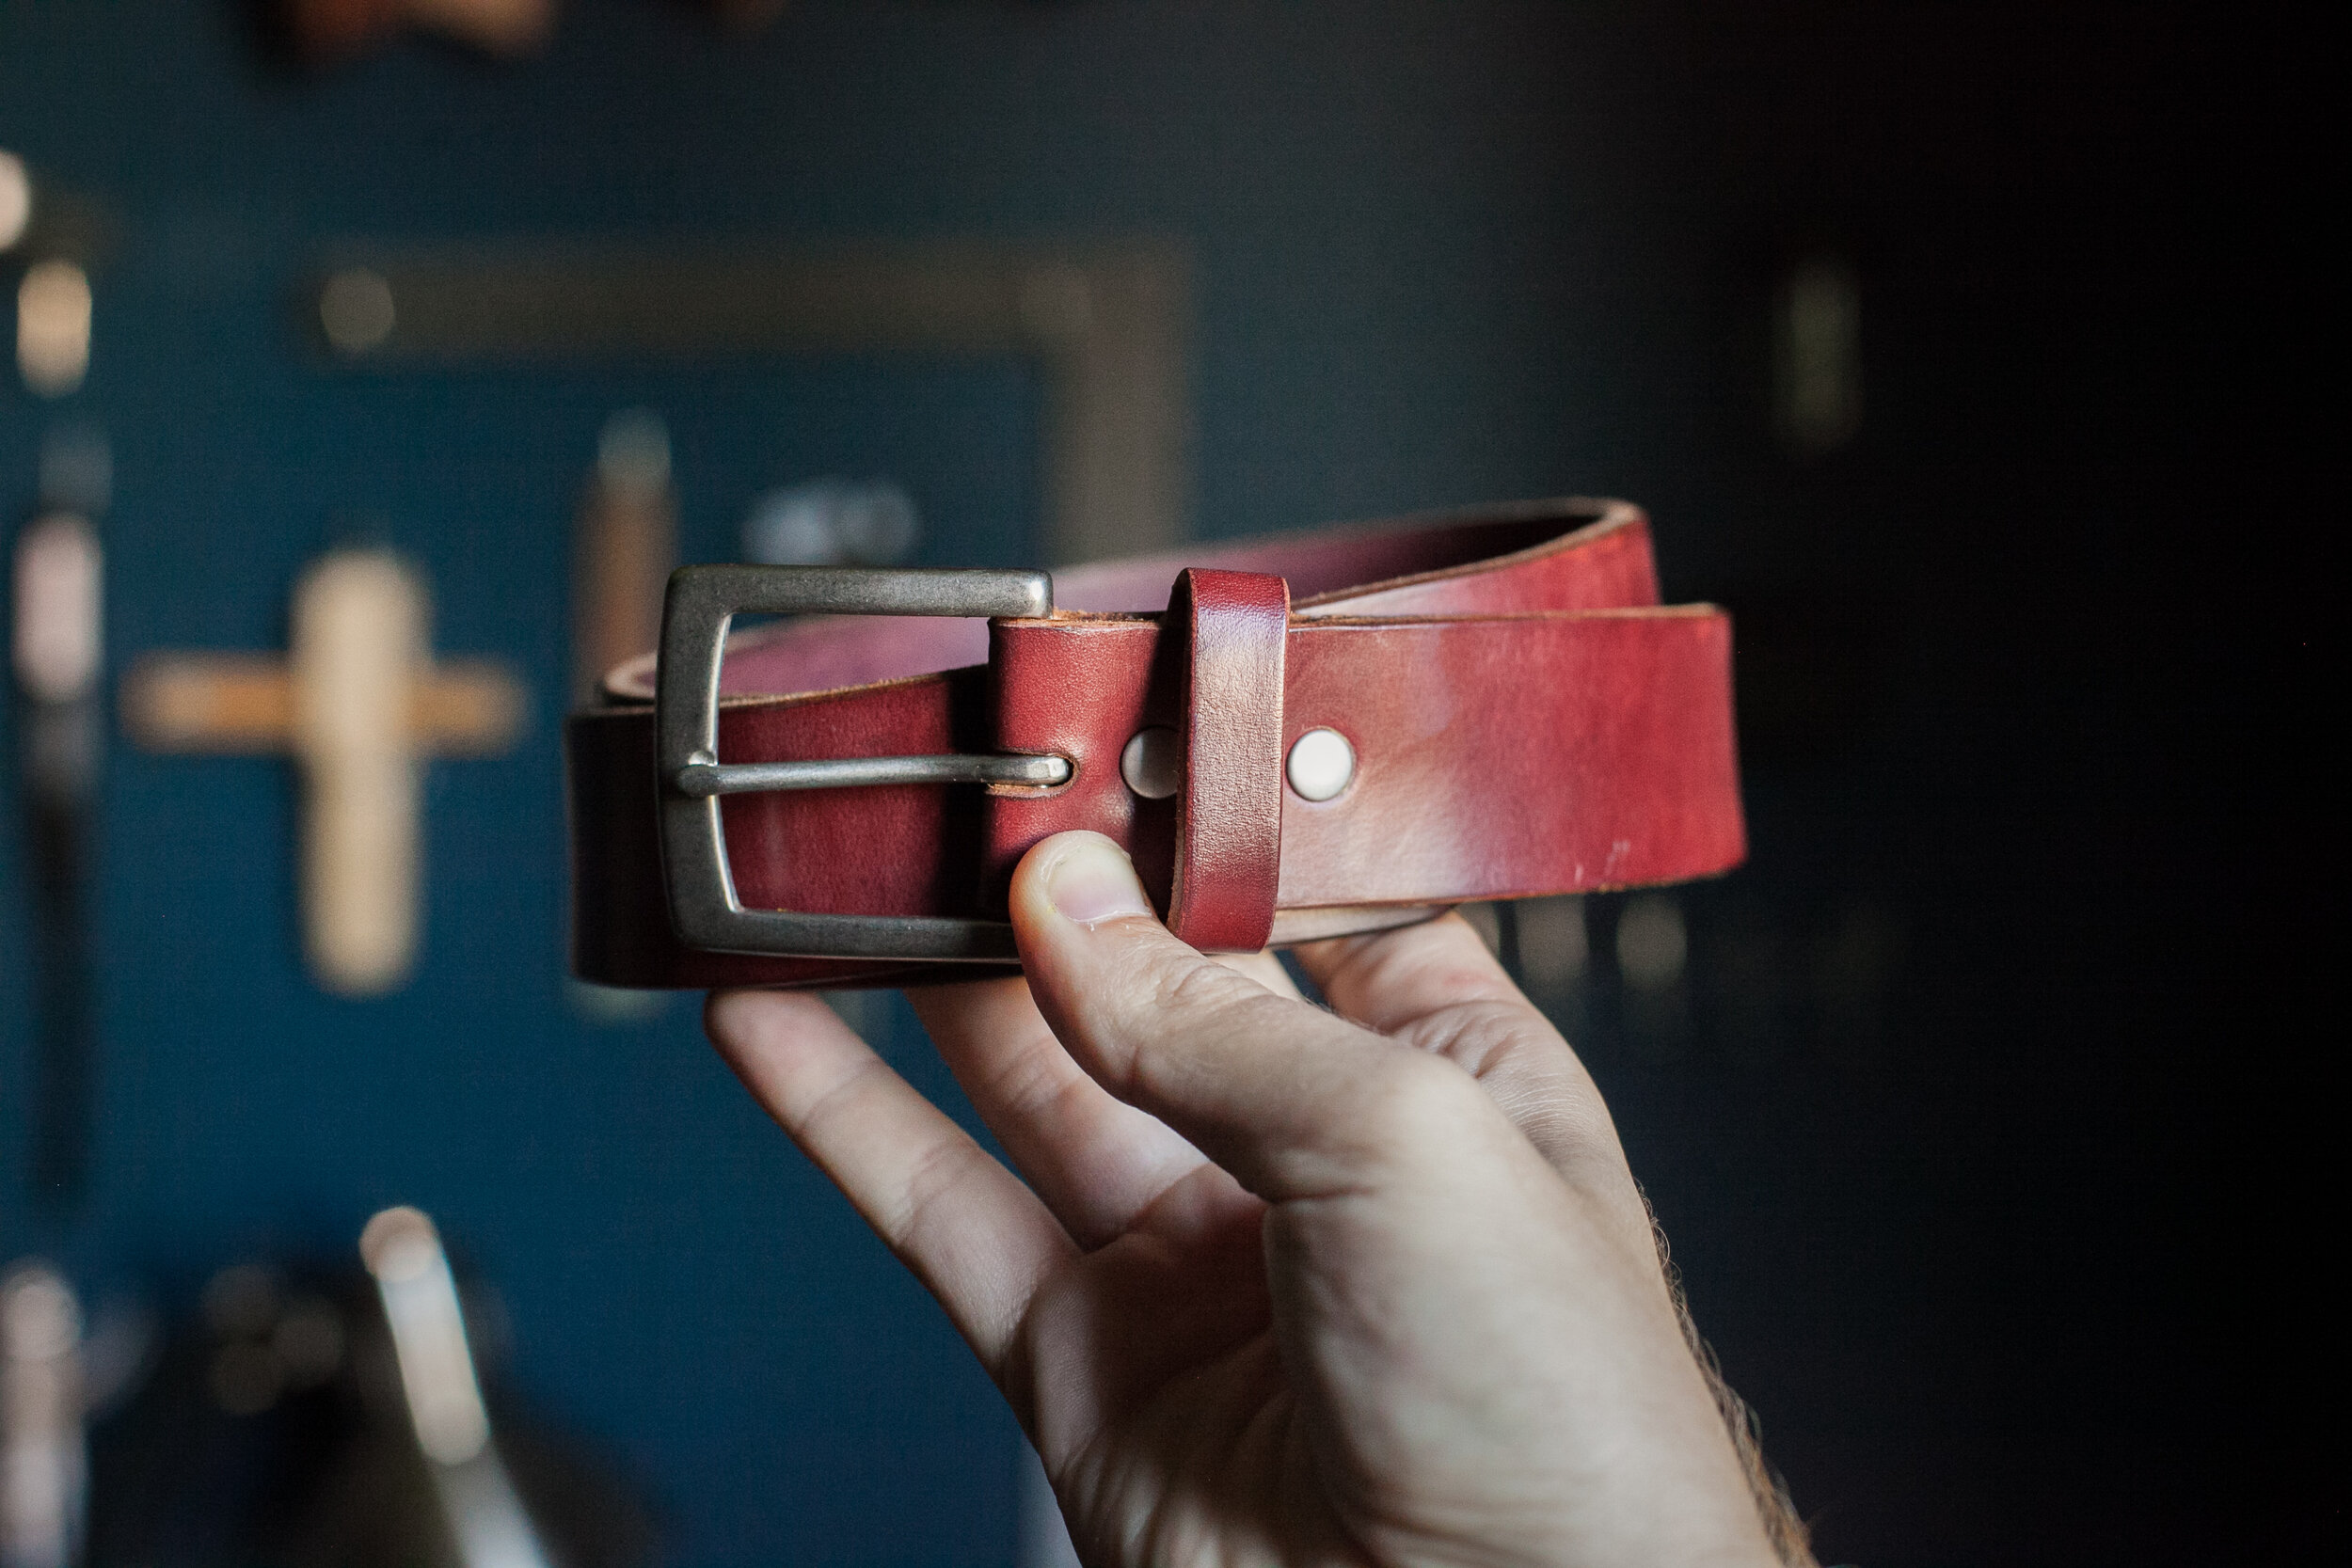
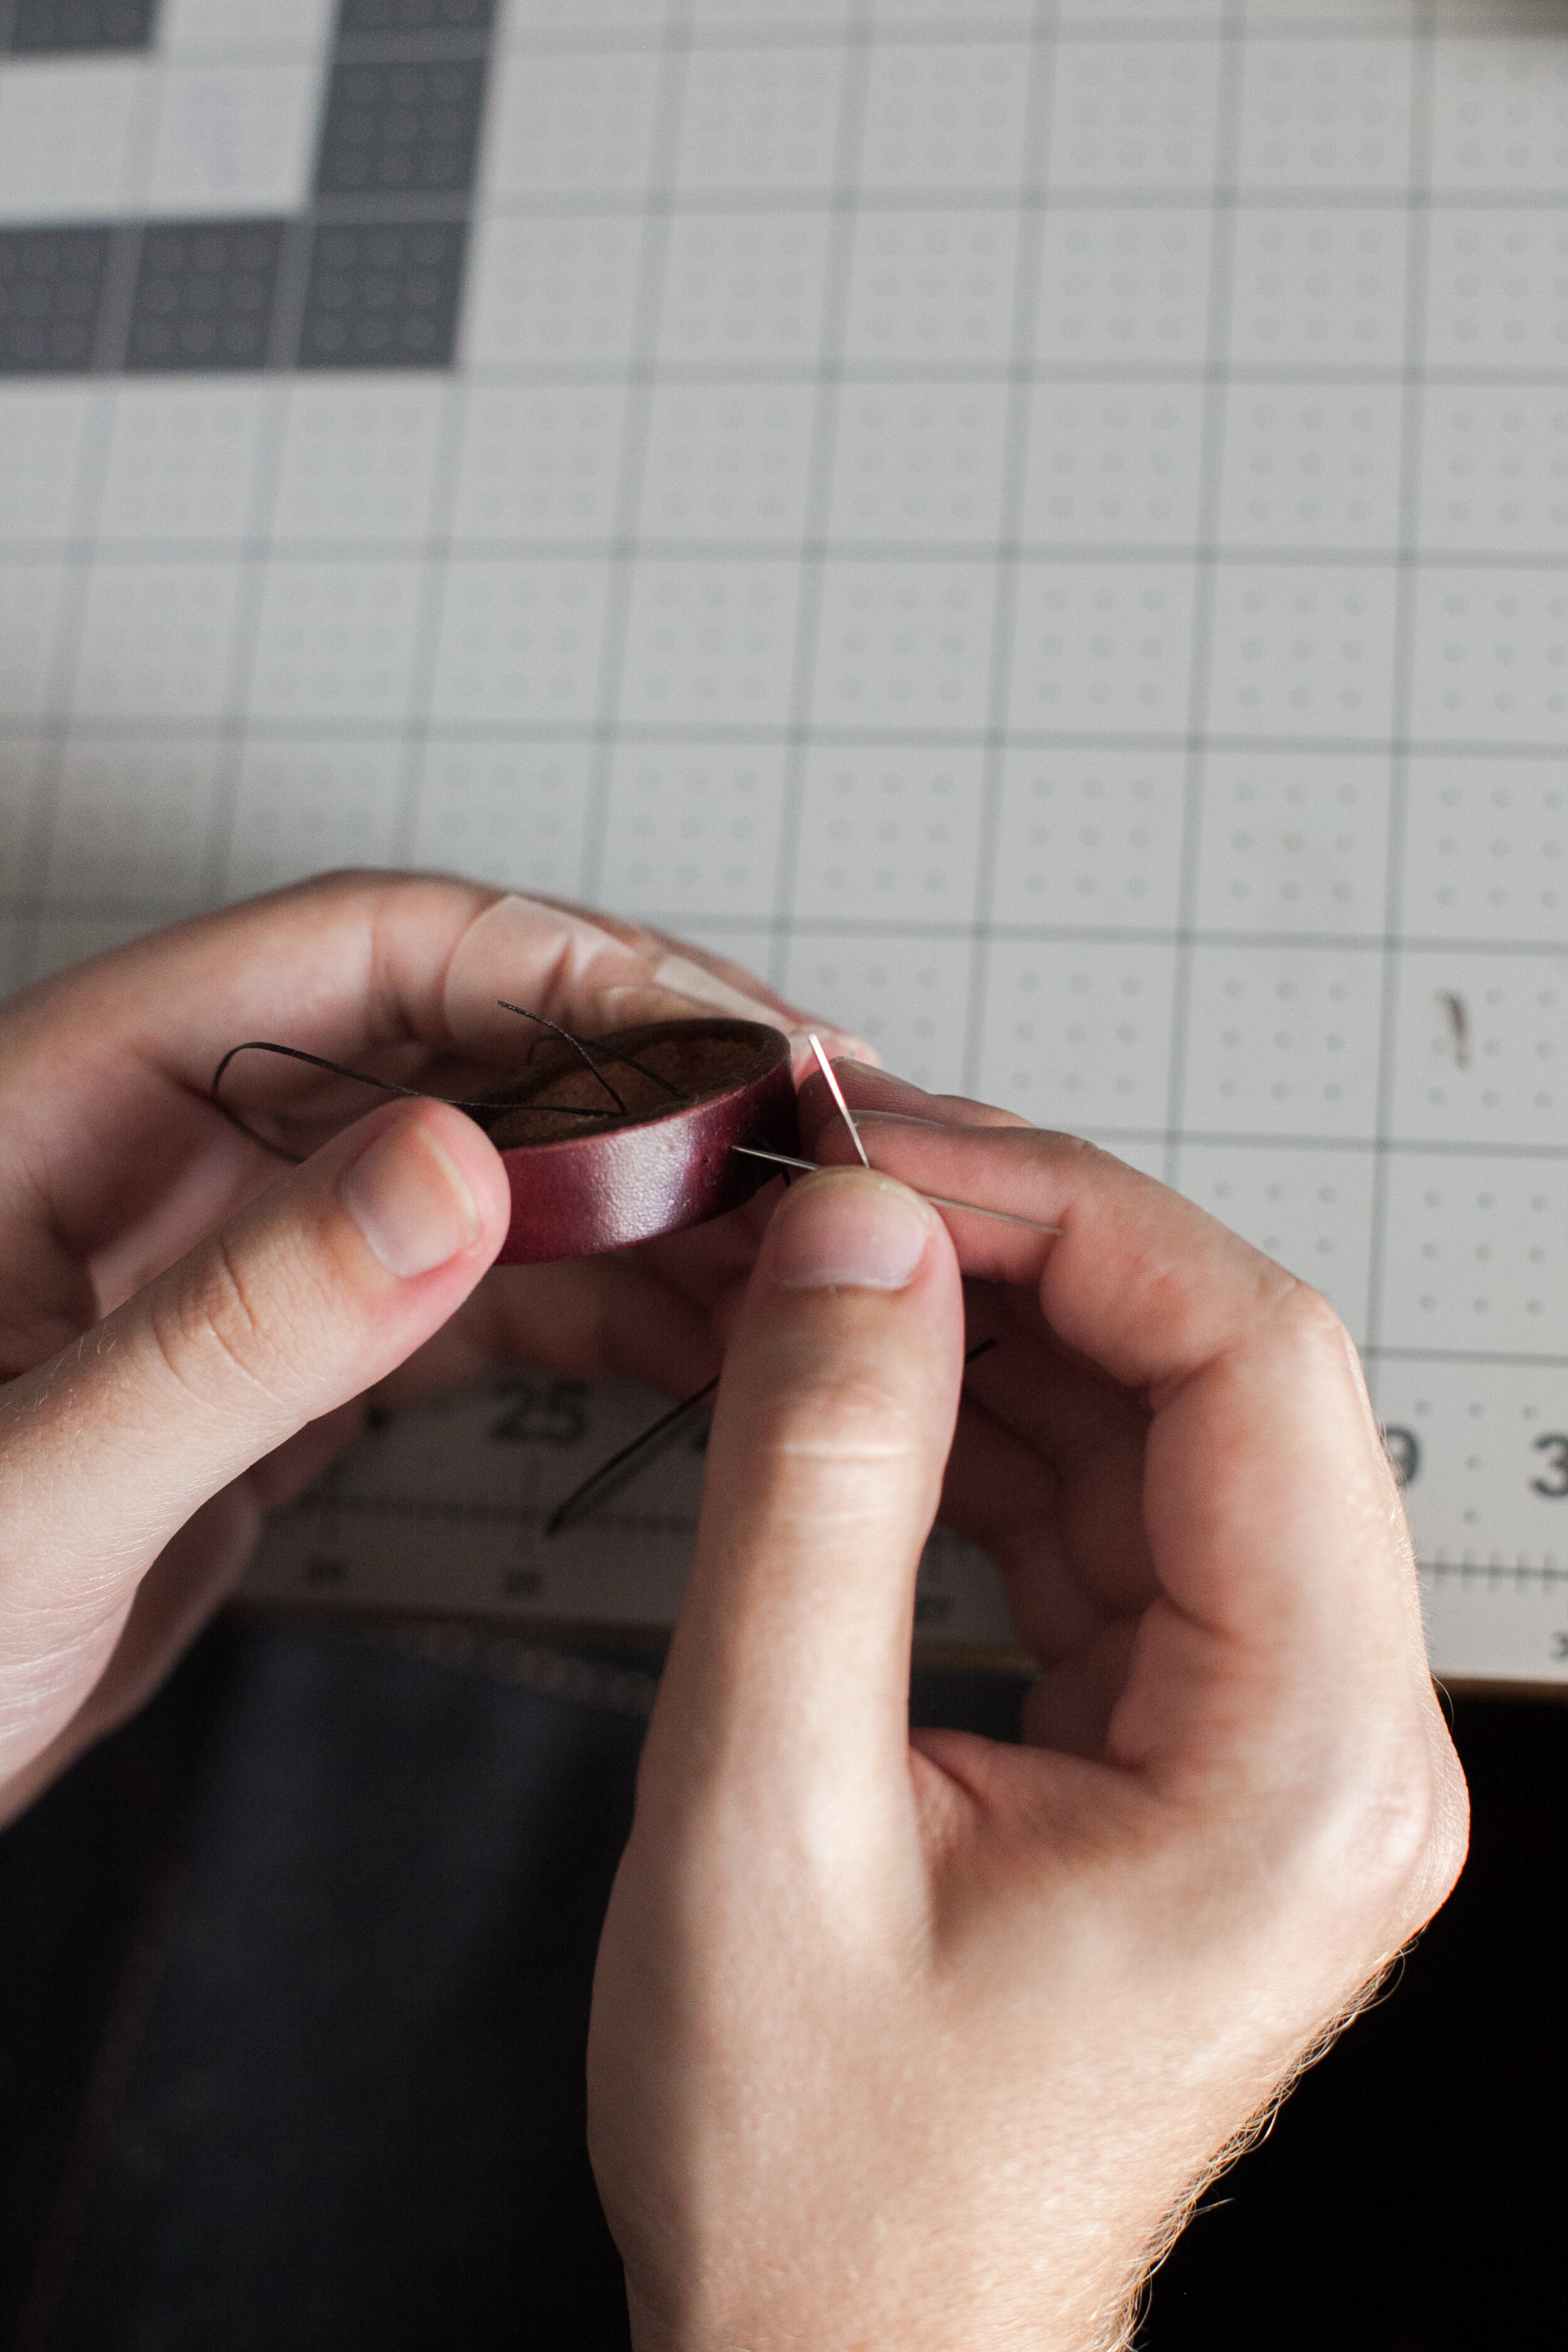
Step 5: Create the Belt Loop

Need: Leather, Leather Knife, Scratch Awl, Diamond Chisels, Thread, Needle, Glue, Belt Strap, Skiving Knife

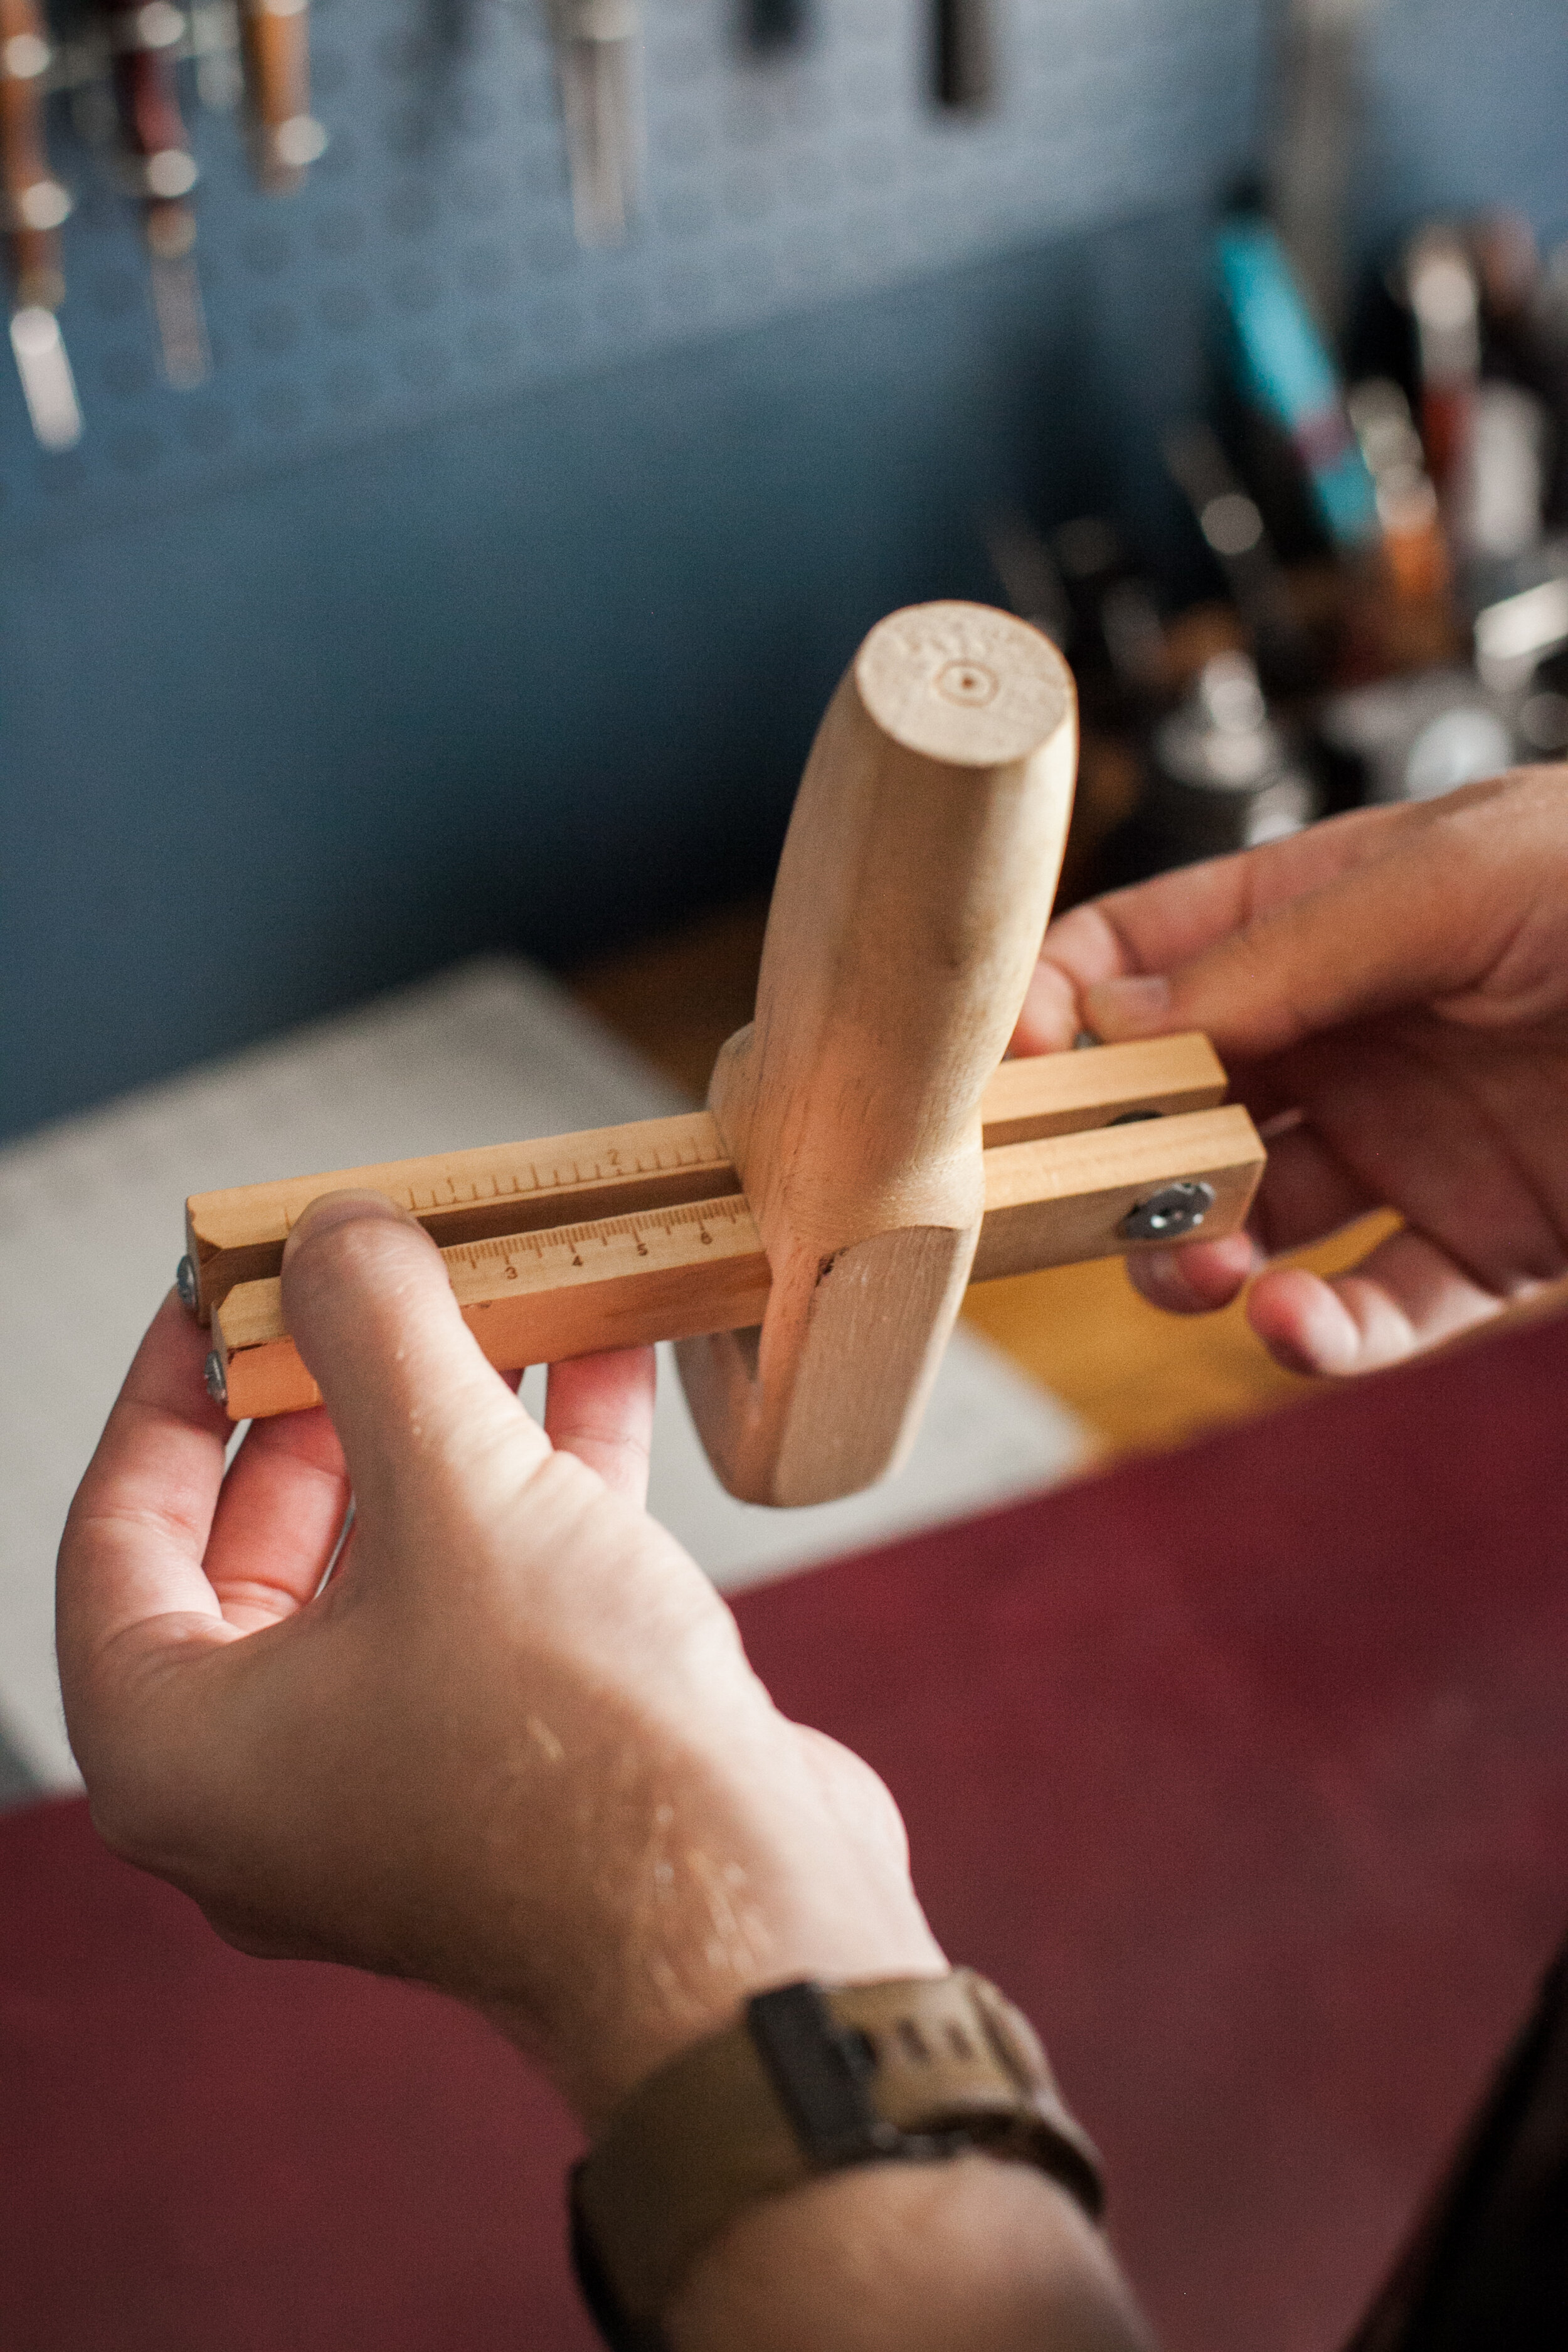
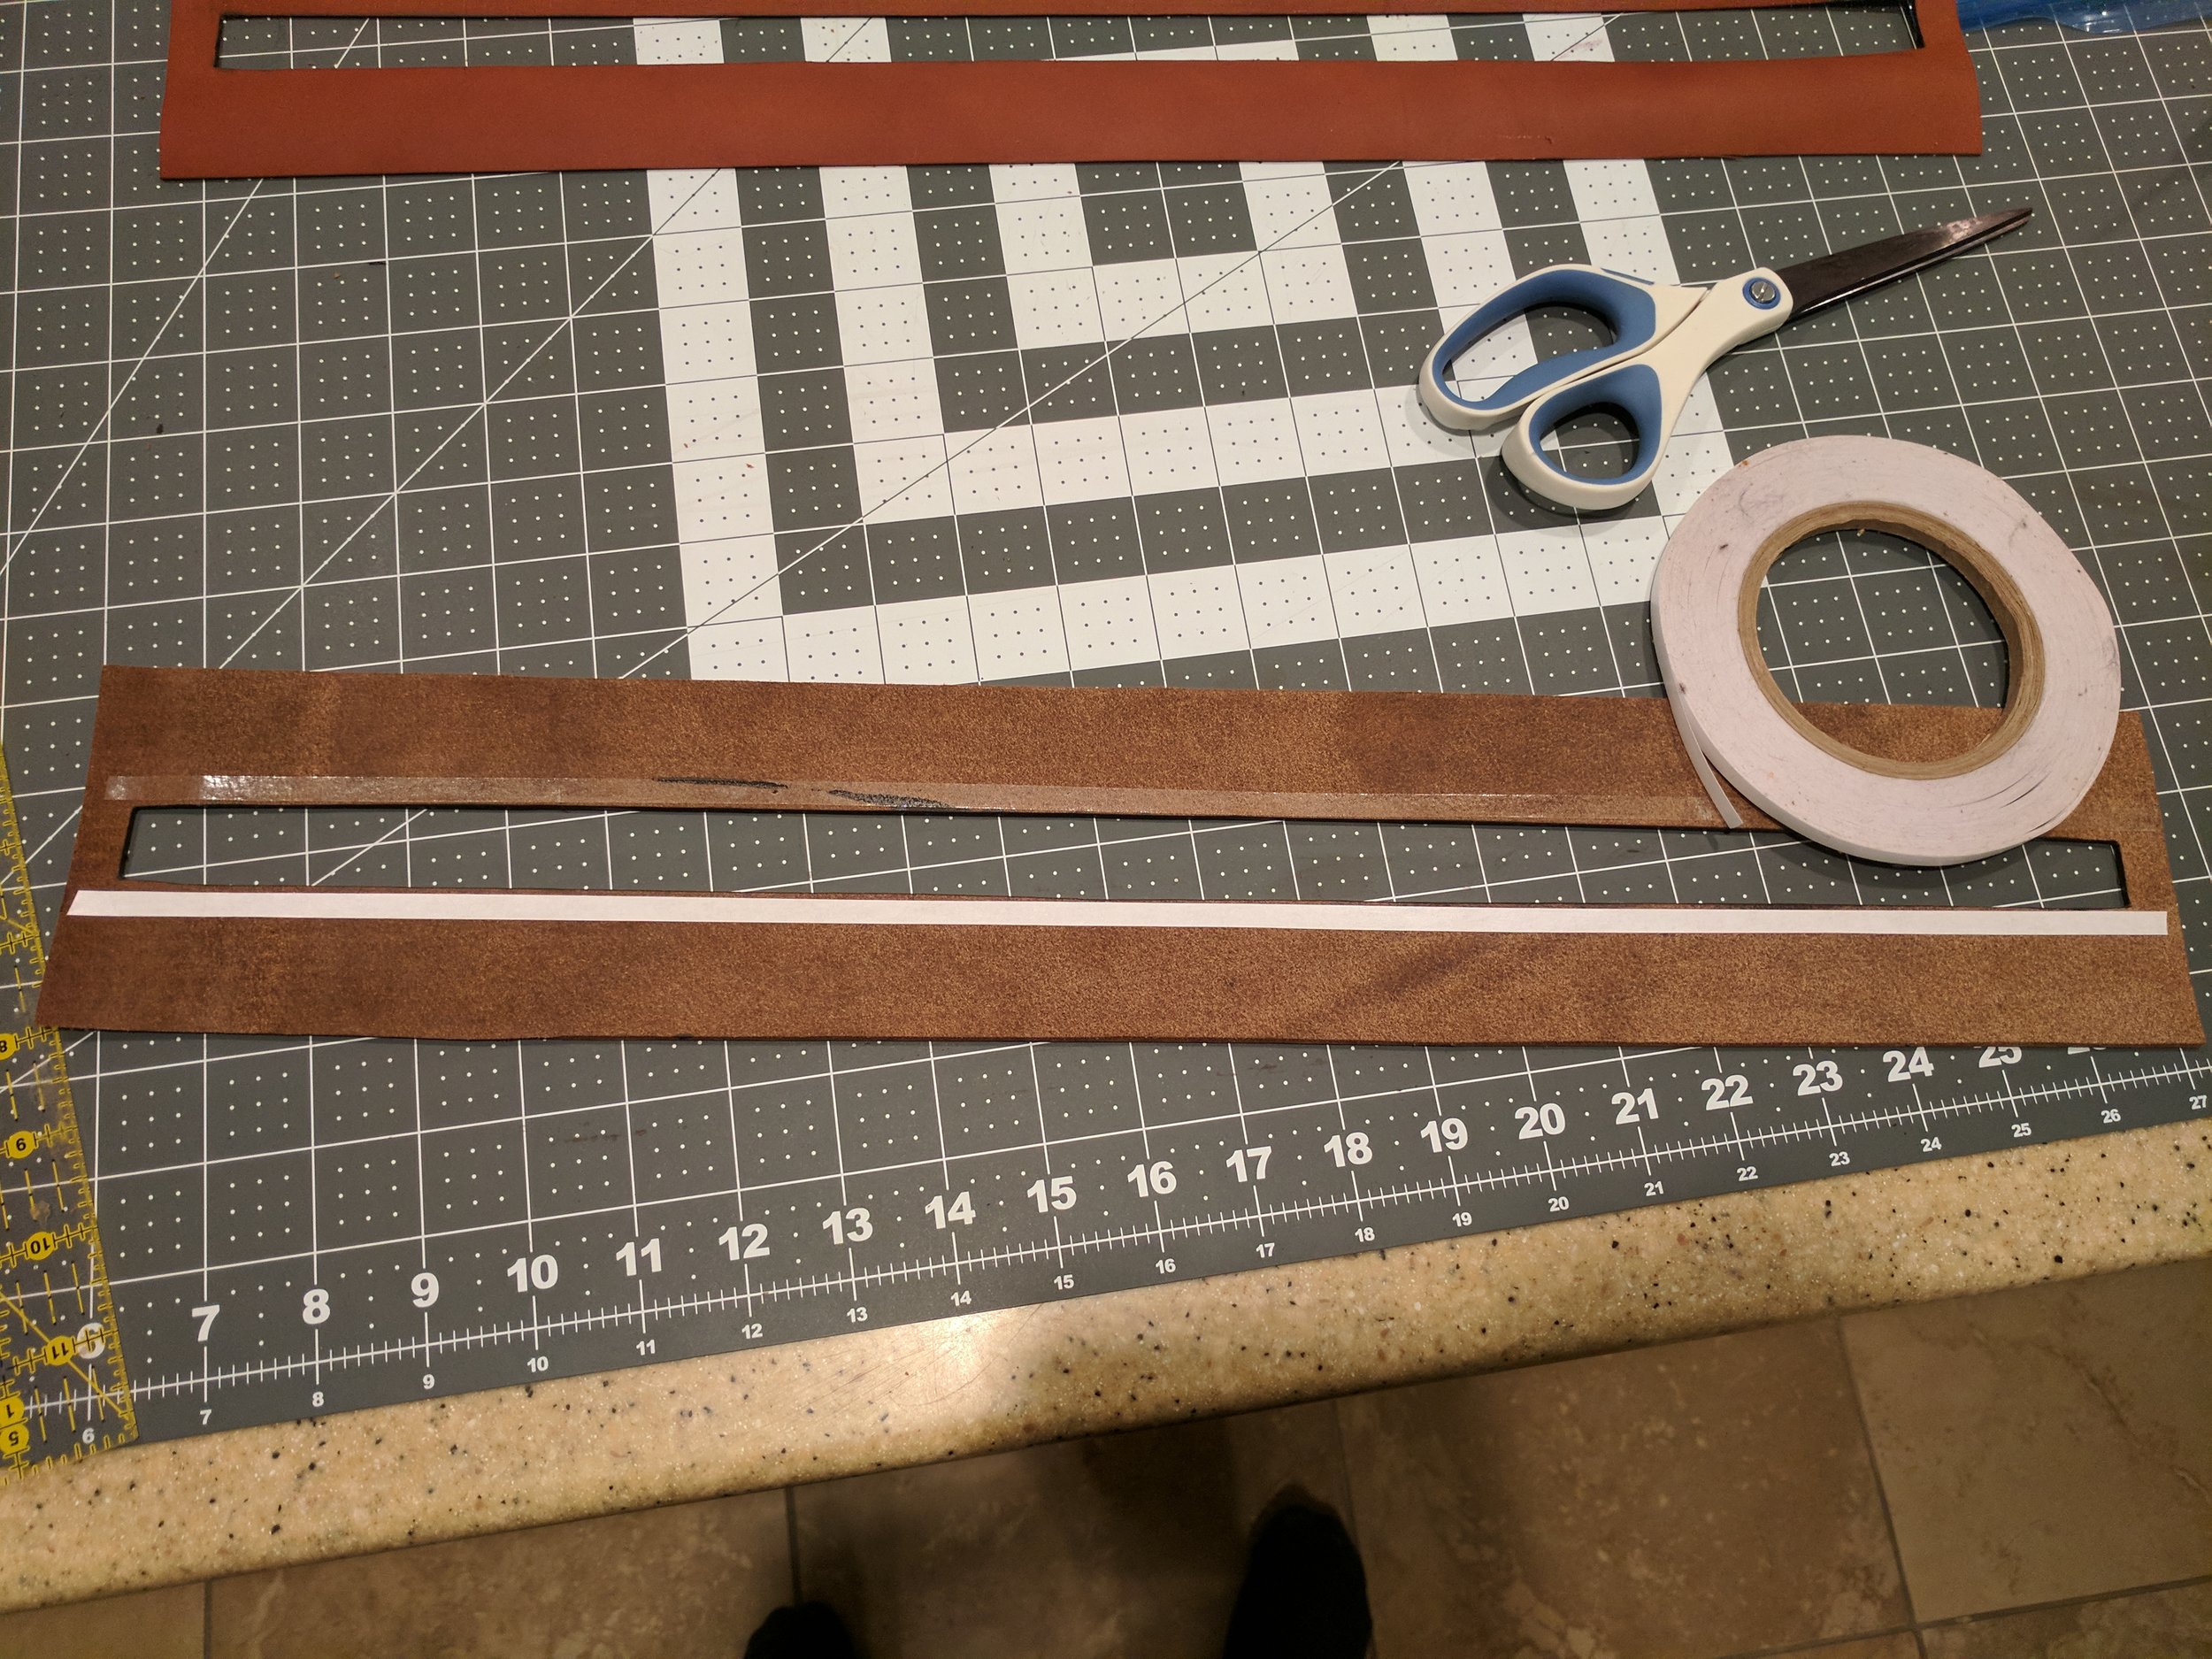
Cut out a strip of leather that is about 3/8" in width. Make sure that this thin strap is at least 4" long, longer if you want to be safe or you decided to make a belt that was wider than 1 1/4".

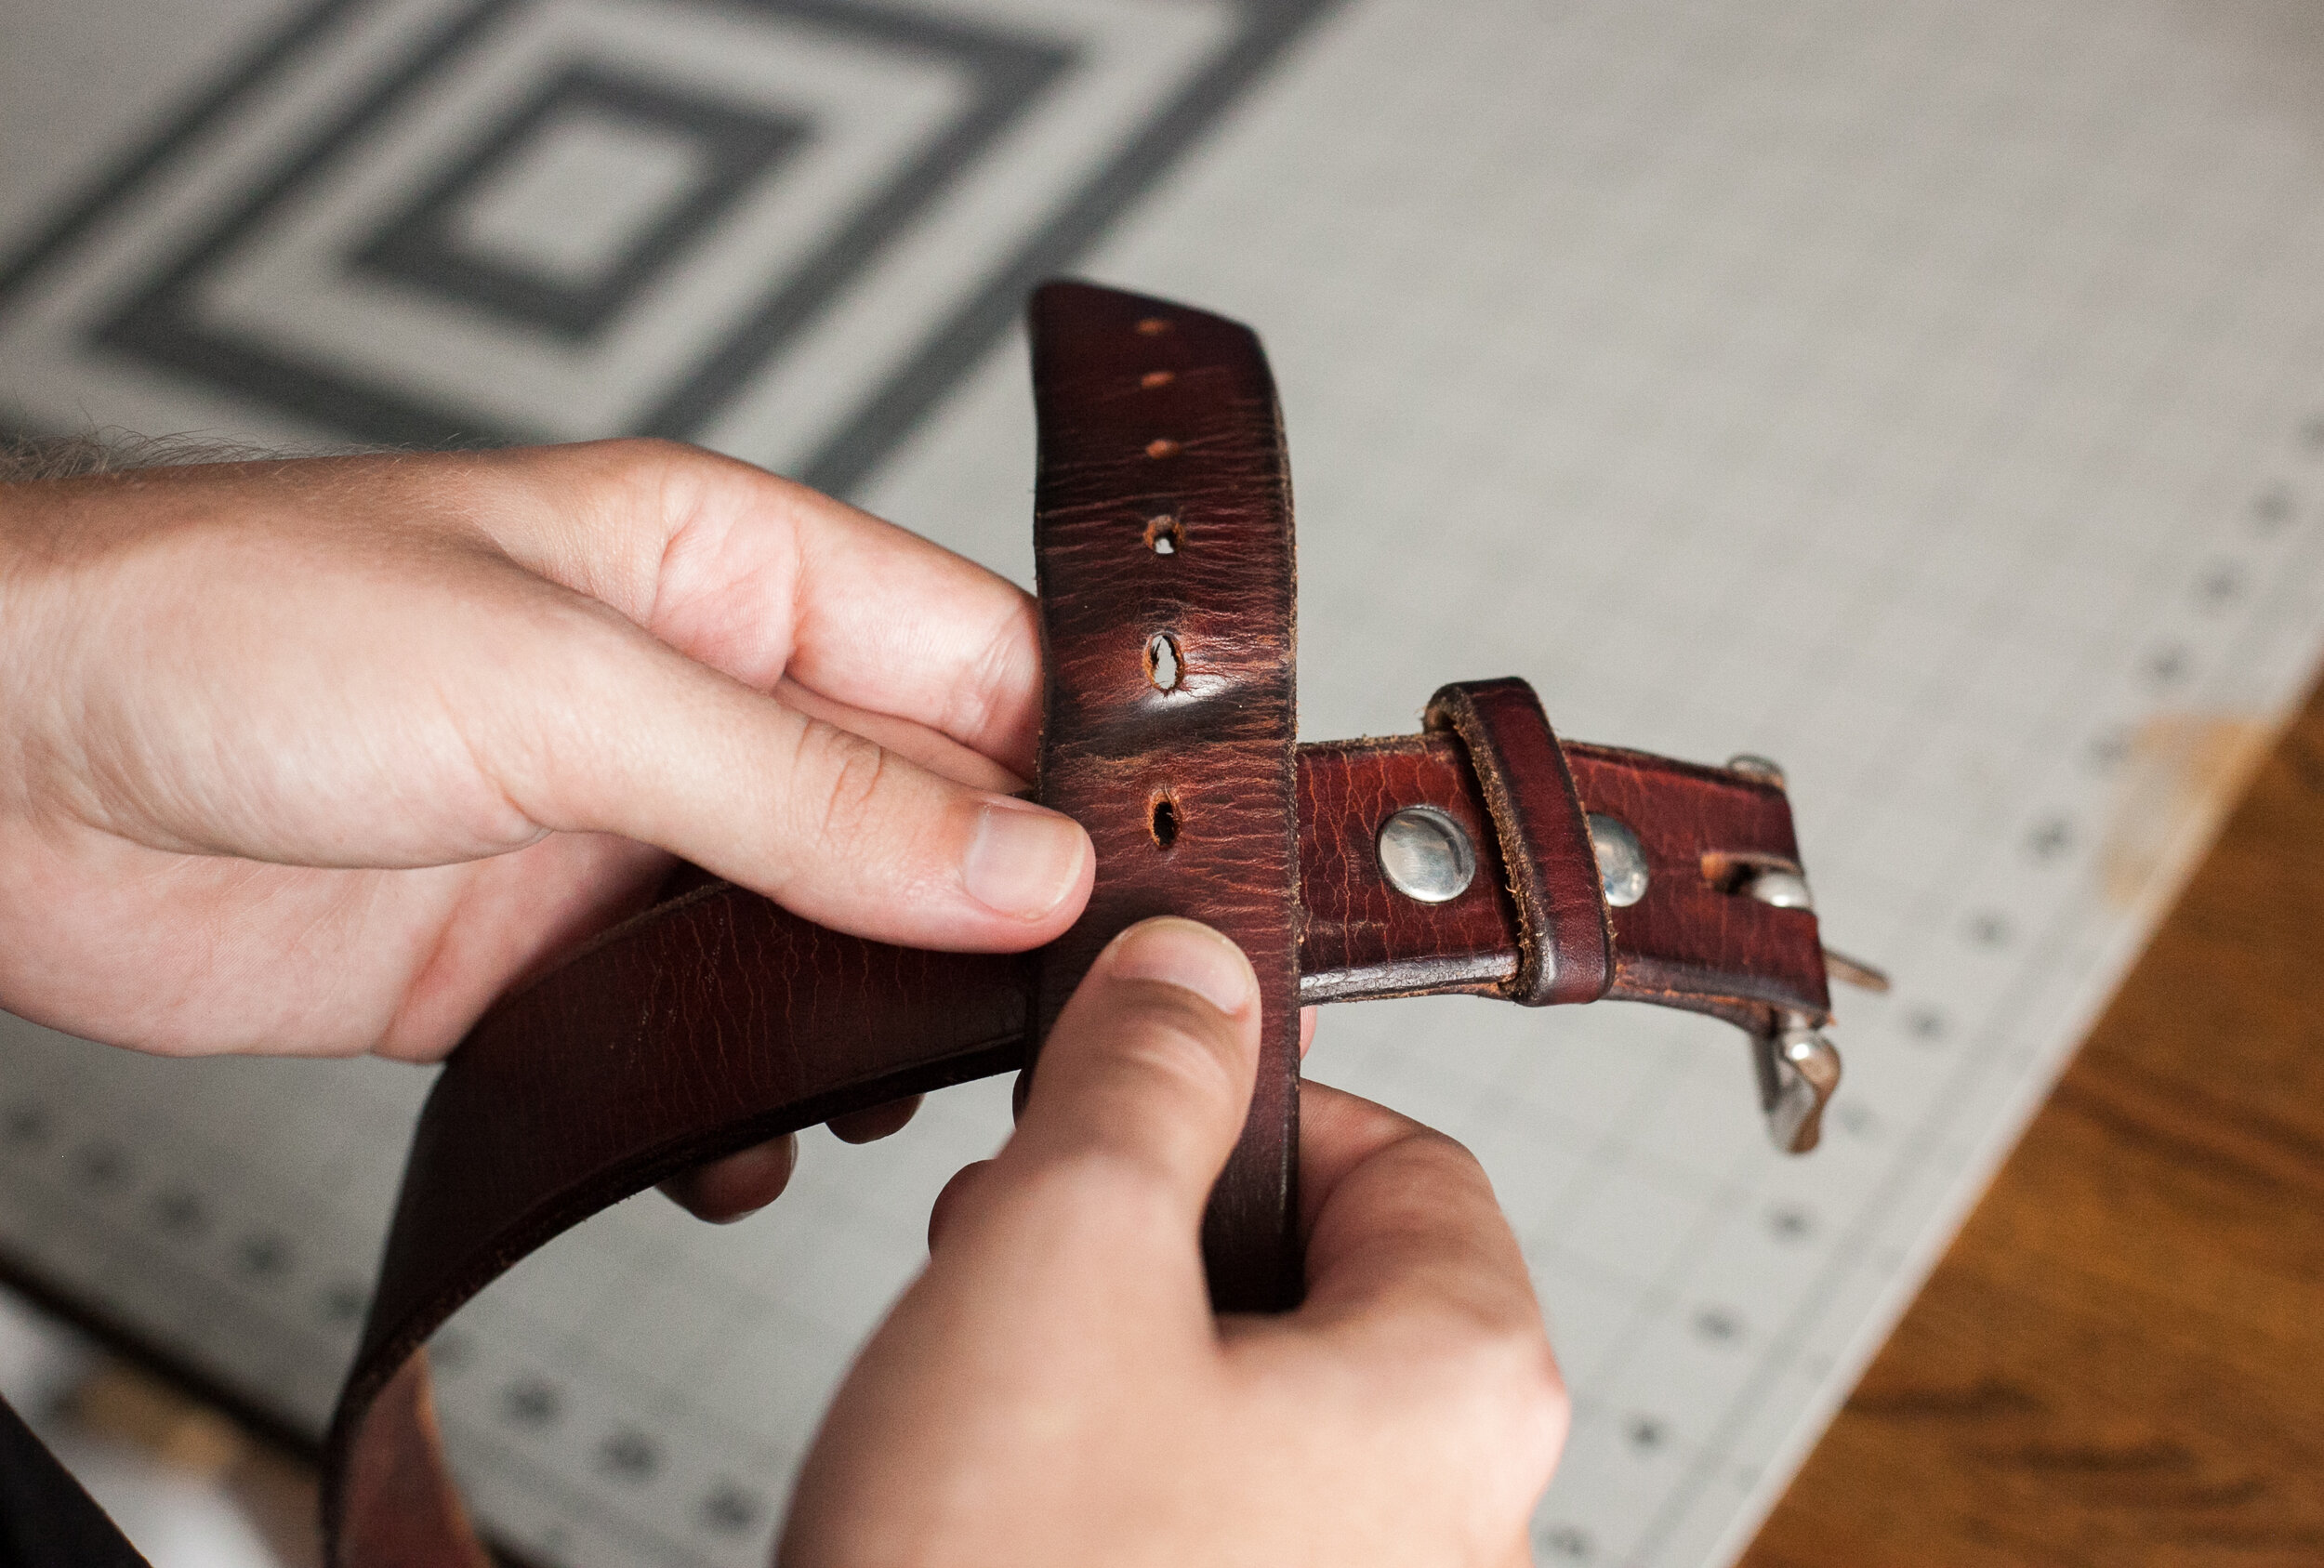
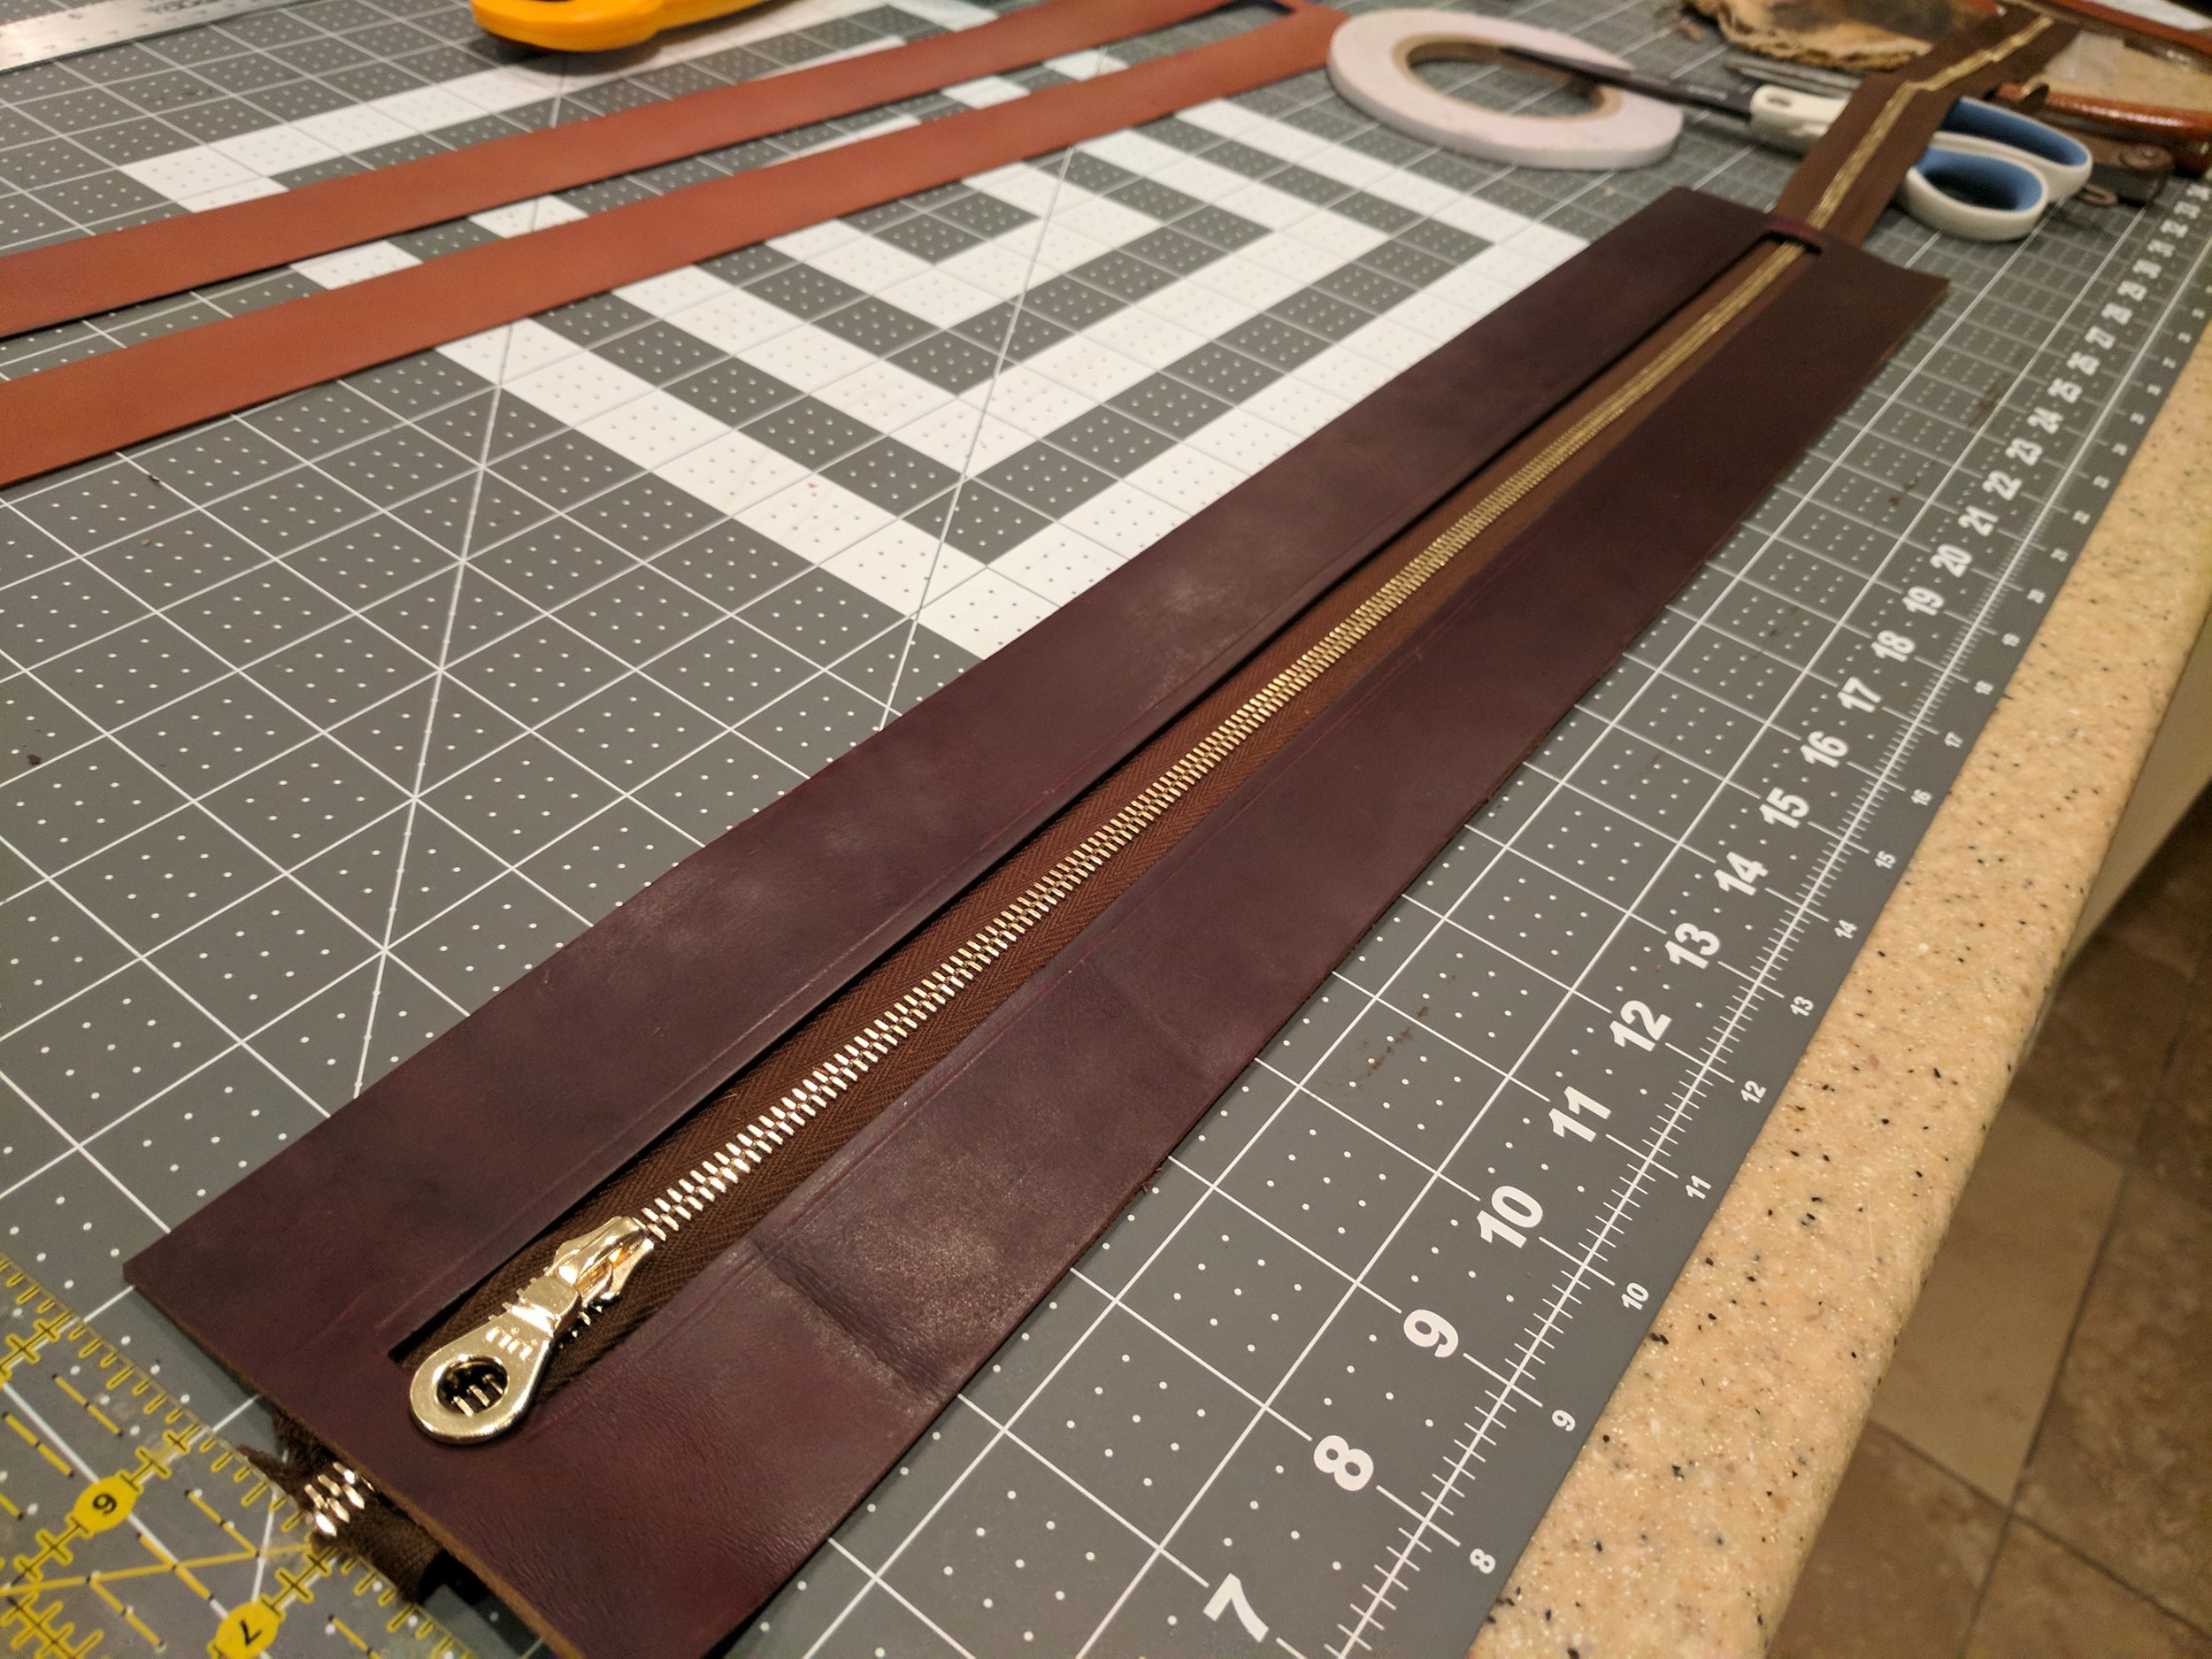
Now fold the belt strap (not the strap you just cut) over on itself, so that it is now two ply. Then wrap the thin strap you just cut around it. Make a mark .5" past where the thin strap overlaps with itself, this is the required length of your belt loop.

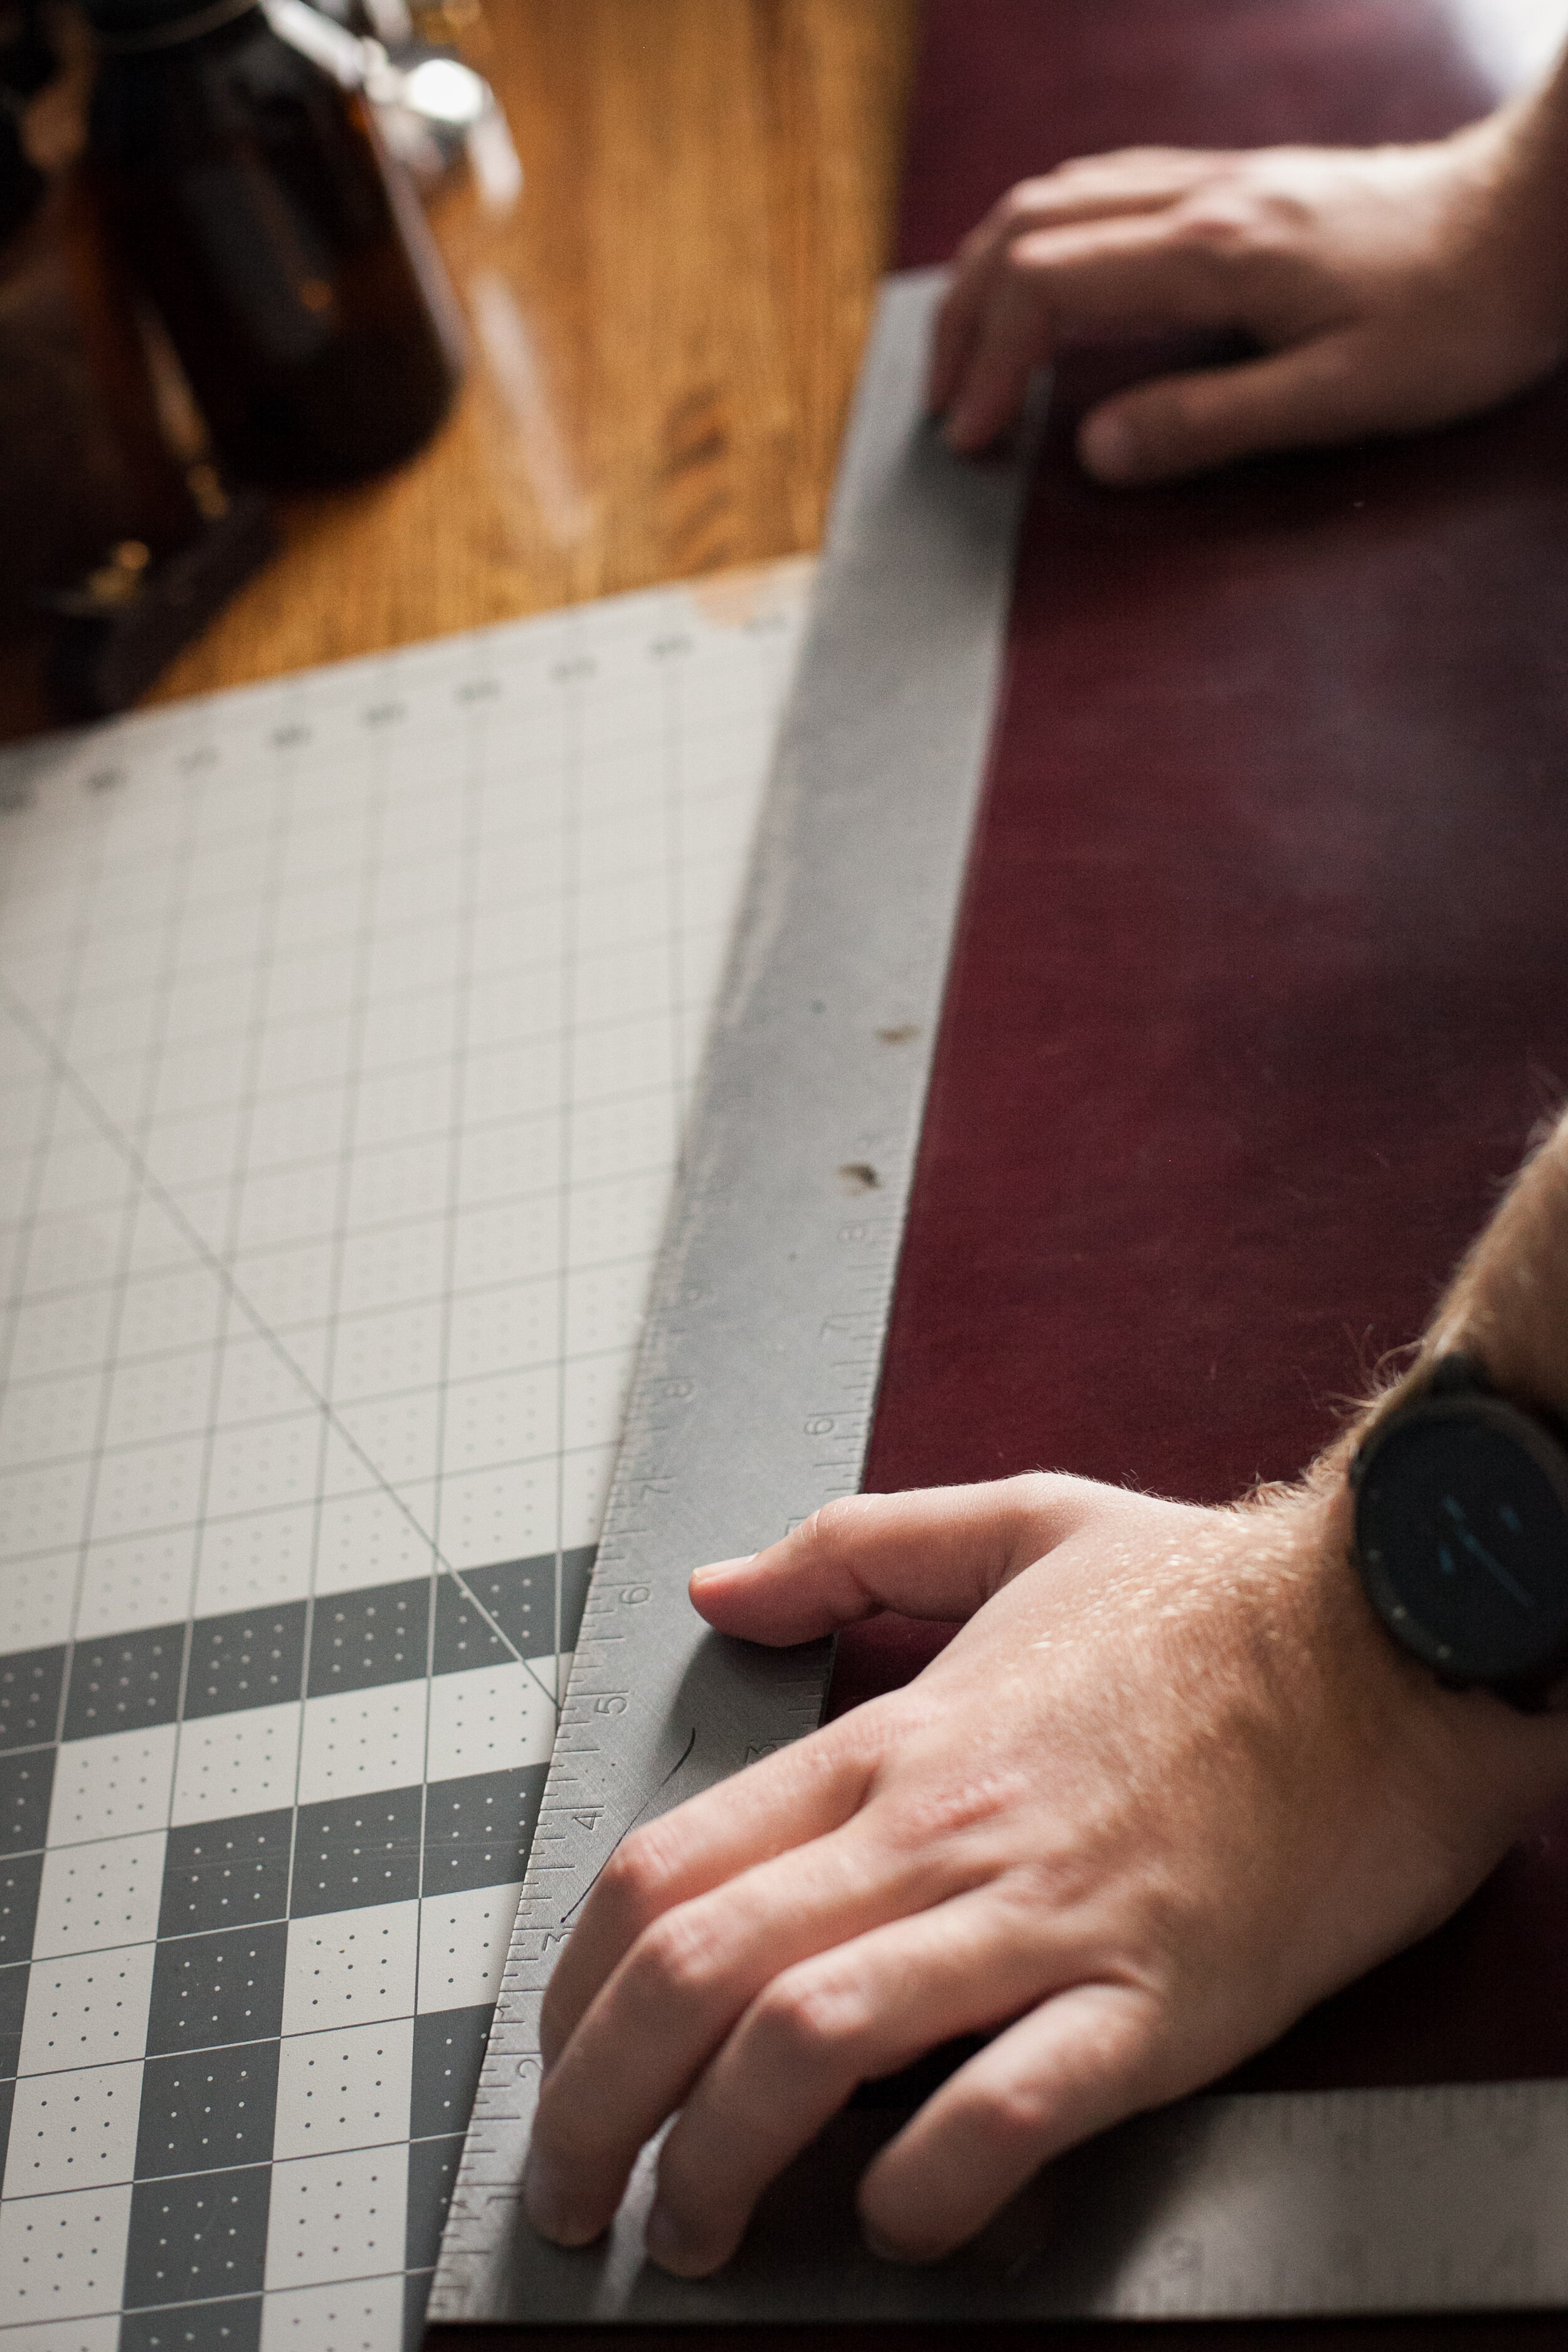
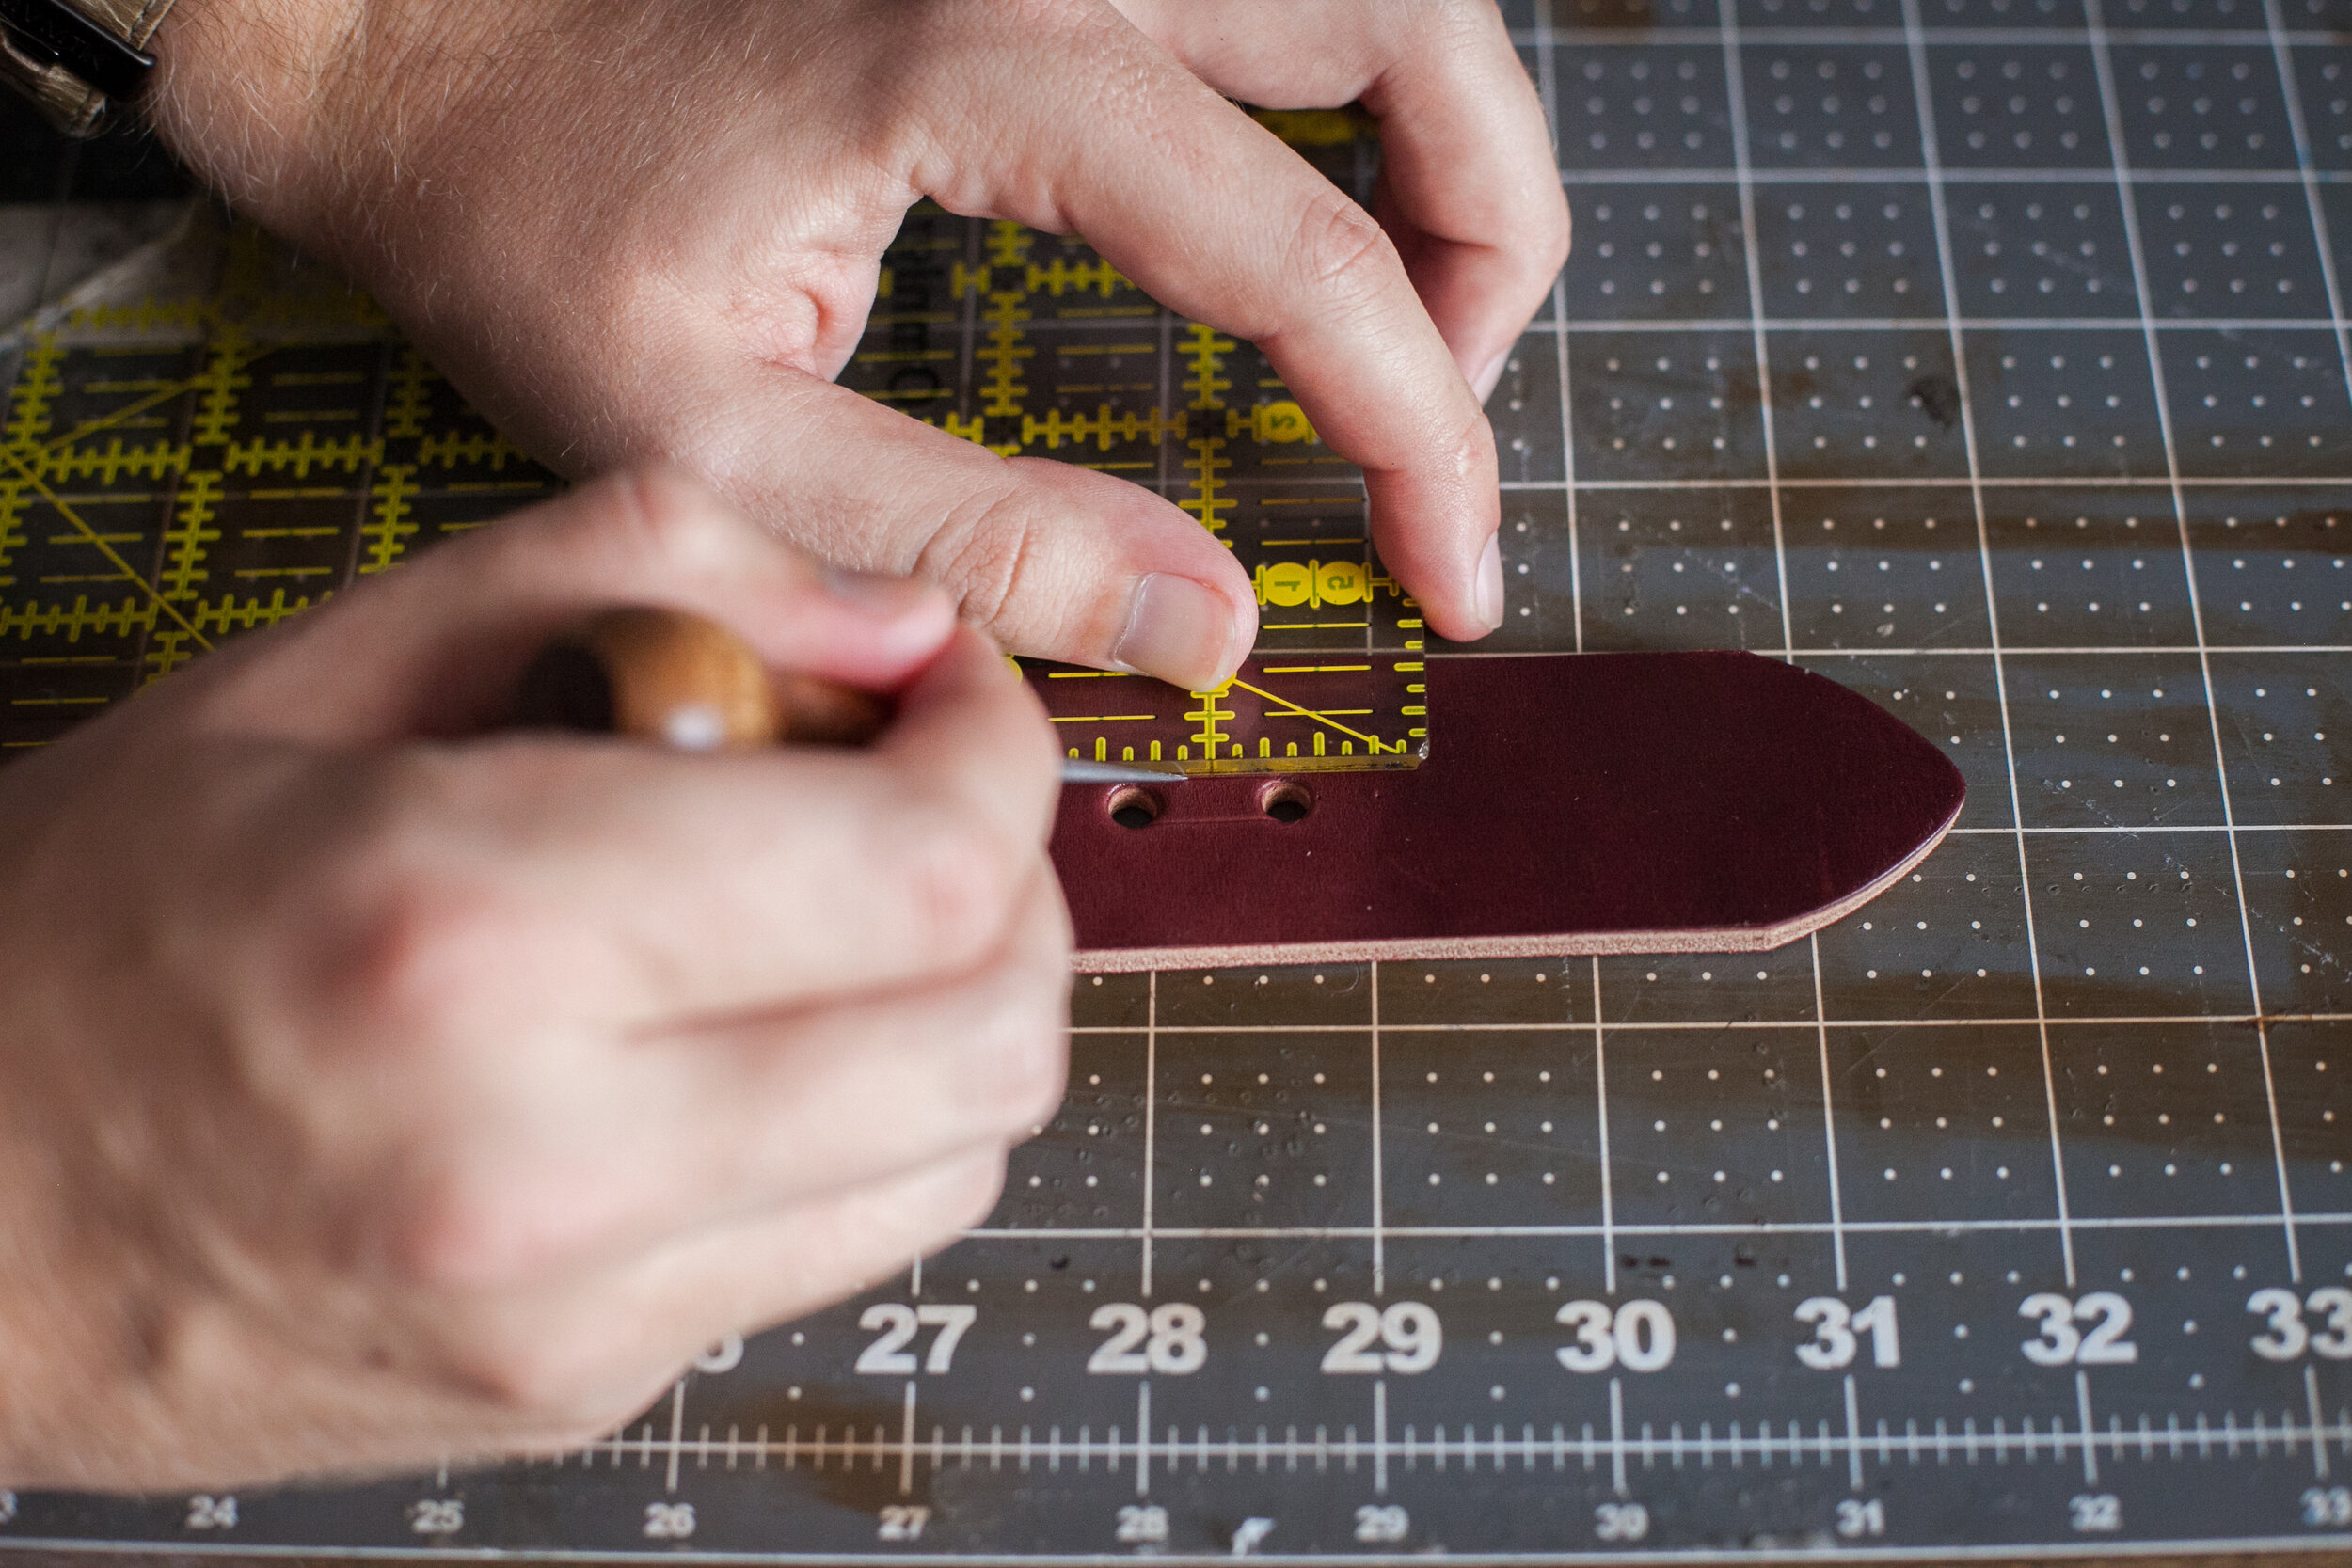
Using a knife and ruler cut off the excess.

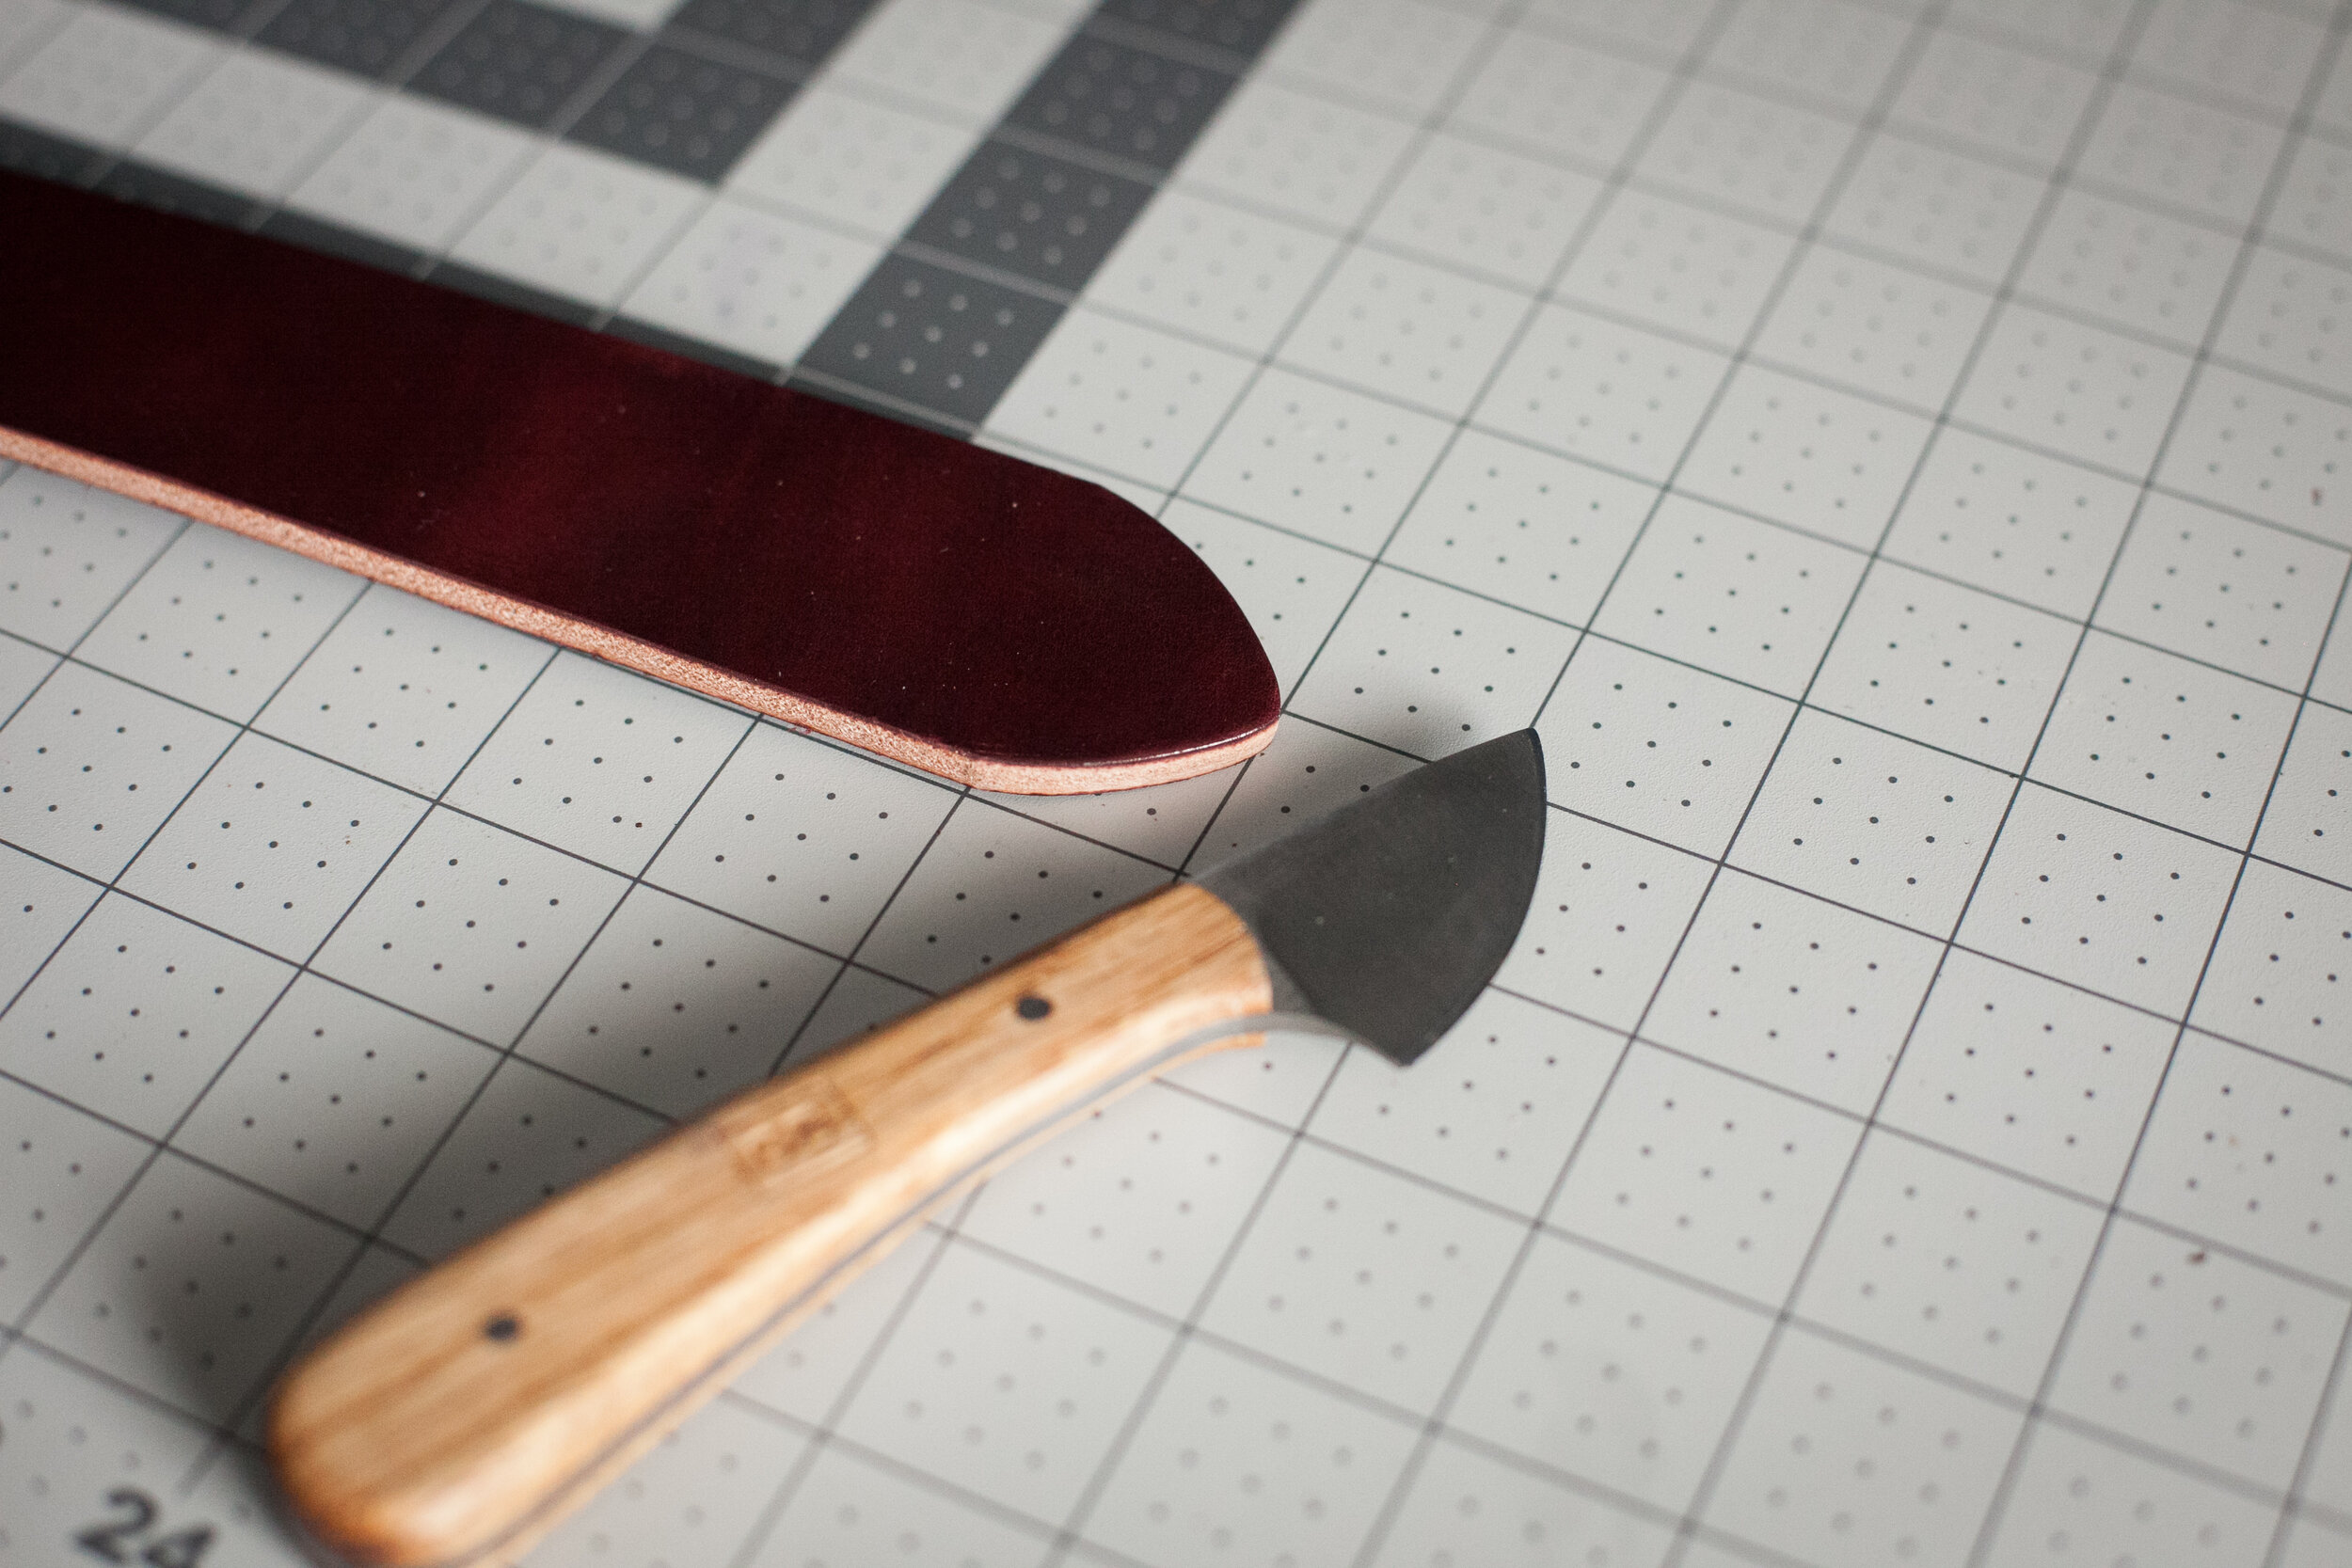
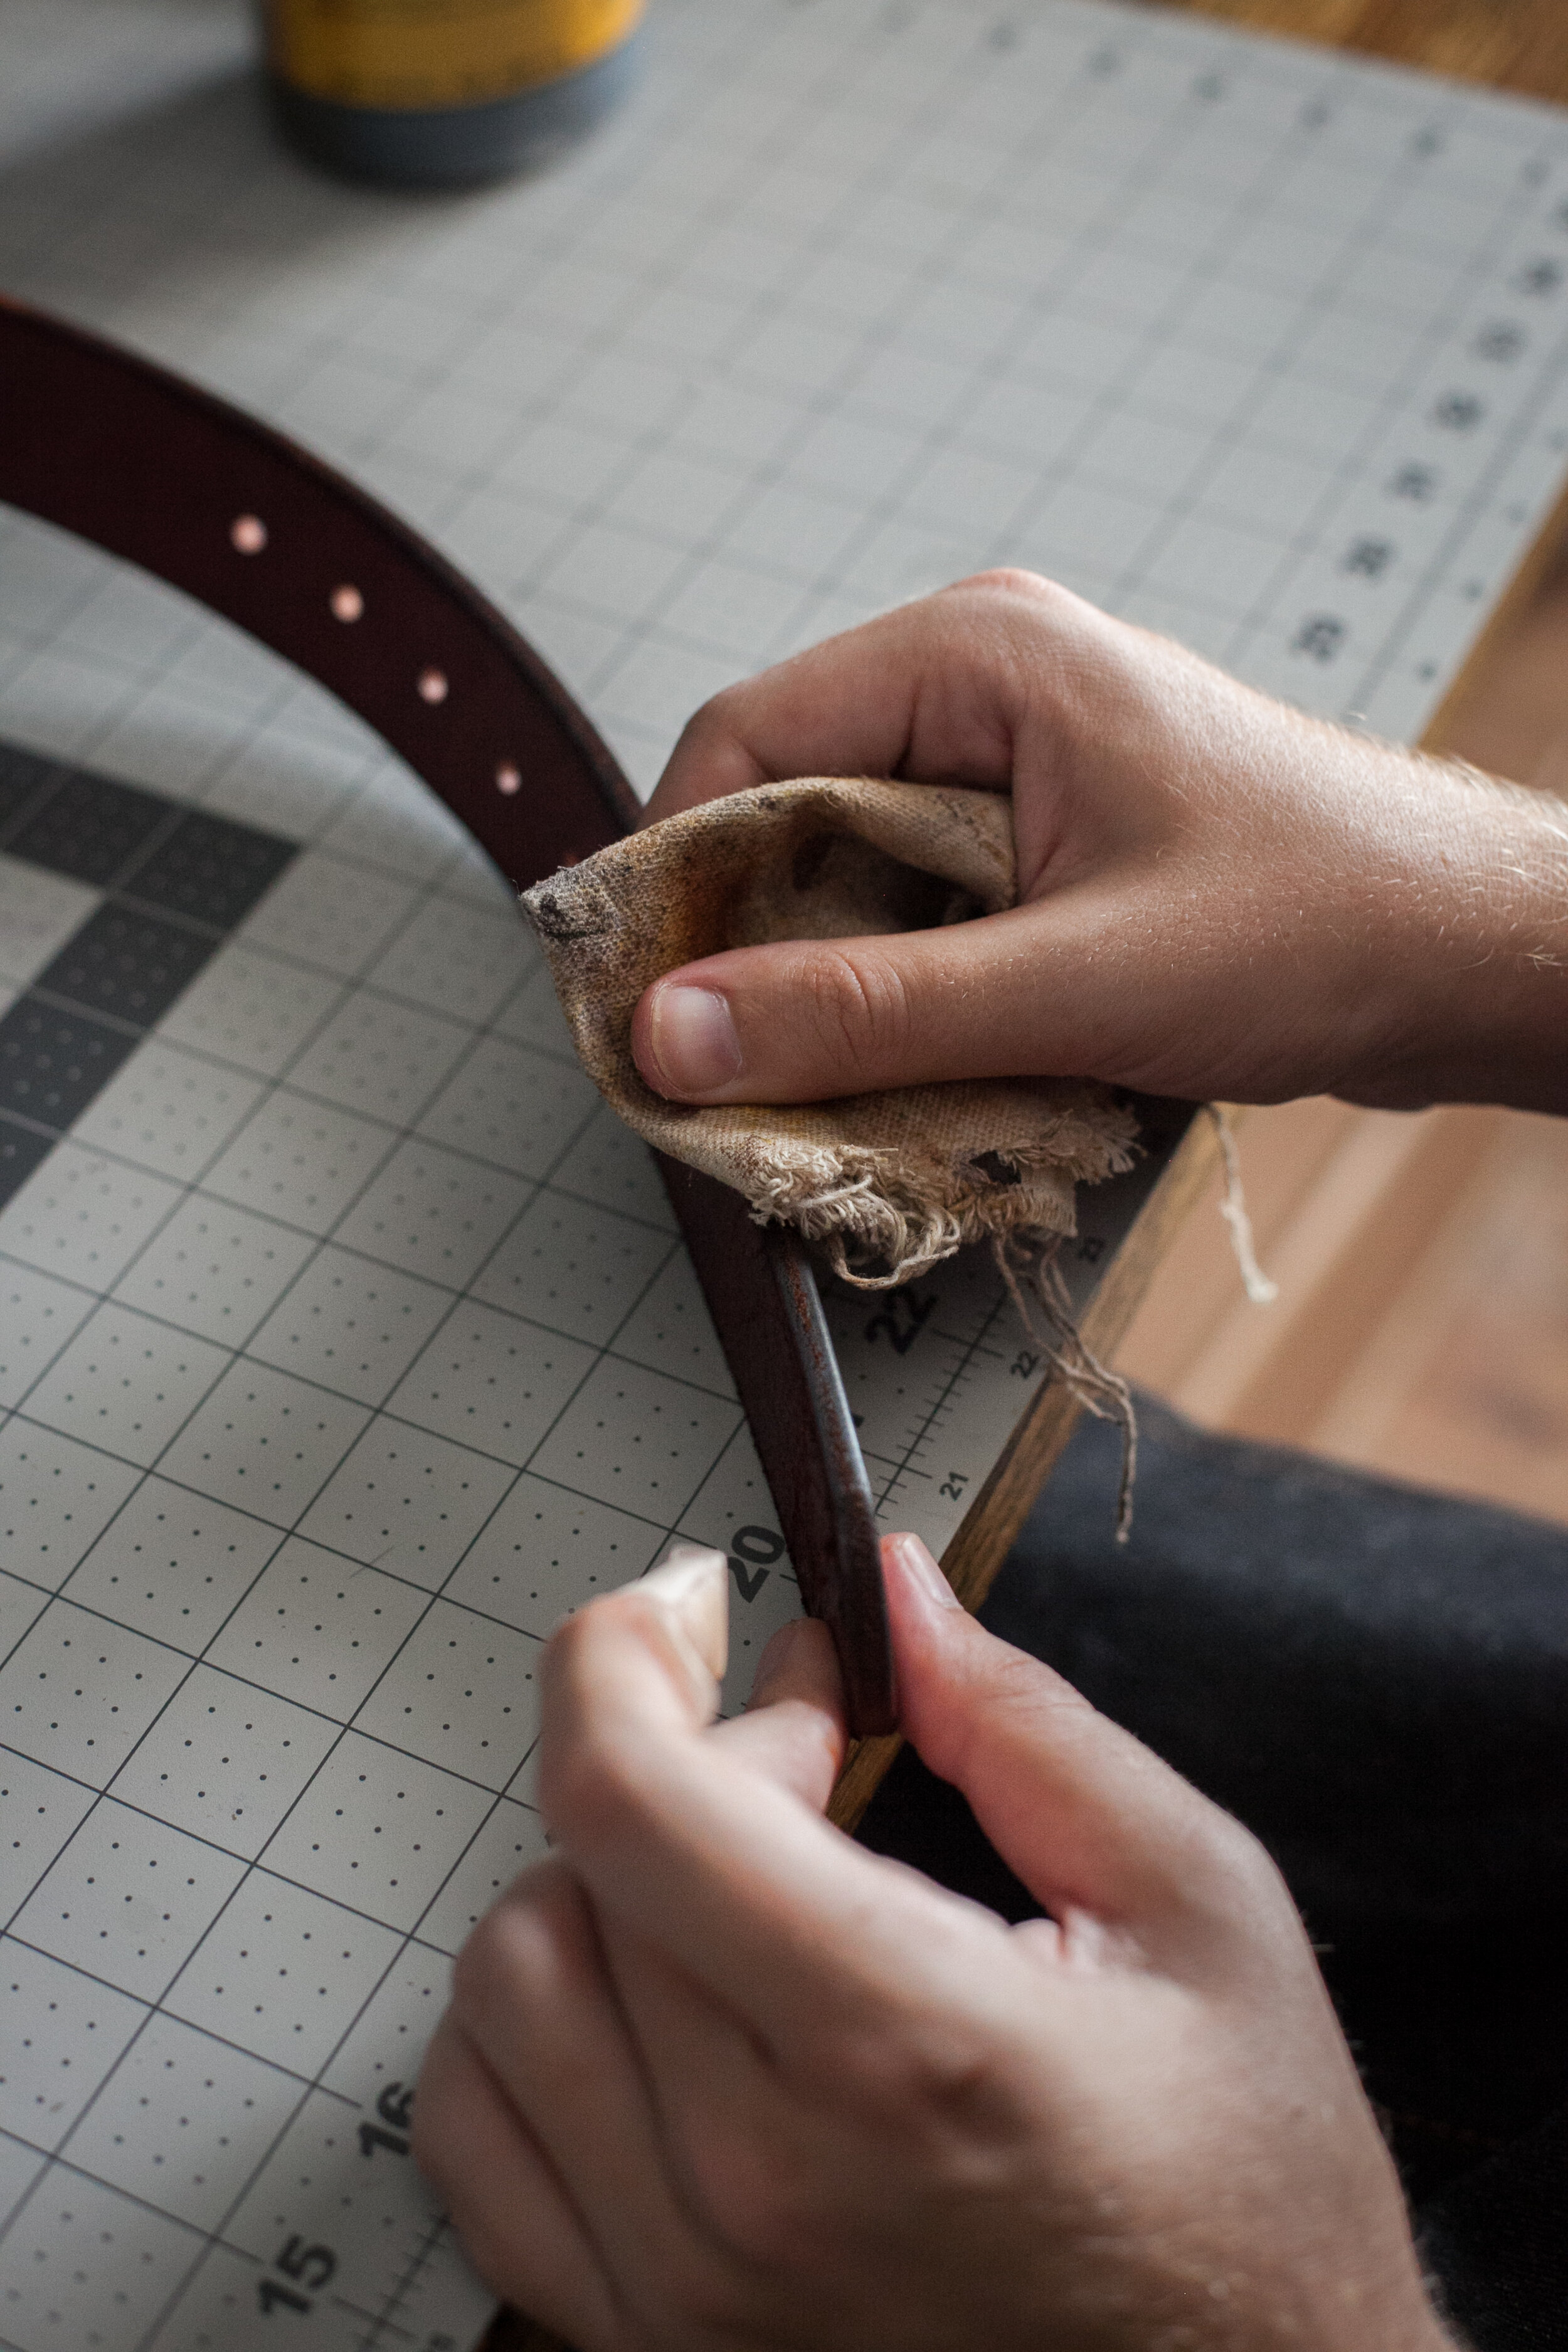
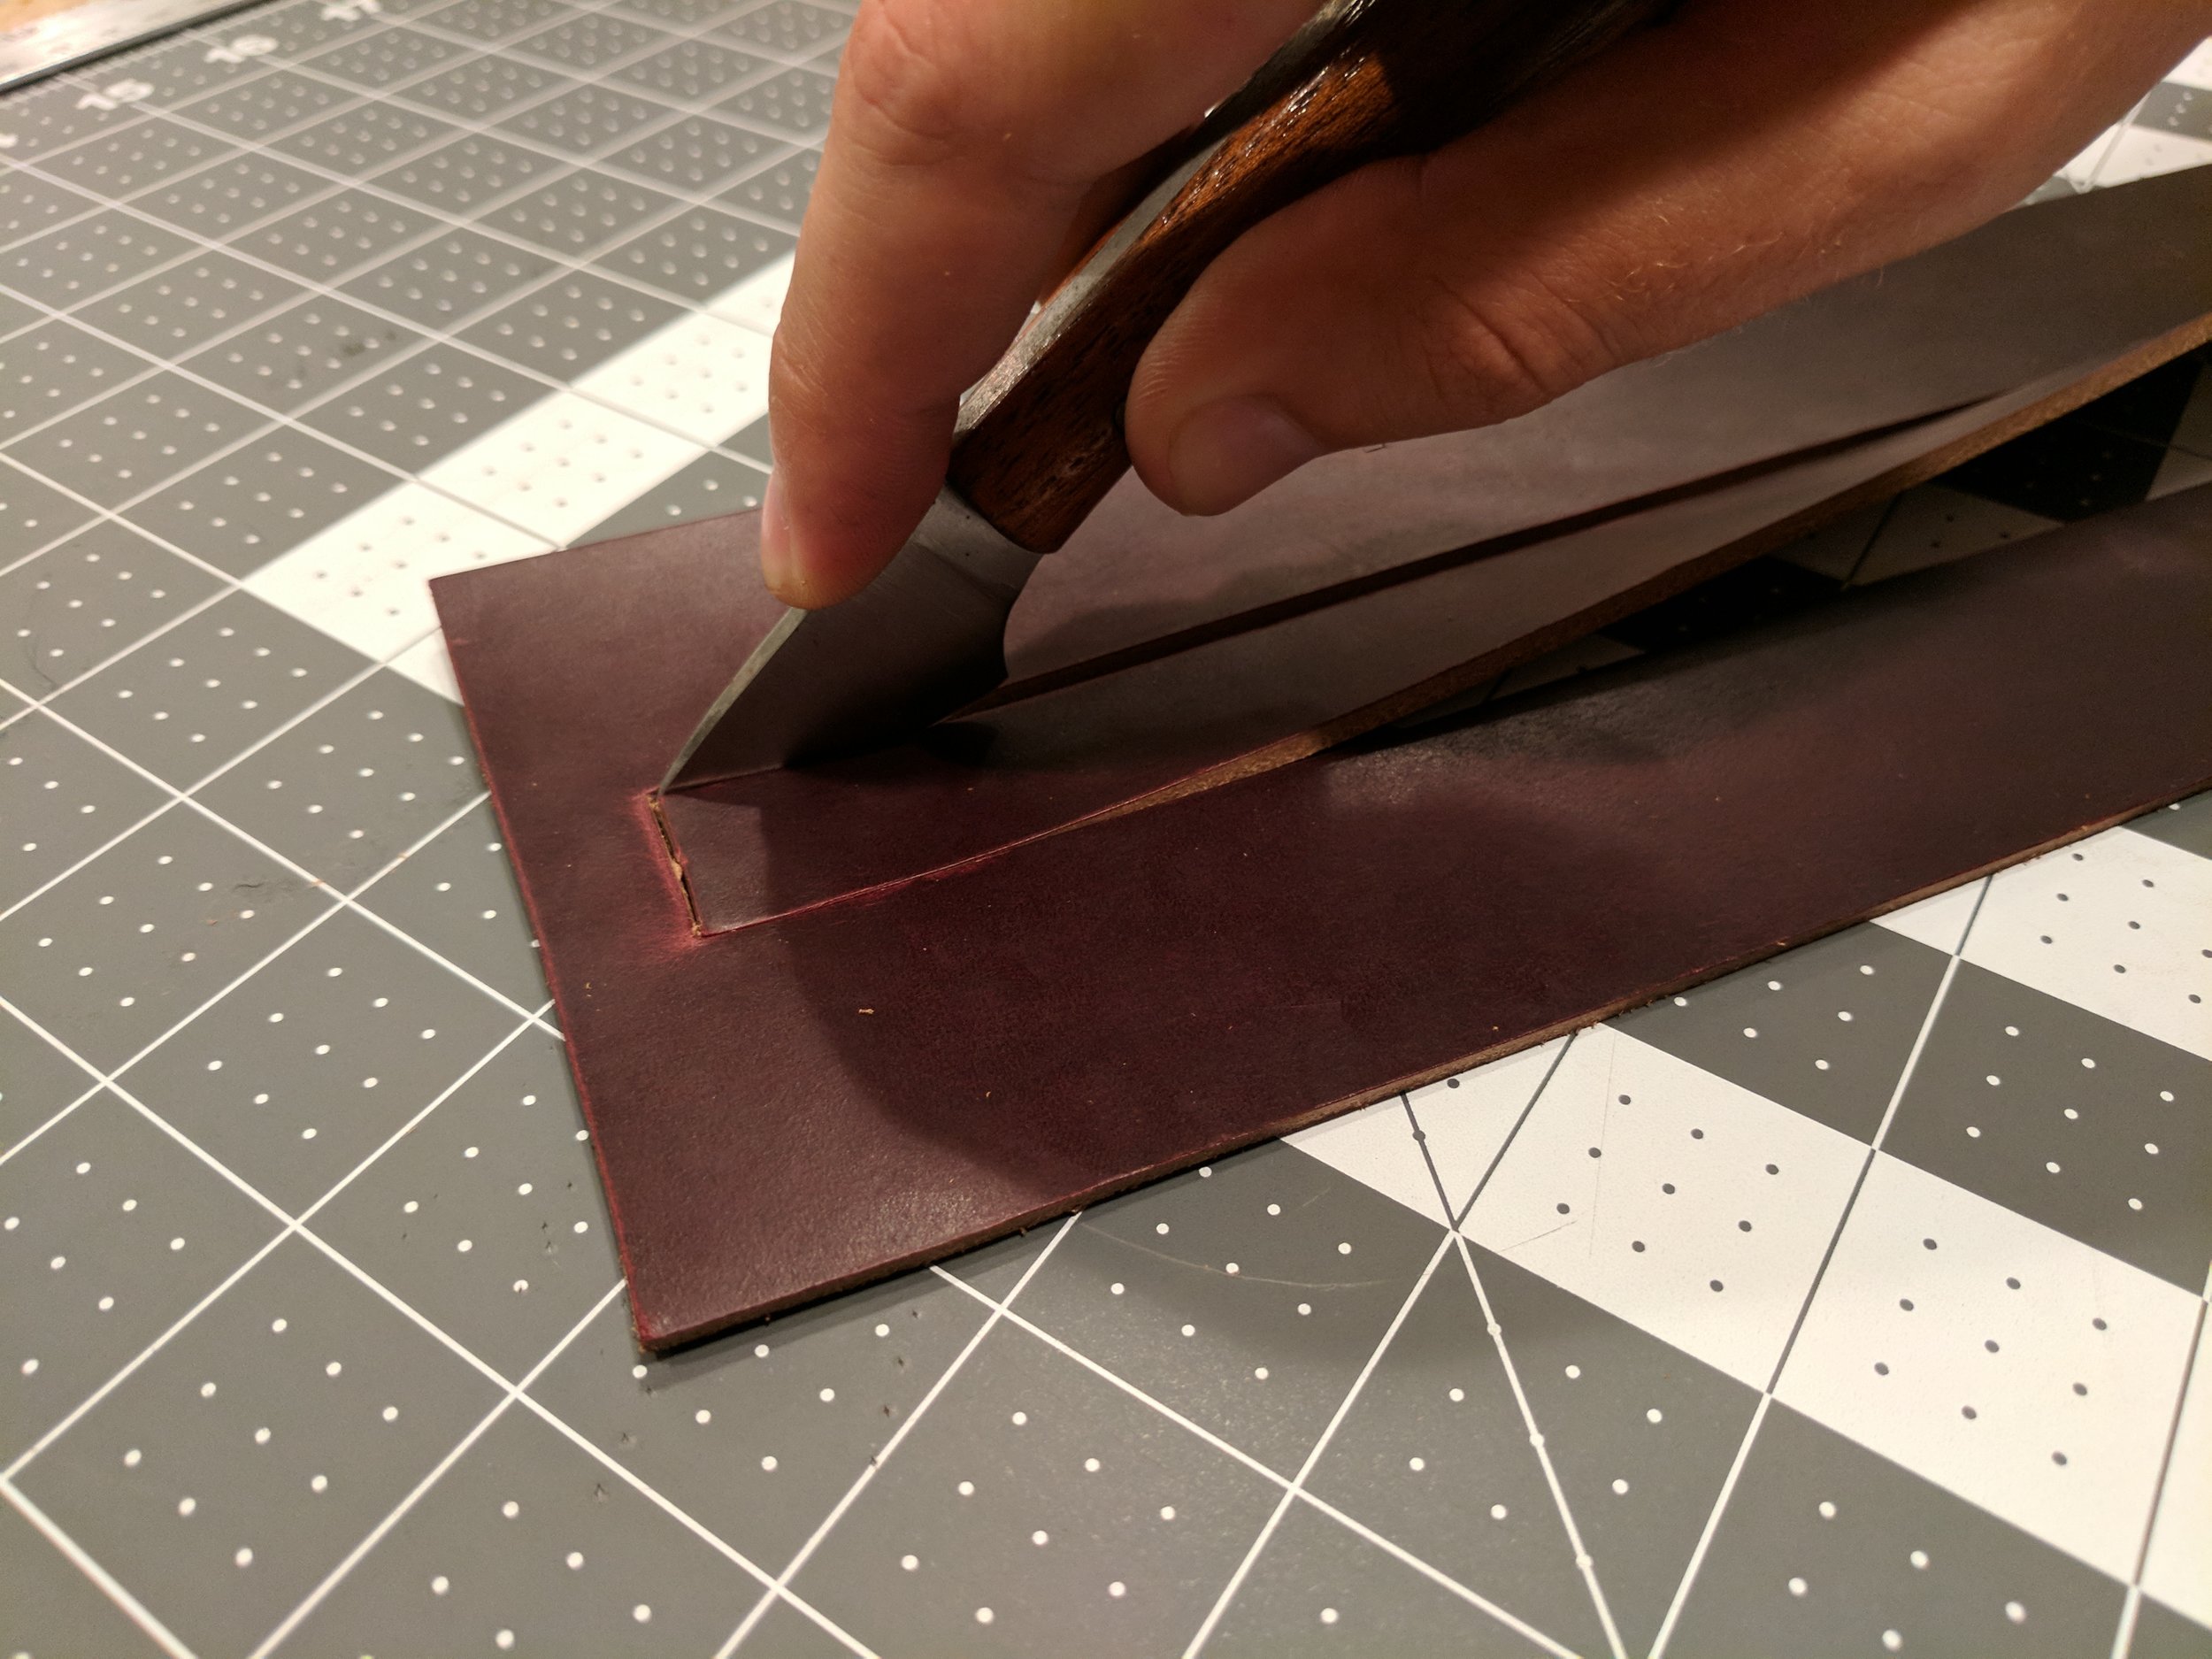
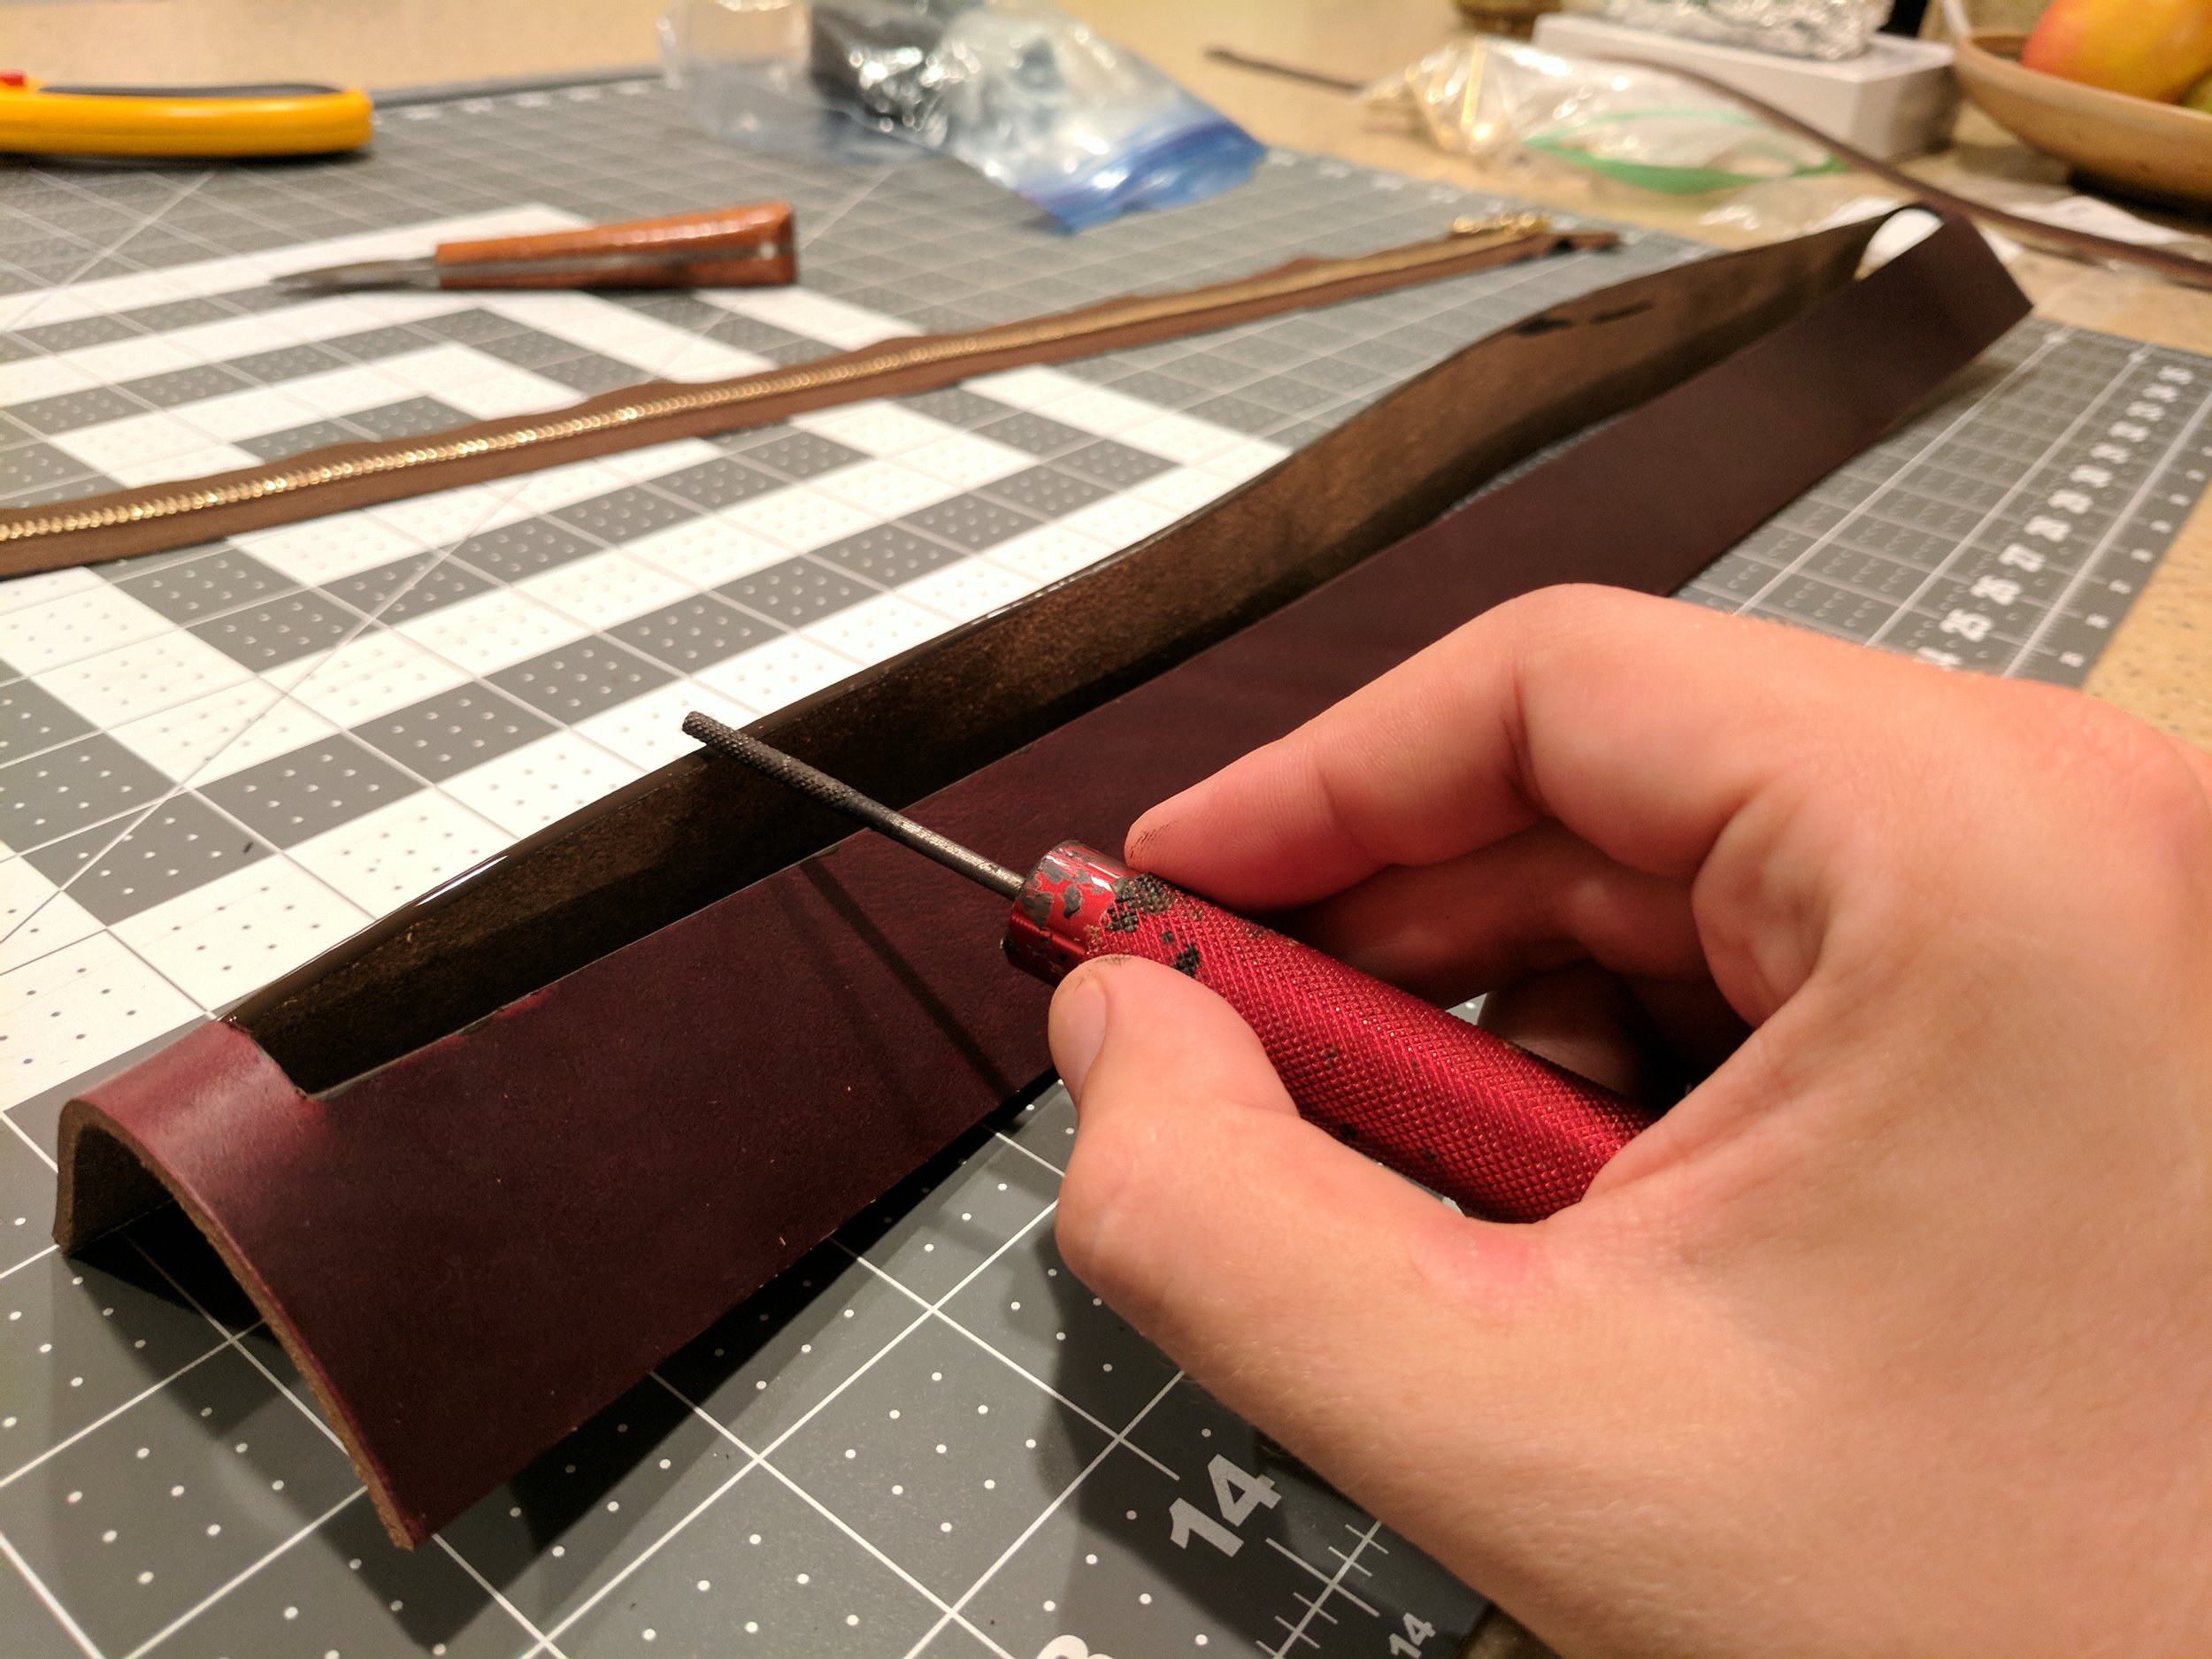
This next part requires a skiving knife. Skiving knives are used to reduce the thickness of leather, specifically along the edges where leather either overlaps or rests on another piece of leather. This keeps edges looking sleek with a uniform thickness and prevents ugly and bulky looking edges. In this case, it will also make the belt a bit more comfortable, my guess is you probably won't notice in the long run though. If you don't have a skiving knife, don't panic. You can skive with pretty much any leather knife. If you're using a rotary cutter, still don't panic. You won't be able to use it to skive, but you can still create a great belt without it. Just skip this next paragraph.

Assuming you do have a knife that is able to skive, you'll want to skive both ends of the thin strap. On the back side of the leather create a line with your scratch awl and ruler .5" in. Now flip the leather over, on the other end of the strap, create another line .5" in. These marks should be on the parts of the strip that will overlap once rolled, one of the flesh side of the leather and another on the grain side. Set your knife on the line, and angle it upwards. You want to angle of the knife to match the red line. Once lined up at the correct angle, push down and to the right to cut into the leather (or to the left if you're left handed). Since it's just a small strap one movement of the knife should do it. All-in-all skiving is one of the hardest leatherworking skills to master. If this is your first time doing it, I suggest trying it out on a few scrap pieces of leather first.

SkivingAngle.png

Place glue on both skived parts of the leather, and let it sit for a few minutes until tacky. Once tacky, fold the strap to create a loop and apply pressure for a few minutes to allow the glue to cement. I use binder clips in situations like this, and they work well with leather that isn't super firm.

Once the glue has dried, use a 3 to 6 prong chisel and hammer to create stitching holes where the two skived parts of the loop overlap.

All that's left is to stitch up the loop. Stitching takes a bit of time to master as well, and a blog post of it's on. You can FIND IT HERE.

Don’t cut yourself when you’re leatherworking, it hurts.

Don’t cut yourself when you’re leatherworking, it hurts.

IMG_9745.jpg

Step 6: Burnish the Edges

Need: Water, Dye (optional), Craft Sponge, Canvas Cloth

If you like the color of your edges, no need to dye them, but if you'd like them to be darker you can apply dye before the burnishing process.

Either way, your edges need to be wet to be burnished. So you can use a craft sponge and apply dye to your edges or you can use the craft sponge to apply water to your edges.

Once whetted, use a canvas cloth and briskly rub the edges until they start to shine and you hear a tacky sound. For a more information about burnishing you can check out THIS BLOG POST.

IMG_9752.jpg
IMG_9761.jpg

Step 7: Install the Buckle

Need: Glue, Belt Strap, Belt Loop, Hole Punch, Rivets, Rivet Setter

Place the buckle into the side of the belt that does not have the English Point, making sure the tongue of the belt buckle is situated correctly. Then slide on the belt loop and situate it about 1 inch from the belt buckle. Place glue on the the leather both 3 inches to the right and to the left of where the buckle sits in the middle of the oblong hole you punched out and cut earlier. If the leather that you're using has a finished flesh side, you may need to sand the leather a bit to make sure the glue adheres. Once the glue is tacky fold over the leather and press it down firmly. Because of the belt loop, the leather is going to want to come apart. If you have binder clips, now is another good time to use them, if you don't you can simply set some books on top of the belt on either side of the belt loop while the glue dries.

Once you've given some time for the glue to cement, punch two holes, one on either side of the belt loop in the center of the belt. Last, set the rivets in the belt to keep both the buckle and the loop in place. If you're lucky, like me you'll have a rivet setting machine that makes setting rivets easy. If not, I used hand rivet setters for years and I know your pain. You can still get good results, but it takes some skill. If you need to brush up on your rivet setting skills, you can do so HERE.

IMG_9785.jpg
IMG_9790.jpg

And now you're done!

If you made it through this blog post and created a belt, I'd love to see it. Be sure to share it on INSTAGRAM AND TAG @GOLDBARKLEATHER so I can check it out!

Craftsman Spotlight: Gnoelnahc

Once a week, we are going to start featuring different leather craftsmen/women whose work we love and who have some good tips to share. Here's @gnoelnahc:


Workshop.jpg

Welcome to my Batcave! Its my personal pride and joy, painstakingly built up piece by piece. We’re blessed to be in the internet-age, where any lack of physical access to tools is replaced by the multitude of comments and reviews by experienced leatherworkers and smiths across the world, and a purchase is a few clicks away. As I pursue this craft alongside full-time studies, I’ve also found that it is extremely important to do intensive research on any existing and potential uses of tools before acquiring them, as a matter of utility and budgeting. One man’s dream workshop may do nothing for another. That said, keep an open mind, and don’t knock anything until you’ve tried it

Dublin-briefcase.jpg

It was difficult to pick my favourite work. I’ve really appreciated them all, even the ones at the beginning of my learning, the ugly ones, the failed ones. Each one has made my next piece better. The derivative nature of leatherworking is one of its key characteristics. The saddle stitch wasn’t developed in a day, nor by a single individual. Needles weren’t so small and thread took time to get finer. But it all adds up. And this bag was a culmination of everything I knew at the time I made it. A classic briefcase in vegetable-tanned Dublin and lined with denim, this piece ages over time, developing a sheen and pleasing colour-texture. It was great fun to make, and an even greater pleasure to use. Planning it took days, from choice of leather, lining, colour of thread, type of thread, hardware, exact distances between holes to correspond to width and length of the entire project, stress points and load-bearing stitches — but it all seemed extremely satisfying putting it together. Like building a Lego Death Star, each stitch was like a brick clicking into place. After 4 days, this monster of skin was mine. So far it hasn’t been blown up yet, and I believe it’ll last me the coming few decades. Make a Death Star of your own!

SharpeningTip.jpg

It was difficult to pick my favourite work. I’ve really appreciated them all, even the ones at the beginning of my learning, the ugly ones, the failed ones. Each one has made my next piece better. The derivative nature of leatherworking is one of its key characteristics. The saddle stitch wasn’t developed in a day, nor by a single individual. Needles weren’t so small and thread took time to get finer. But it all adds up. And this bag was a culmination of everything I knew at the time I made it. A classic briefcase in vegetable-tanned Dublin and lined with denim, this piece ages over time, developing a sheen and pleasing colour-texture. It was great fun to make, and an even greater pleasure to use. Planning it took days, from choice of leather, lining, colour of thread, type of thread, hardware, exact distances between holes to correspond to width and length of the entire project, stress points and load-bearing stitches — but it all seemed extremely satisfying putting it together. Like building a Lego Death Star, each stitch was like a brick clicking into place. After 4 days, this monster of skin was mine. So far it hasn’t been blown up yet, and I believe it’ll last me the coming few decades. Make a Death Star of your own!

Installing a Zipper (the easy way)

Quilting tape!

Quilting tape!

You'll be happy to know that installing a zipper well actually takes very little no skill. This isn't one of those situations where you have to train forever to get things perfect (I'm looking at you stitching awl), but instead just requires the right knowledge.

I used to install zippers with glue. It was a pain and usually the end result, even if lined up straight, was messing due to the glue residue. Then one day a leather working friend told me, "Just use quilting tape."

And my life has never been the same.

So basically, this very short article is just here to pass along my friends message to make your zipper installation a breeze. But I will also, quickly cover the process of adding a zipper to a bag.

Picking out a zipper:

Since we are using leather, I really suggest avoiding plastic zippers. No need to put something that will quickly break on an item that is supposed to last a lifetime. I always use metal zippers and the best known brands are YKK and Ziri. YKK is used on pretty much everything. You could check the zipper on your pants right now and it's more than likely that they'd say YKK. This is great because, if you're like me, you probably cannot remember a time you had your pants zipper break. It's a good brand. There are tons of sellers on etsy that will sell YKK zippers. Ziri zippers are an even higher quality zipper, and have a price point to match. You can get a couple feet of it from Buckleguy for about $20. While I like using Ziri zippers on some of the high end custom work I do, usually I choose YKK, because the wide range of styles and quality (even if it's a bit less).

Prepping the leather for the zipper:

Cutting out the zipper slot

Cutting out the zipper slot

In this example I am going to place a zipper into one piece of leather, instead of joining two pieces of leather together with the zipper.

To do this first cut out a rectangle where you want to put the zipper. A couple things to keep in mind when doing this:

Painting the edges

Painting the edges

  1. If you want a bag to have a comfortable opening that is one foot long, you'll need to allow the zipper to go beyond that one foot. This is because the zipper will always pull the leather together on the ends. In this case, you might have a 14-16" slot for the zipper.
  2. The zipper slot needs to be smaller than the zipper. As in the example, your zipper will go underneath the slot that you cut and the zipper's fabric needs to exceed that slot to be sewn in. Typically I try to have about .5" on either side to allow for stitching.
Creating stitching lines

Creating stitching lines

After you've cut the hole you'll usually want to stitch something to each end that will stop the zipper pull from slipping under the leather, never to be seen again. 

Then, before putting on the zipper, make sure to finish the edges, whether that be by burnishing or with edge paint.

Just Use Quilting Tape:

Applying Quilting Tape

Applying Quilting Tape

Quilting tape is just double sided stick tape that's thinner than normal. And all you have to do to use is cut it to size, peel off the back, and place it on the edges of the zipper's fabric. Then place the zipper in place under the slot you've cut. And, done, it's held in place for your stitching.

Stitching:

There is nothing unique about stitching a zipper, but if you don't know how to stitch you can check it out here.

As I said above, my friend’s quick “just use quilting tape,” has saved me an absurd amount of time. My hope is that I’ve passed it along and have saved you that time so you can spend it on skills that require practice to hone.

p.s. I swear I am not paid to advertise zipper tape. But, when you try it out and it saves you from the normal zipper headache, you’ll be fan boying too.

Quilting tape magic applied. Just need to trim the zipper and stitch into place.

Quilting tape magic applied. Just need to trim the zipper and stitch into place.