If you're wanting to learn how to wet form leather, you've come to the right place. But I have to be honest, at this point I am still experimenting with wet forming. I have however, made enough mistakes to write a helpful post. So here's everything I've learned so far, including both what I am good at and what I learned the hard way.
There are two popular ways to wet form: by hand and with a 2-piece mold. The first method, by hand, is literally forming the leather around something with a bonefolder, while using a second method, a 2-piece mold, presses down the leather for you. To be honest, both methods use a bit a lot of elbow grease. Hand forming is best used for one off items, where as 2-piece molds are great for something you're going to be making a bunch of.
You can use any veg tanned leather to wet form. Firmer leathers work better because they hold a shape better, but I've used medium temper leathers and they kept their form no sweat. The thicker your leather is the trickier it will be to get it to form around your object (mold or otherwise), but again any thickness will work. Thin leathers are very easy, and the difficulty seems to start around 5oz-ish.
Wet Forming By Hand: As I mentioned above, both versions take a bit of effort, but doing it by hand definitely takes more. Here's my process for wet forming by hand. I find that 5oz+ leather is not great to try to work by hand especially if your object is taller (more than an inch and a half. For example, making a knife sheath can easily be made this way, but making a bag will be a bit tricker because most bag designs would require a taller mold), but if you're persistent you can make it happen... just might be cursing yourself by the end, as was my case.
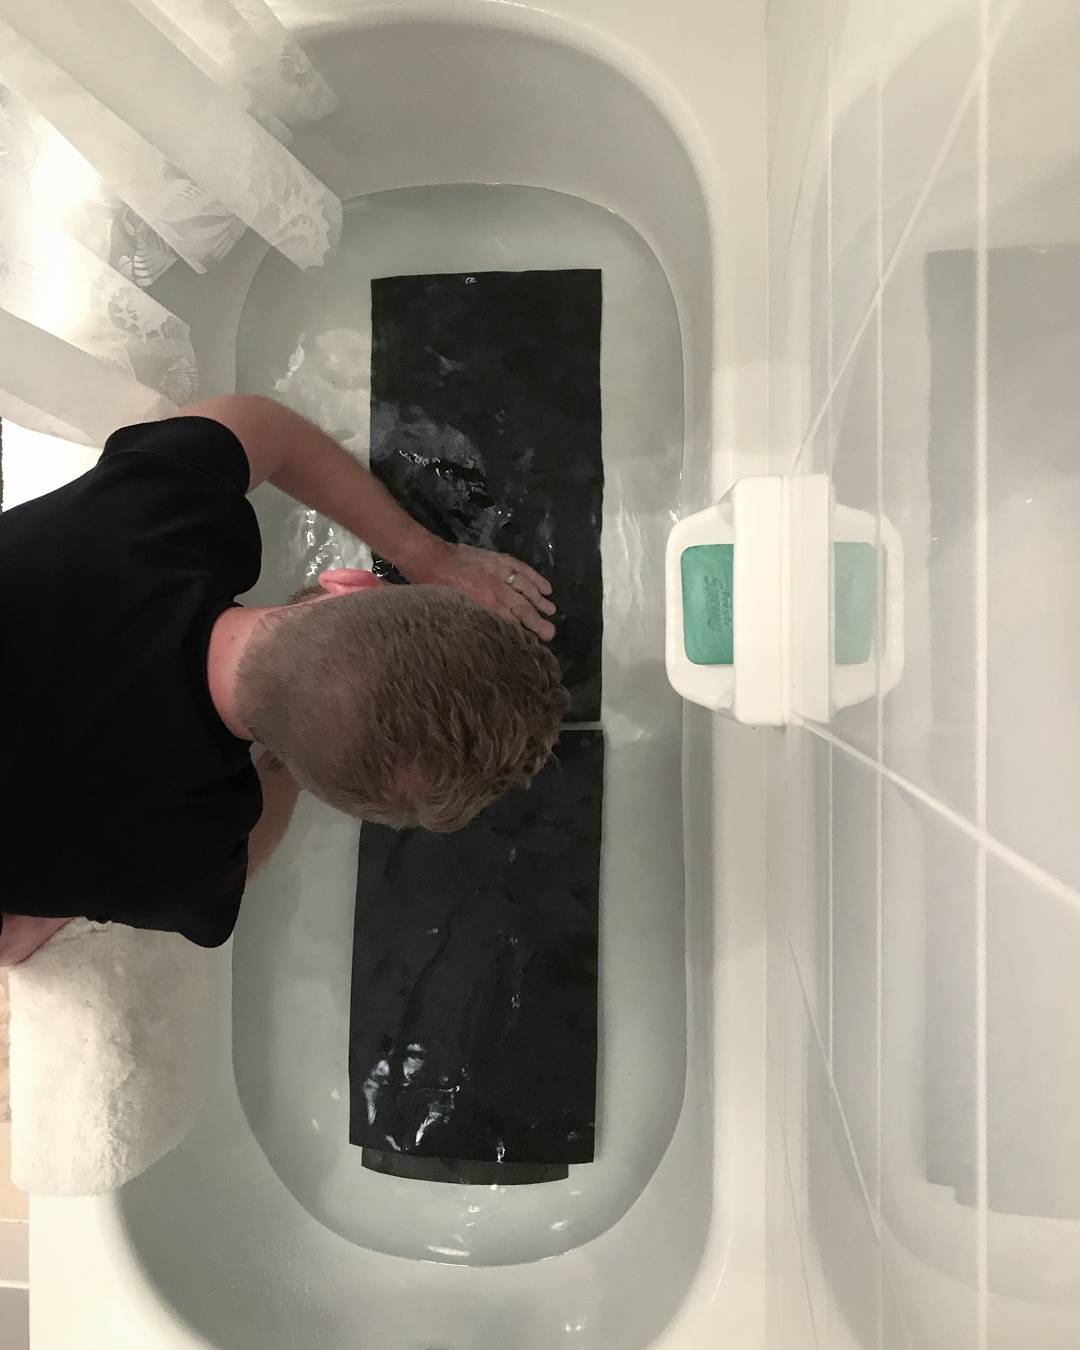
Soaking the leather in the tub
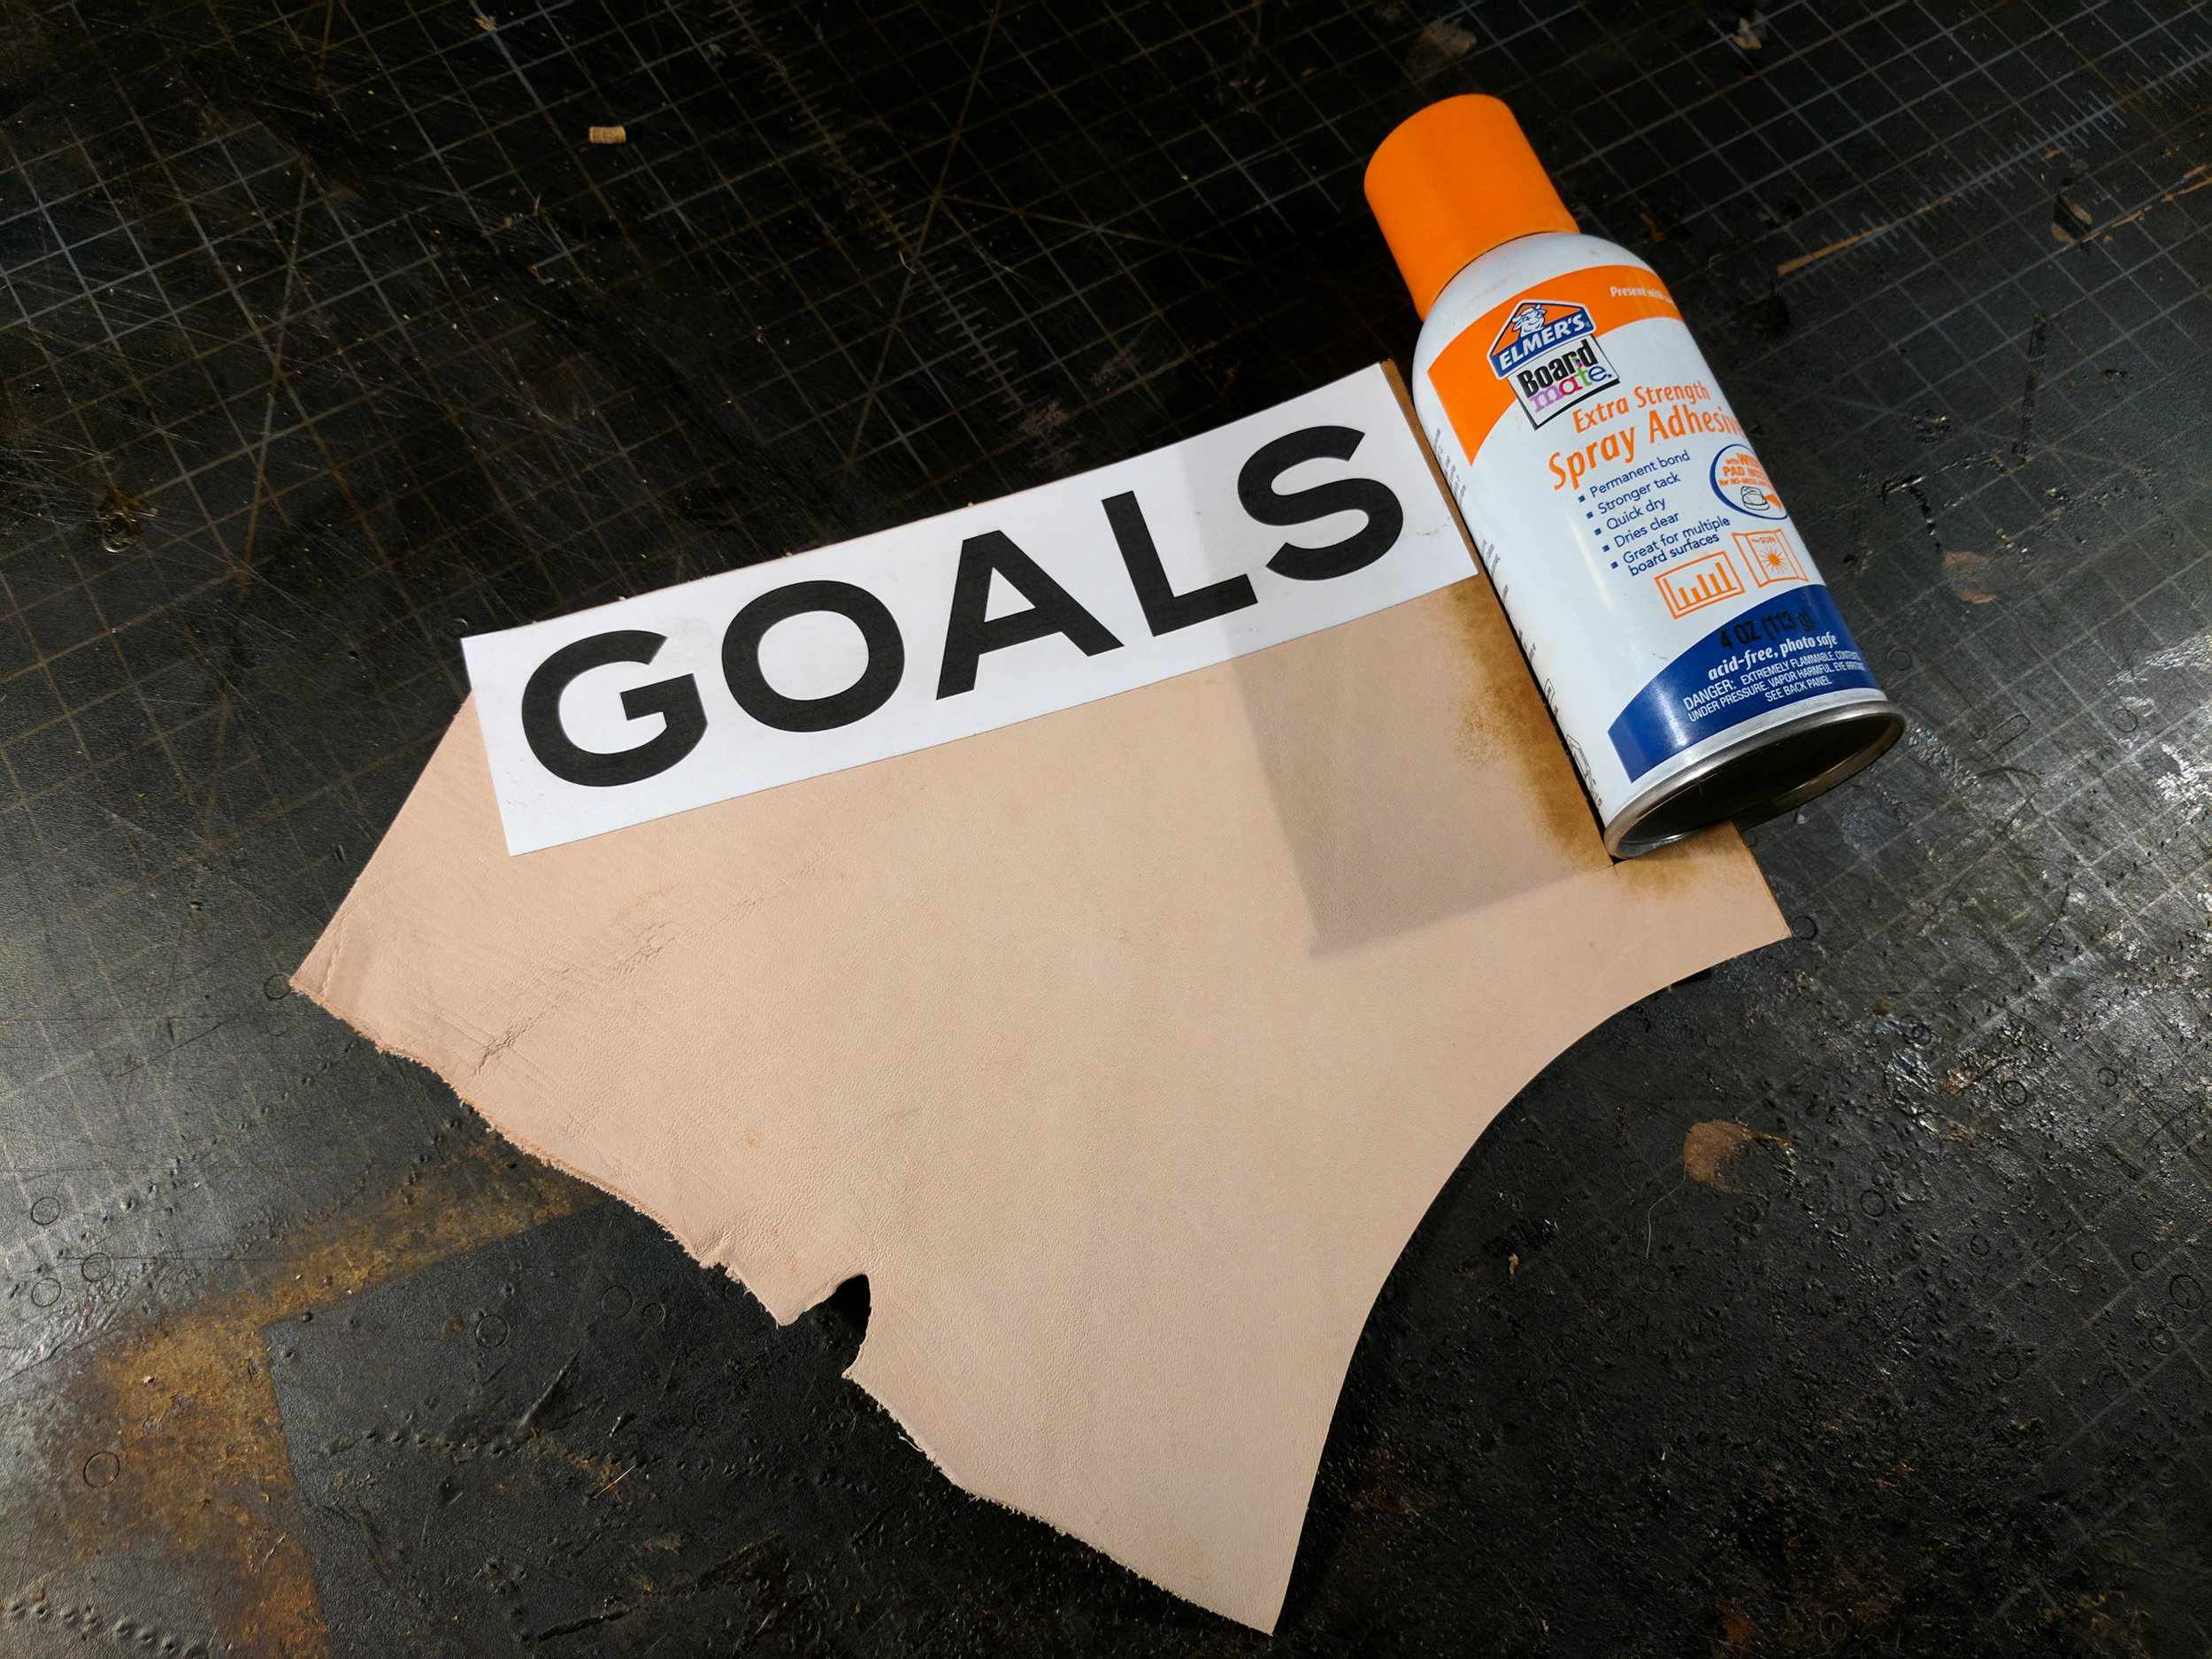
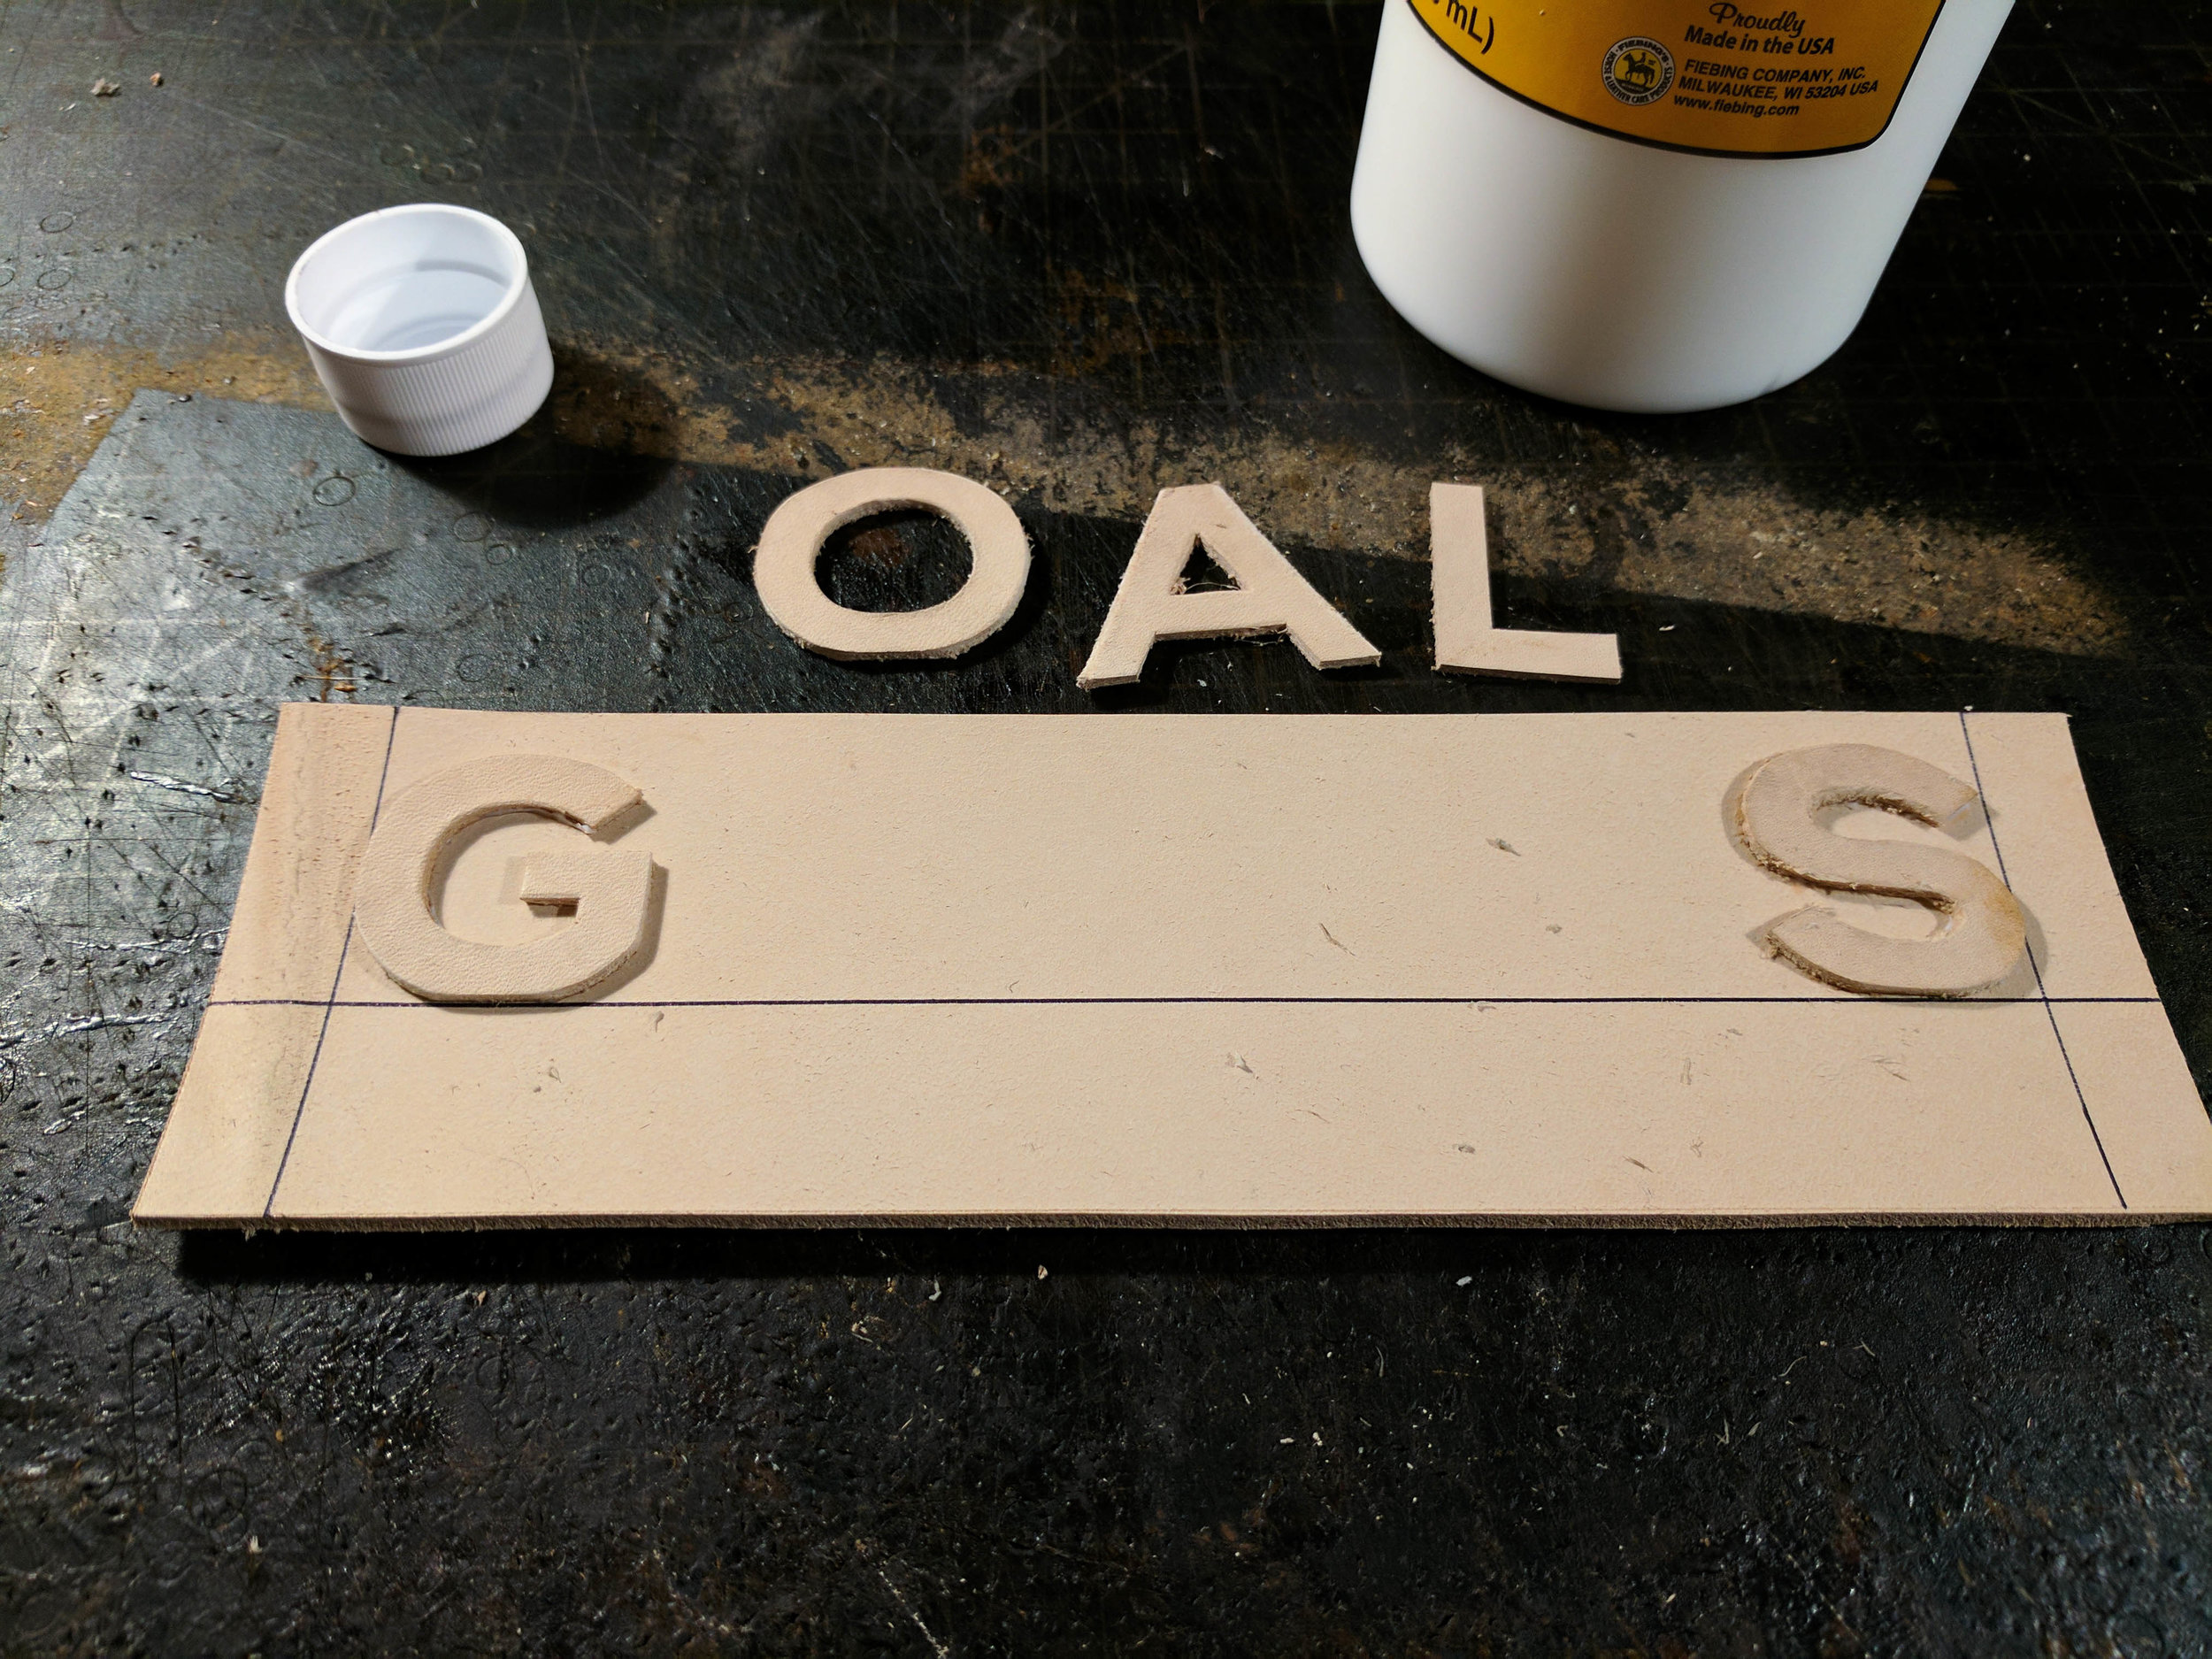
- Cut out the leather. You never want to set the leather onto your object, only to find you cut it too short, but you also don't want to have an excessive amount of leather either. Generally, having the least amount of excess while still covering the object is going to be the easiest on you. I know it's sometimes hard to figure out the exact amount of leather that will be needed to cover a 3D shape. In that case, always over shoot it, set it on the object and then trim it back again. Removing this excess will decrease the amount of wrinkles that come up when you start to form the leather and it will keep these wrinkles small which means less cutting and wrestling with the leather later.
- Soak the leather. There's not much to say about this step. Just soak the leather your using. To speed things up, you can work the water into the leather with your hands by rubbing the backside of the leather. Generally, I would let the pieces of leather soak for about 30 minutes and then use them. I let a few pieces soak even longer to see if it would continue to loosen the fibers of the leather, but it didn't seem to do anything.
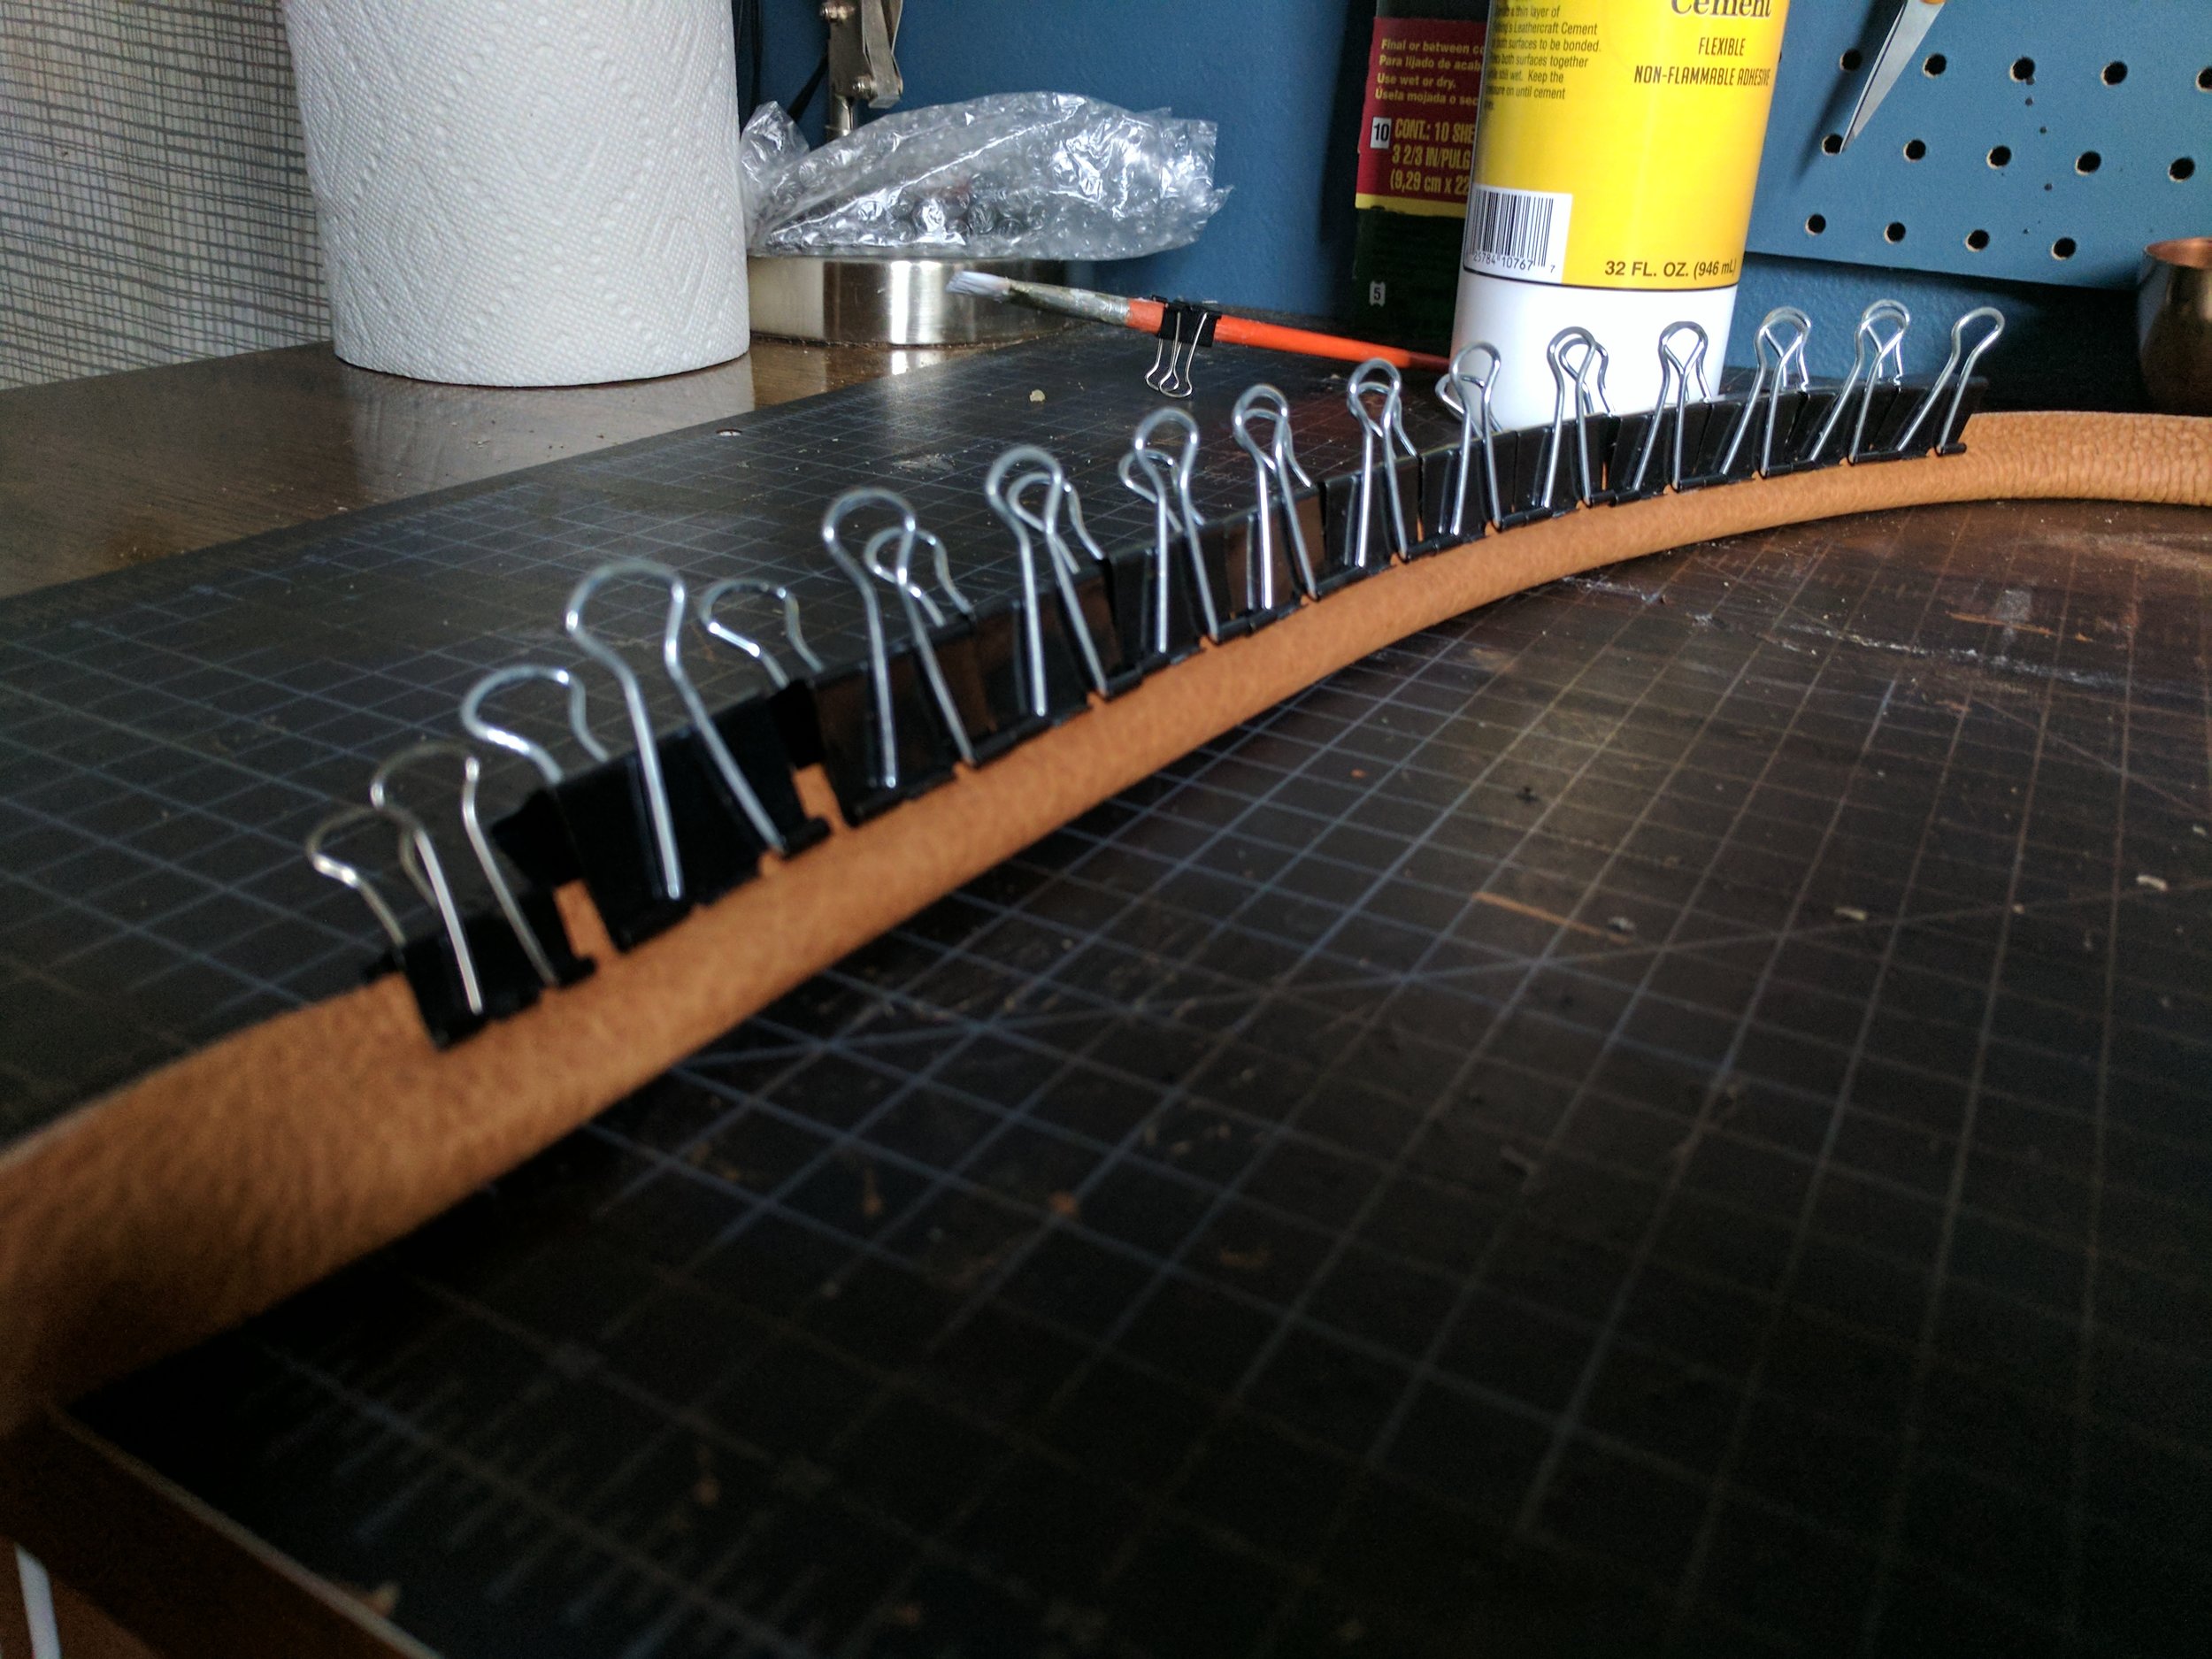
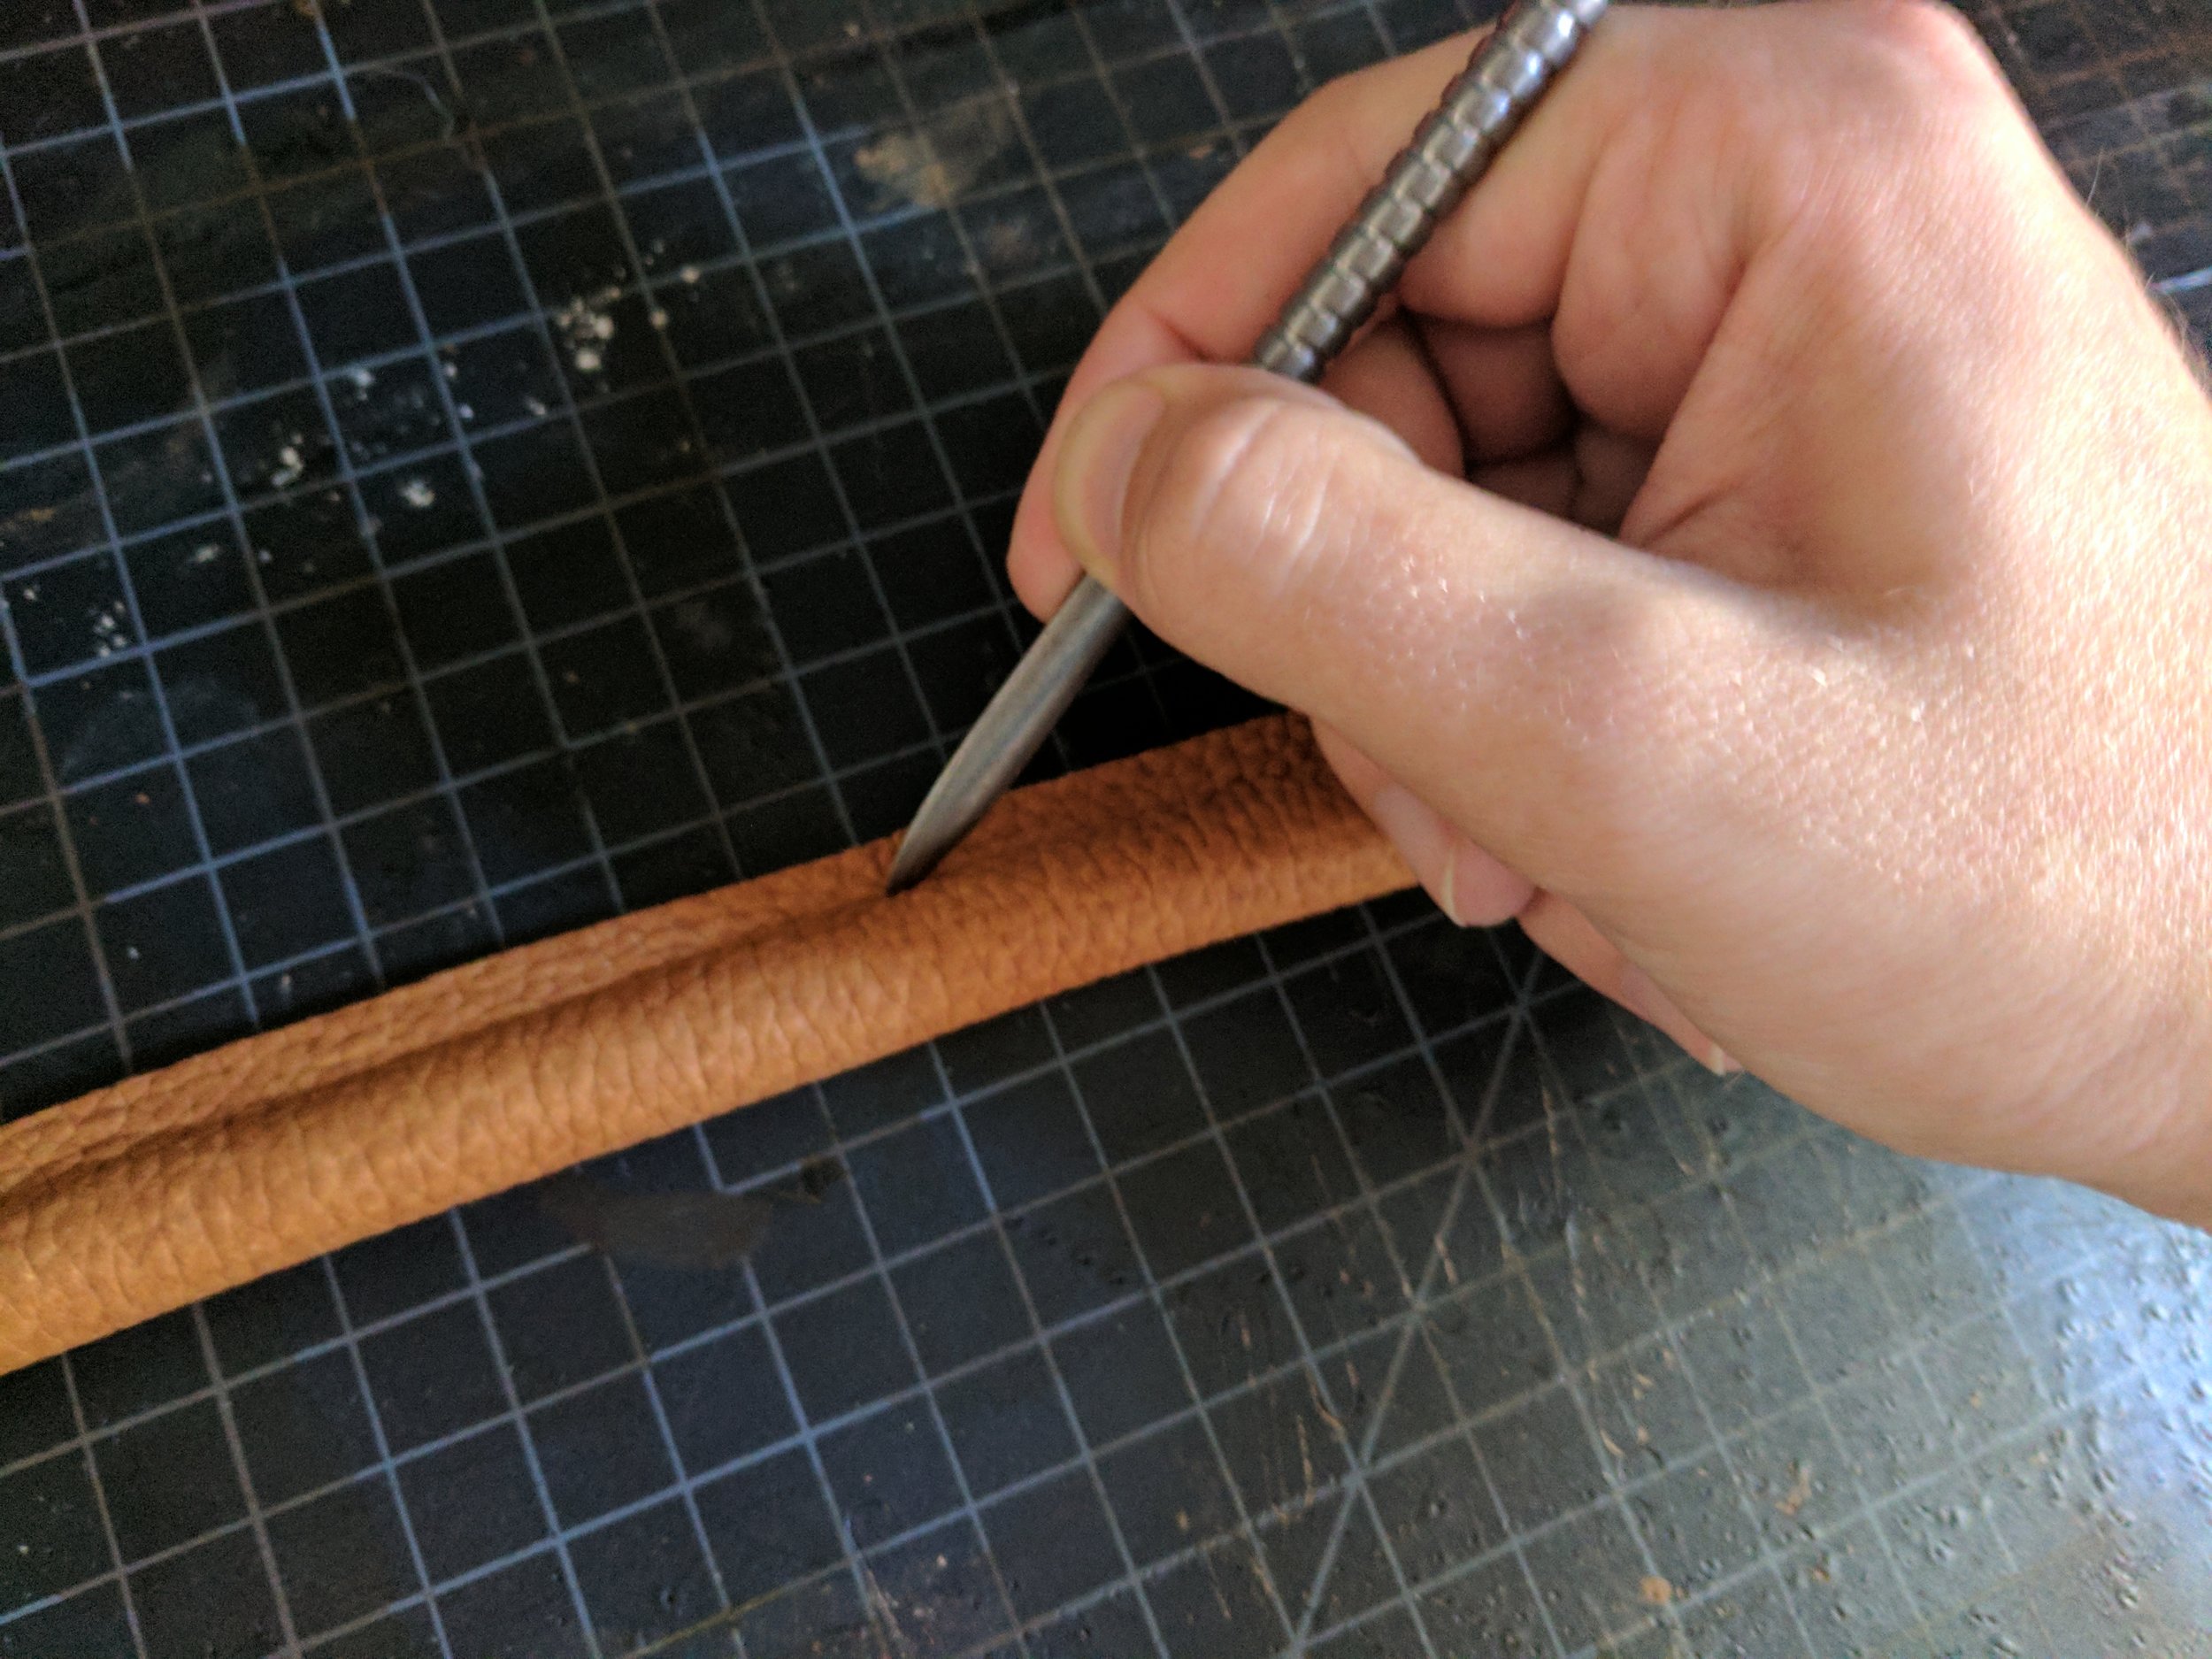
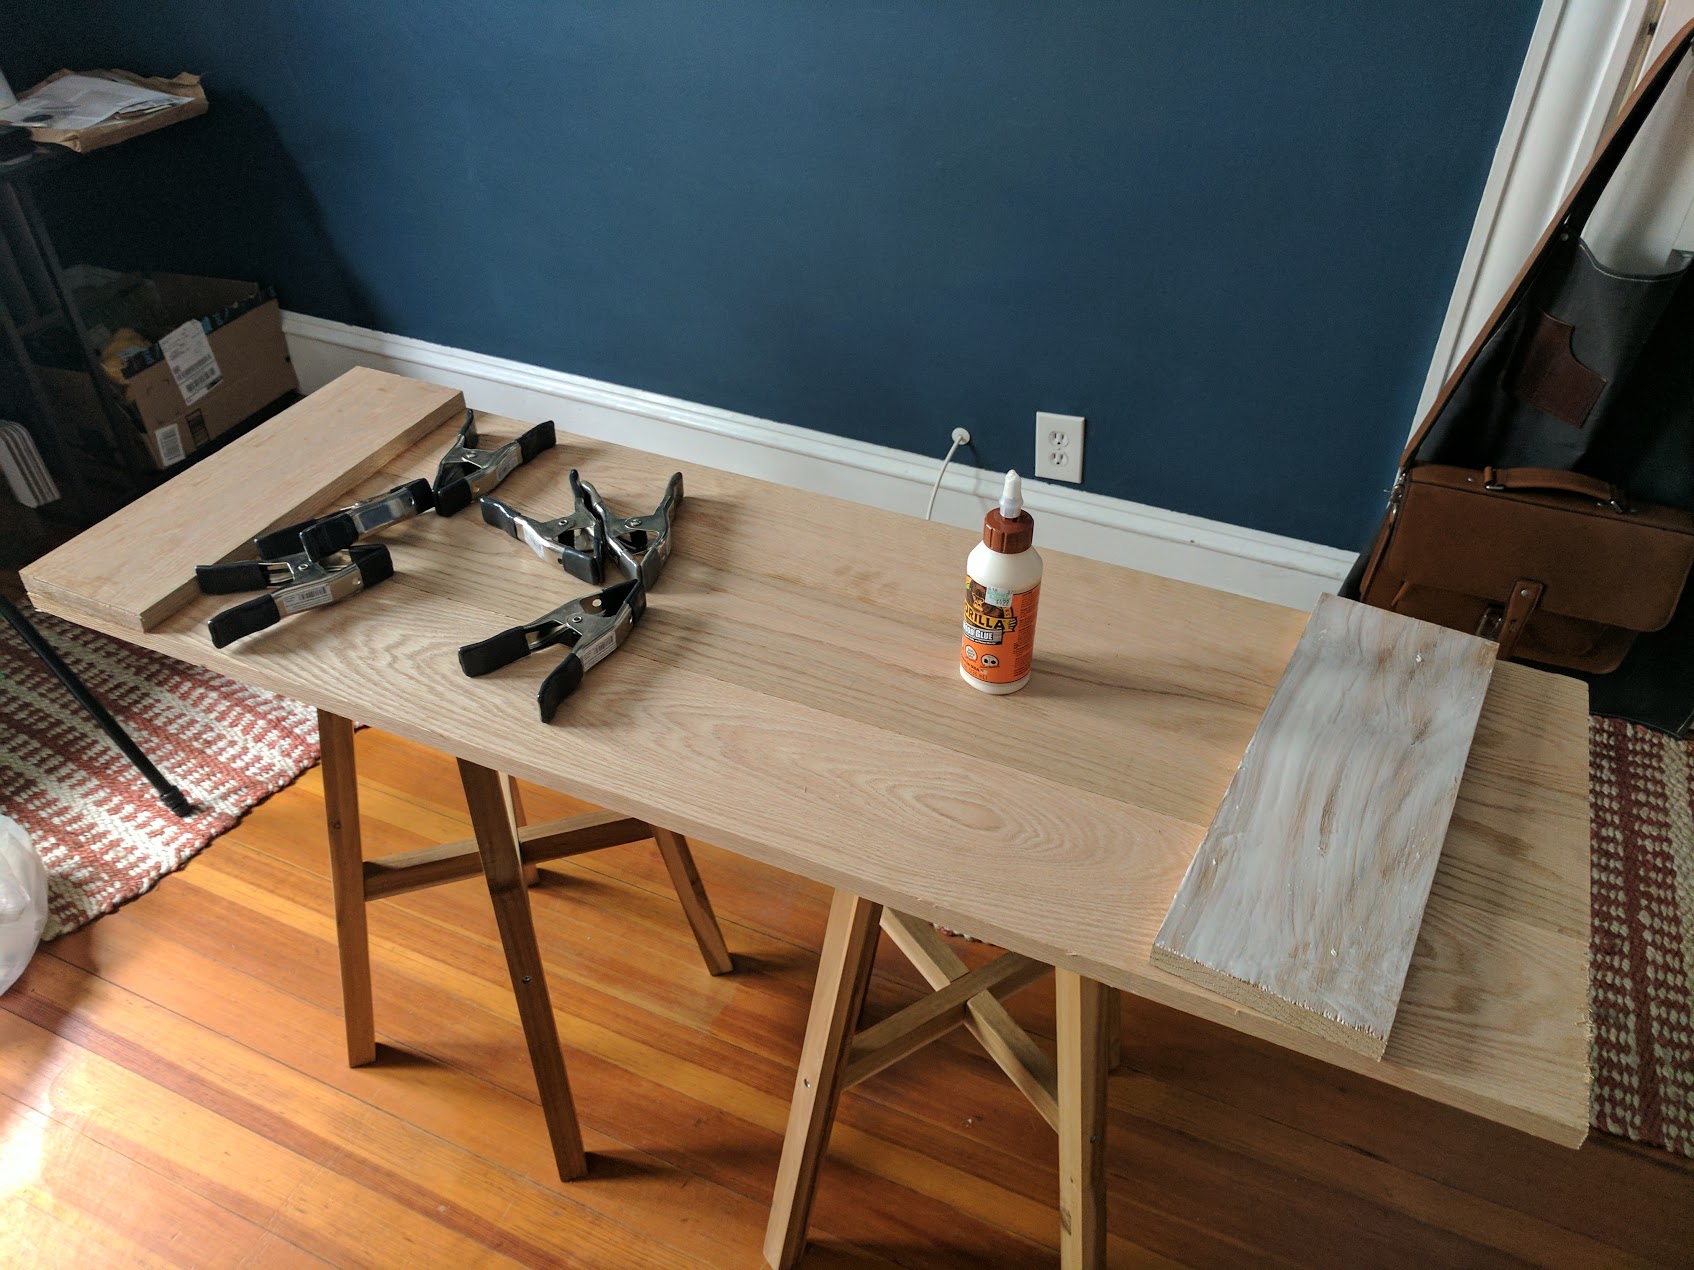
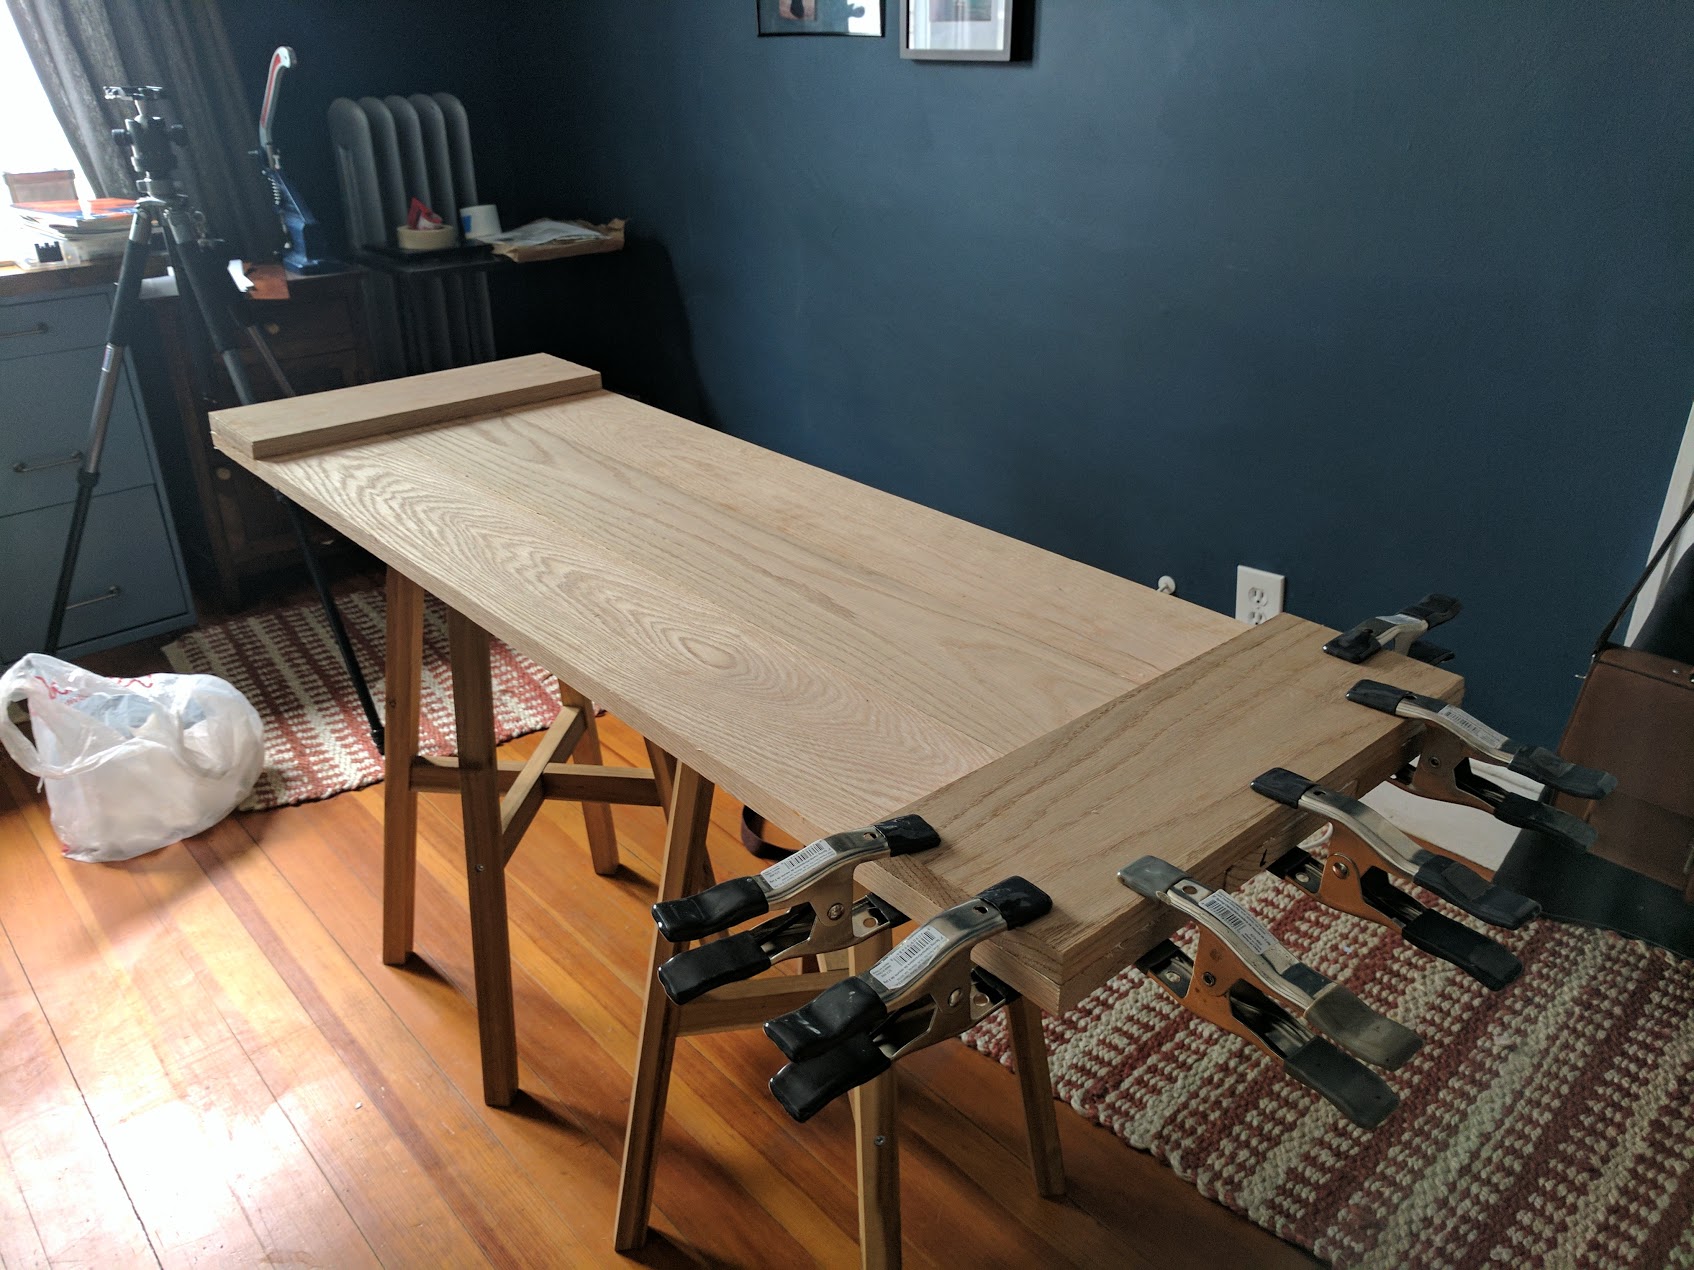
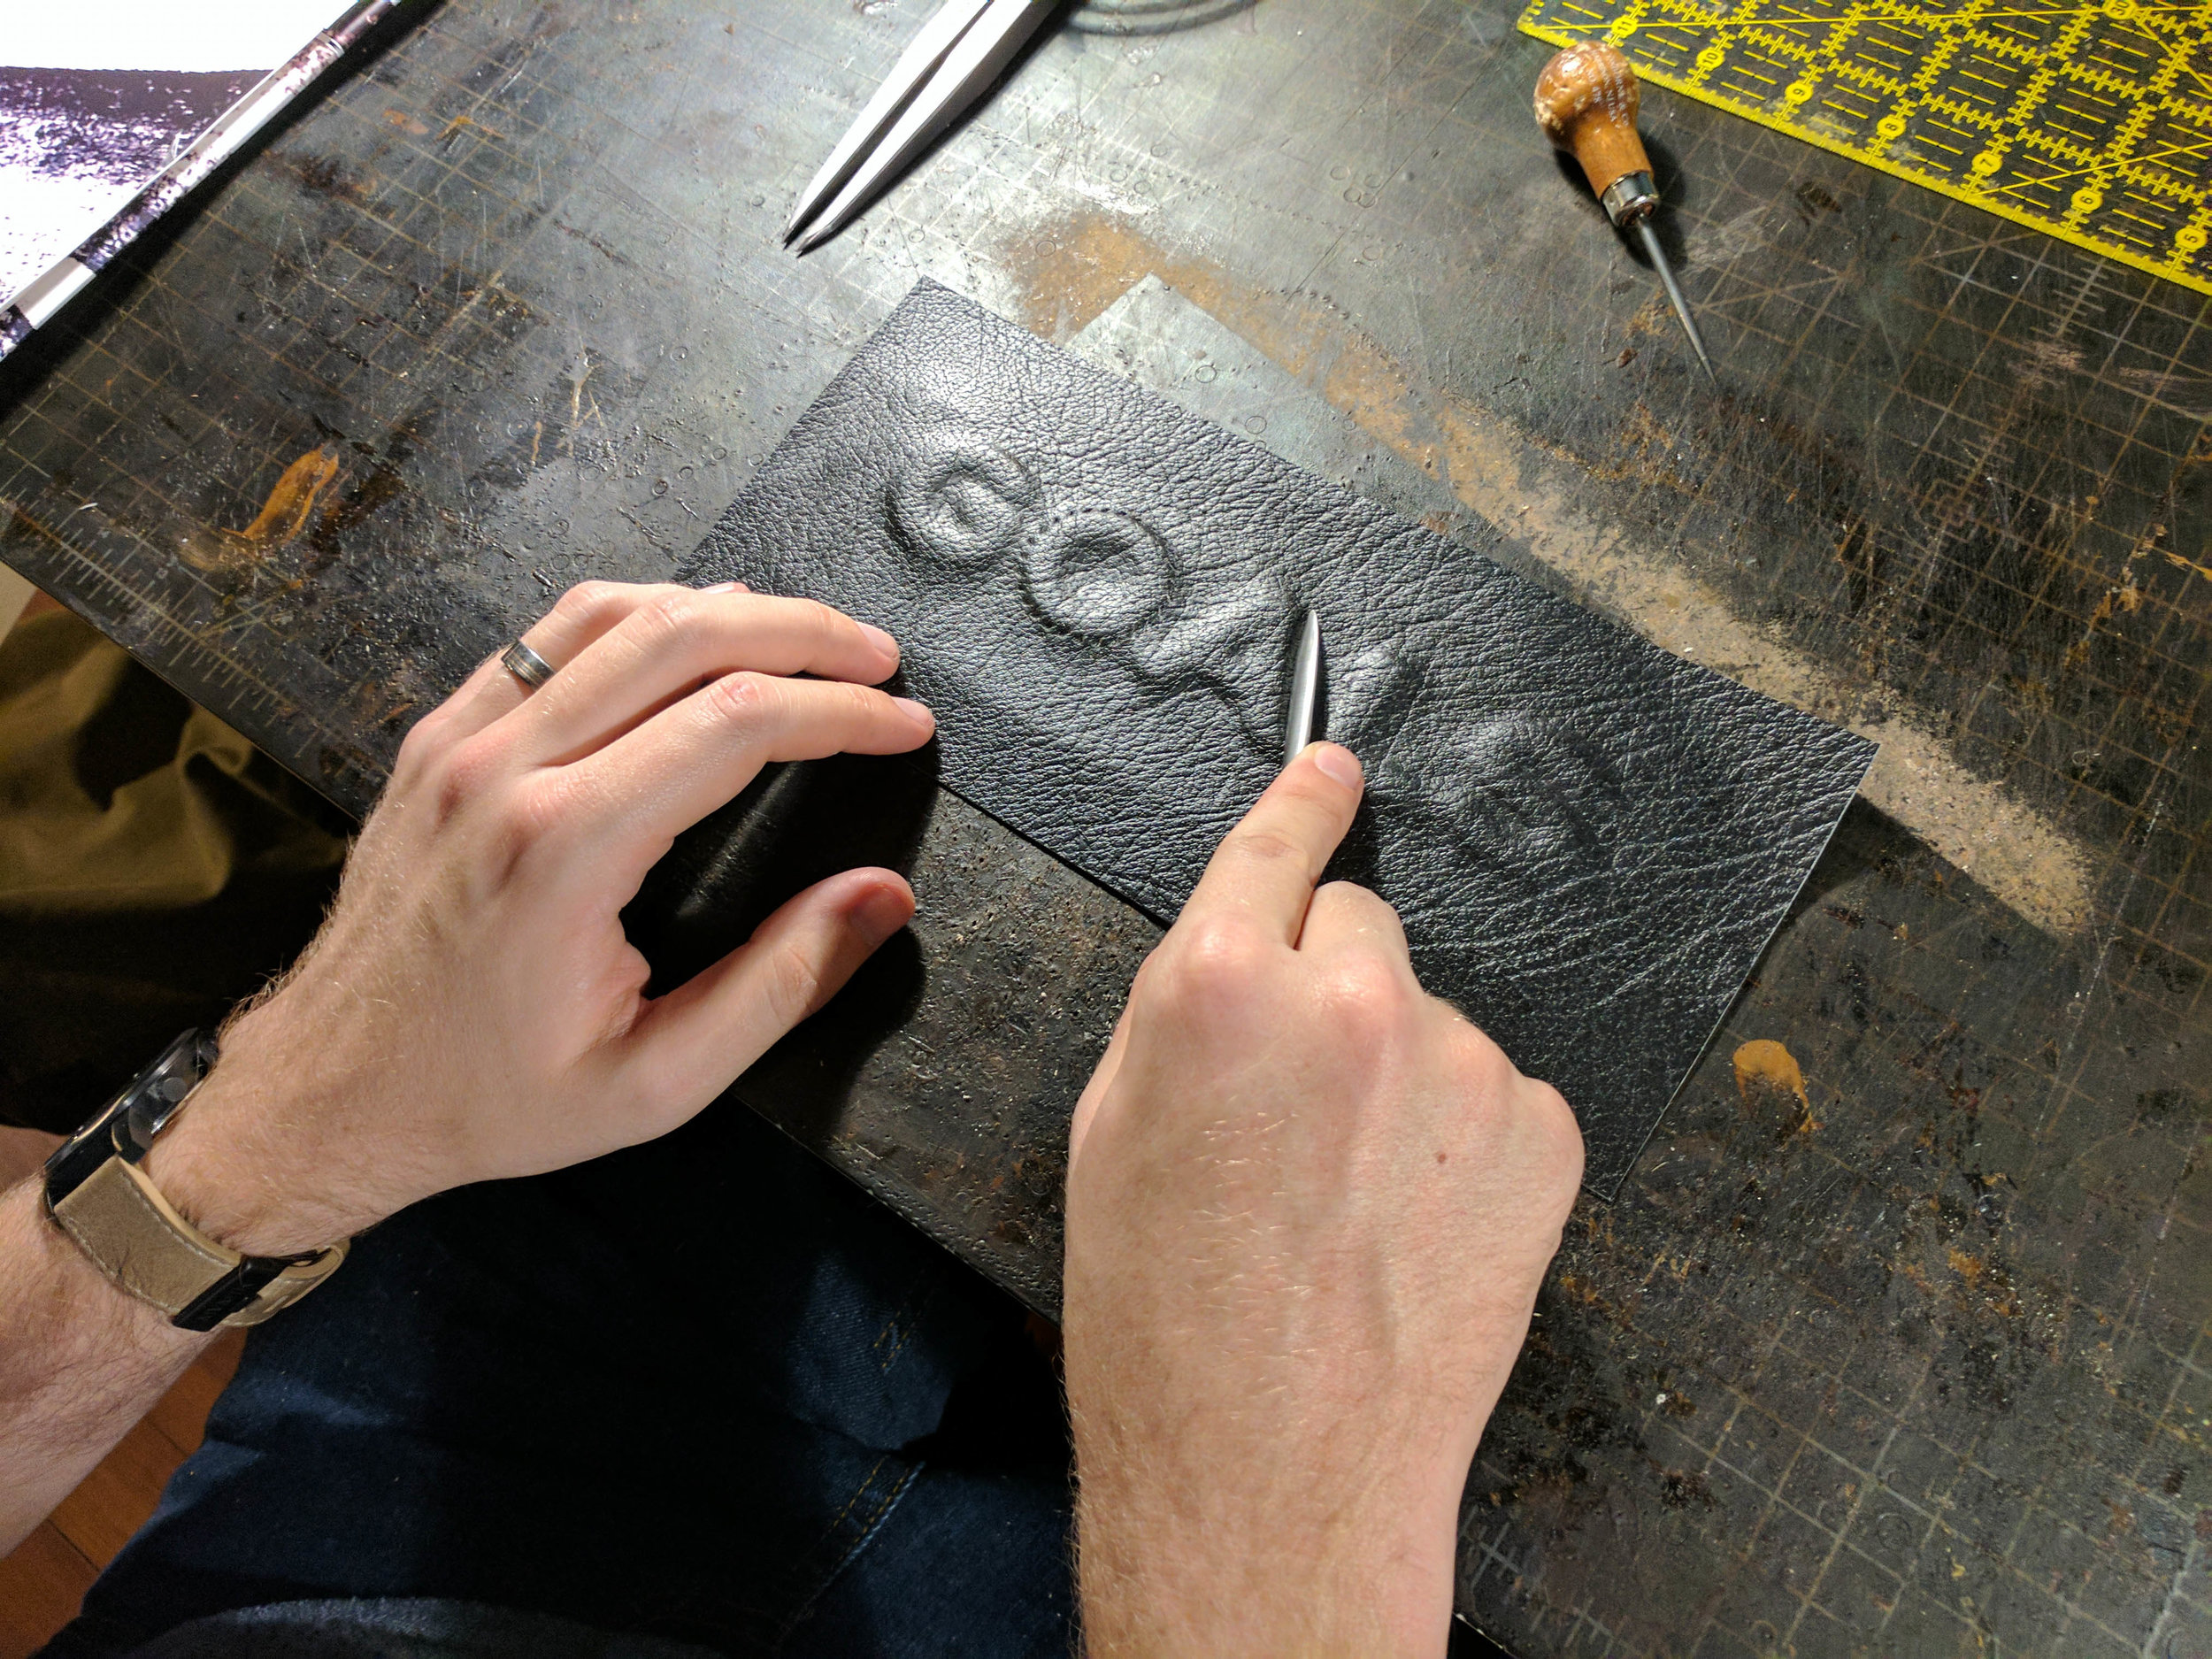
- Form the leather. I start by working the leather over the object with my hand. Not really the specific details of the piece, but any the major edges. I do it a couple times over until leather loosely holds the shape of the object. At this point I clamp the leather down to a wooden board that is just a little bigger than piece of leather that I used. Afterwards I use a bone folder to work in the details and tighten the leather around the corners. To do this, I start at the top of the object and work my way down towards the wooden board. This will create bubbles of excess leather as you work downwards. Each time I get to the bottom, I will tighten the leather over the object by lifting the clamps, pulling the leather taught, and clamping the leather back to the board. Depending on the temper and weight of the leather, I will repeat the process over and over until I am happy with how it looks: typically 10ish times.
Additional Notes on Wetforming by Hand. There are a number of tricky things that come up when wet forming that I did not expect (or know how to deal with for the first time) I figured I would cover them here.
- Sometimes it takes longer than you would think to form leather around an object. And during that time the leather can start to dry out and become more difficult to form. In this situation, I have a sponge and a bowl of water on hand and use the sponge to rewet the leather.
- The great thing about soaking leather means it can take almost any shape you want, but that also means that you can easily leave accidental marks and indentations in the leather as you work it around your mold/object. Don't panic if this happens. The simple fix is to use the back side of a spoon and smooth out the area you accidentally dented.
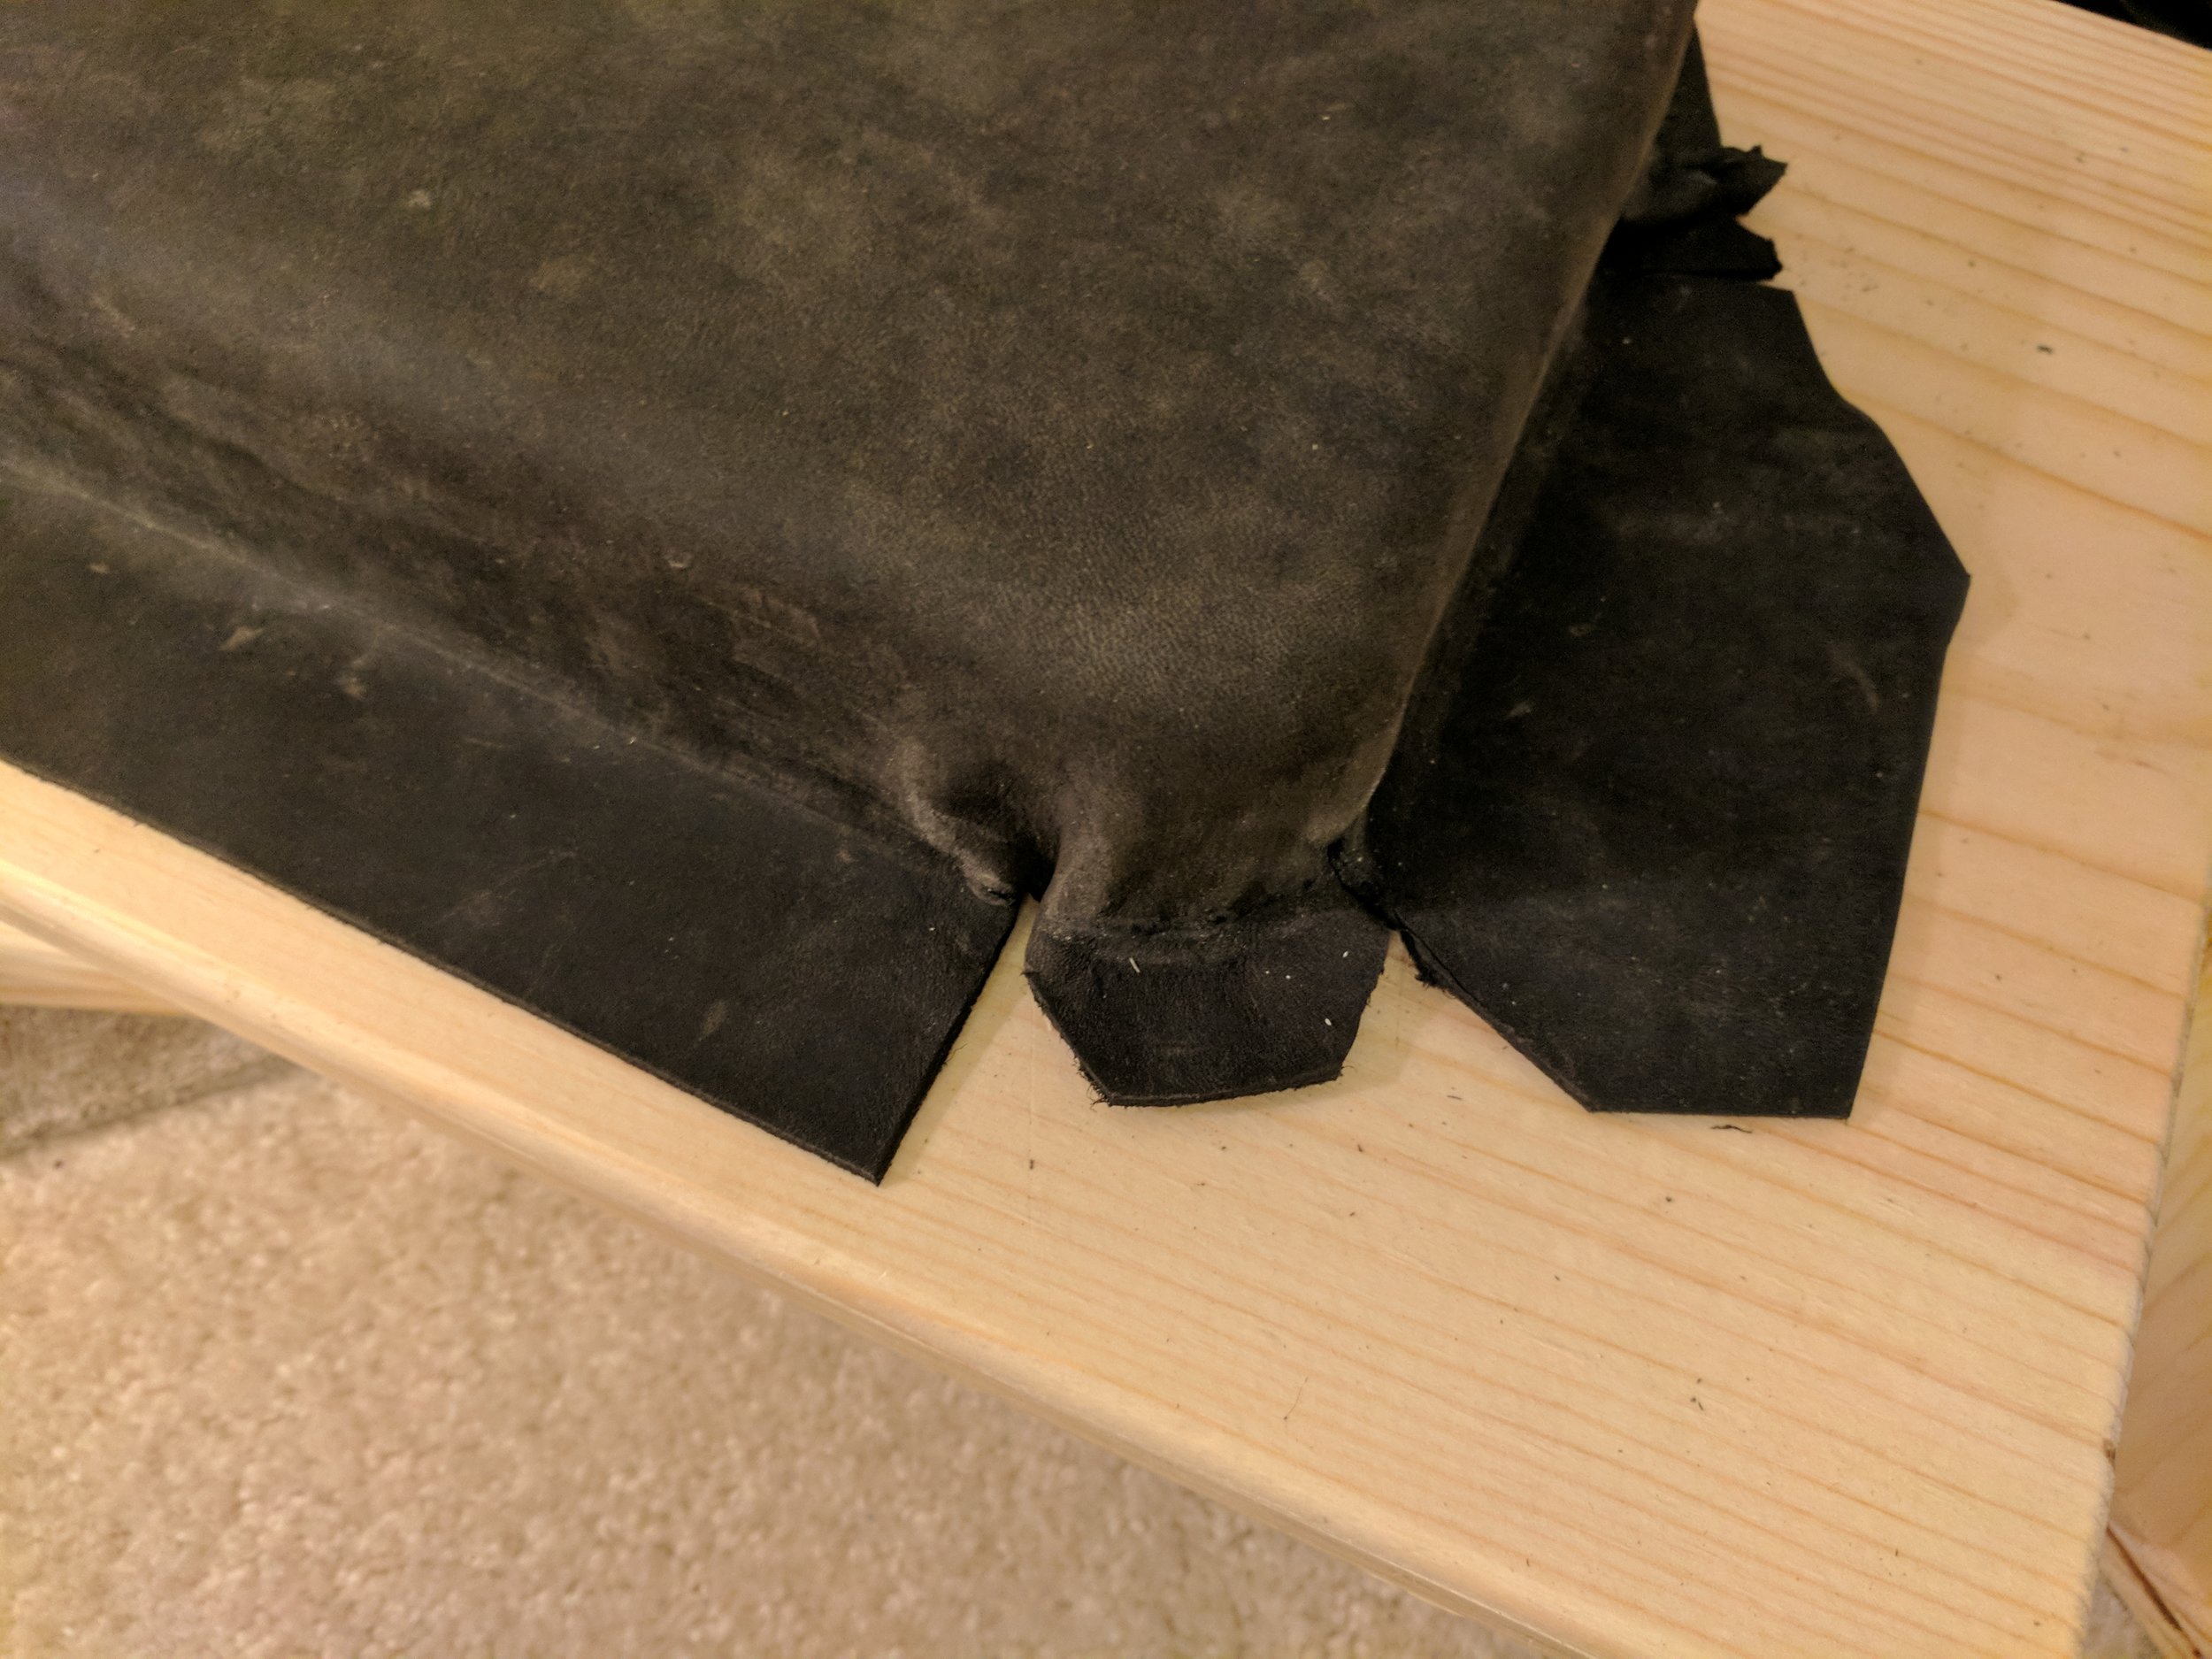
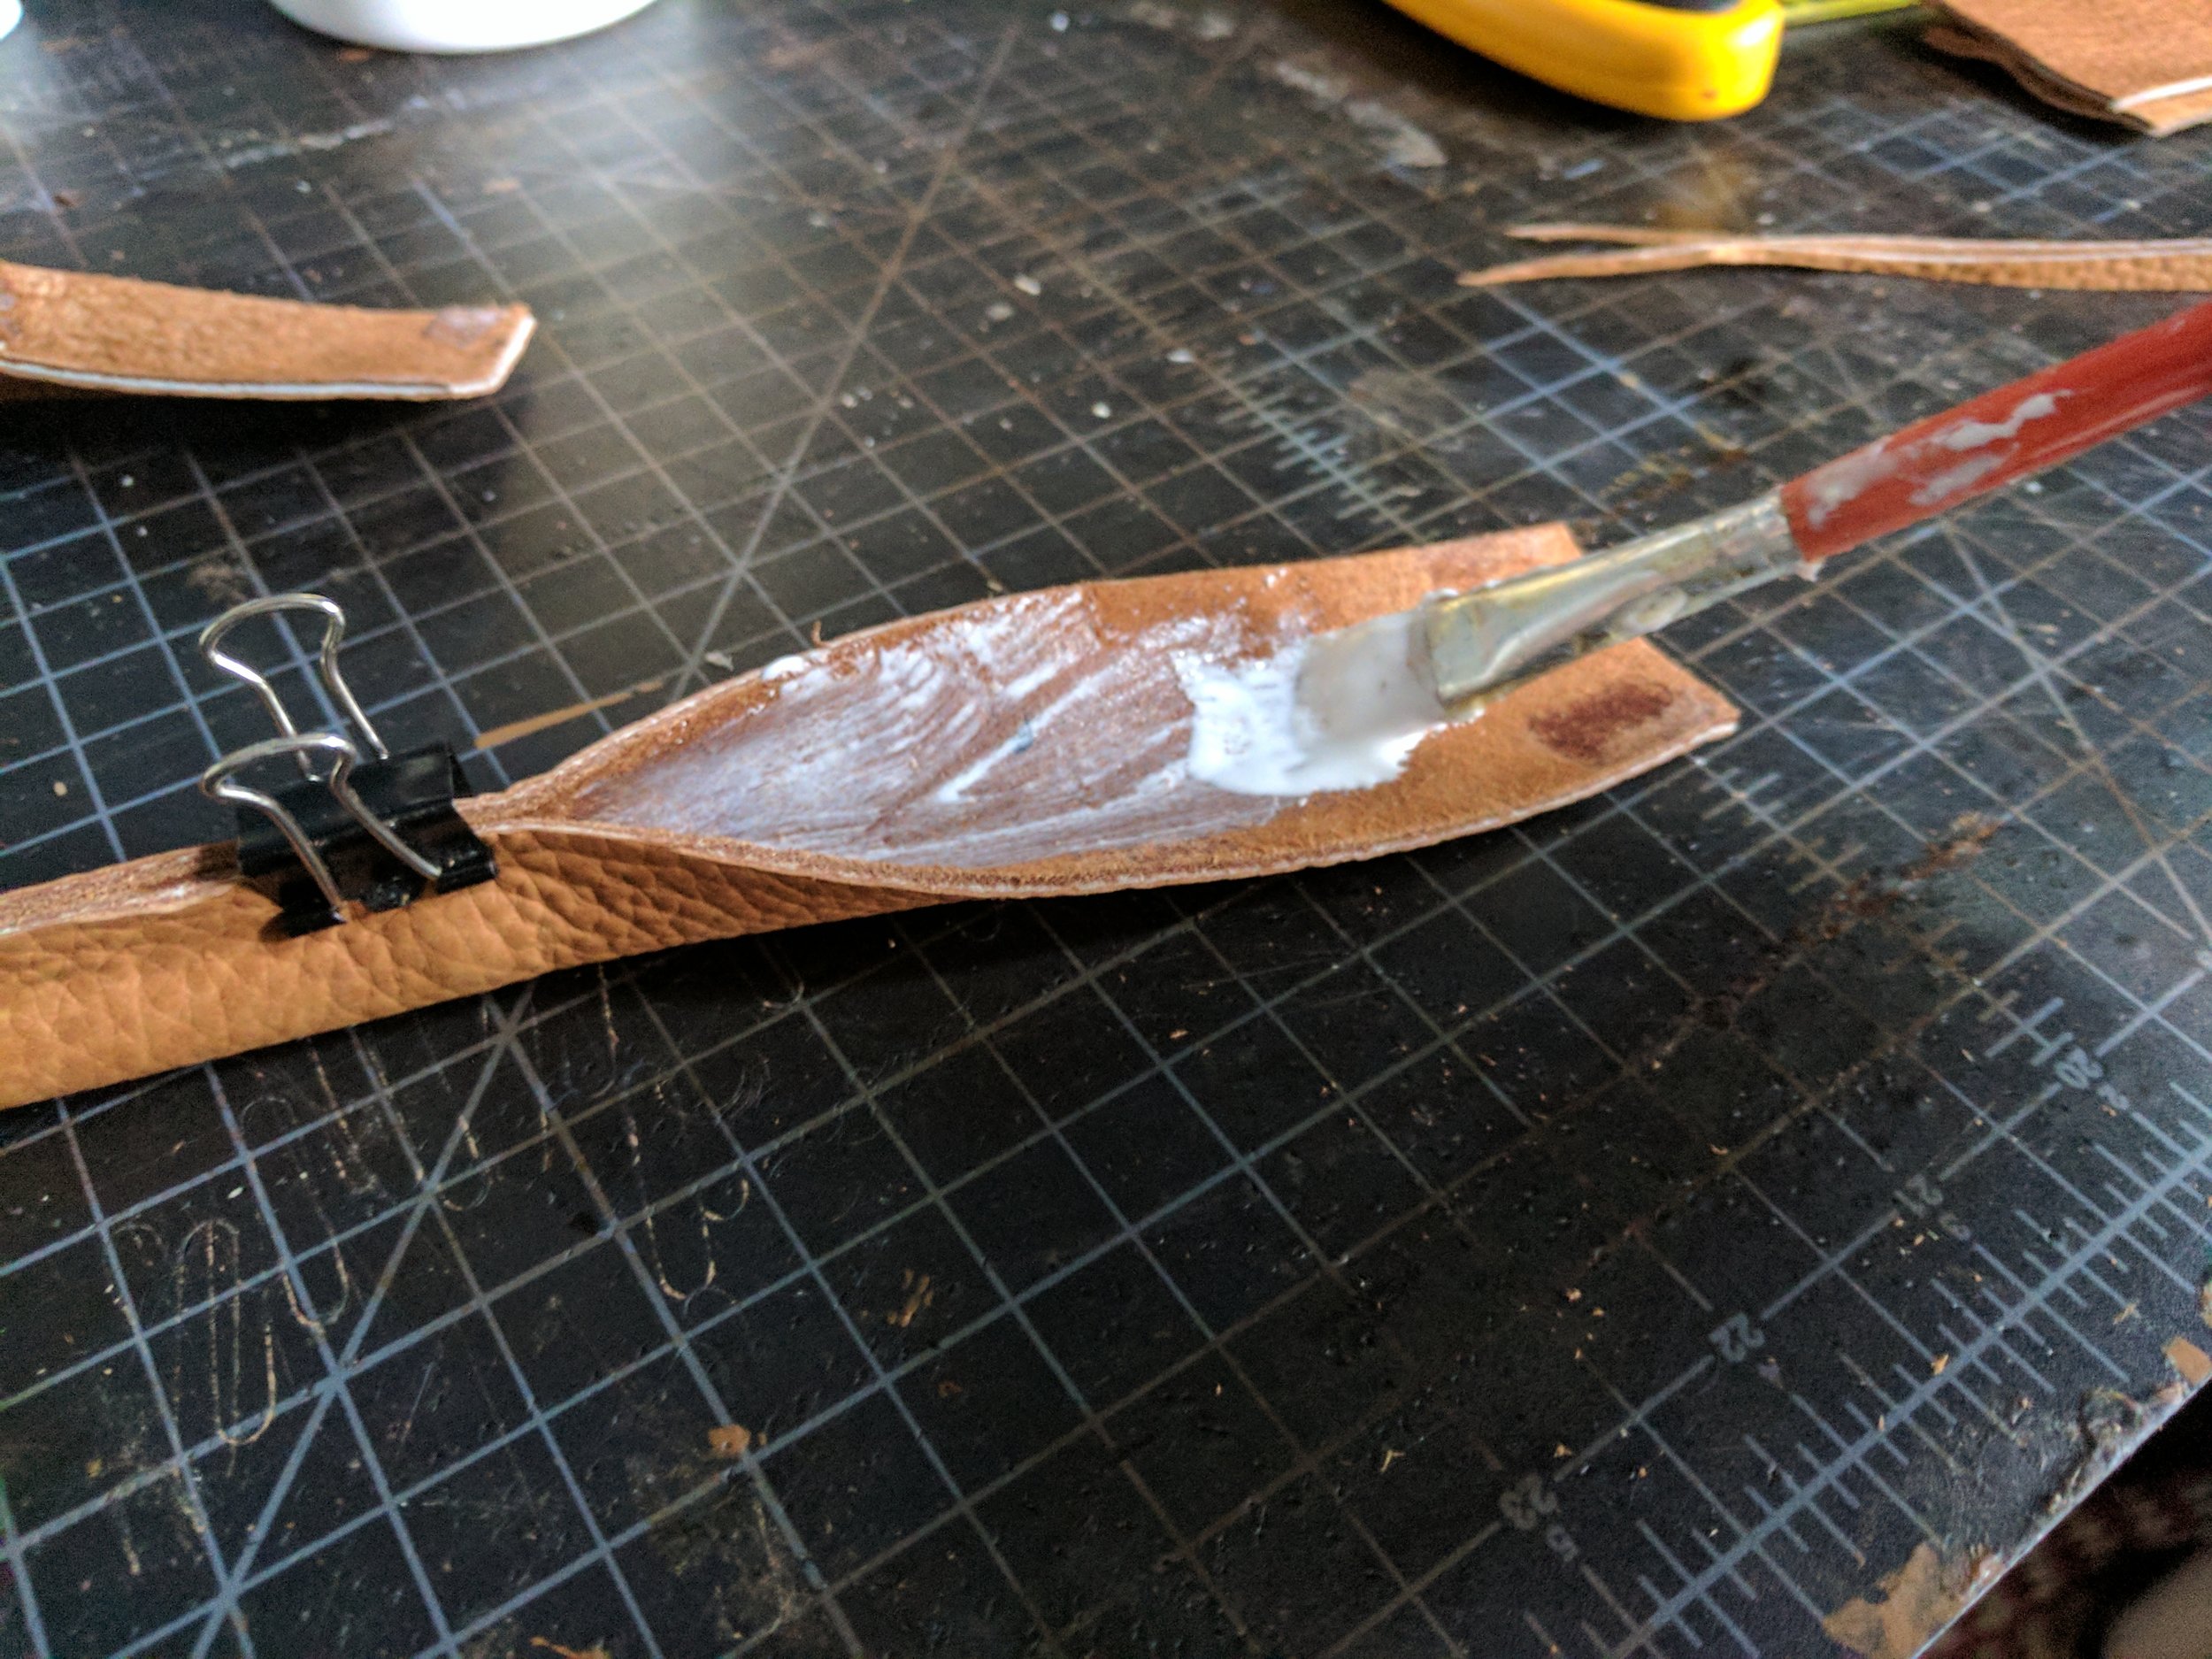
These two cuts drastically reduced the amount of wrinkles around this curve. I cut close to the form because I am not using the leather at the base.
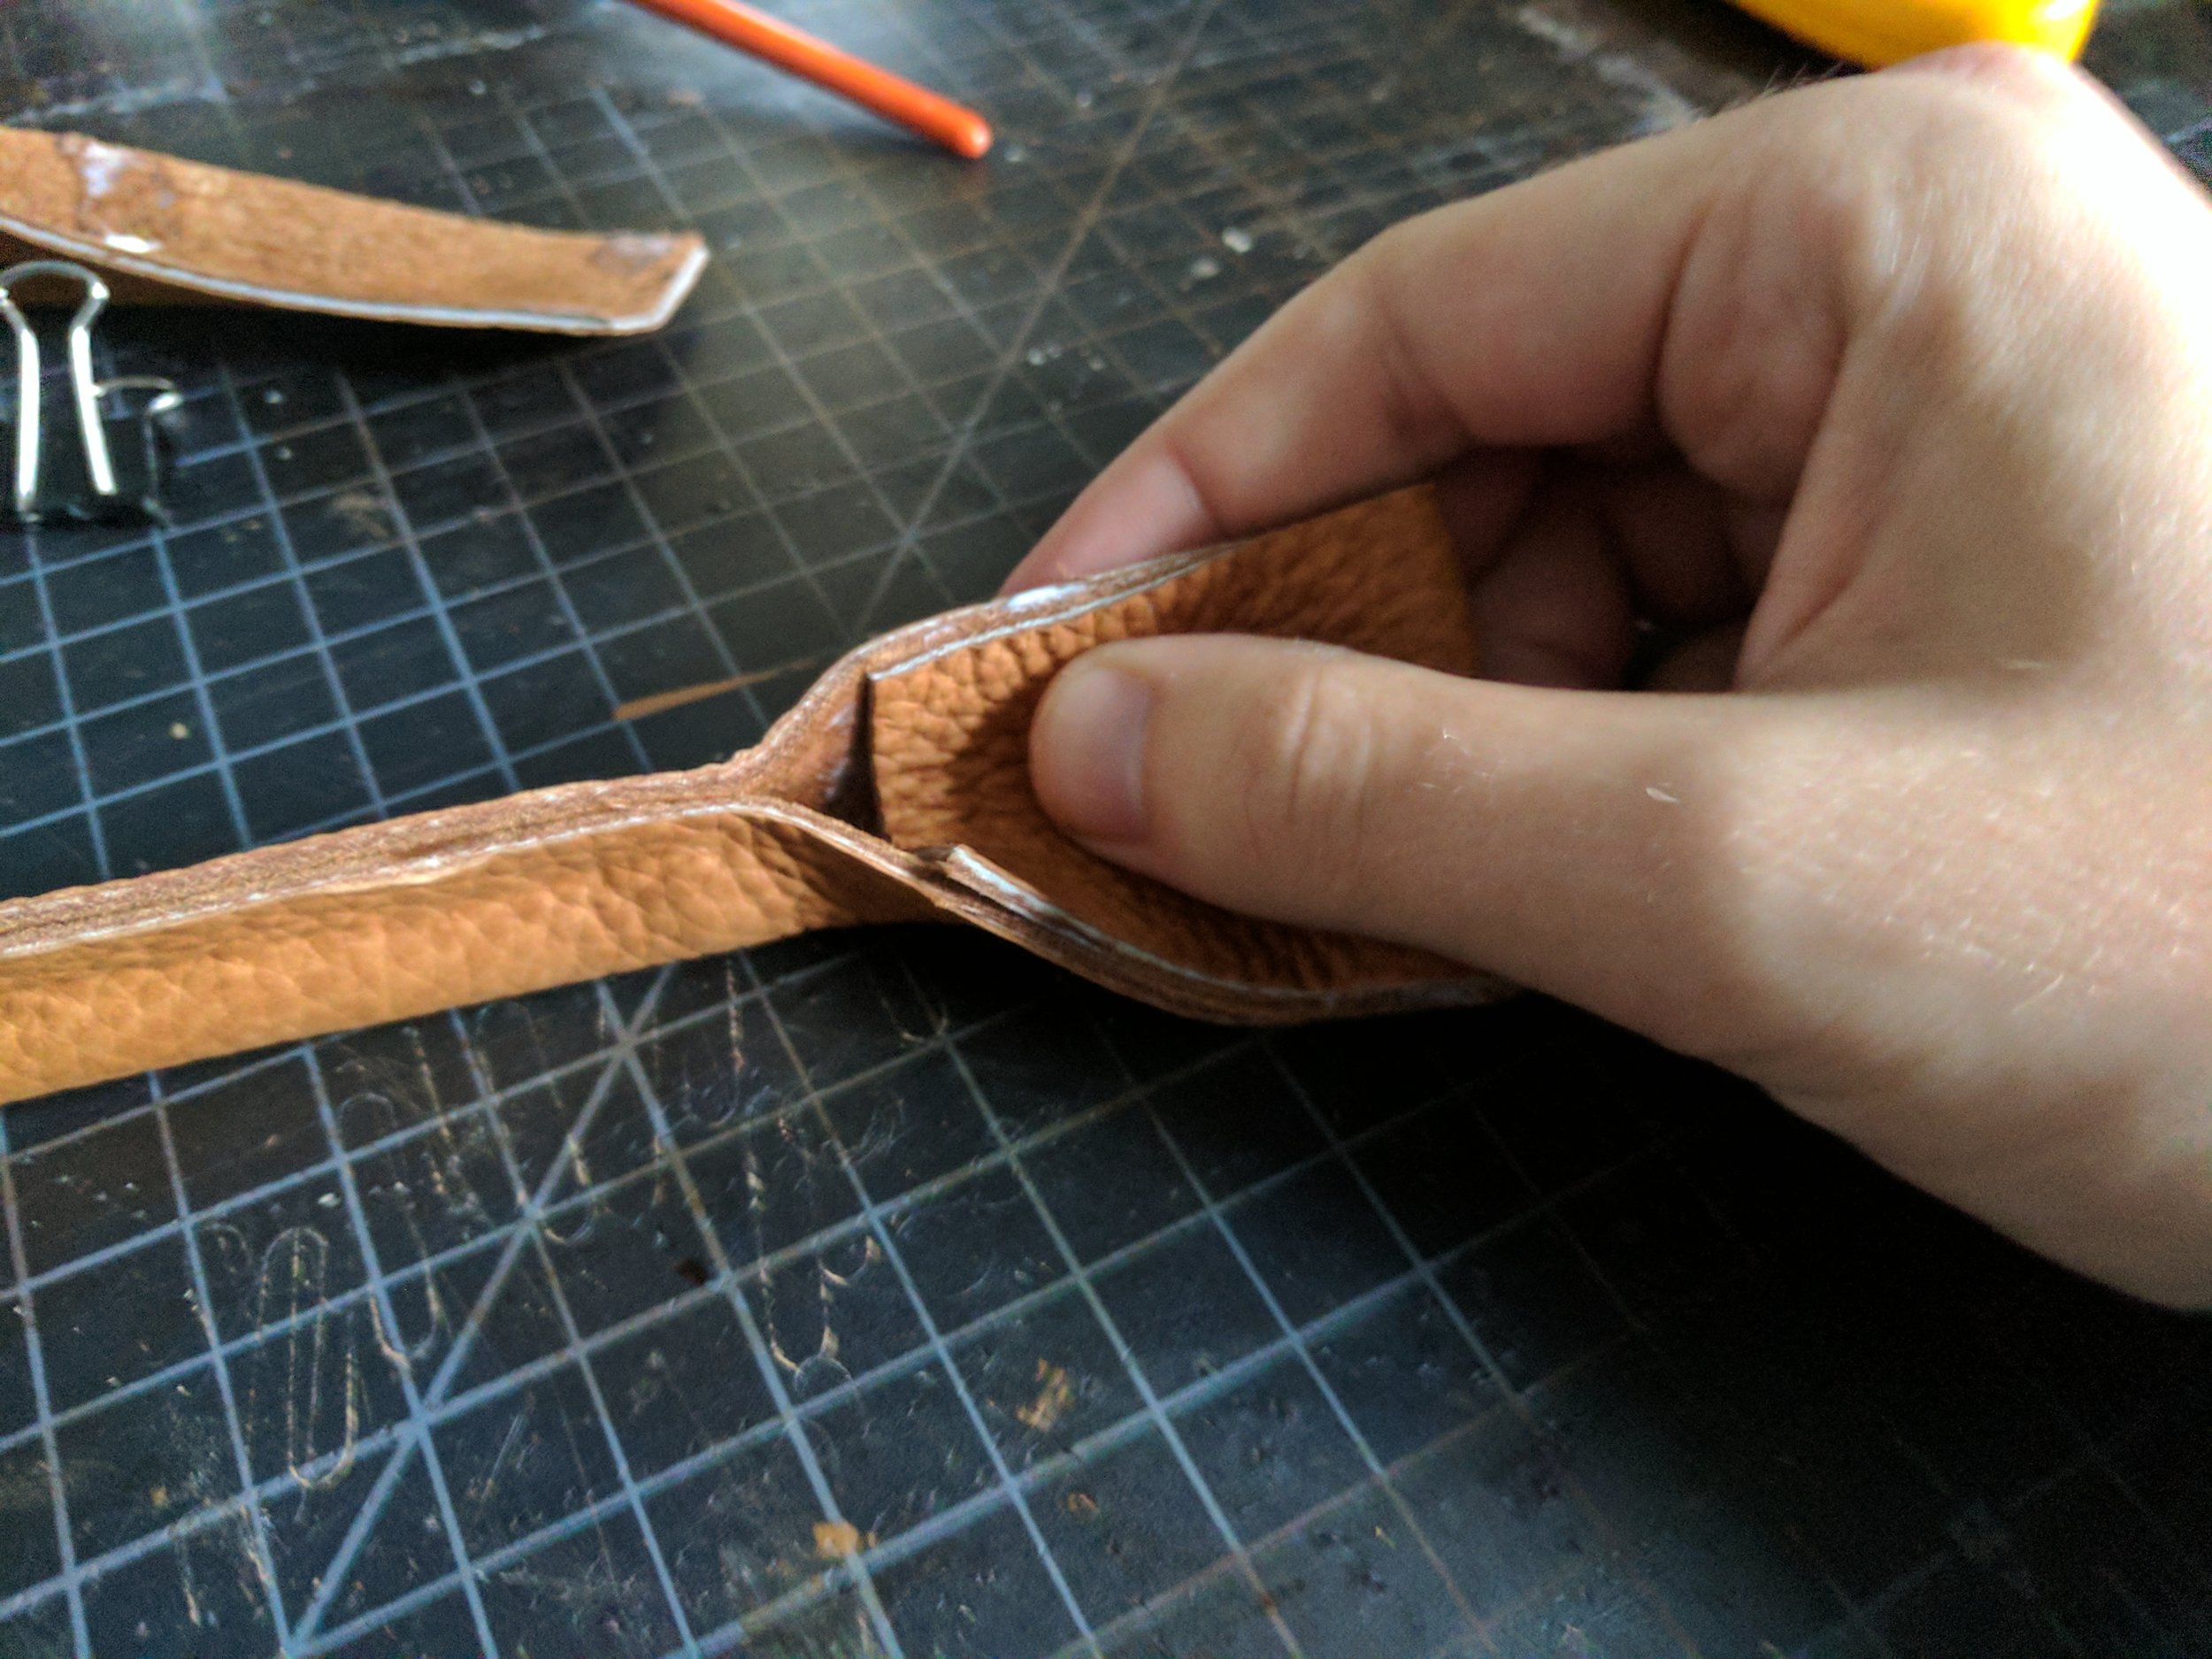
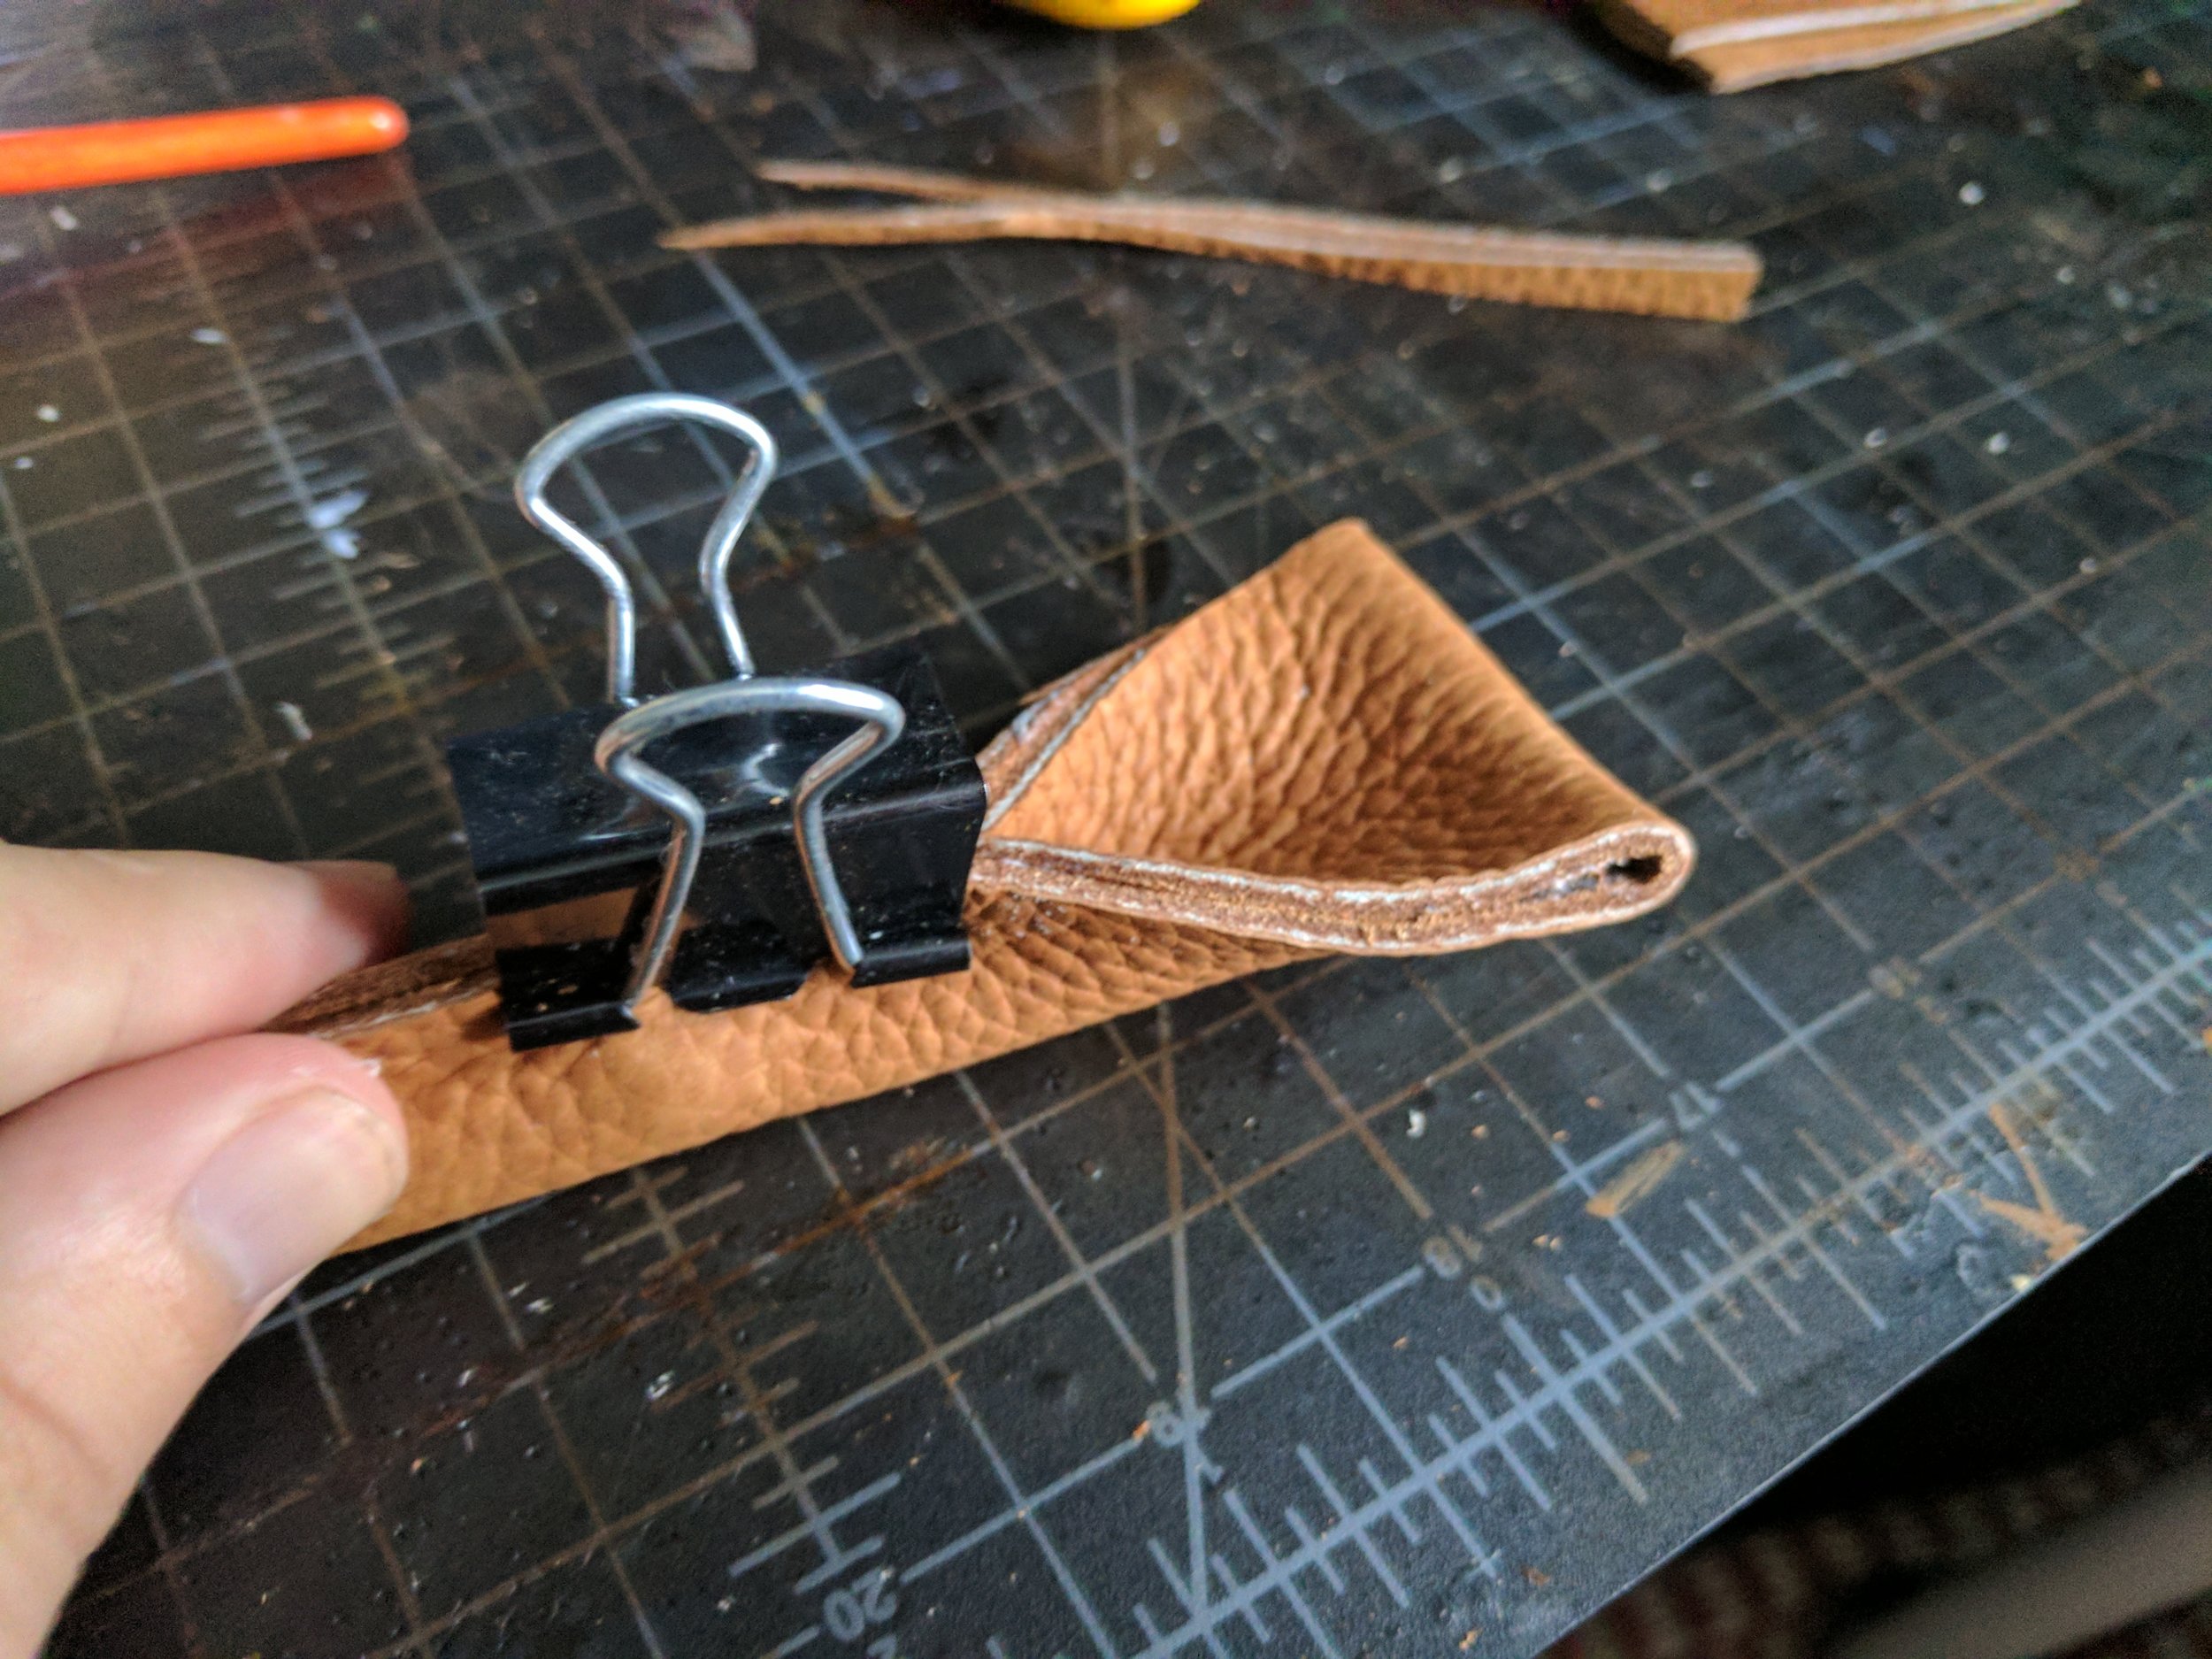
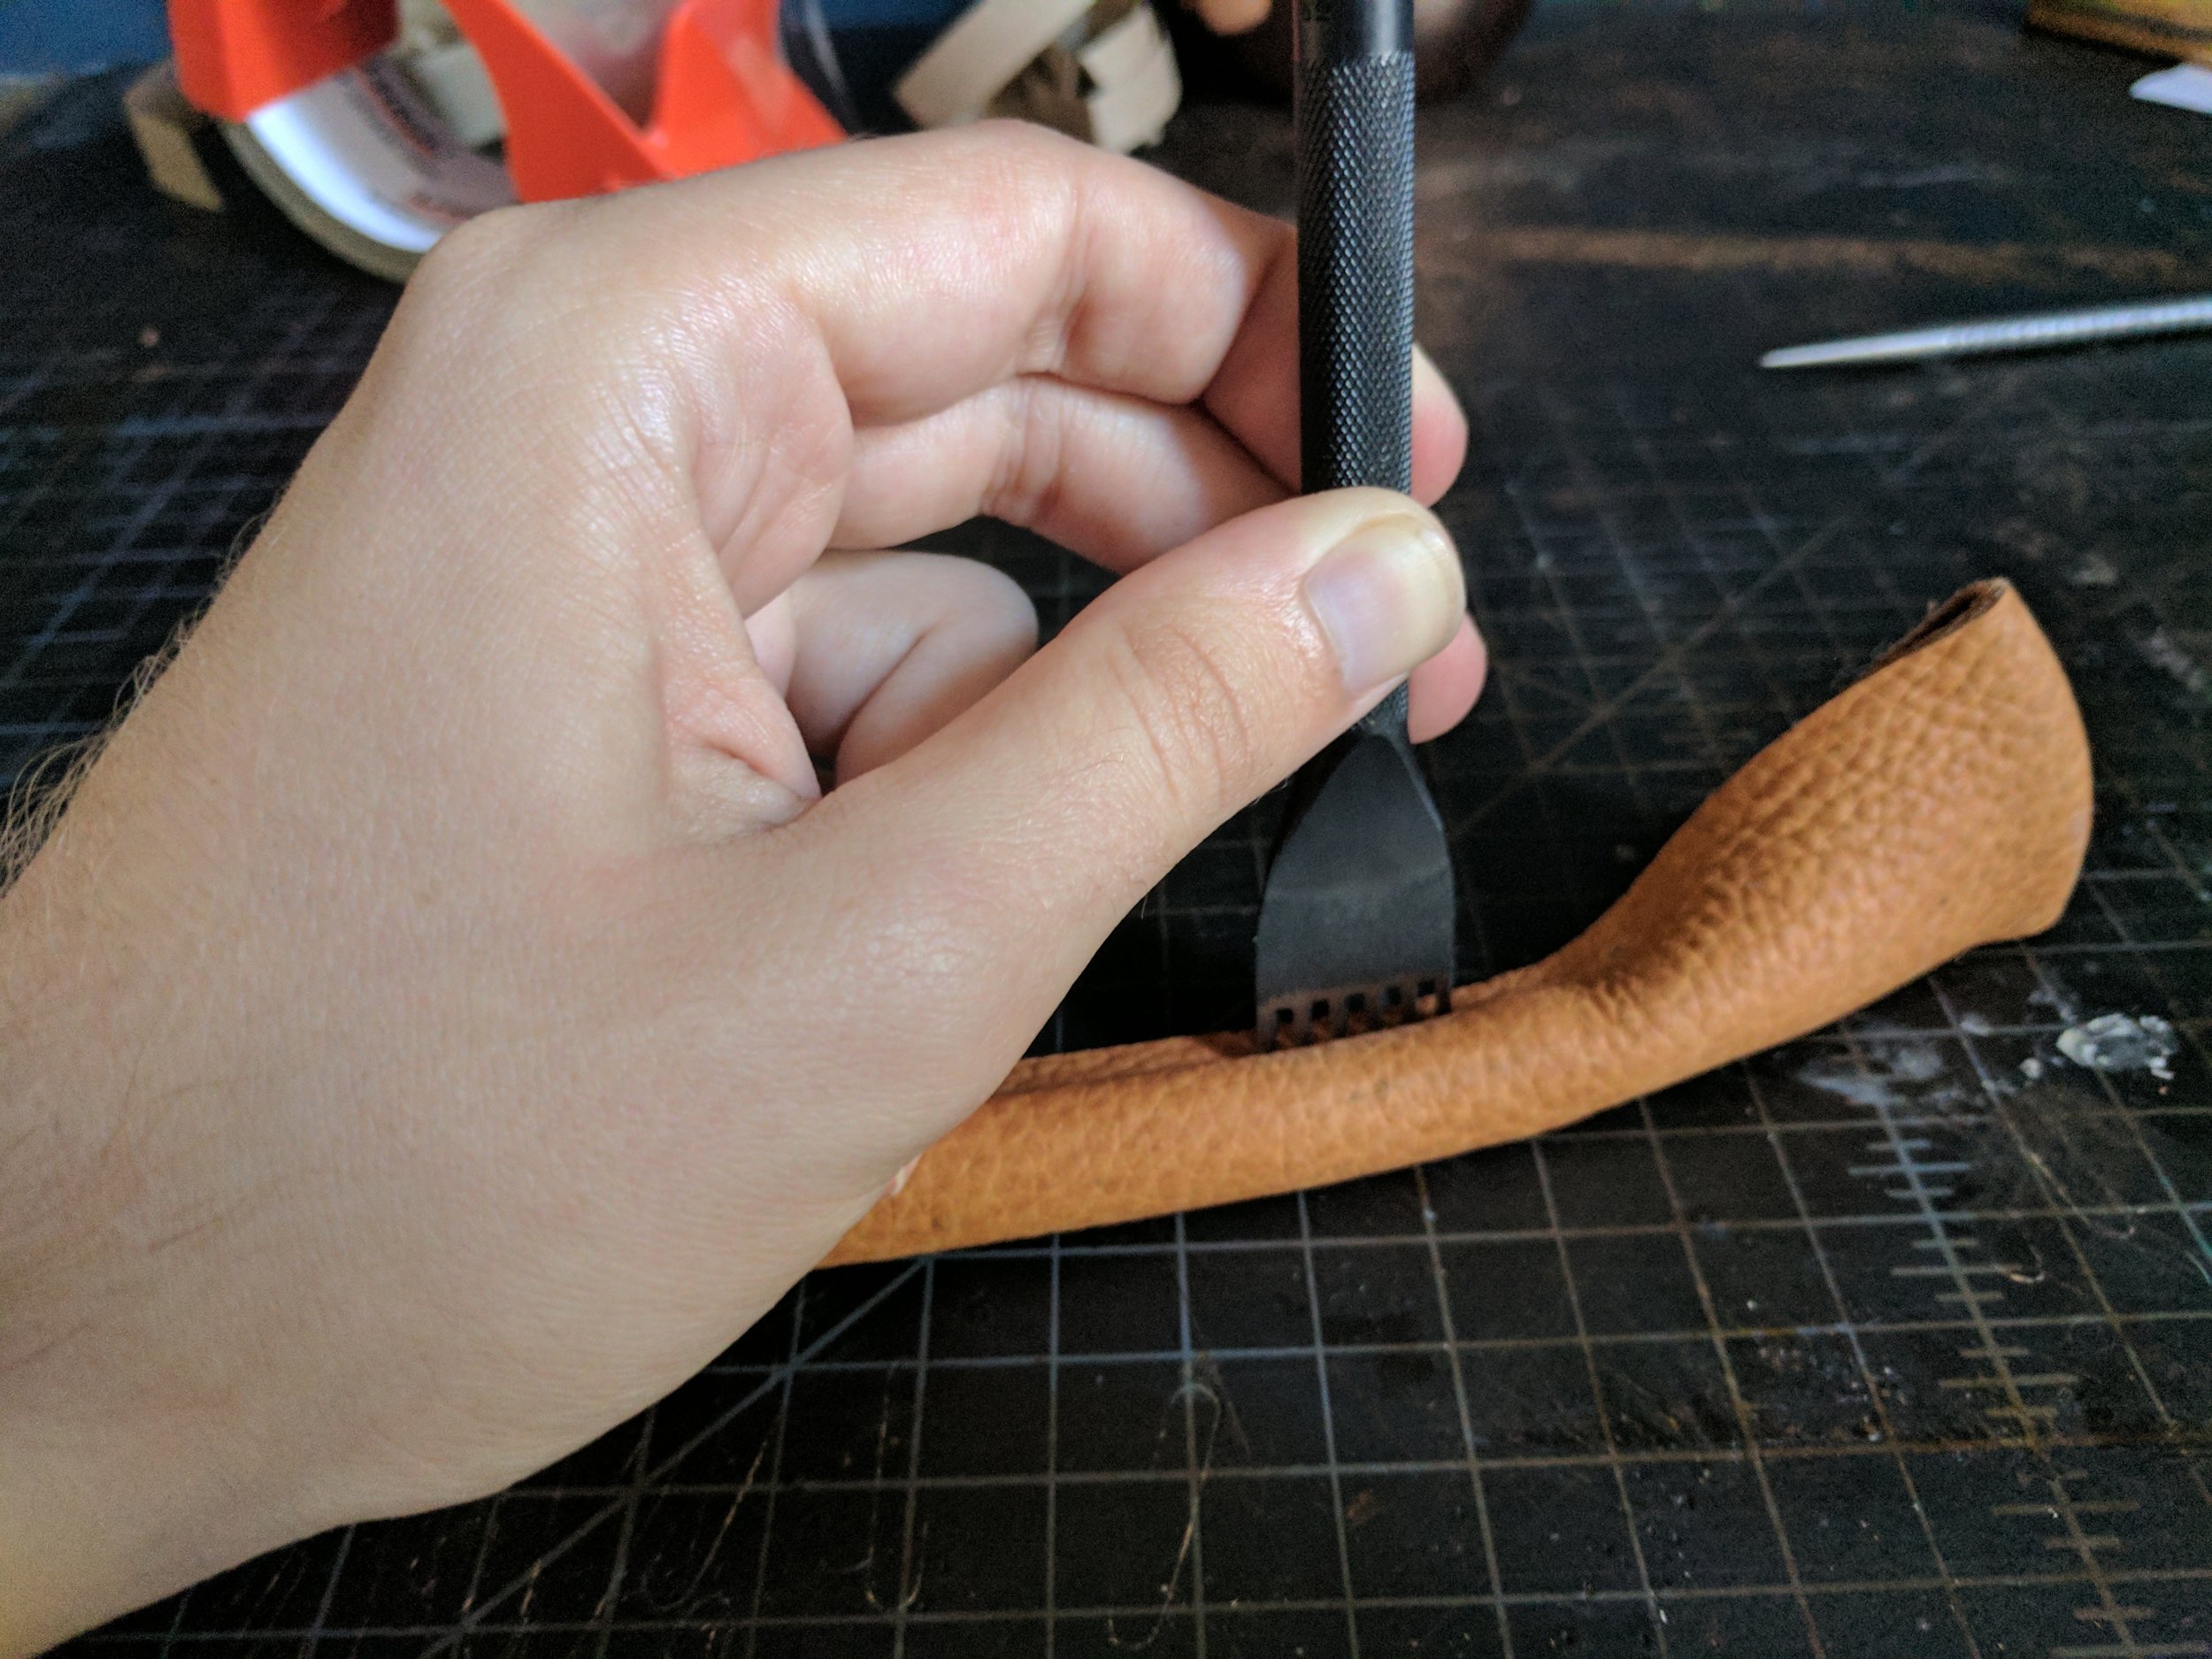
- Working around corners (rounded or otherwise) is the biggest pain in the ass when it comes to wet forming. It's pretty easy to work leather around a straight edge, but once you get beyond a 30 degree turn the leather really starts to bunch. There's two things that remedy this situation. The first is to keep the leather cut close to the edge of your mold. It's hard to determine exactly how much leather you'll need when you wet form, but I do my best to only have an excess of 1/4" when using a mold and 1" around the edge of the project when using an object. For example, if I was wet forming around a knife that measured roughly 2" x 8", I would cut a leather square at 4" x 10". As mentioned above, this will reduce the height of the bunching, and in most cases you will be able to just flatten down the leather when it starts to bunch. In some situations, especially if there is significant depth on your object/mold, it will take a little more elbow grease to make this work. When bunches start to form, I simply cut them out starting where the bunch begins at the base of the object and then cut outward to create a small triangle cut. Ultimately most of your corners will have many small triangle cuts and is a common method to get any material to lie flat around a curve or corner. These small triangle cuts give the leather the opportunity to stretch out instead of bunch up and goes a long way in helping the leather lay flat.
The general process of using a mold is the same as using an object, but there are a few tips that will help out tremendously when using a mold. Here's the general process:
- Cut out the leather (see above)
- Wet the leather (see above)
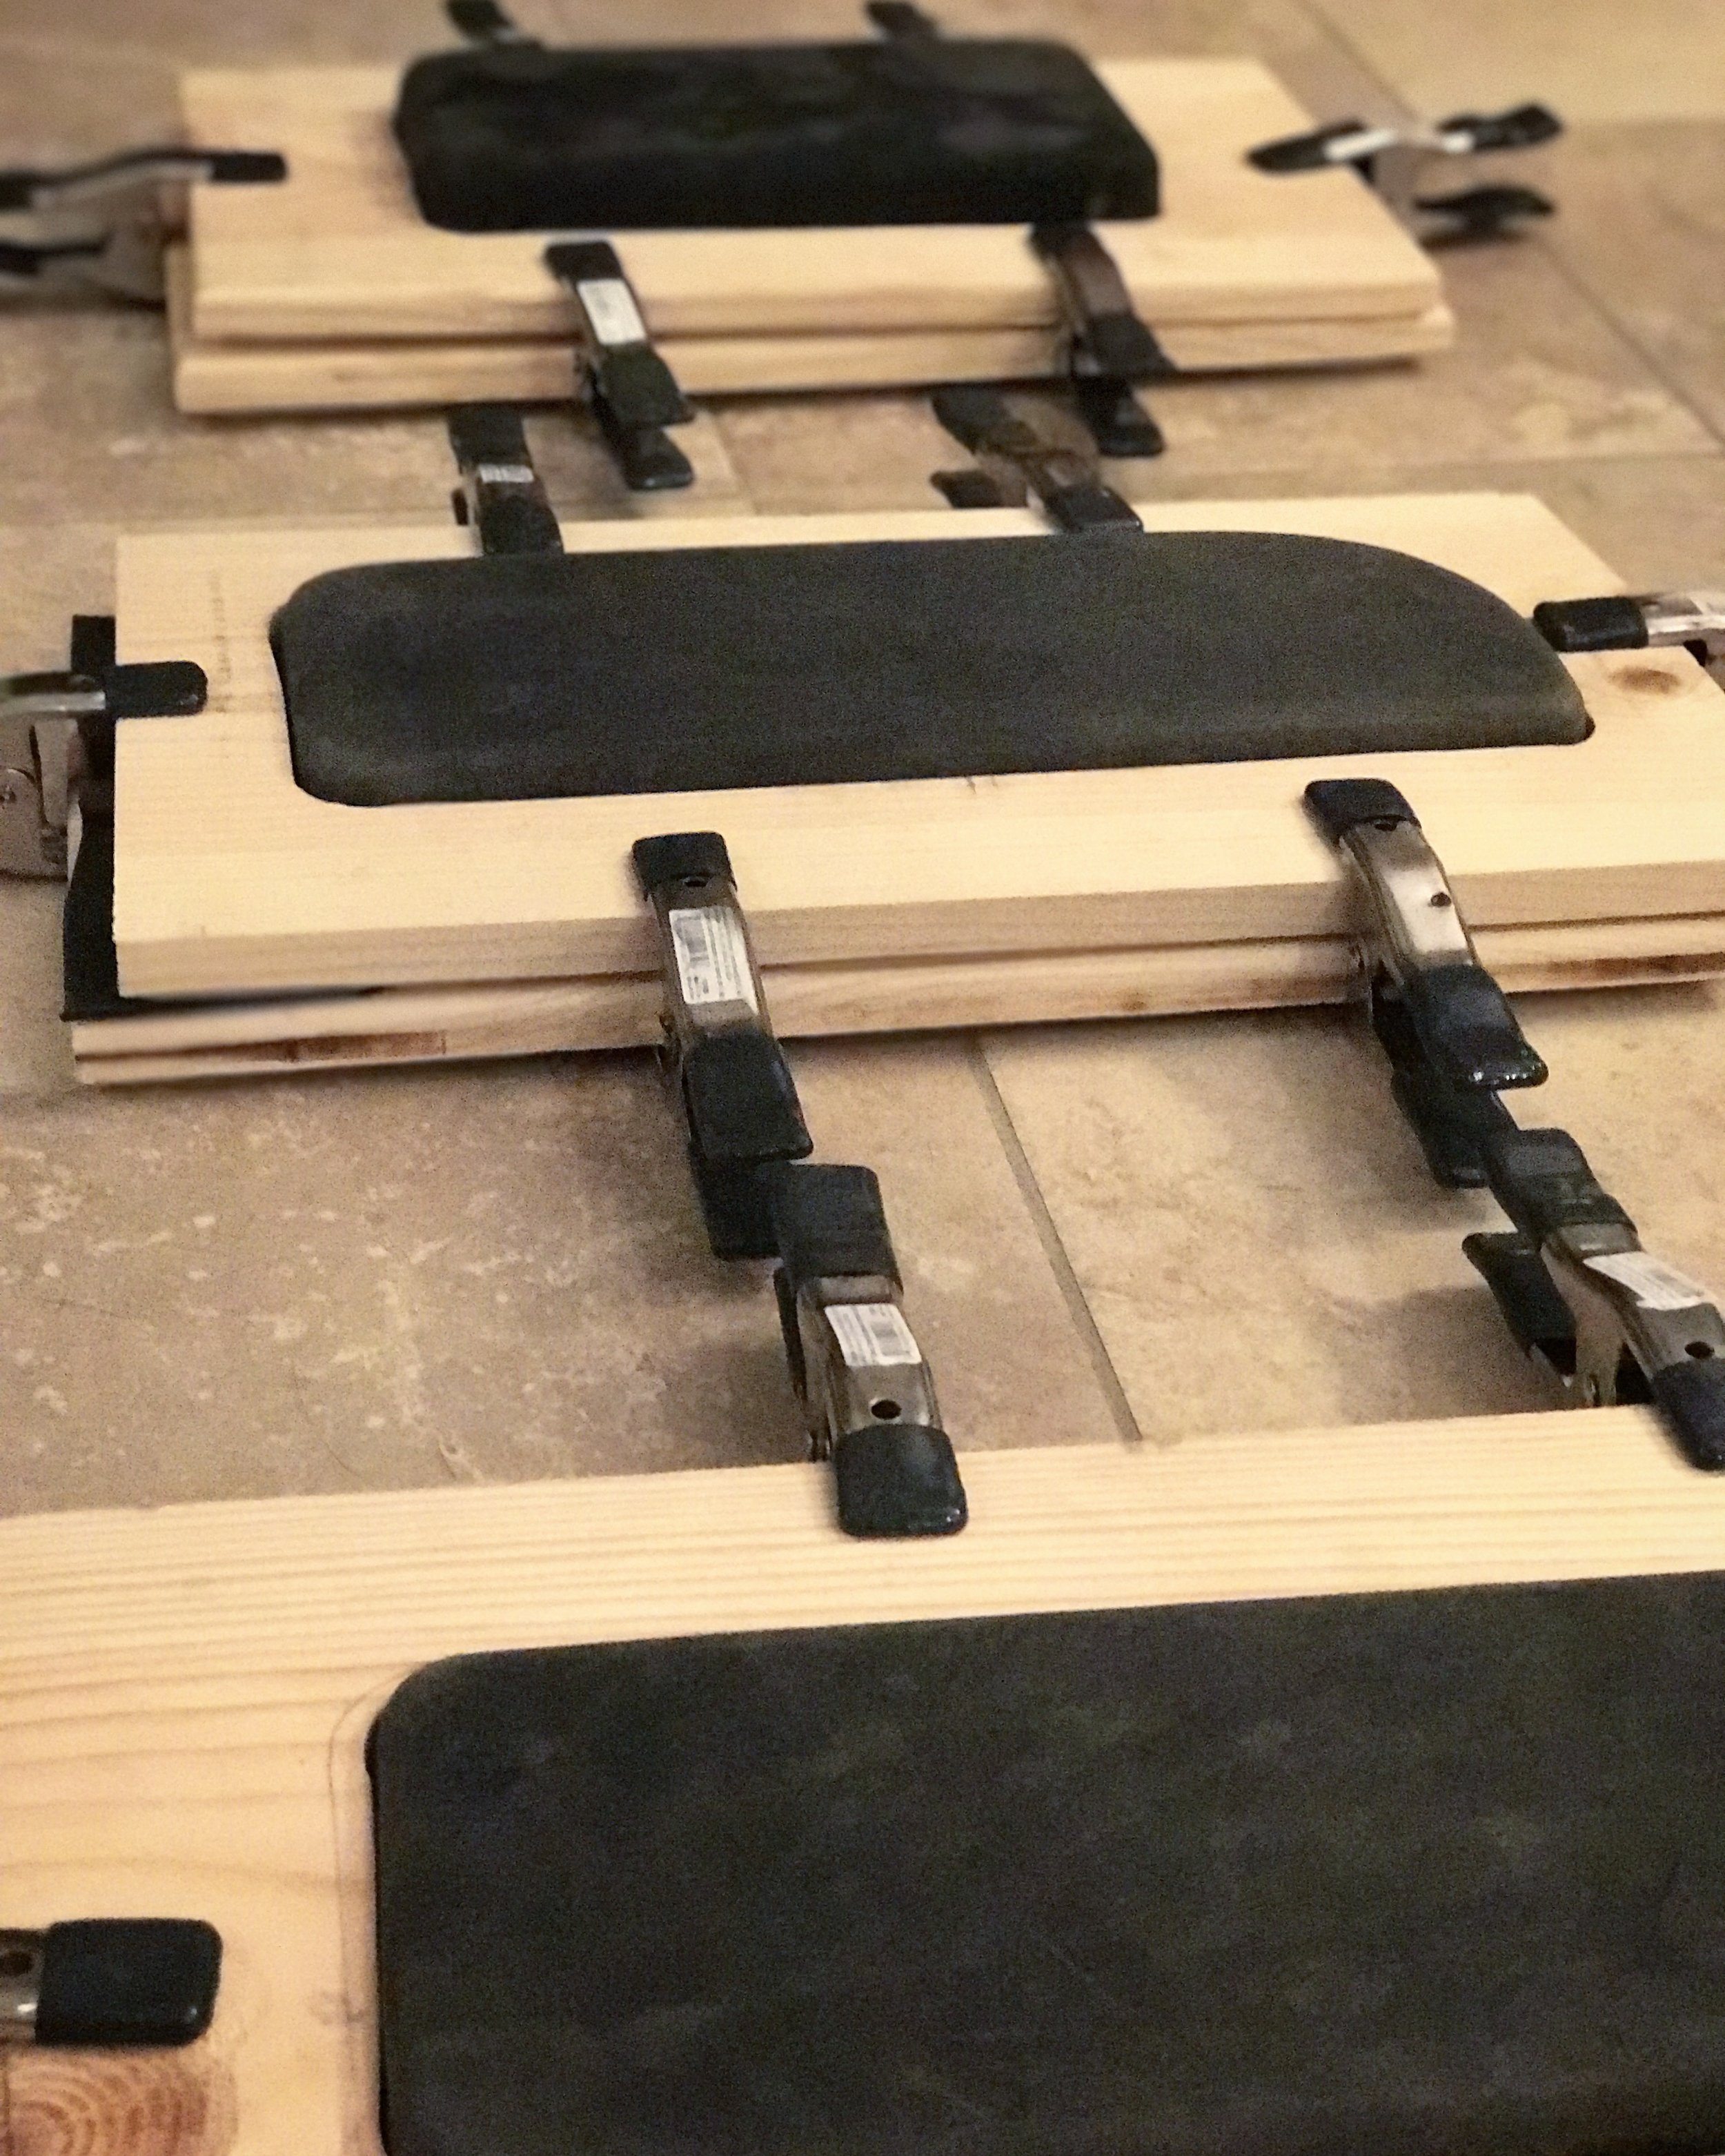
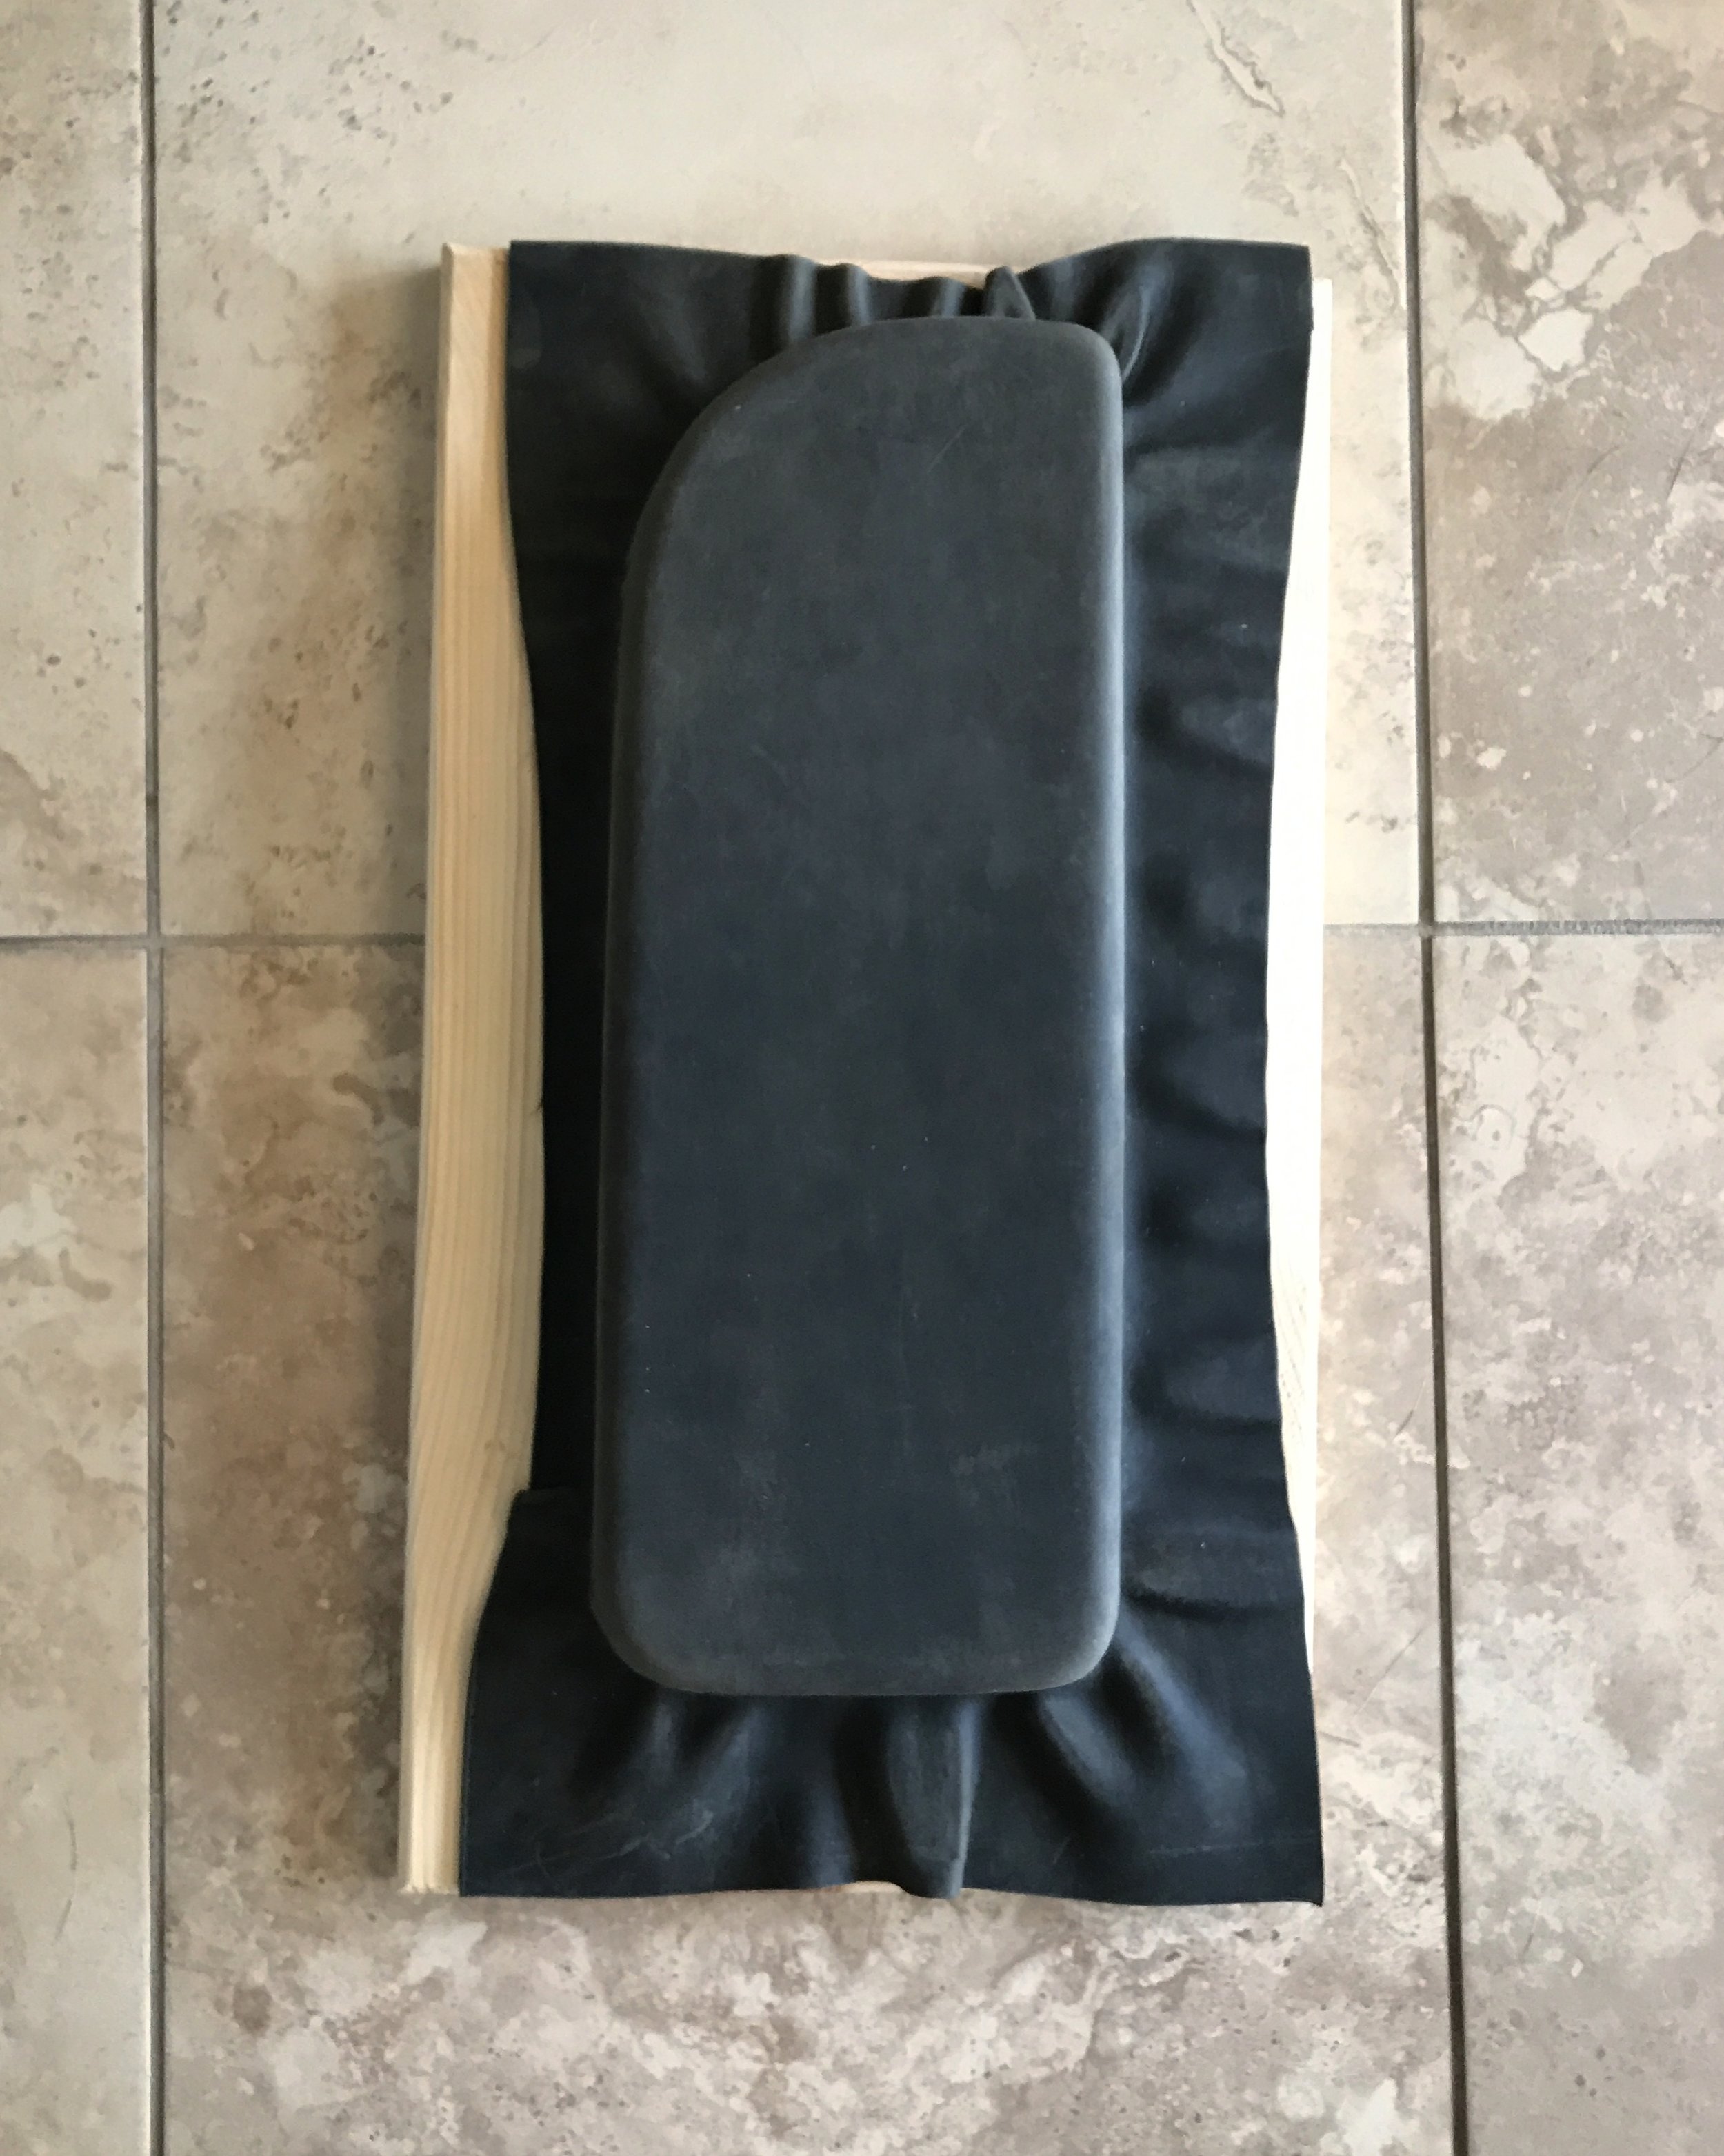
- Form the leather. I start this step the same way as before, using my hands for loosely form the soaked leather around the mold. After I have the leather formed into the general shape I will go back and trim any excess, making sure that the leather doesn't go beyond 1/4" of the end of the mold. After that I press the leather down using the top part of the mold, clamp it together, and leave it sit for 24 hours to dry. In my case, I had to go back and create those small triangle cuts to make sure the leather would lay flat.
Tips for making and using a mold
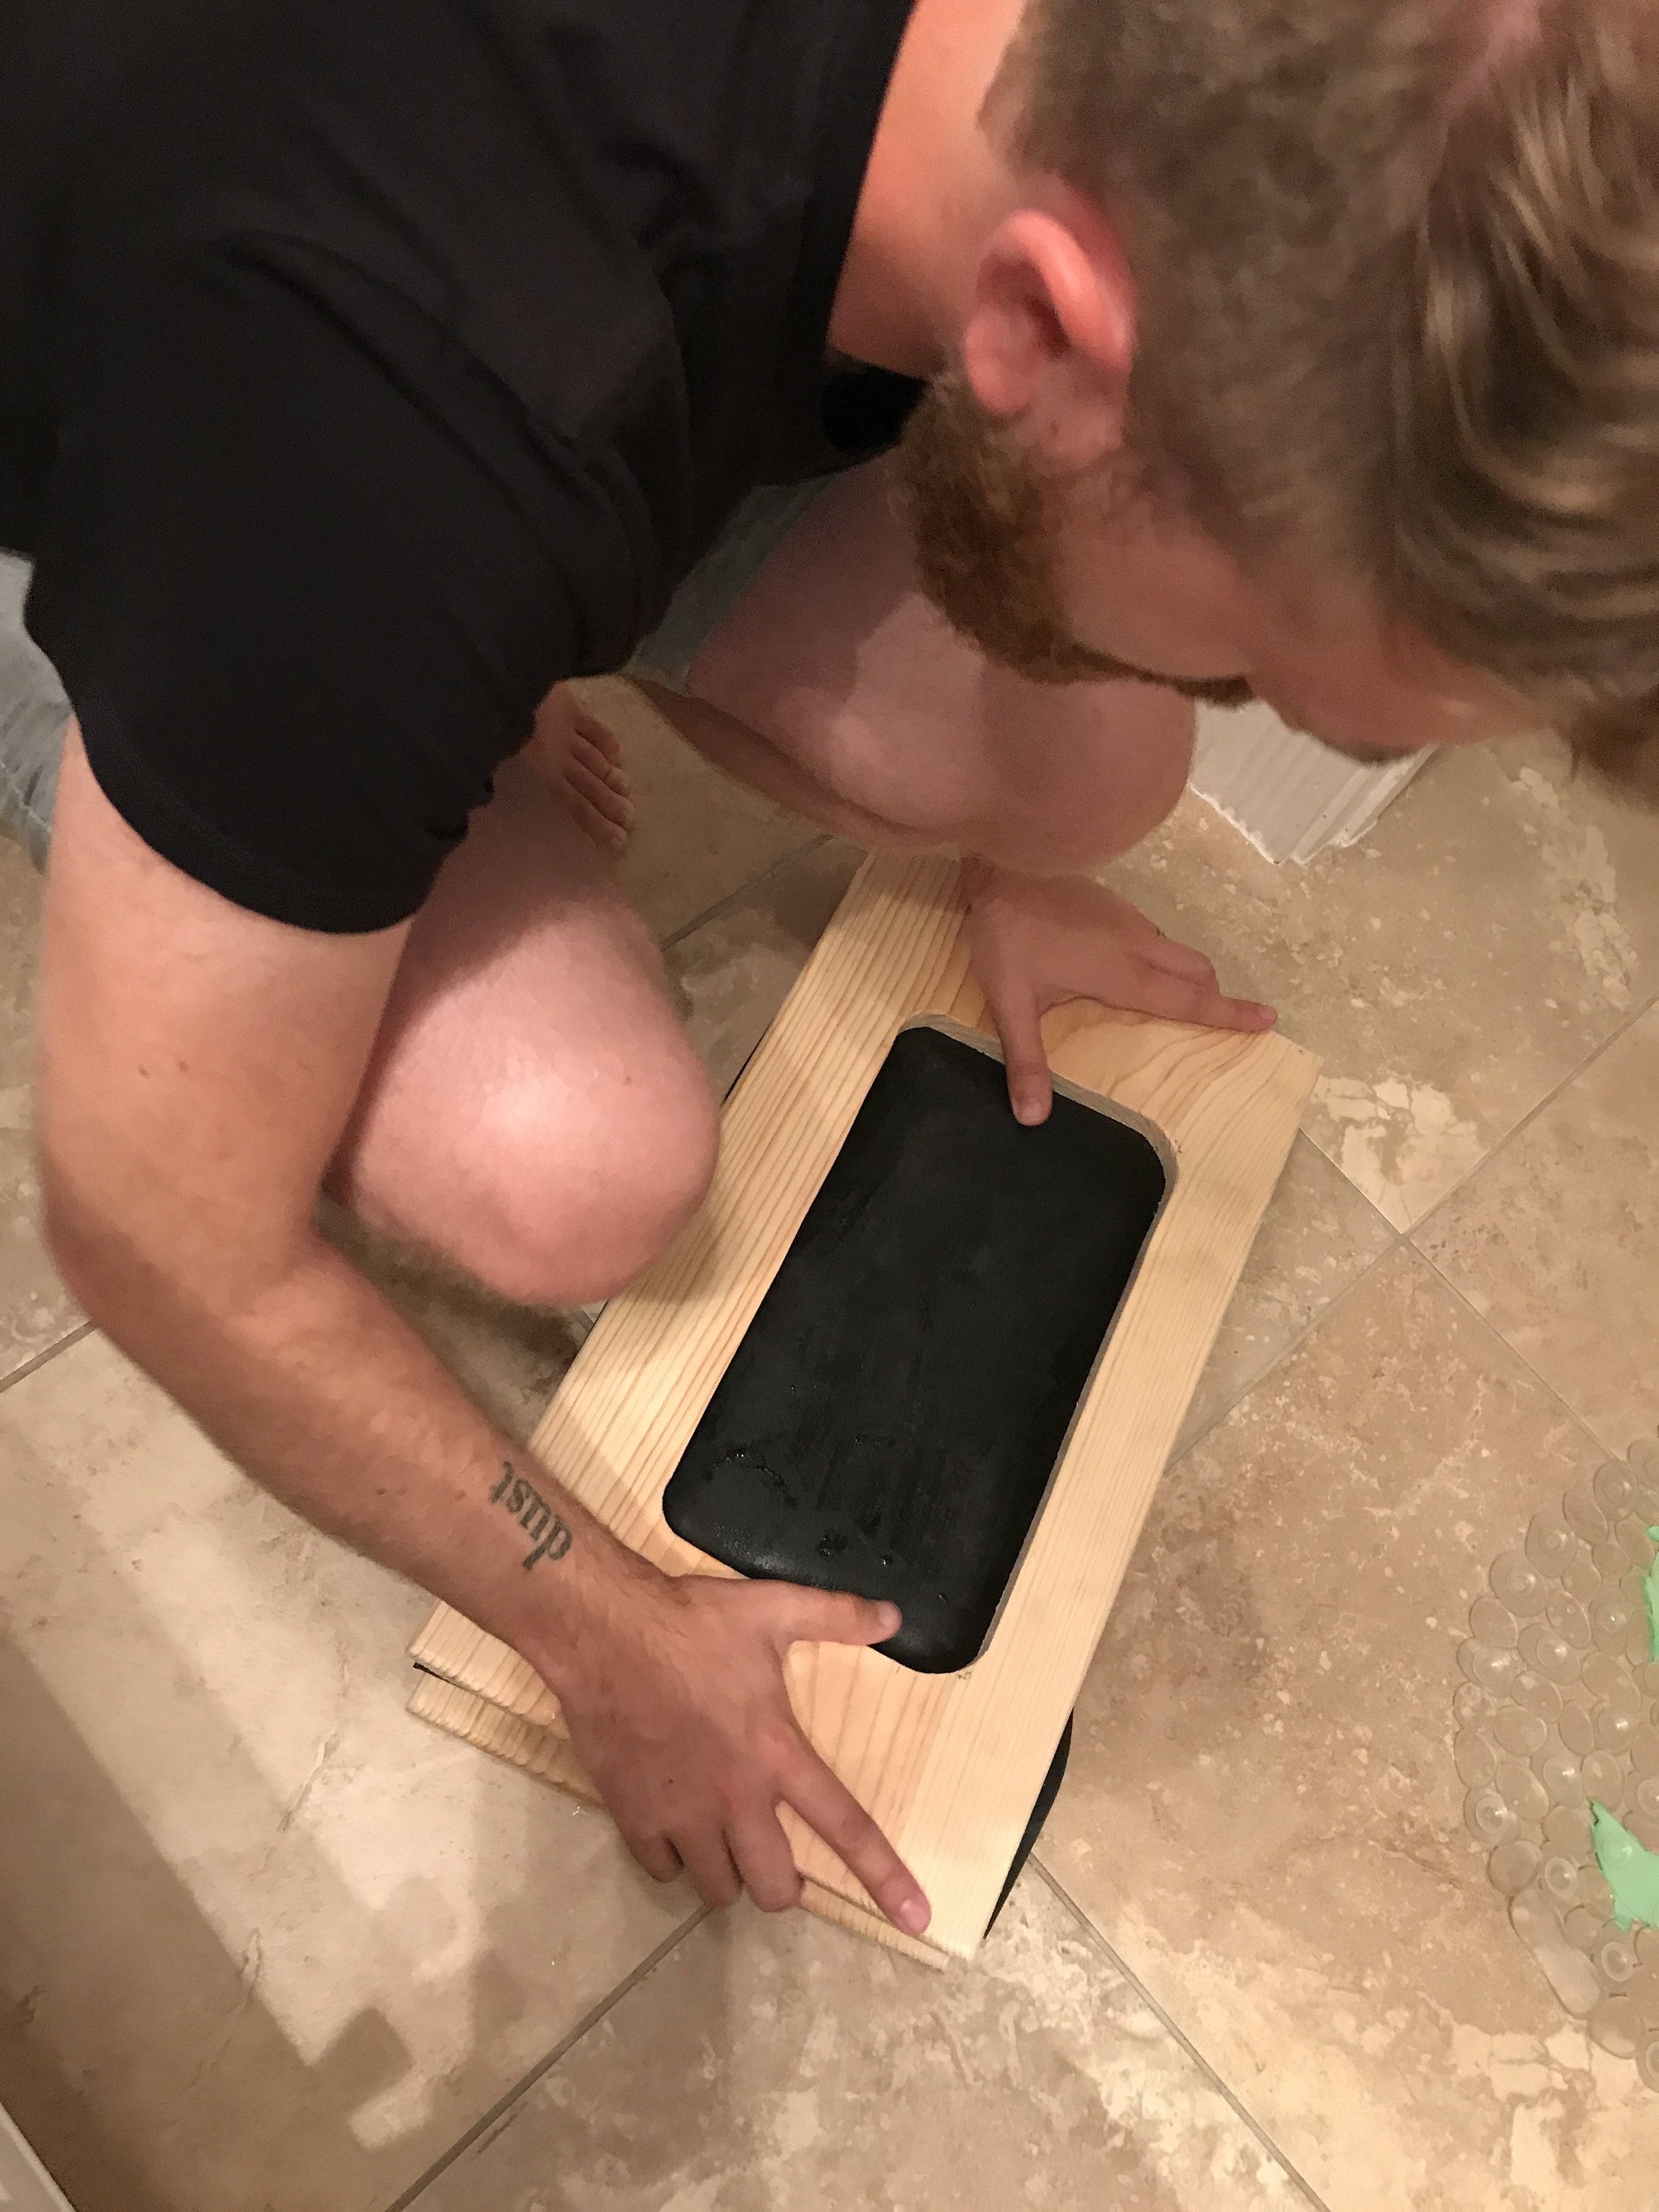
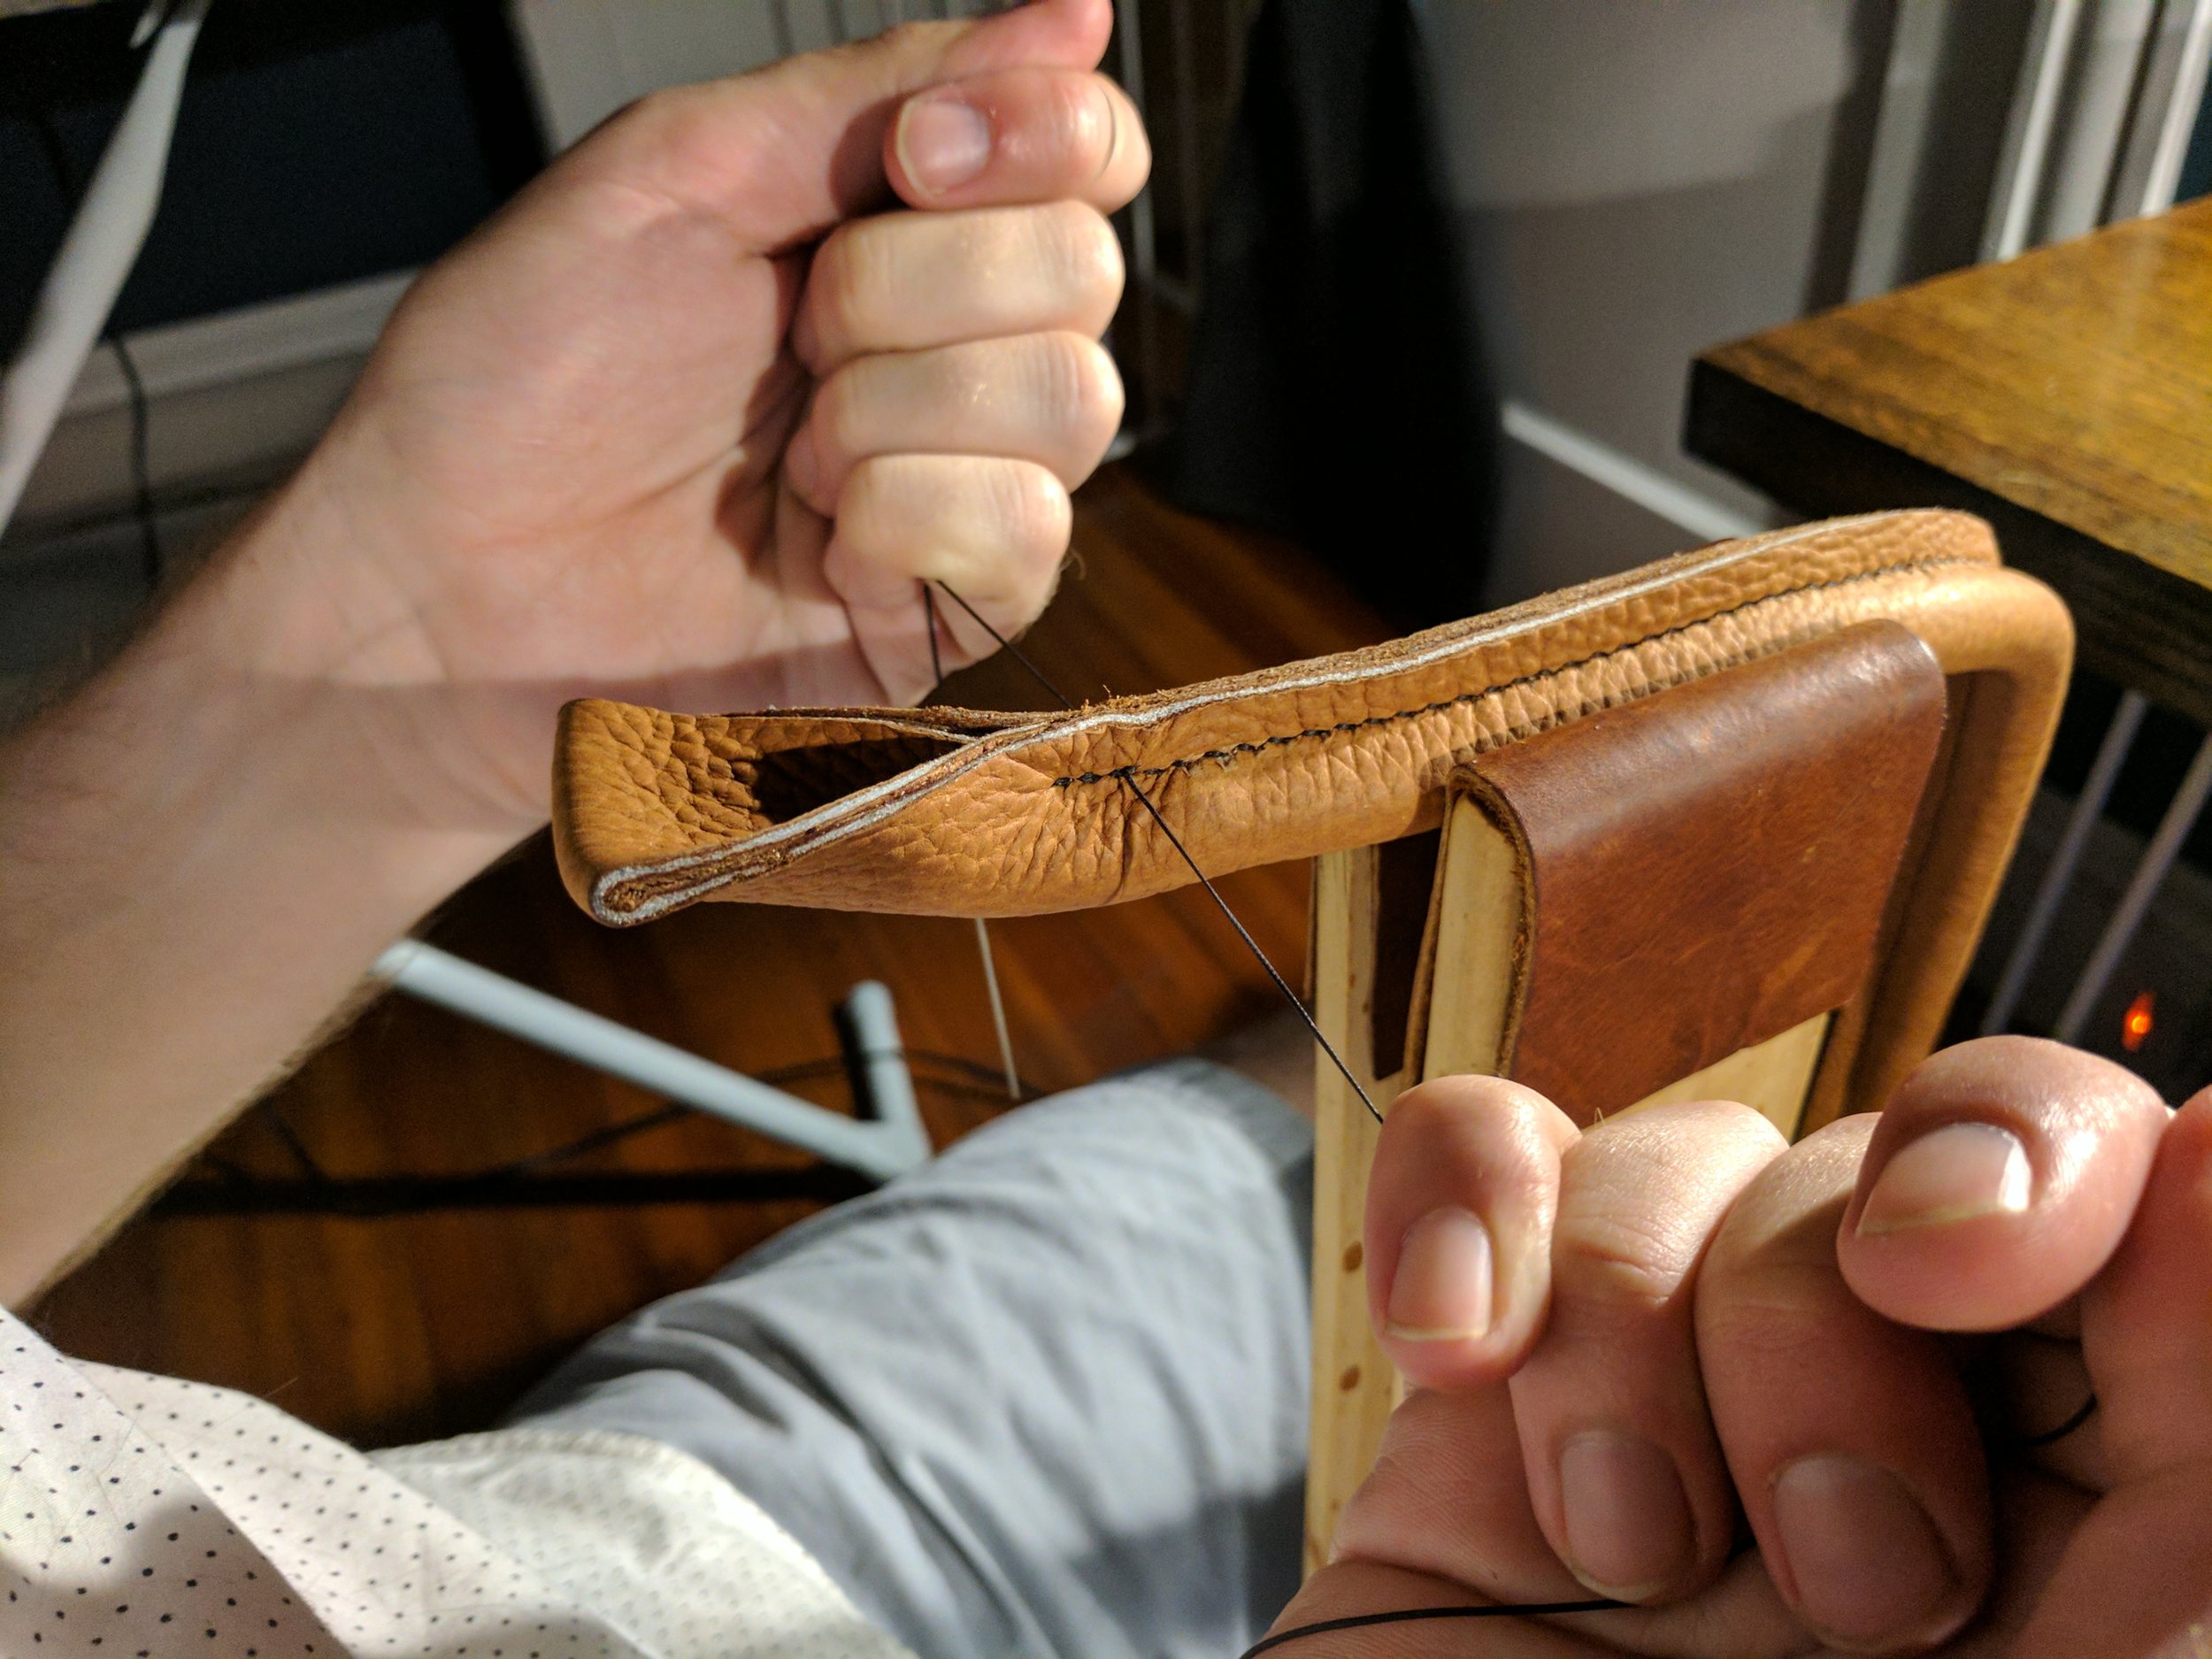
Here you can see me placing the frame over the form... or trying.
The hardest part about using a mold is making it. Unfortunately, I was not able to document the creation of the mold very well, but I will cover the general process and if you have any questions please ask me questions in the comments below.
Each mold is made up of two parts the form and the frame. The form is what you are forming the leather around and the frame is what presses the leather down over the form.
When creating the form, I used a larger piece of wood as the base and then screwed a smaller pieces of wood that was the desired shape of the leather into it. I then came back with a router to round out the corners. And finally smoothed everything out with sand paper.
When creating the frame, I used a jigsaw to cut out the shape that would fit around the form. Cutting corners with a jigsaw is not as intuitive as you might think. I suggest practicing a bit and looking up a few tips on how to do it well. (https://www.familyhandyman.com/tools/jigsaw-tips-and-essentials/view-all/)
When making the form or cutting out the frame, keep in mind the thickness of the leather you plan to use. The form should be the desired length & width, minus the thickness of the leather, while the mold should be the desired length & width, plus the thickness of the leather.
This was my first time using a mold and I learned a ton. Here's a list of things I made for myself for next time:
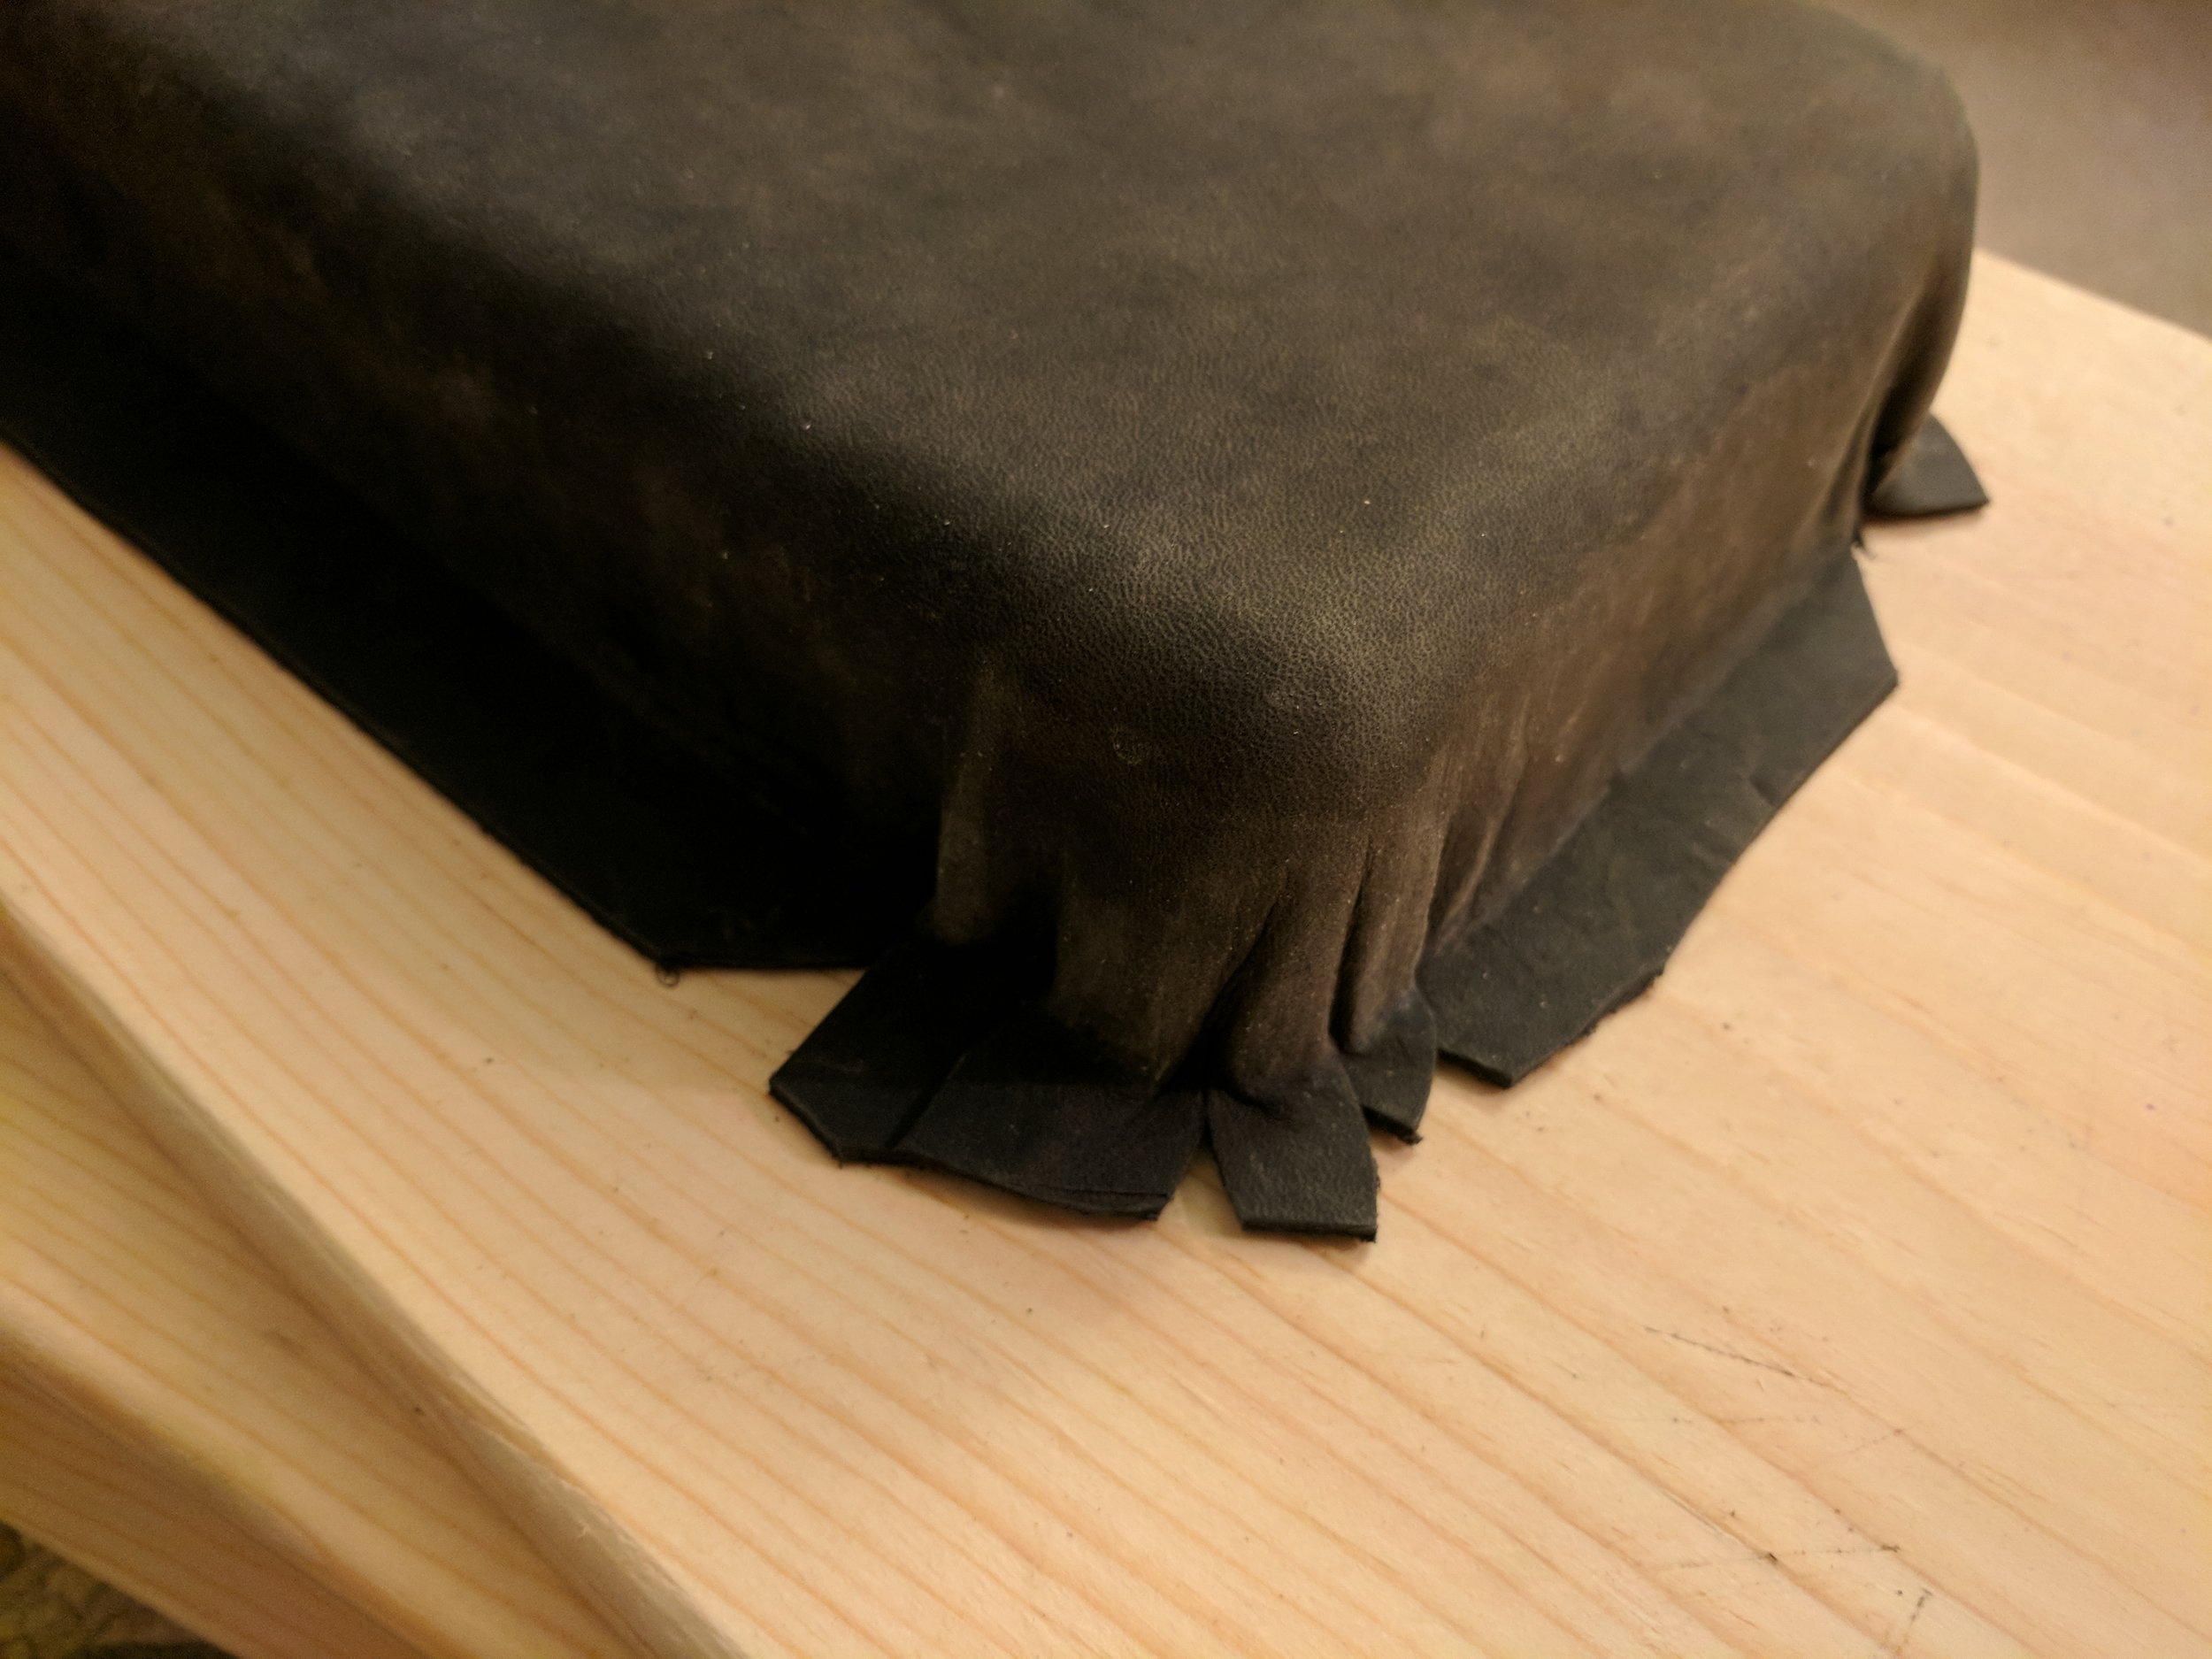
Even though I used triangle cuts here, my frame was not tight enough and a lot of folds formed around these corners.
- Use hard wood - I tried to do this project on the cheap side, but in the future the quality of wood is one of those things I won't skimp on. I used soft wood for the form and the frame... and split the frame almost immediately. In addition the soft wood is more likely to warp due to the water and more likely get dented due to the pressure of the clamps. Next time I'll be using a hardwood and make sure not to cut the hole for the form so close to the edge of the frame. I may even double up on the thickness of the frame. Seriously, it took a lot of pressure to get it to lay flat, even after making triangle cuts and working the leather around the corner
- Keep the frame tight - I got a little sloppy with the hole I cut in one of the frames. There was one side that had a little too much excess around the corners. Guess where the leather bunched up the worst? Those corners. Things worked best when the frame was tight to the form, only leaving enough room for the leather.
- G clamps all the way - Again, I was trying to save costs, and bought a bunch of cheap spring clamps from Home Depot. Don't use those. They didn't open wide enough and weren't able to produce enough pressure to get the frame down over the form. In the future I'll be using G clamps.
All the mistakes taken into account, I was still able to get to leather to mold well. Out of the three pieces I formed, only one ended up with wrinkles and I am pretty certain I can still work those out. I haven't finished the bag that I plan to use these pieces on, but once I do, I will be sure to post the finished project on Instagram and Facebook. As always, if you found this article helpful, you can say thank you by following me on either of those platforms.