
Quilting tape!
You'll be happy to know that installing a zipper well actually takes very little no skill. This isn't one of those situations where you have to train forever to get things perfect (I'm looking at you stitching awl), but instead just requires the right knowledge.
I used to install zippers with glue. It was a pain and usually the end result, even if lined up straight, was messing due to the glue residue. Then one day a leather working friend told me, "Just use quilting tape."
And my life has never been the same.
So basically, this very short article is just here to pass along my friends message to make your zipper installation a breeze. But I will also, quickly cover the process of adding a zipper to a bag.
Picking out a zipper:
Since we are using leather, I really suggest avoiding plastic zippers. No need to put something that will quickly break on an item that is supposed to last a lifetime. I always use metal zippers and the best known brands are YKK and Ziri. YKK is used on pretty much everything. You could check the zipper on your pants right now and it's more than likely that they'd say YKK. This is great because, if you're like me, you probably cannot remember a time you had your pants zipper break. It's a good brand. There are tons of sellers on etsy that will sell YKK zippers. Ziri zippers are an even higher quality zipper, and have a price point to match. You can get a couple feet of it from Buckleguy for about $20. While I like using Ziri zippers on some of the high end custom work I do, usually I choose YKK, because the wide range of styles and quality (even if it's a bit less).
Prepping the leather for the zipper:
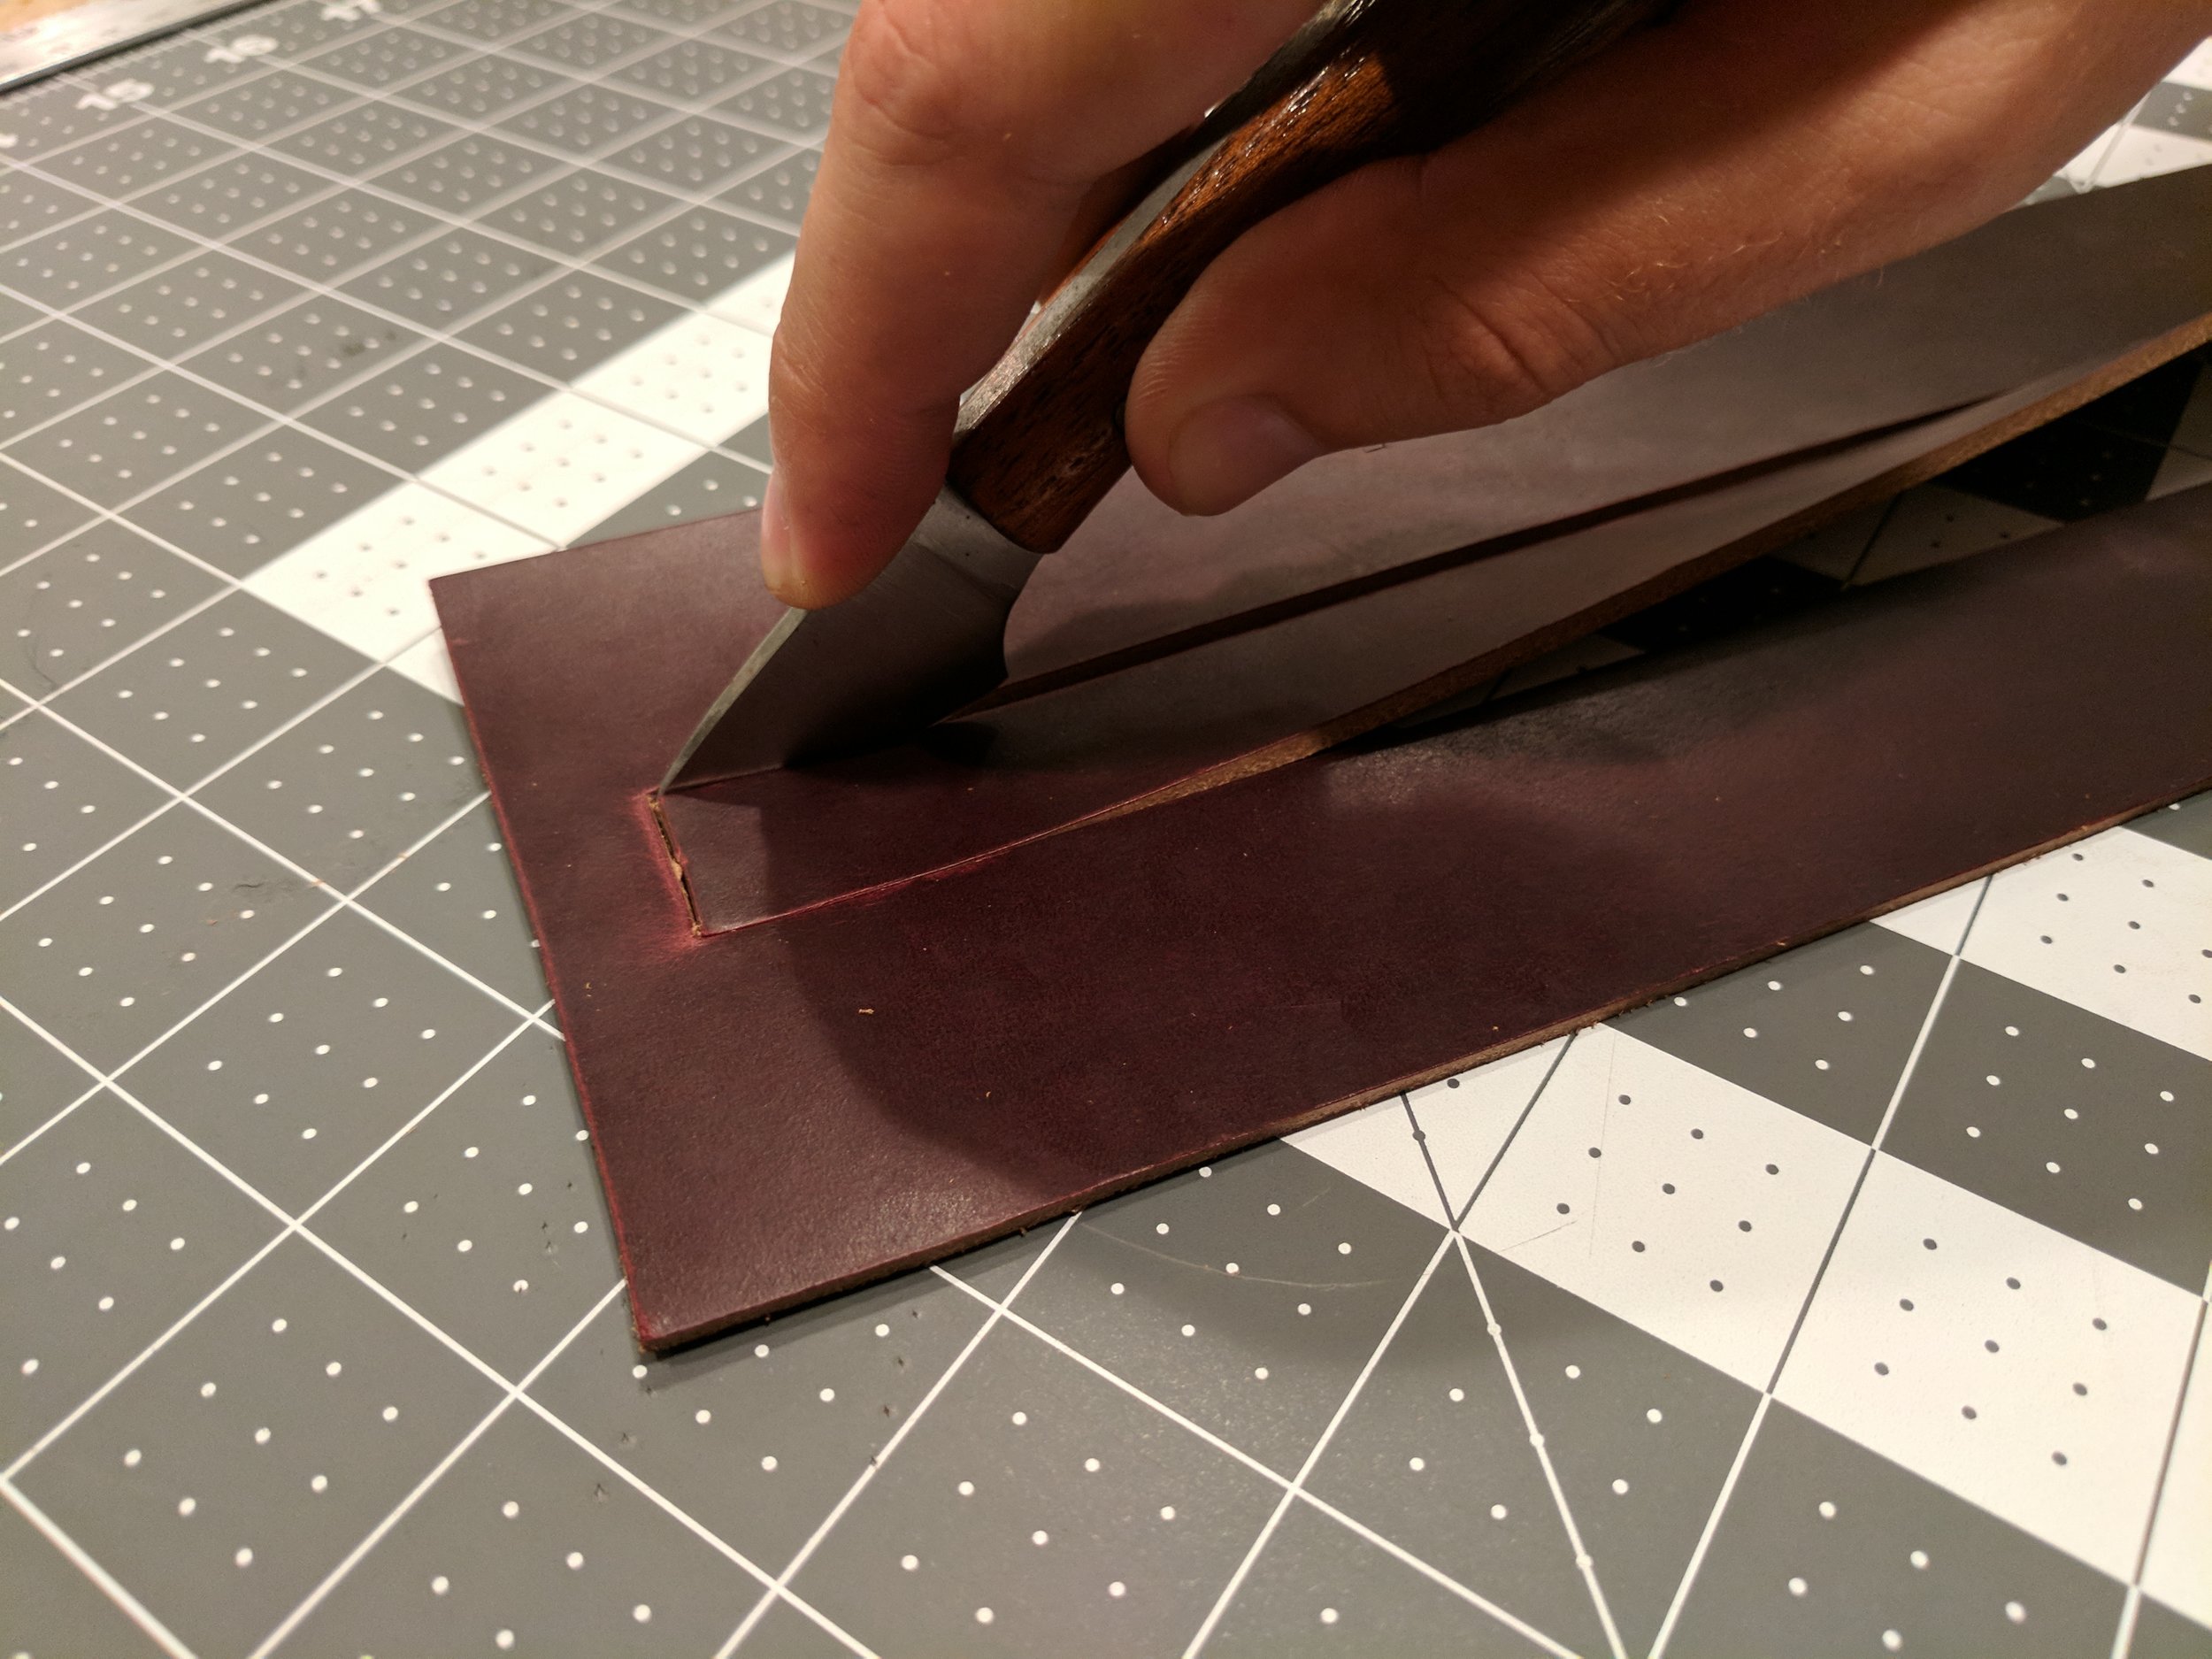
Cutting out the zipper slot
In this example I am going to place a zipper into one piece of leather, instead of joining two pieces of leather together with the zipper.
To do this first cut out a rectangle where you want to put the zipper. A couple things to keep in mind when doing this:
Painting the edges
- If you want a bag to have a comfortable opening that is one foot long, you'll need to allow the zipper to go beyond that one foot. This is because the zipper will always pull the leather together on the ends. In this case, you might have a 14-16" slot for the zipper.
- The zipper slot needs to be smaller than the zipper. As in the example, your zipper will go underneath the slot that you cut and the zipper's fabric needs to exceed that slot to be sewn in. Typically I try to have about .5" on either side to allow for stitching.

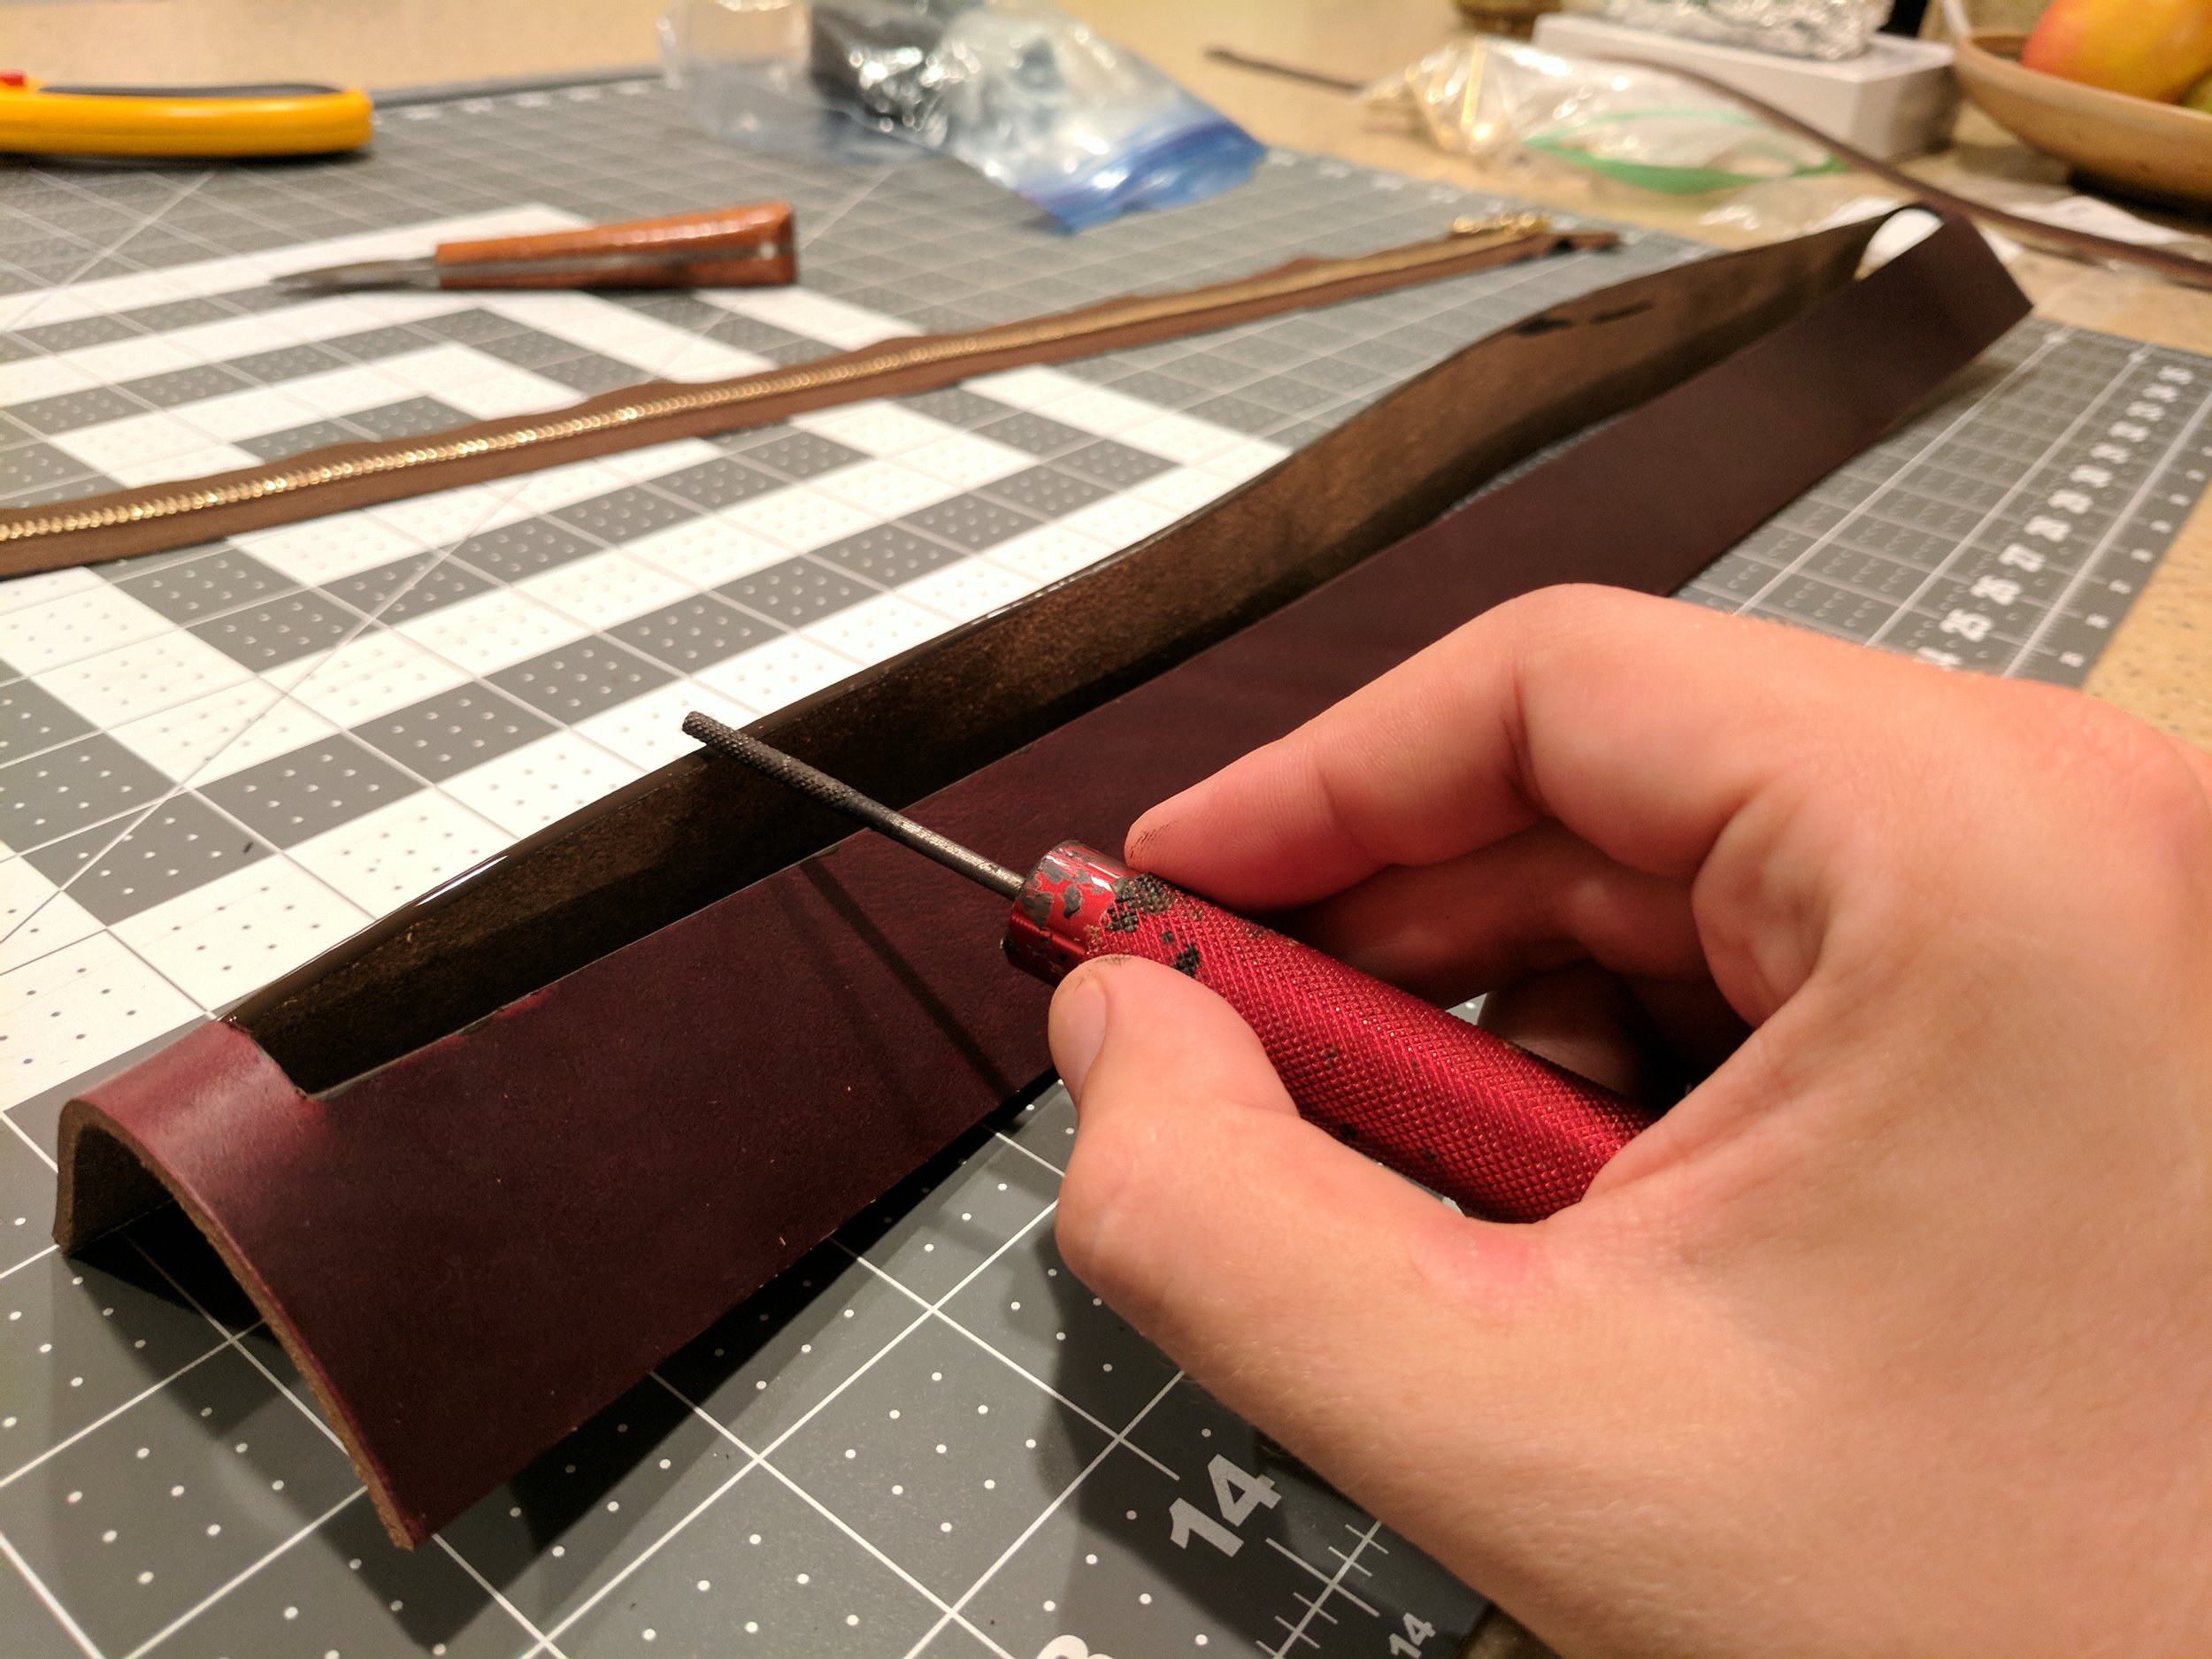
Creating stitching lines
After you've cut the hole you'll usually want to stitch something to each end that will stop the zipper pull from slipping under the leather, never to be seen again.
Then, before putting on the zipper, make sure to finish the edges, whether that be by burnishing or with edge paint.
Just Use Quilting Tape:
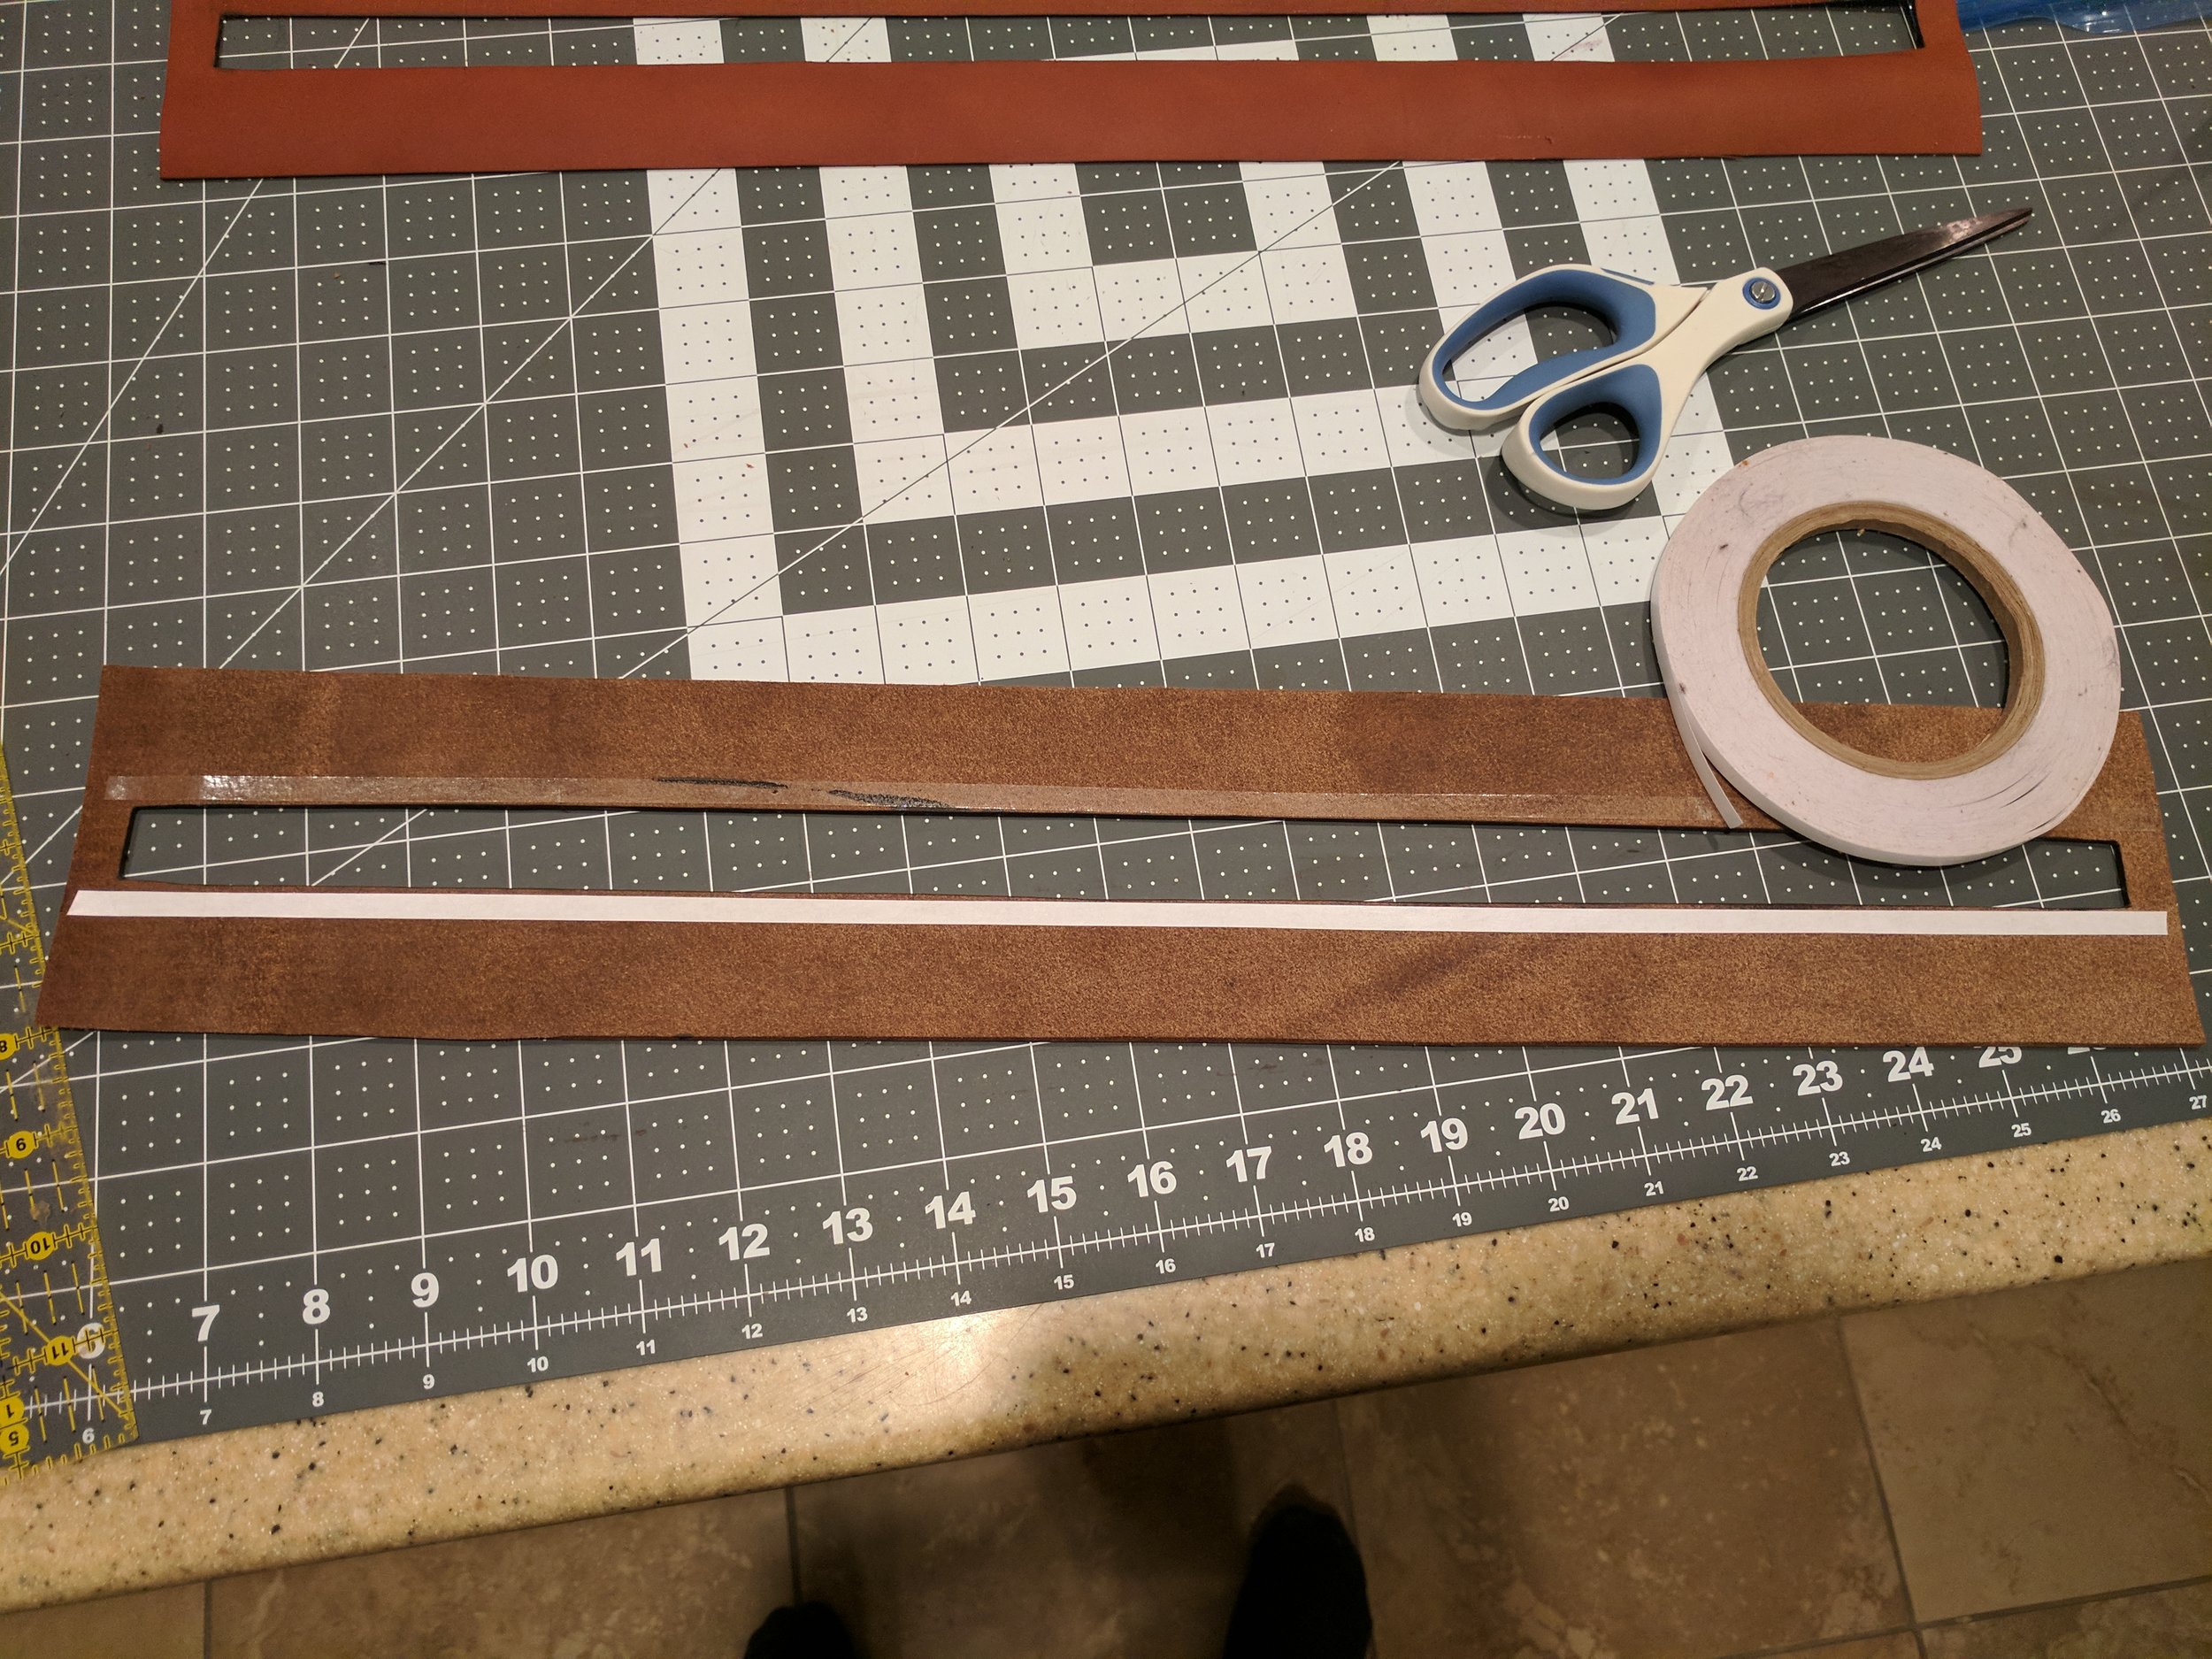
Applying Quilting Tape
Quilting tape is just double sided stick tape that's thinner than normal. And all you have to do to use is cut it to size, peel off the back, and place it on the edges of the zipper's fabric. Then place the zipper in place under the slot you've cut. And, done, it's held in place for your stitching.
Stitching:
There is nothing unique about stitching a zipper, but if you don't know how to stitch you can check it out here.
As I said above, my friend’s quick “just use quilting tape,” has saved me an absurd amount of time. My hope is that I’ve passed it along and have saved you that time so you can spend it on skills that require practice to hone.
p.s. I swear I am not paid to advertise zipper tape. But, when you try it out and it saves you from the normal zipper headache, you’ll be fan boying too.
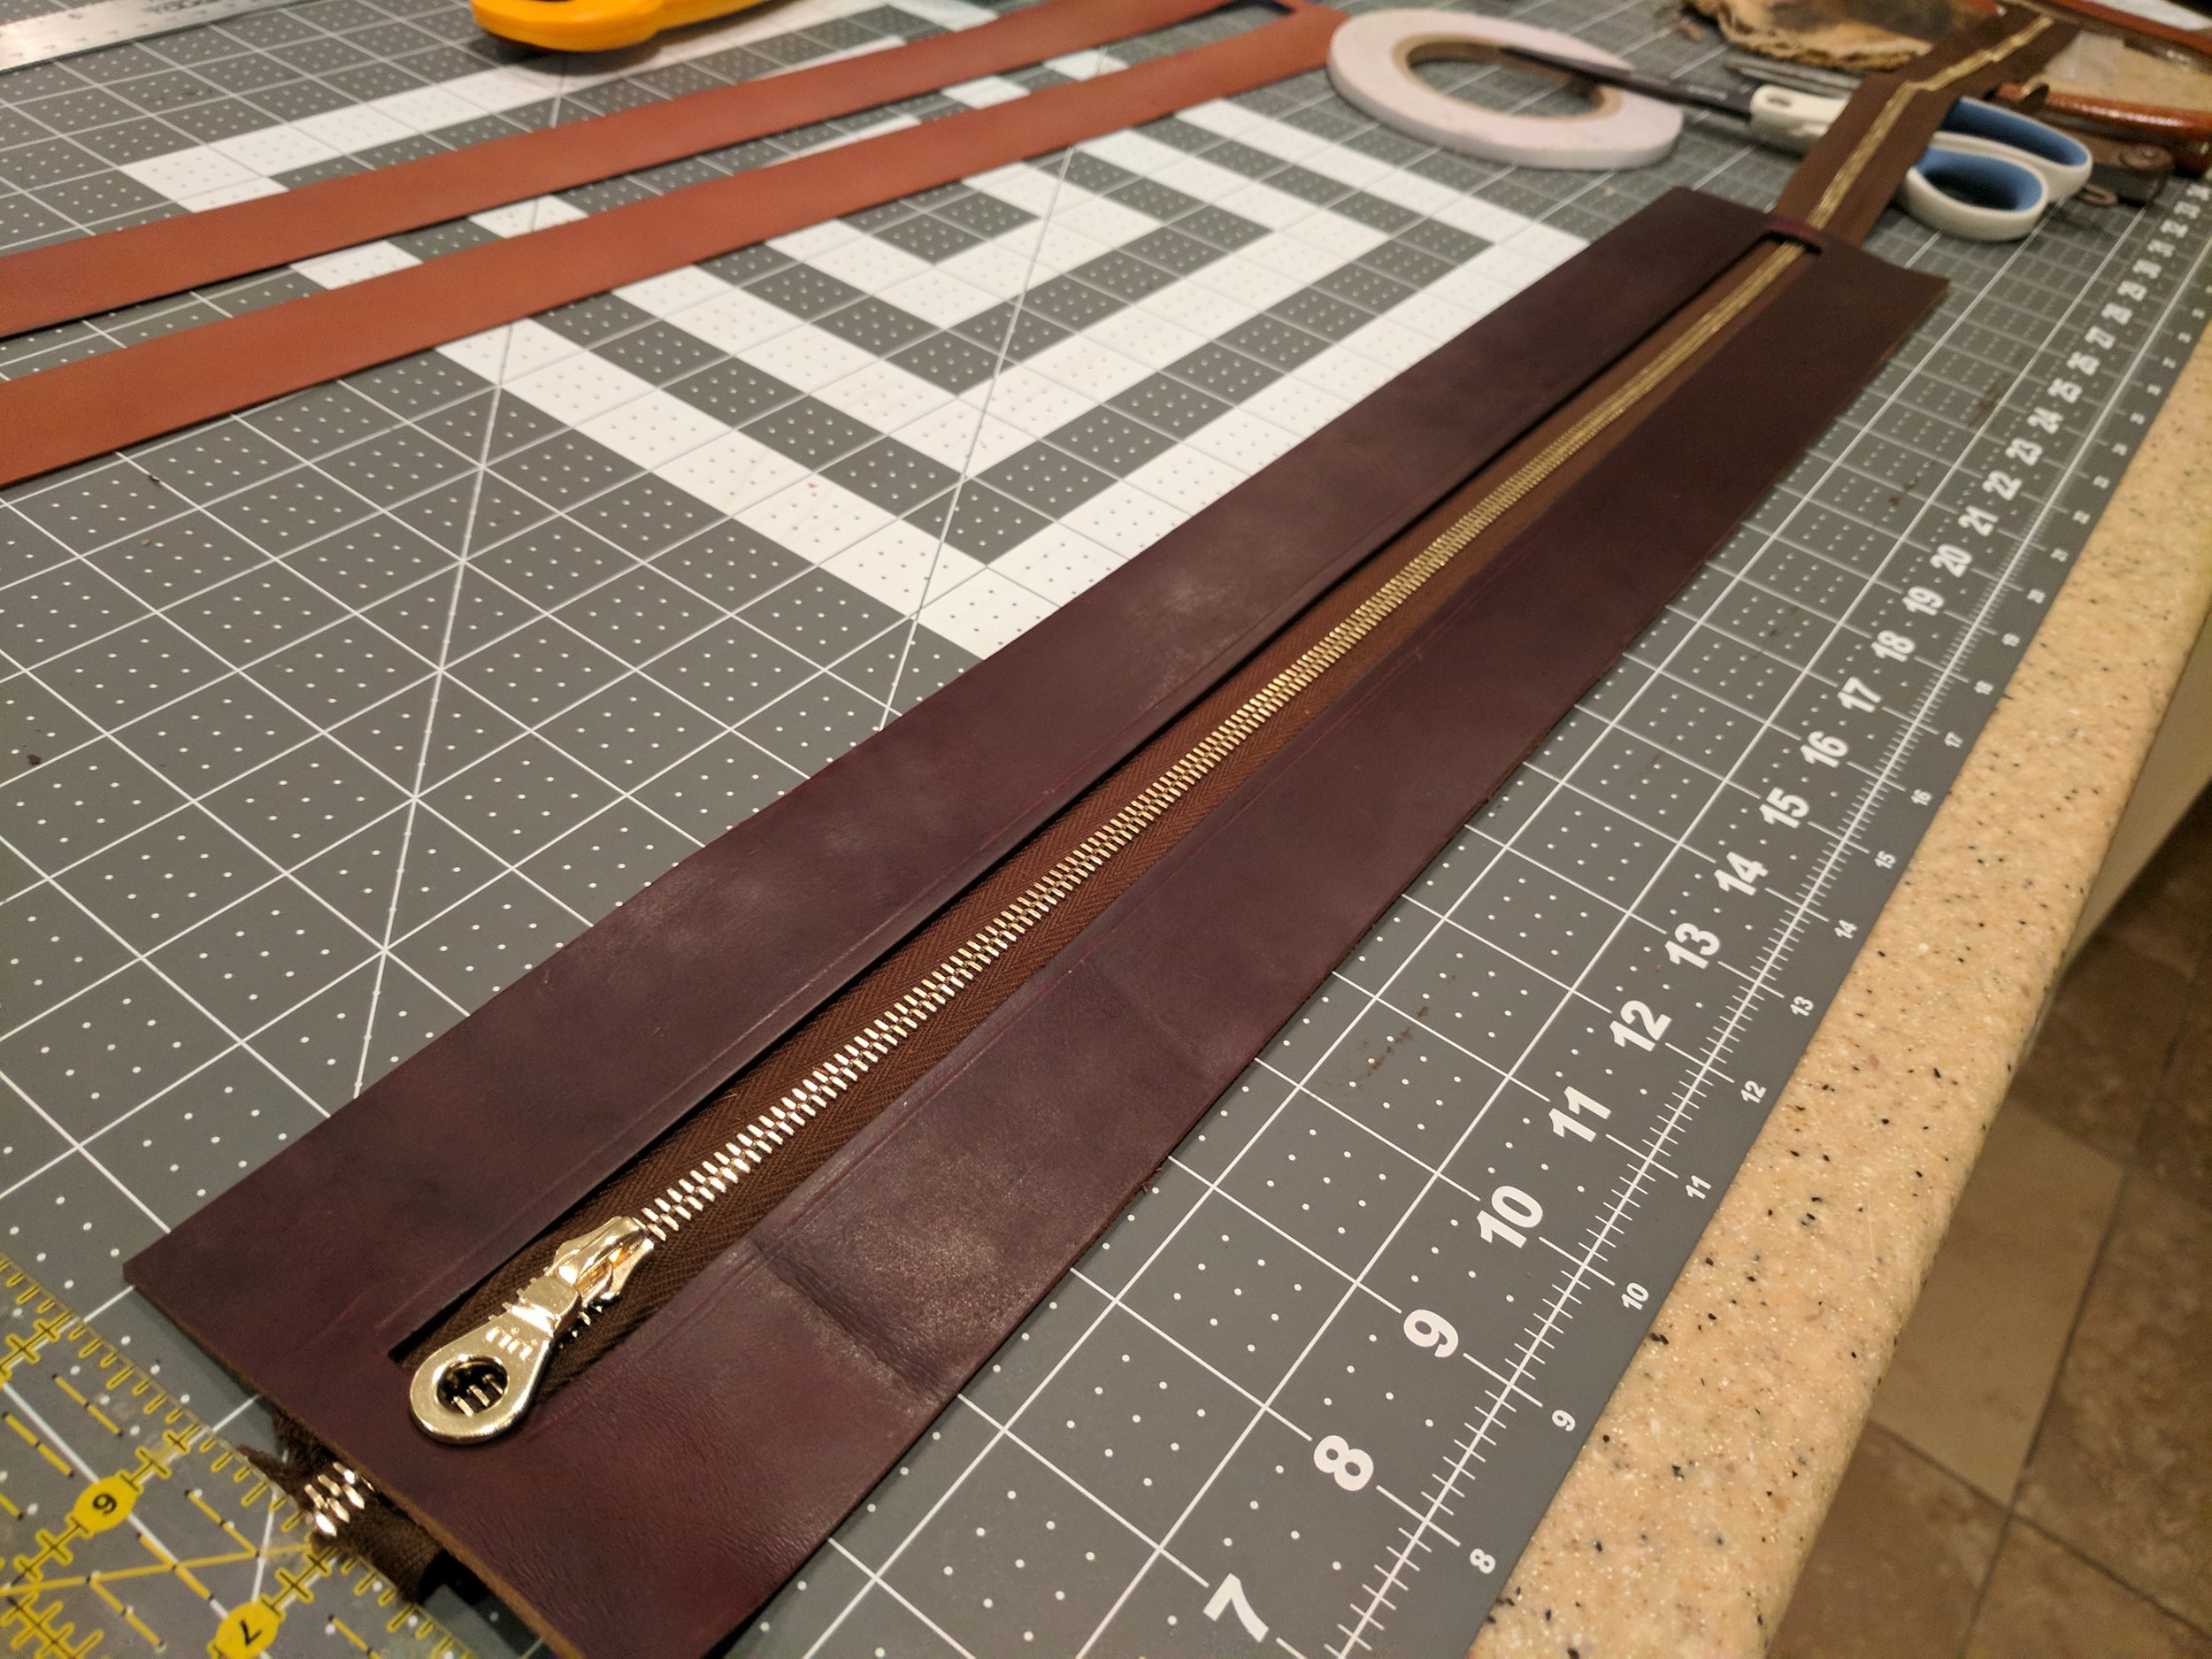
Quilting tape magic applied. Just need to trim the zipper and stitch into place.