This is a picture of the very first leather item that I made: a belt. I've worn it for years, and it's worked, but it definitely isn't pretty. I made a ton of mistakes (as you do when you first starting something) and it shows. I made the belt with snaps instead of rivets, the holes aren't evenly spaced, and the the burnishing on the edges are rough. I figured it was finally time to make a new one and hopefully share some of what I've learned along the way so your "first belt" looks a little bit better than mine did.
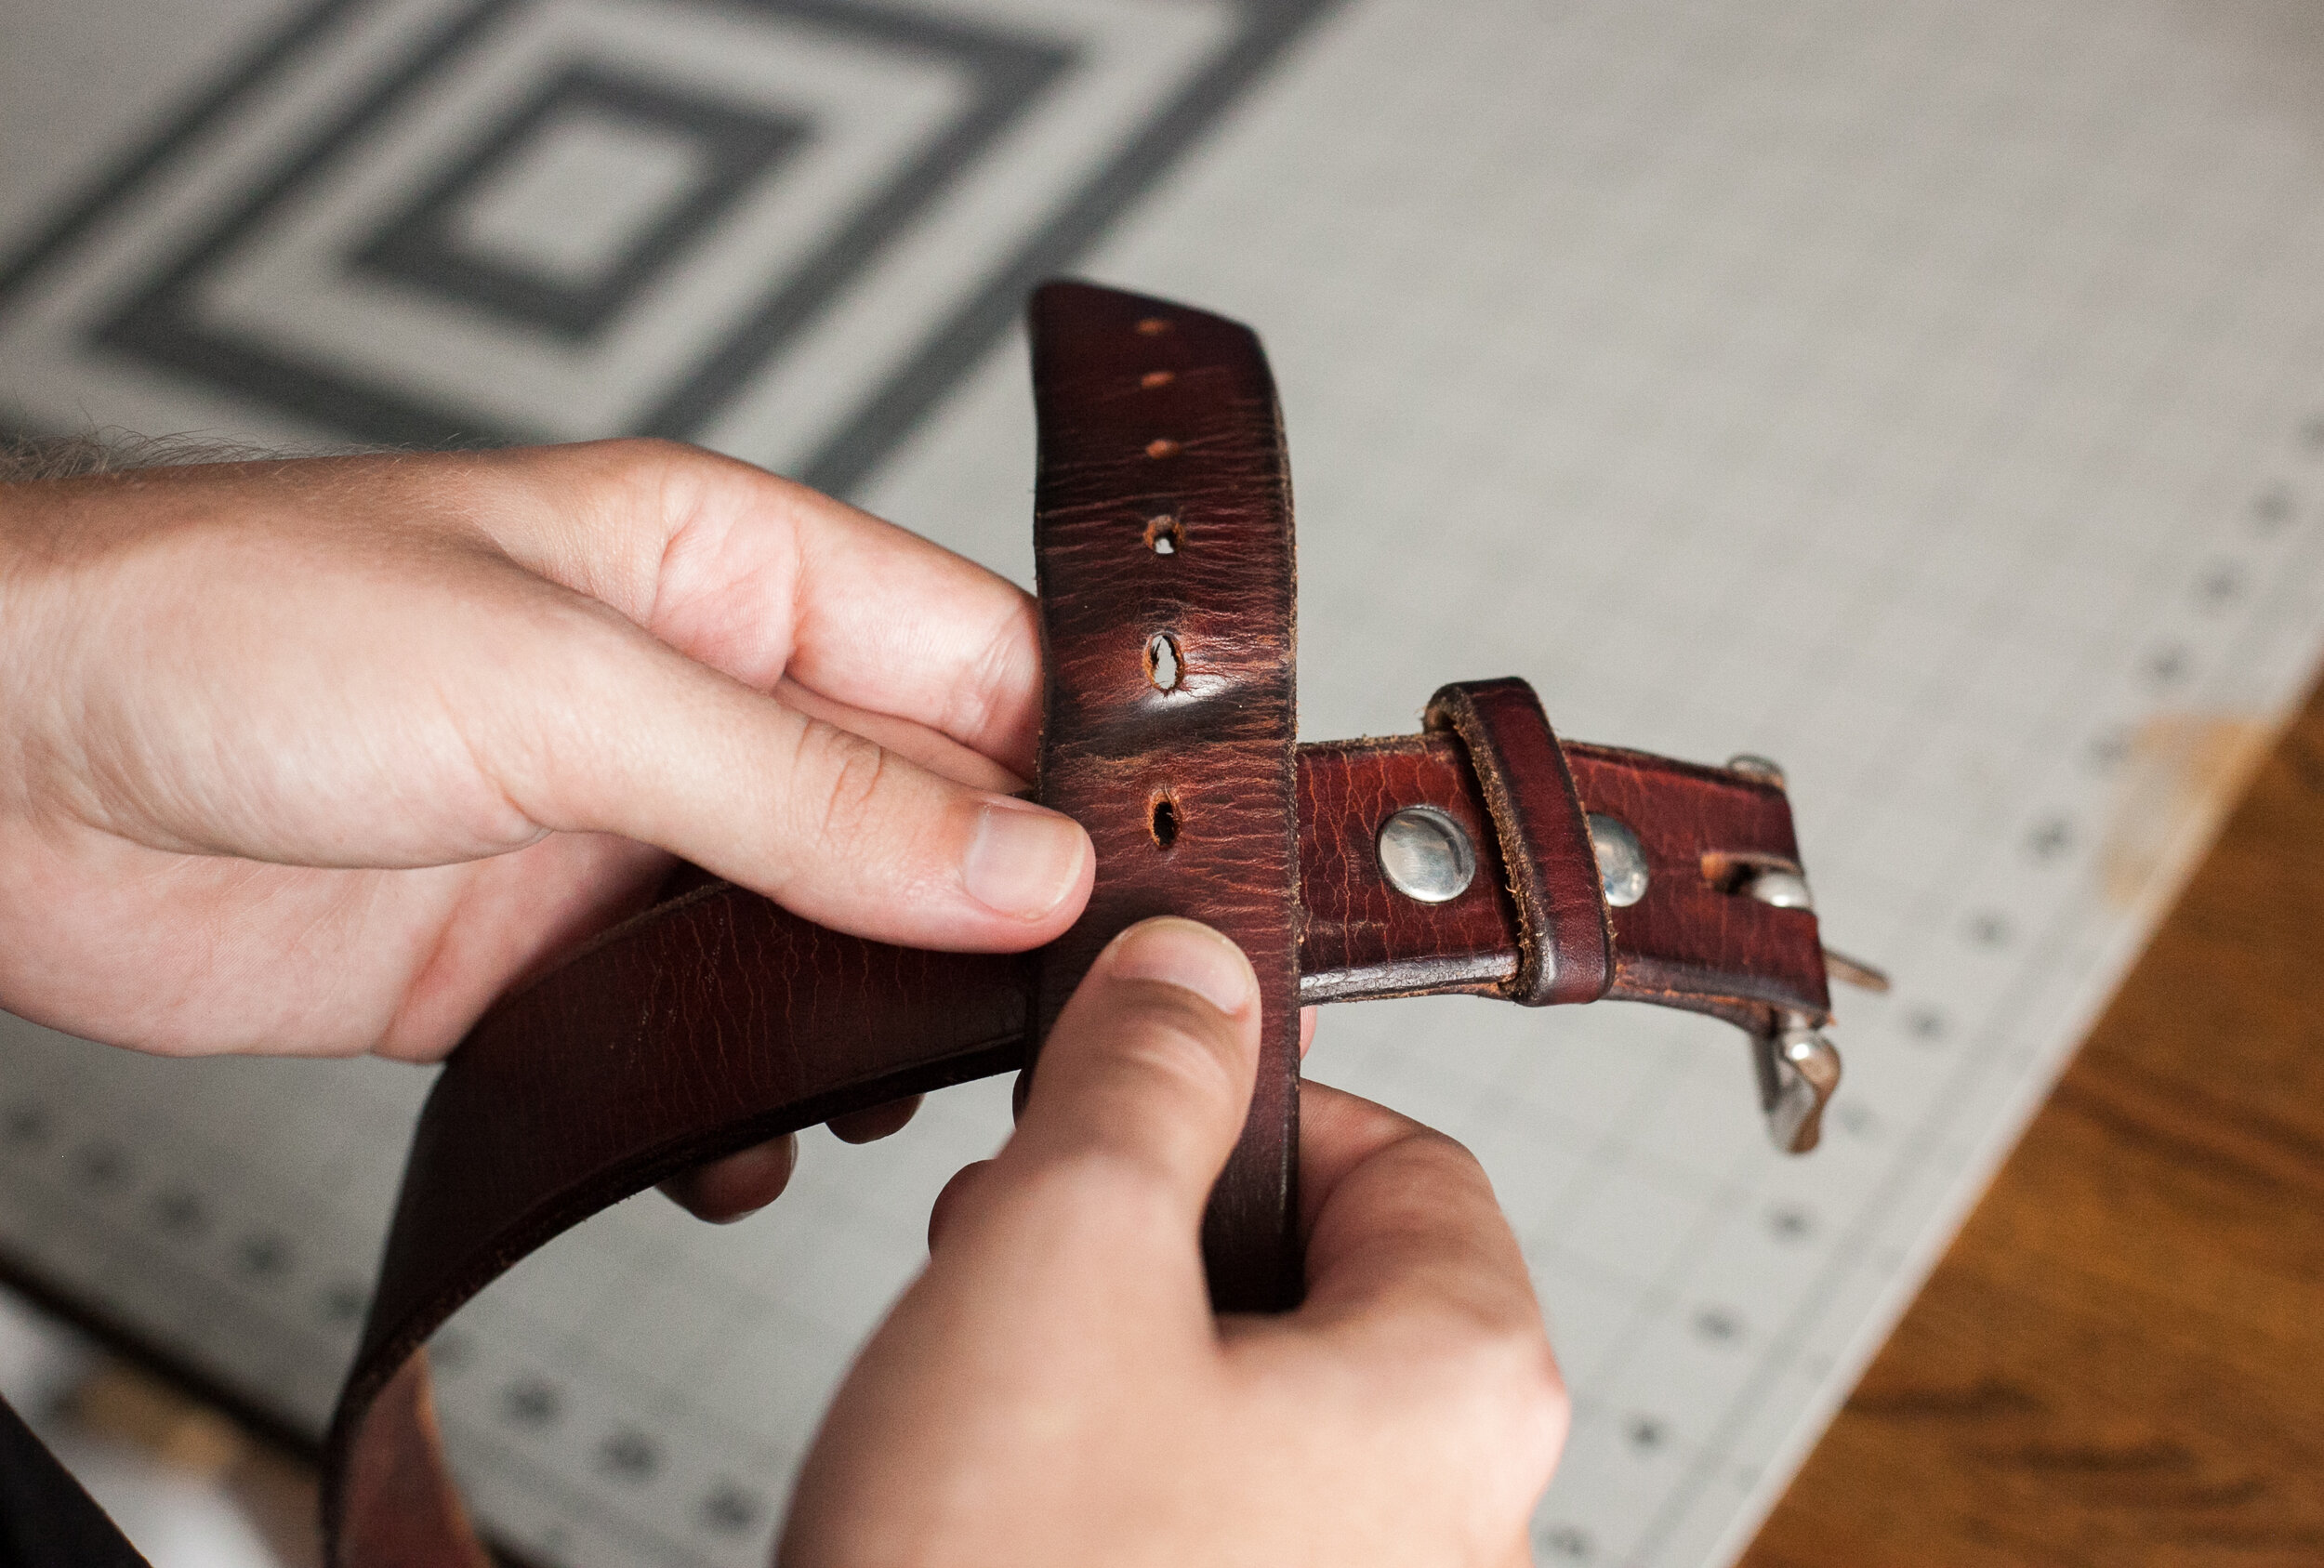
Old Belt
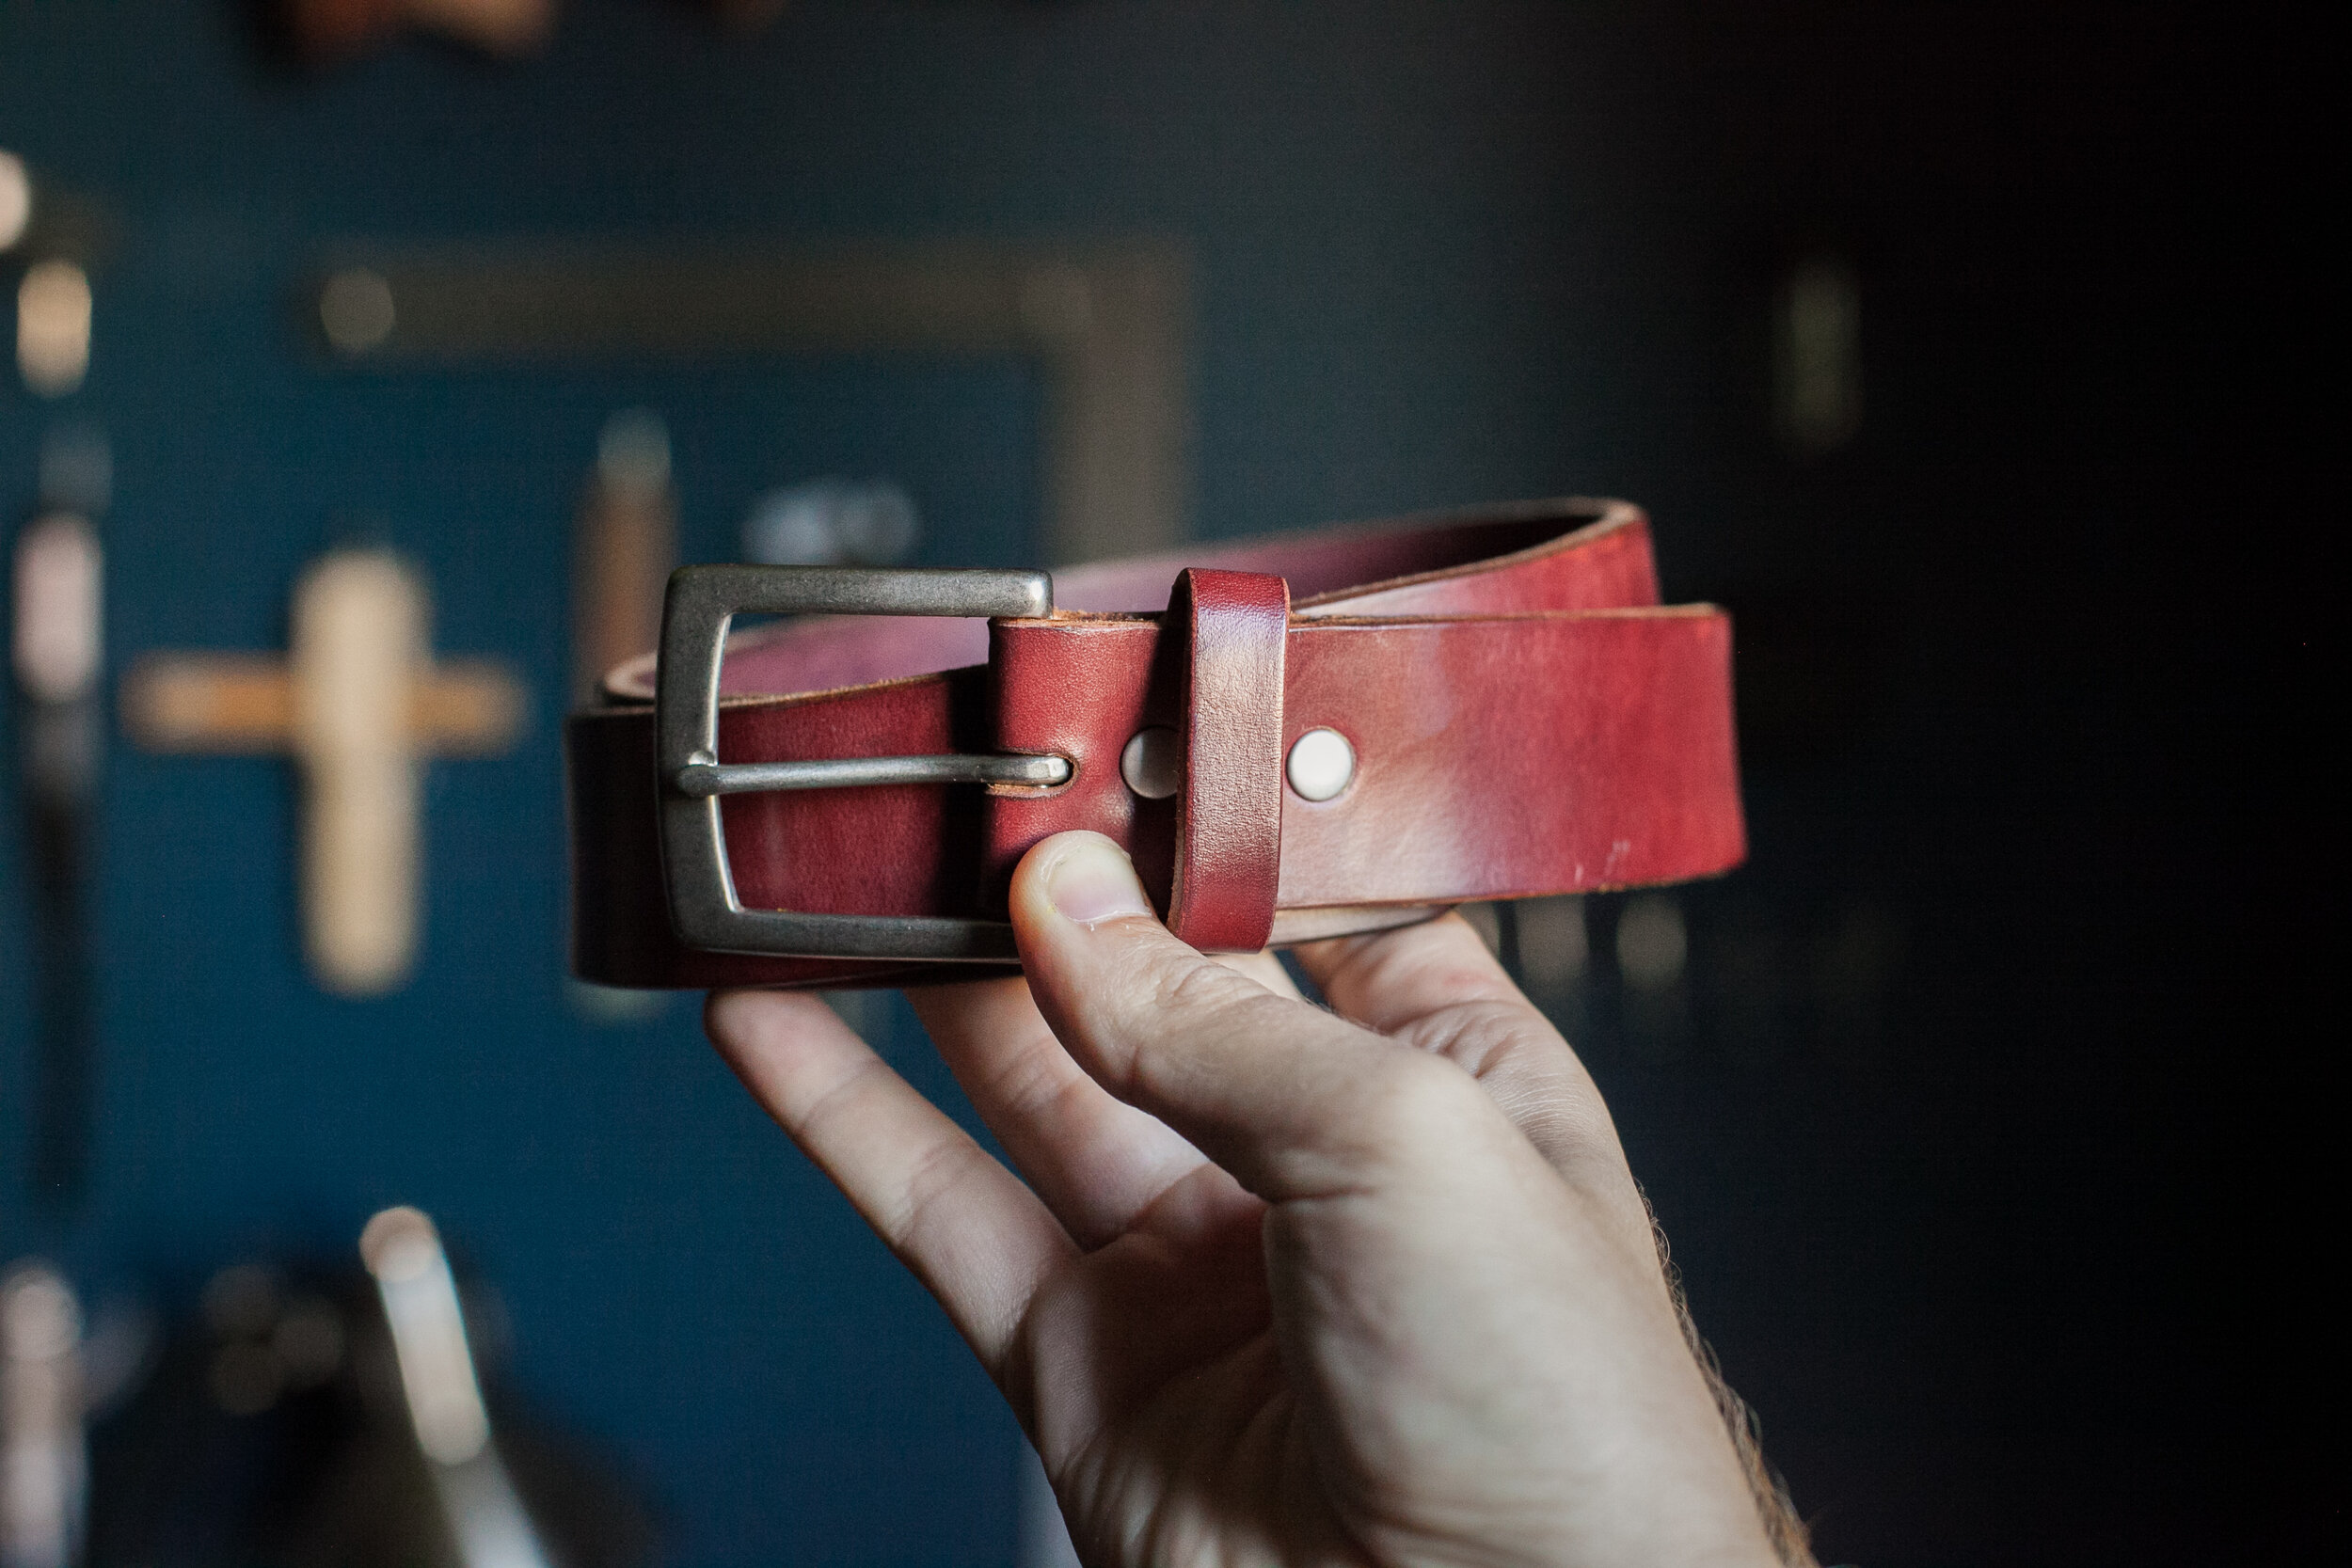
New Belt!
What You Need:
8-12oz Leather (a side)
Strap Cutter
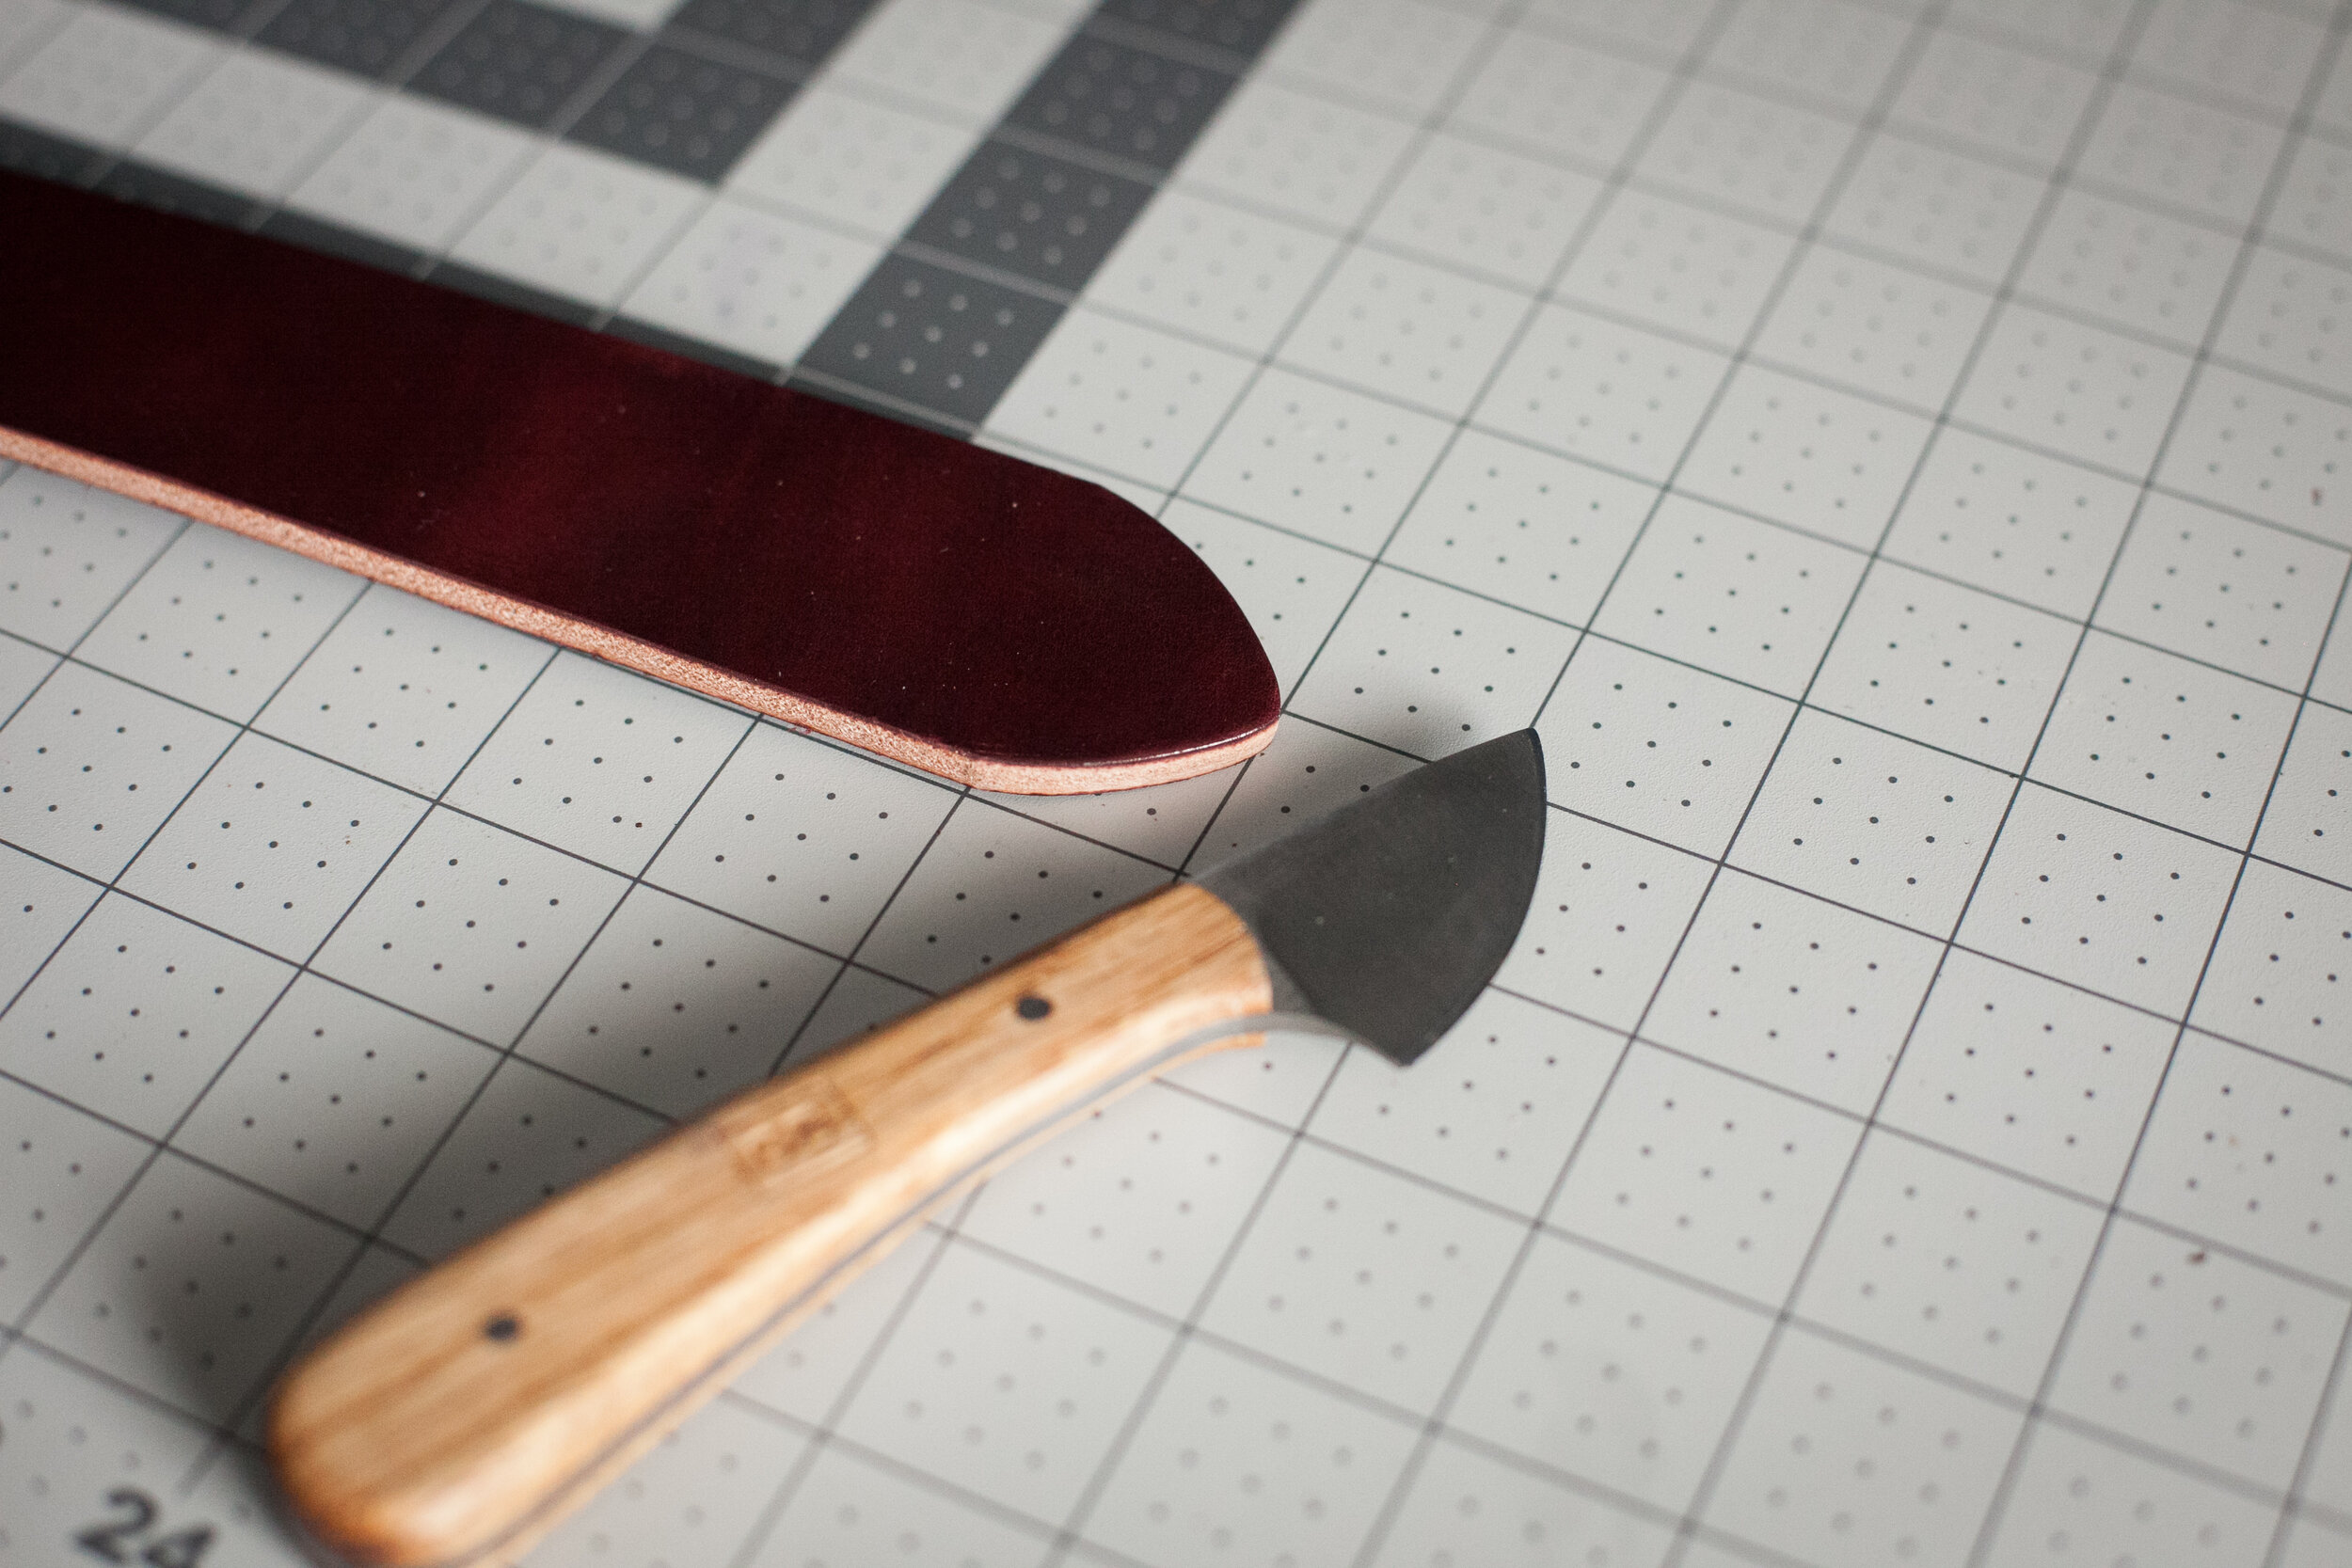
Leather Knife (or Rotary Cutter)
Leather Glue
Leather Dye
Beeswax
Thread & Needles
Long Ruler (4ft+)
Hammer
Hole Punch
Divider
Skiving Knife (Optional)
Diamond Chisels
Scratch Awl
Craft Spong
Canvas Cloth
Rivets
Rivet Setter
Belt Buckle (cheap ones can be found at Amazon. Quality ones can be found at Buckleguy.com).
Step 1: Prep the Leather for the Strap Cutter
Need: Leather, Leather Knife, Scratch Awl
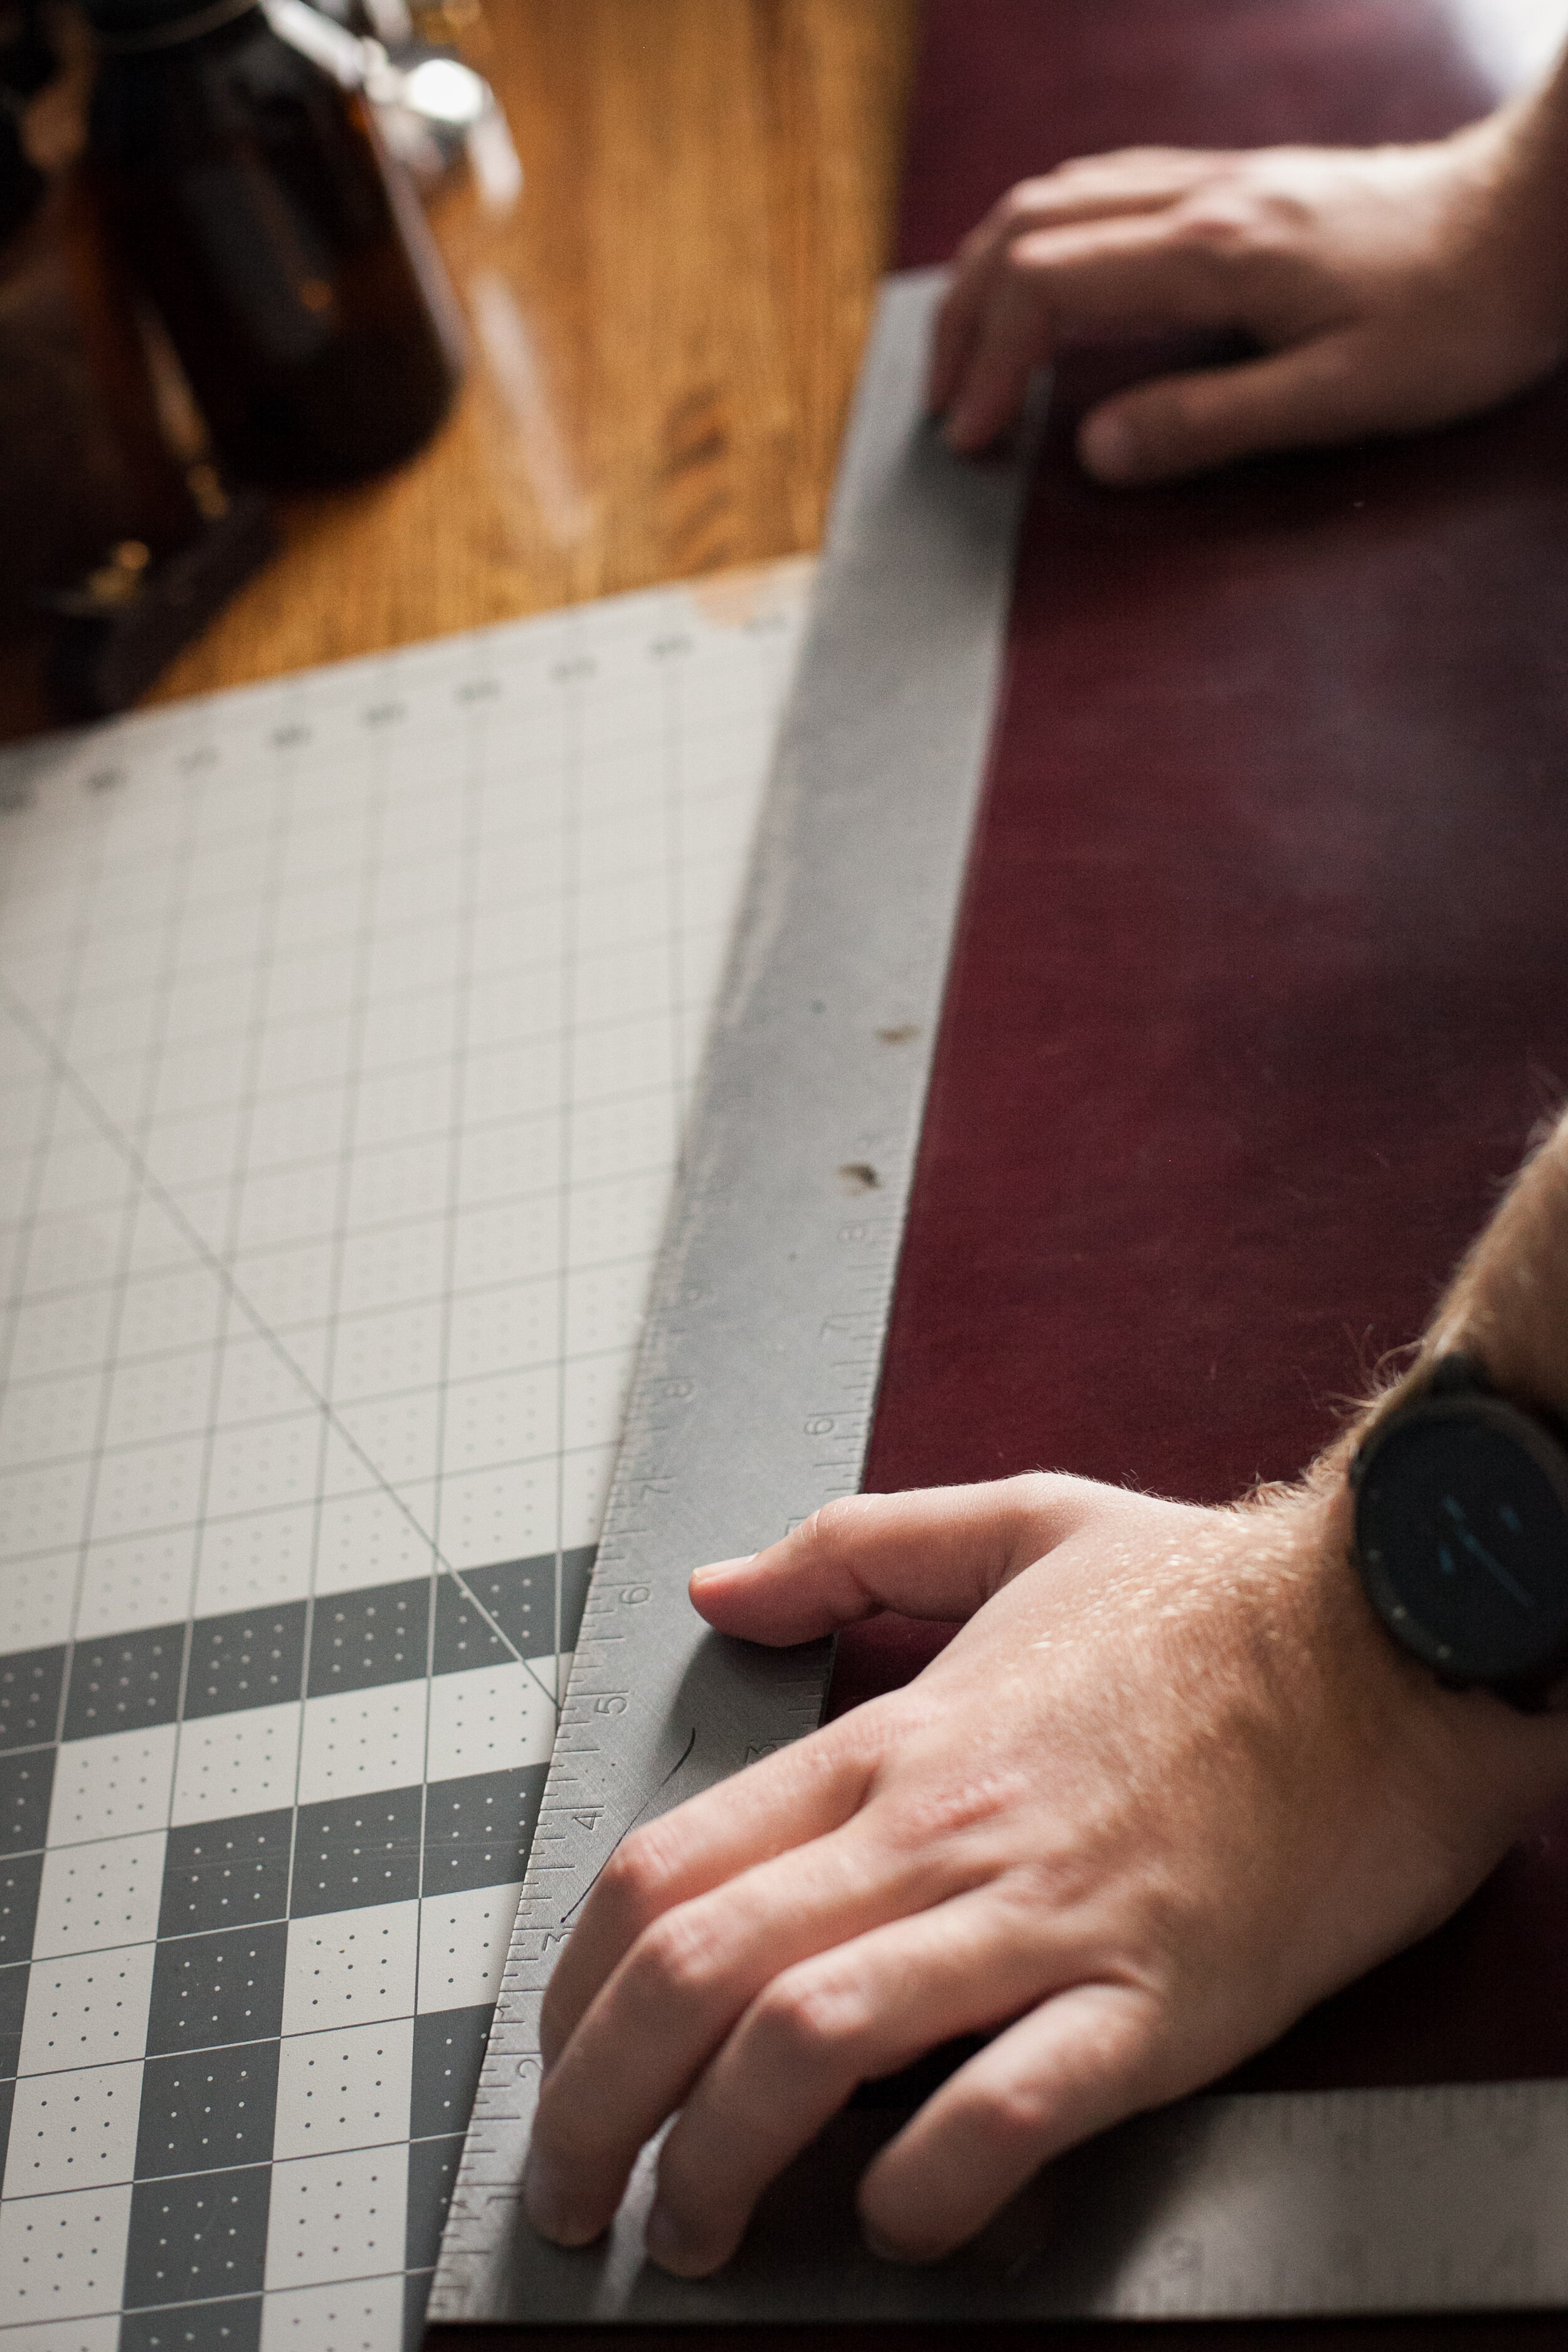
This step assumes that you've bought finished leather or that you dyed and finished leather yourself. If you need help dying the leather, check out THIS POST.
For the strap cutter to work you need to have a straight edge on the leather. Your first step will be making that first straight cut across the leather. This is fairly simple. Just grab you long ruler (preferably at least 3 ft) and set it across the top of the leather. The goal is to get it as close to the edge as possible with out having any part of the ruler come off the leather. This will create a long straight cut with the least amount of scrap. It's ideal to do this along the part of the leather that would have been along the spine of the cow. This is for two reasons. One, it generally yields fewer scraps as this part of the leather is already fair straight, unlike the bottom of the leather that will have peninsulas from the legs. Second, the leather that's from this spine area is a bit tougher than the leather from the belly. This tougher leather is what you want for a belt. Once you've marked a clean straight line across the leather with the ruler and scratch awl, go ahead and make your cut with the leather knife.
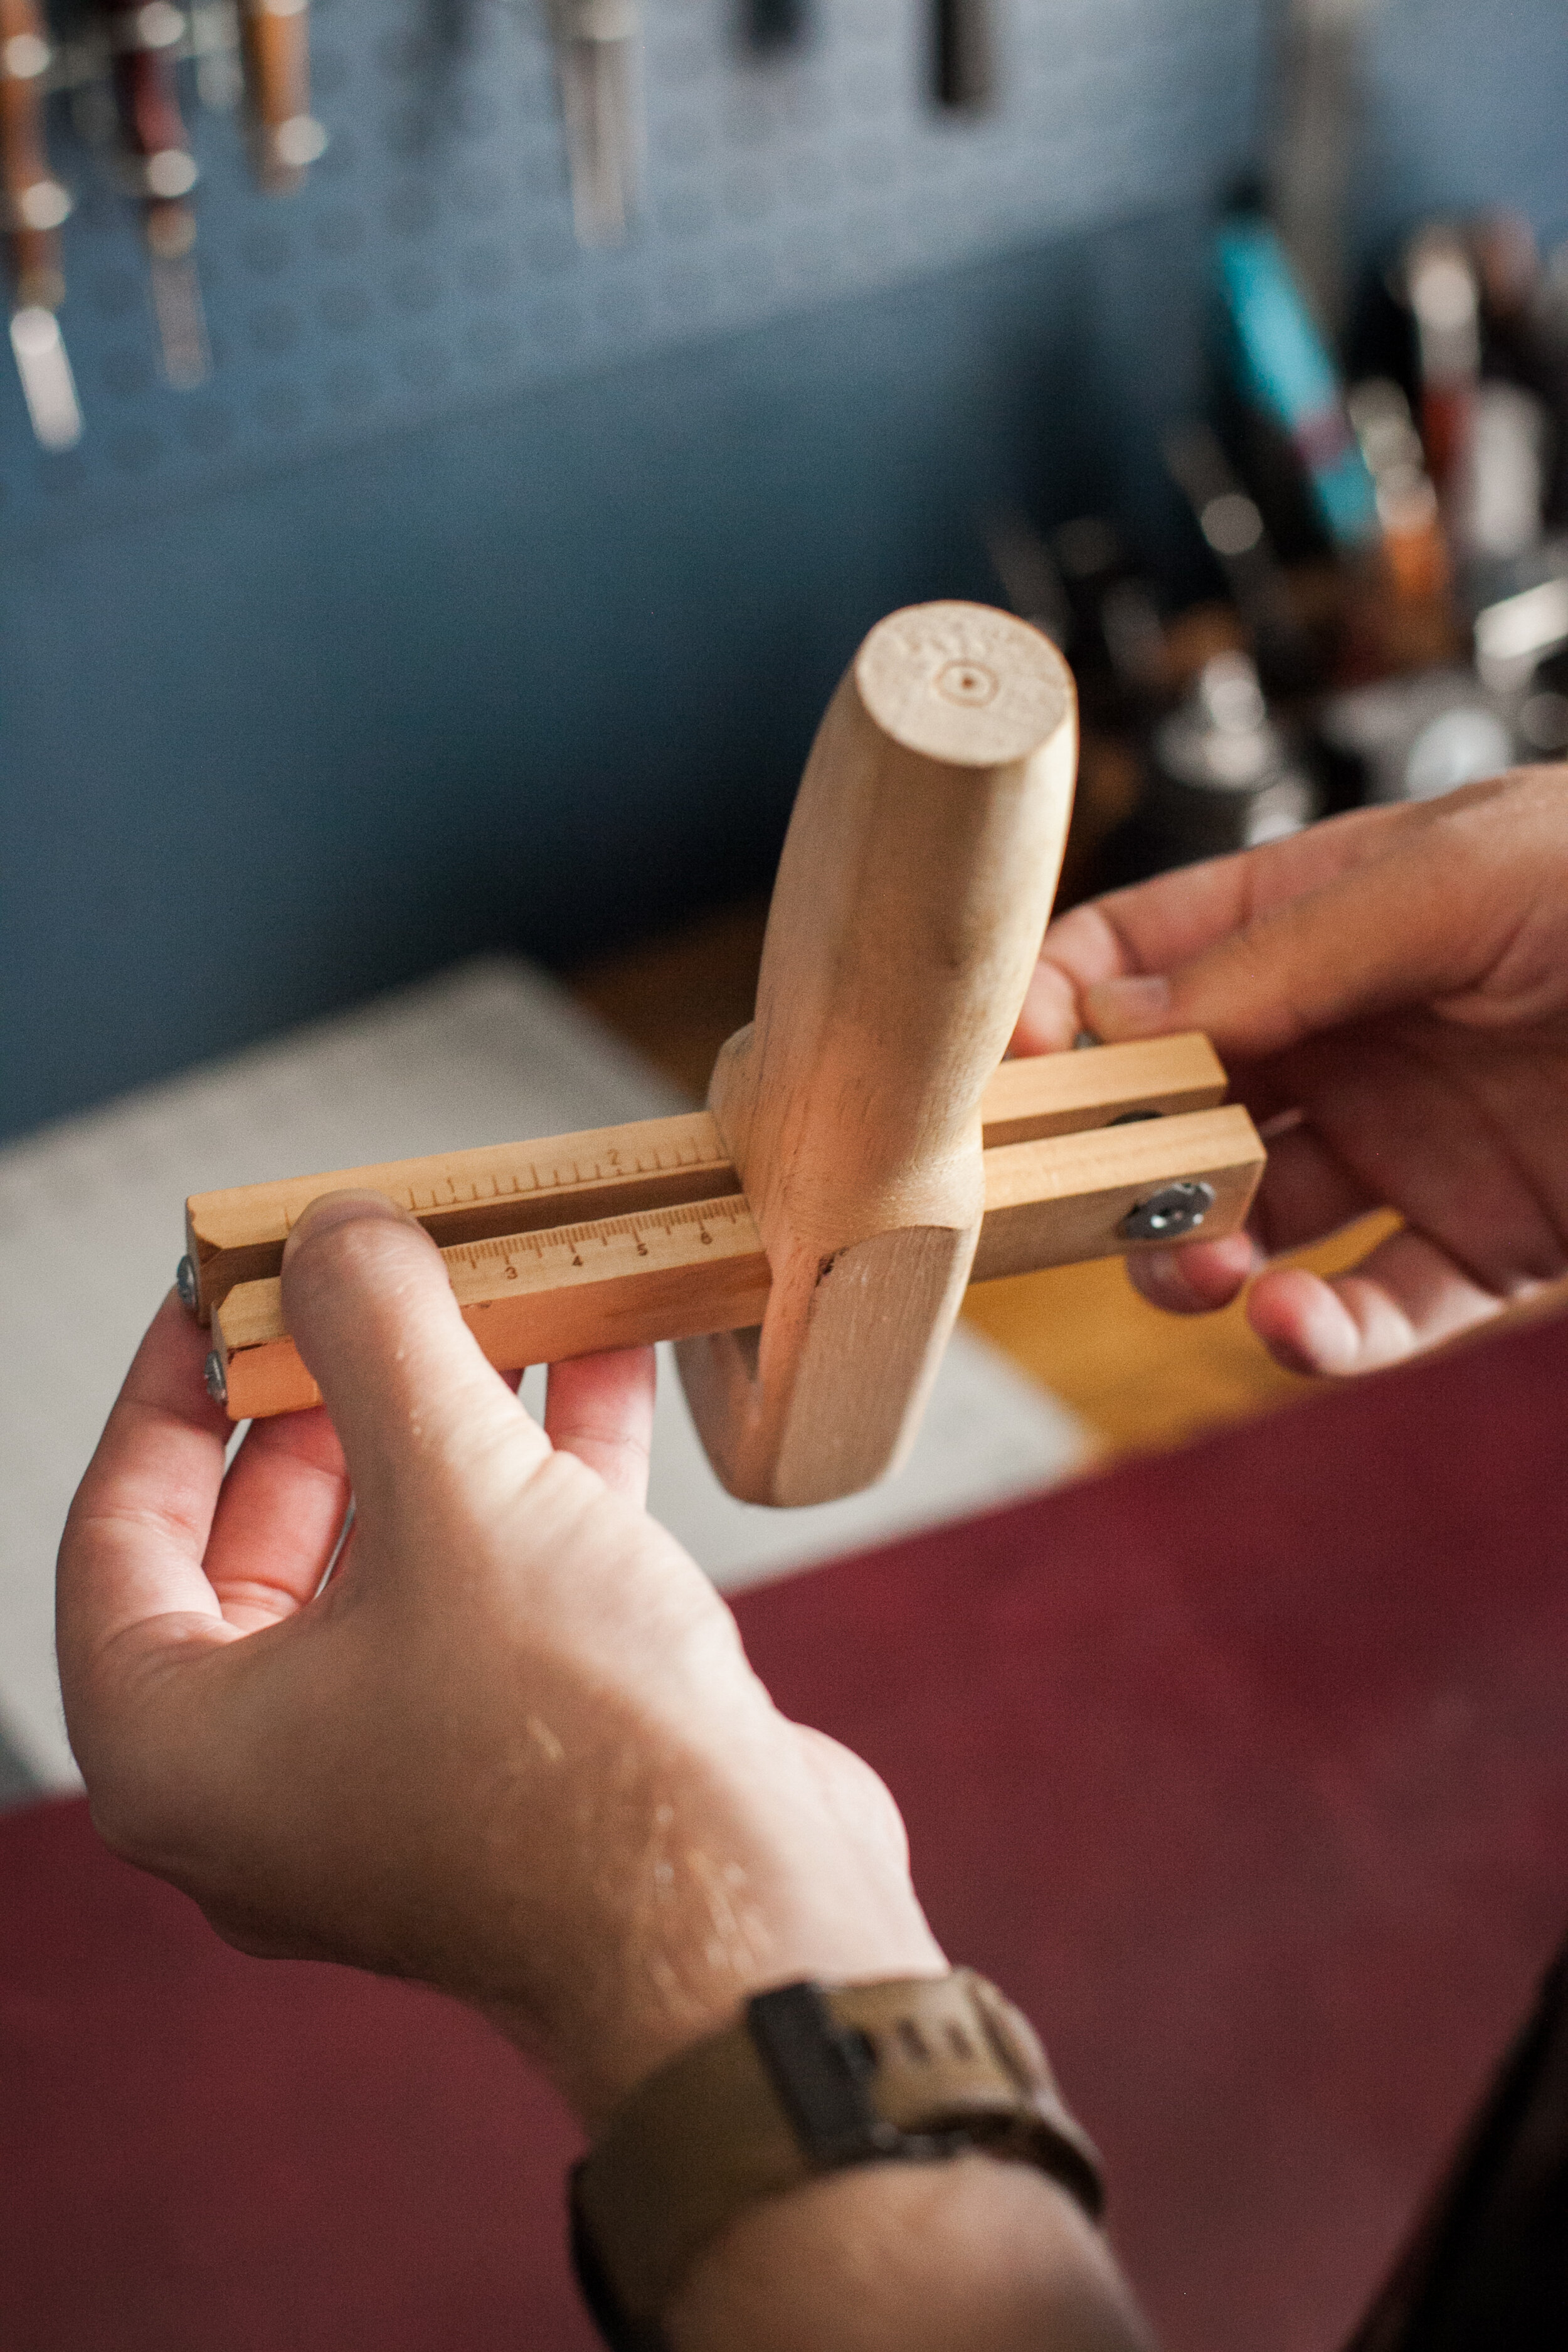
Step 2: Cutting out the Strap
Need: Leather with a straight edge, Strap cutter
Strap cutters are great. They save a ton of time when cutting out straps and belts, but with the speed comes the possibility of badly messing up the cut. If this is your first time using a strap cutter, no need to panic, just go slow. Before making the cut, set the strap cutter to the desired belt width. Most the belts I make are at 1 1/4" but you can go larger or smaller, just make sure that the whatever width you choose matches the size of the belt buckle you have for the project. 8-12oz is thick leather, so make sure that the space between the twin arms is enough to fit the leather through. This can be quickly adjusted with the nut on the end of the twin arms, opposite of the blade. With width and thickness set, go ahead and make your cut with the strap cutter, starting at one end of the leather and pulling towards yourself and into the leather. It is extremely important that you keep the straight edge of the leather pressed into the flat handle of the strap cutter. If the leather slips beyond the handle or the handle pulls away from the leather, the strap your cutting will no longer be straight. If you mess up here, it's not a huge deal, but you will waste some leather. You'll have to go back to the first step and cut off the messed up straight, ensuring you have another straight edge to work with.

Step 3: Cutting the Strap to Length
Need: Leather Strap, Divider, Ruler, Scratch Awl, Leather Knife
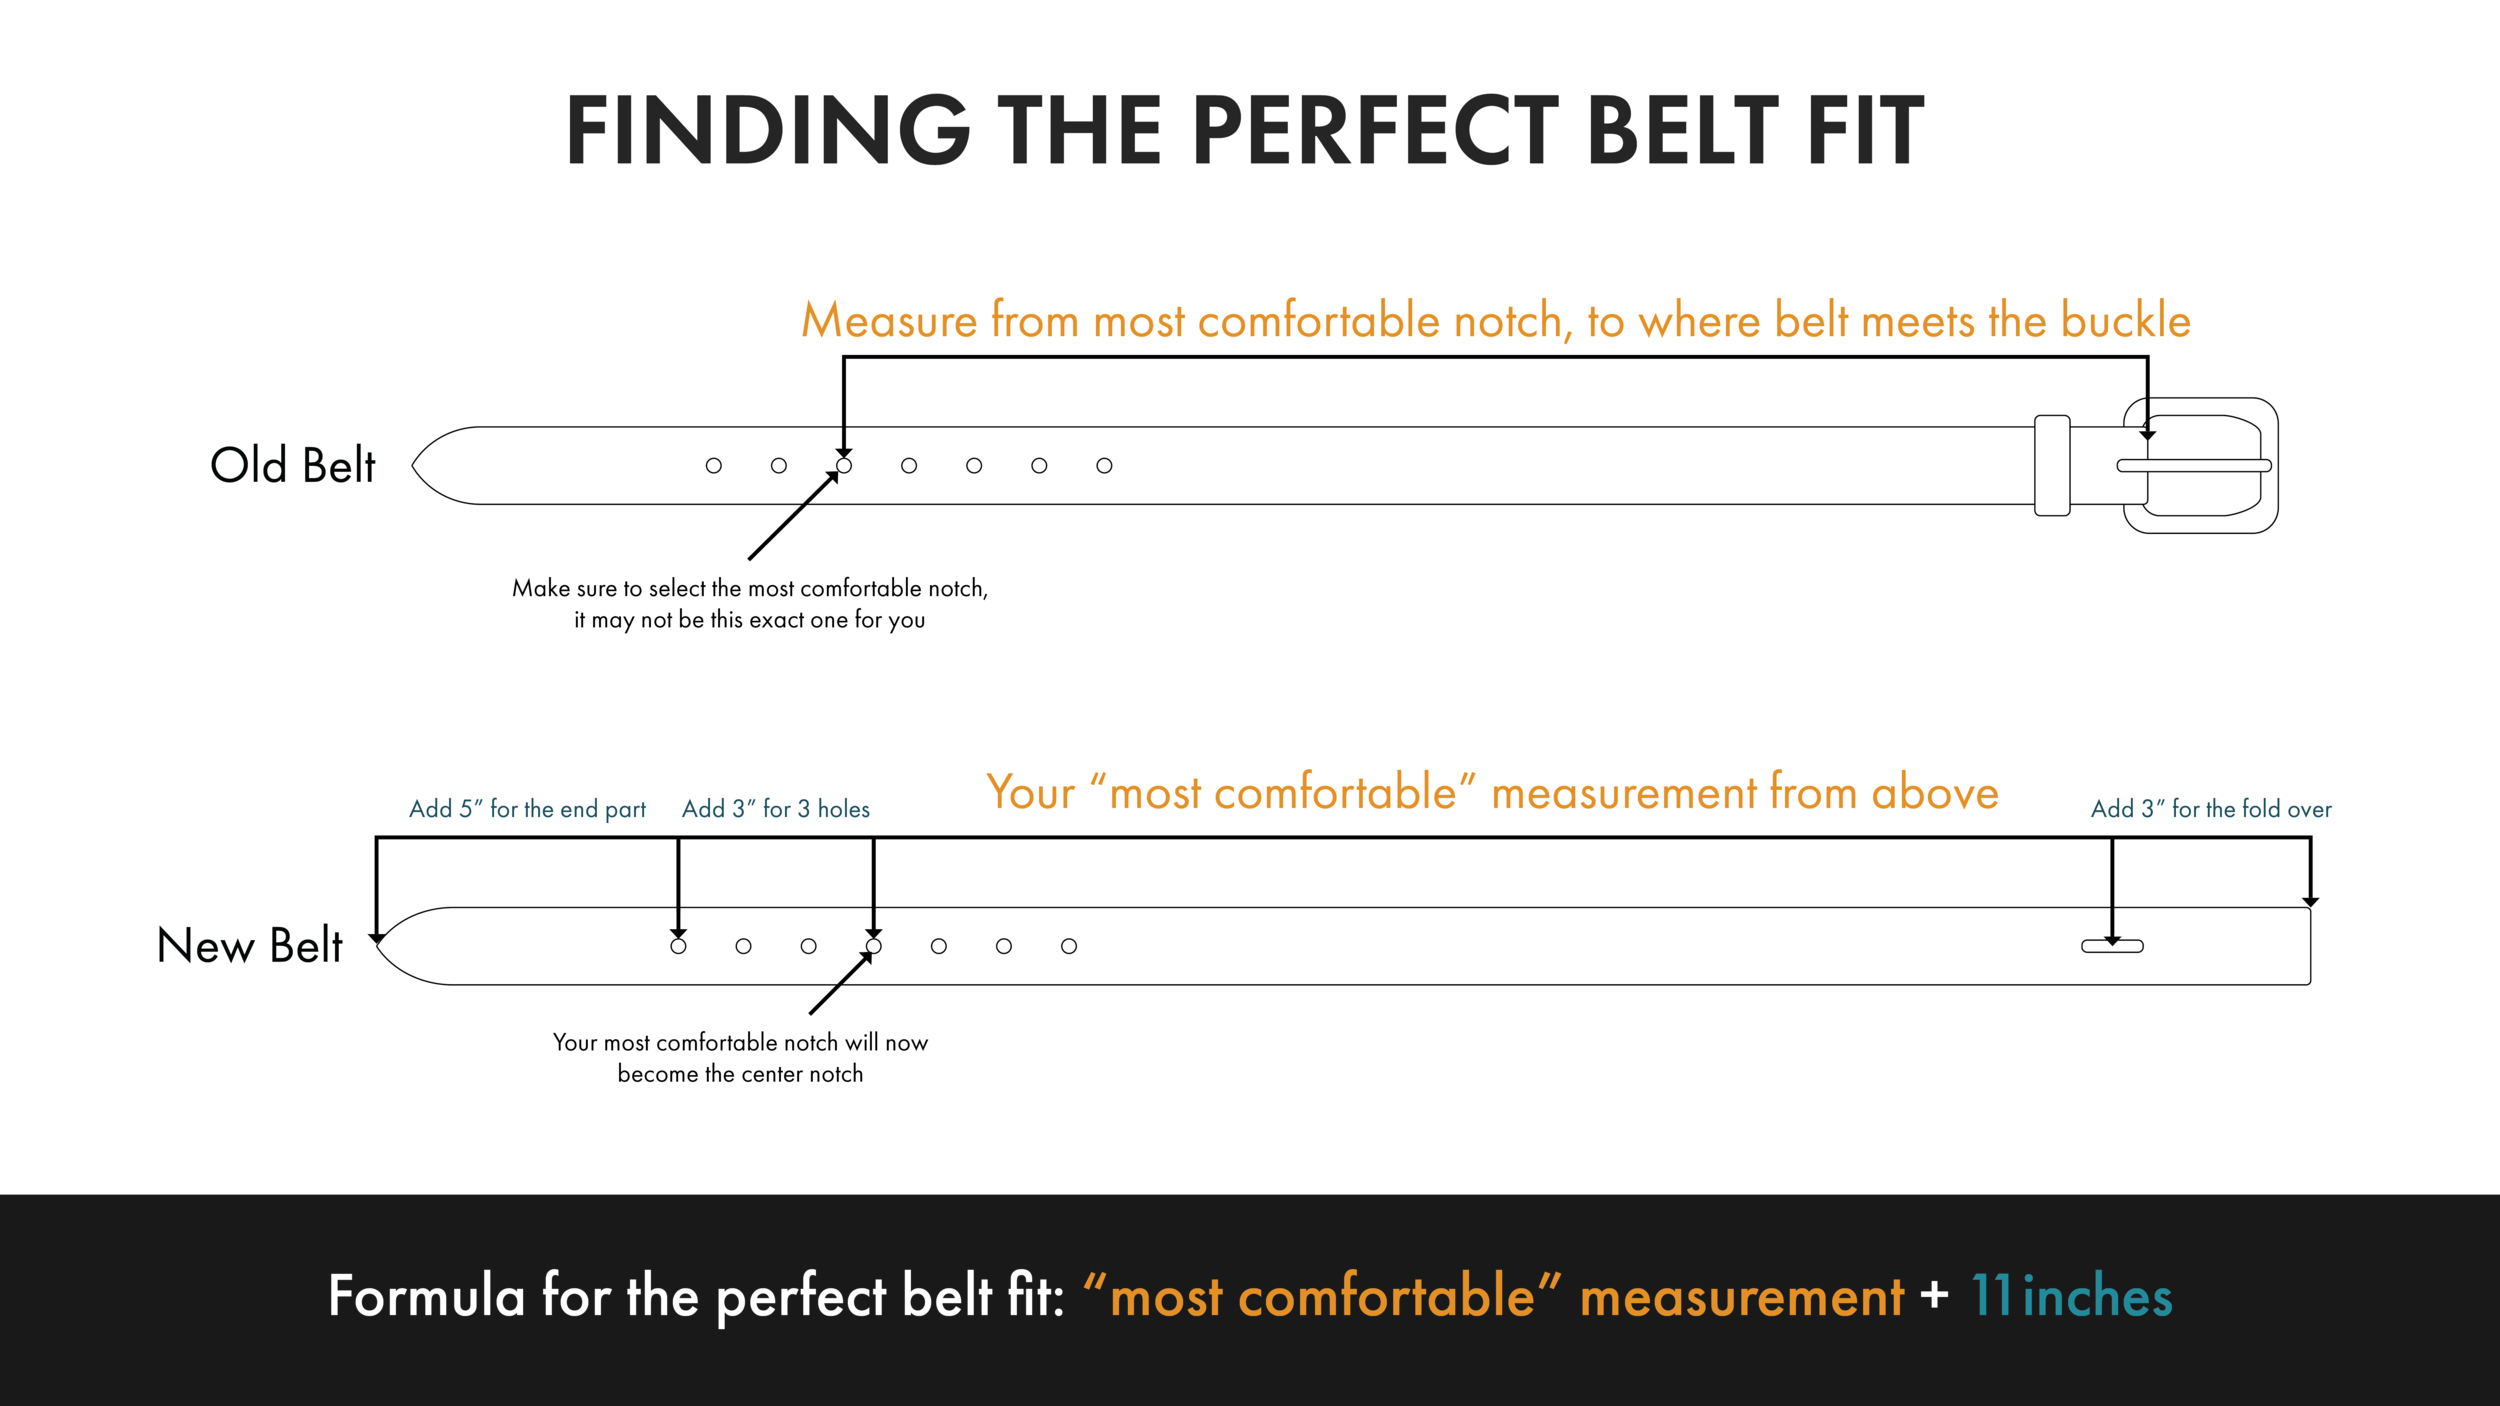
There's a lot of different ways to measure a belt, but by far the easiest and safest way is to use an old belt that fits well. If you have a belt that fits well, measure from the start of the leather at the base of the buckle to the hole that fits the best. That will give you a starting length. You'll then want to add 3" for the leather that folds over the buckle, 3" more for the addition holes, and then another 5" for the end of the belt. Long story short, you'll need to add 11" to your "starting length." I.e. So, if your starting length is 46", add 11", and the strap length you'll need to cut is 57".
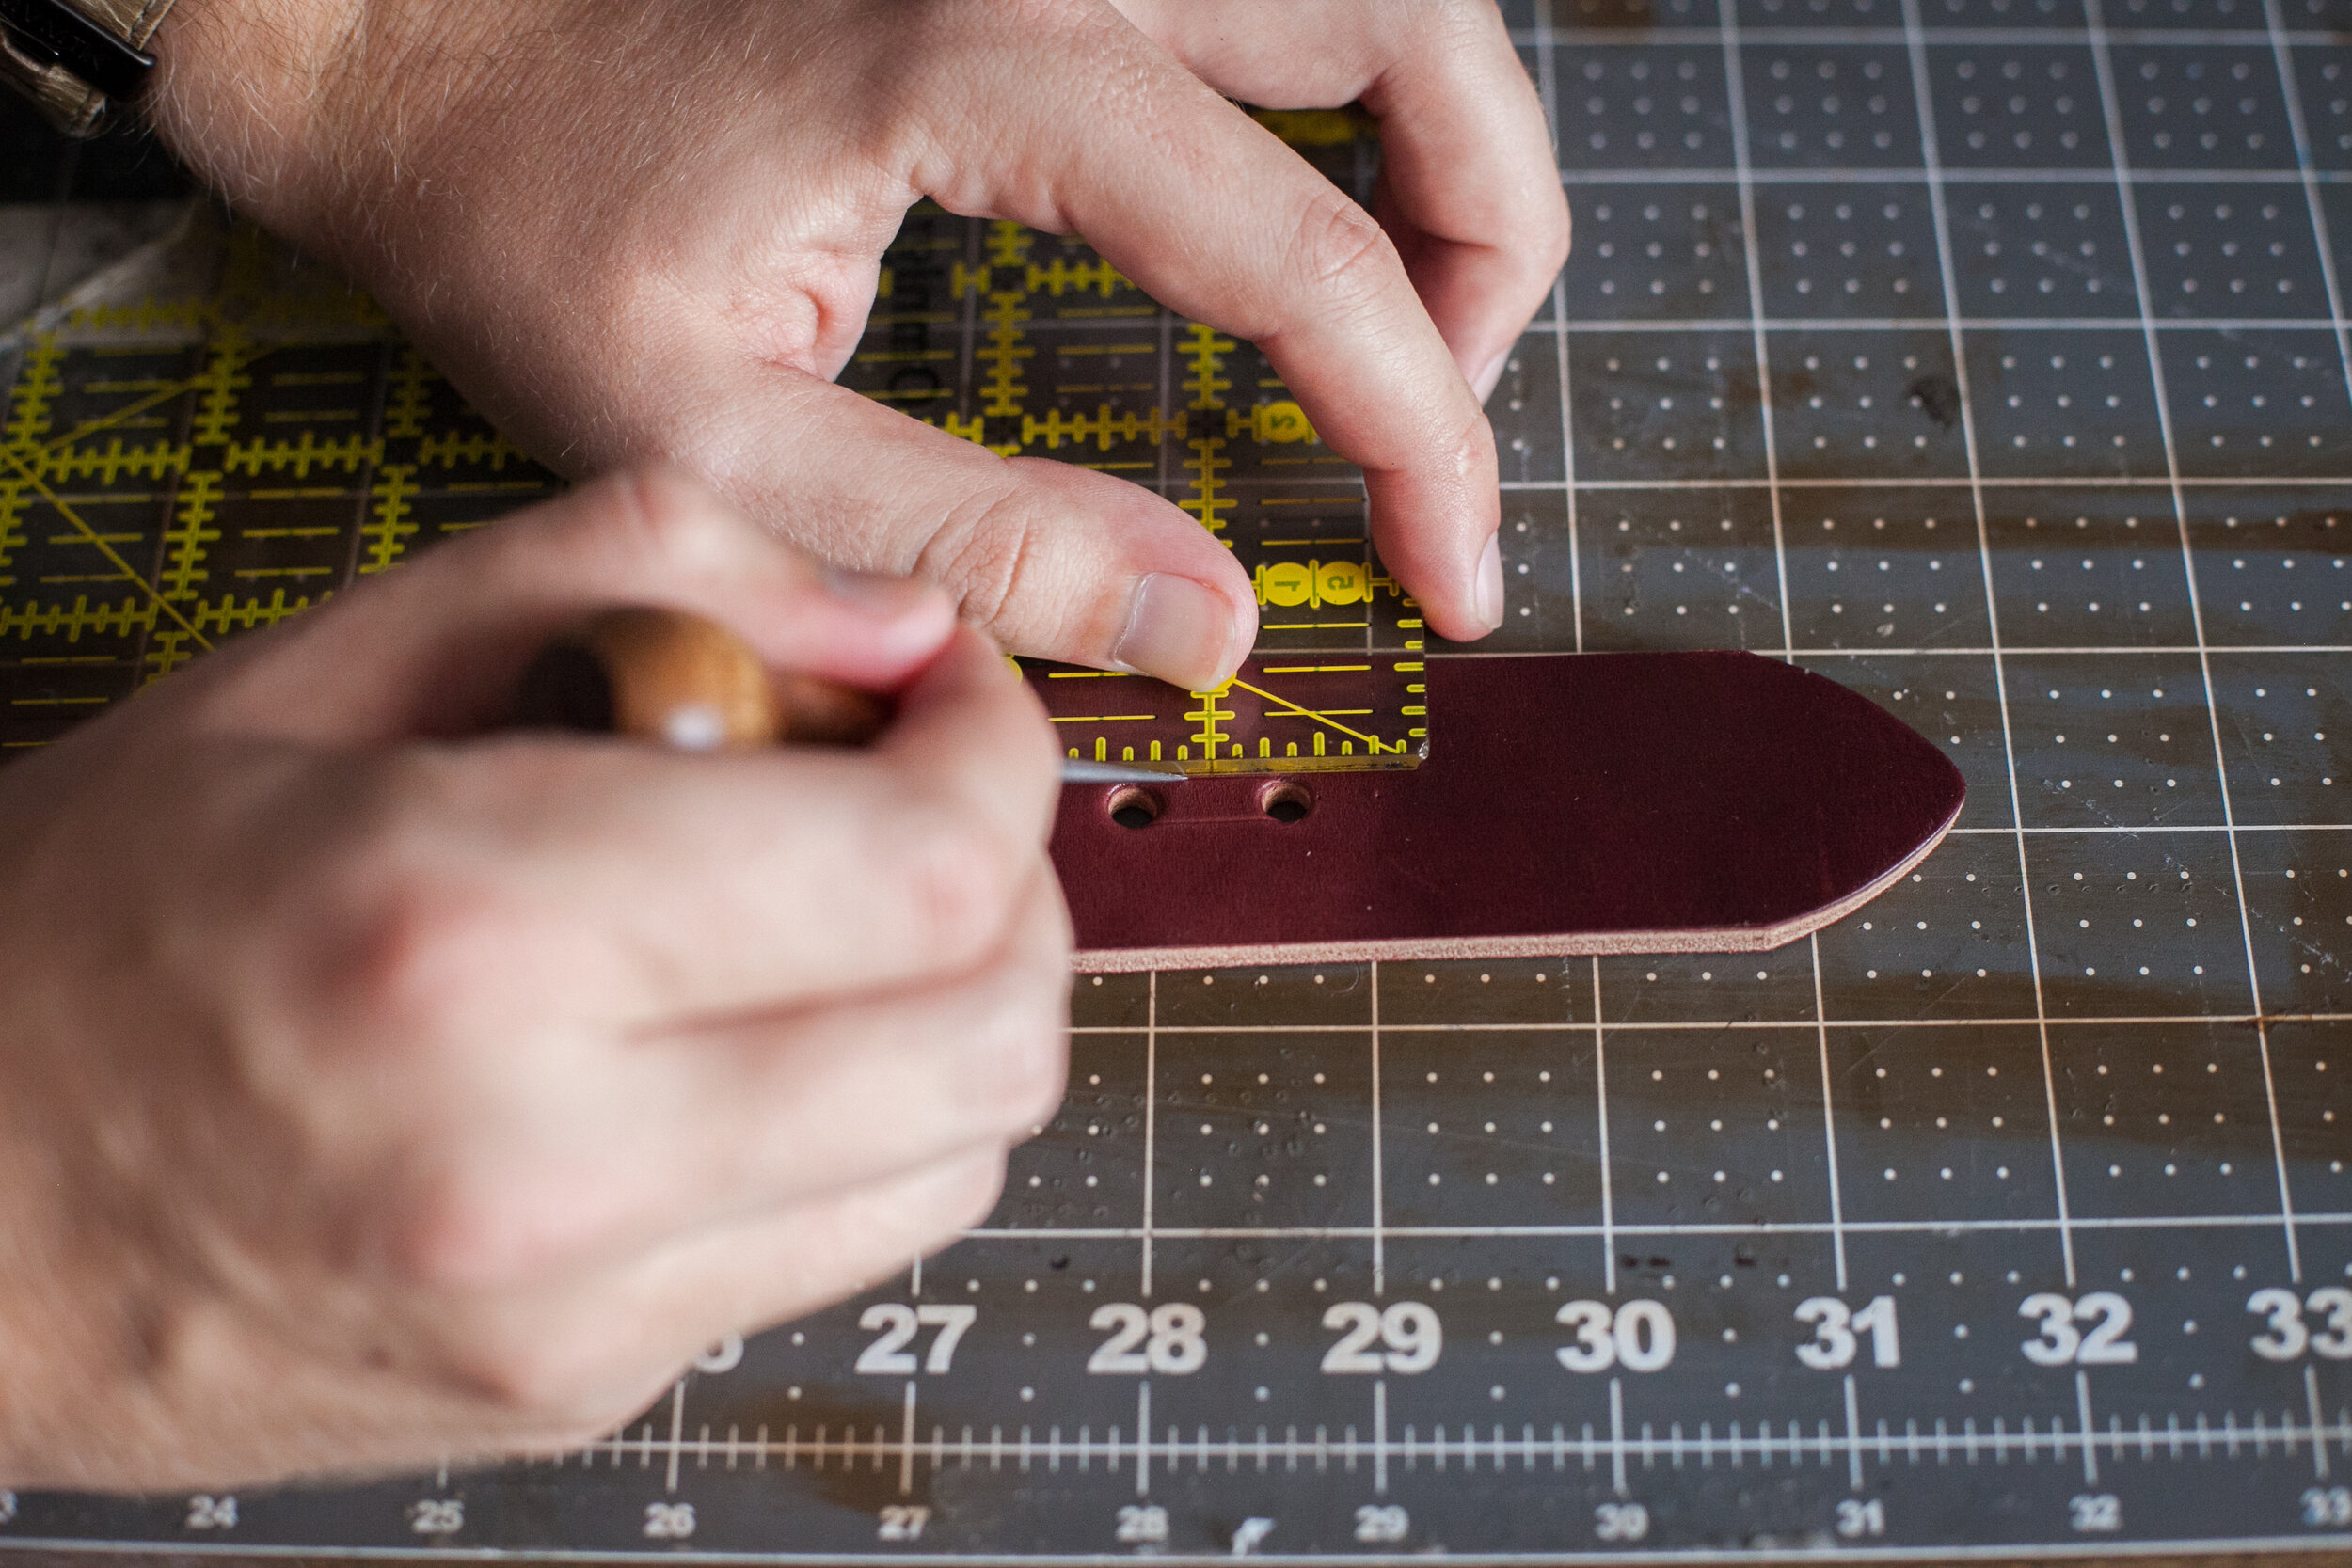
Once you know the perfect fit measurement, it's time to cut the end of the belt. The arrow shape at the end of belts is called an "English Point." There's two ways to achieve this shape. One is to have a English Point Punch, but most of us don't have one of those unless we are pumping out a lot of belts. The other method is using a divider. To do this, set the divider to the width of the belt. As mentioned above, most belts are around 1 1/4" in width, but you may have chosen something different, so set the divider whatever width you chose at the previous set. Then, using a ruler, measure the width (1 1/4") down the strap, and make a small mark on both edges of the strap. After, set the arms of your divider on the marks. Finally, press down and rotate one arm upward, while making sure the other arm does not move. Doing this will create an arc. Repeat this process with the other arm. With this finished, you should have marked out the English Point shape onto your strap. Use your knife to cut it out. If you need more help creating the English Point, check out this BLOG POST for more details.
With the English Point cut, measure from its tip toward the other end of the belt to whatever your perfect fit measurement is. Then make a straight cut across the leather. You now have what will become your belt.

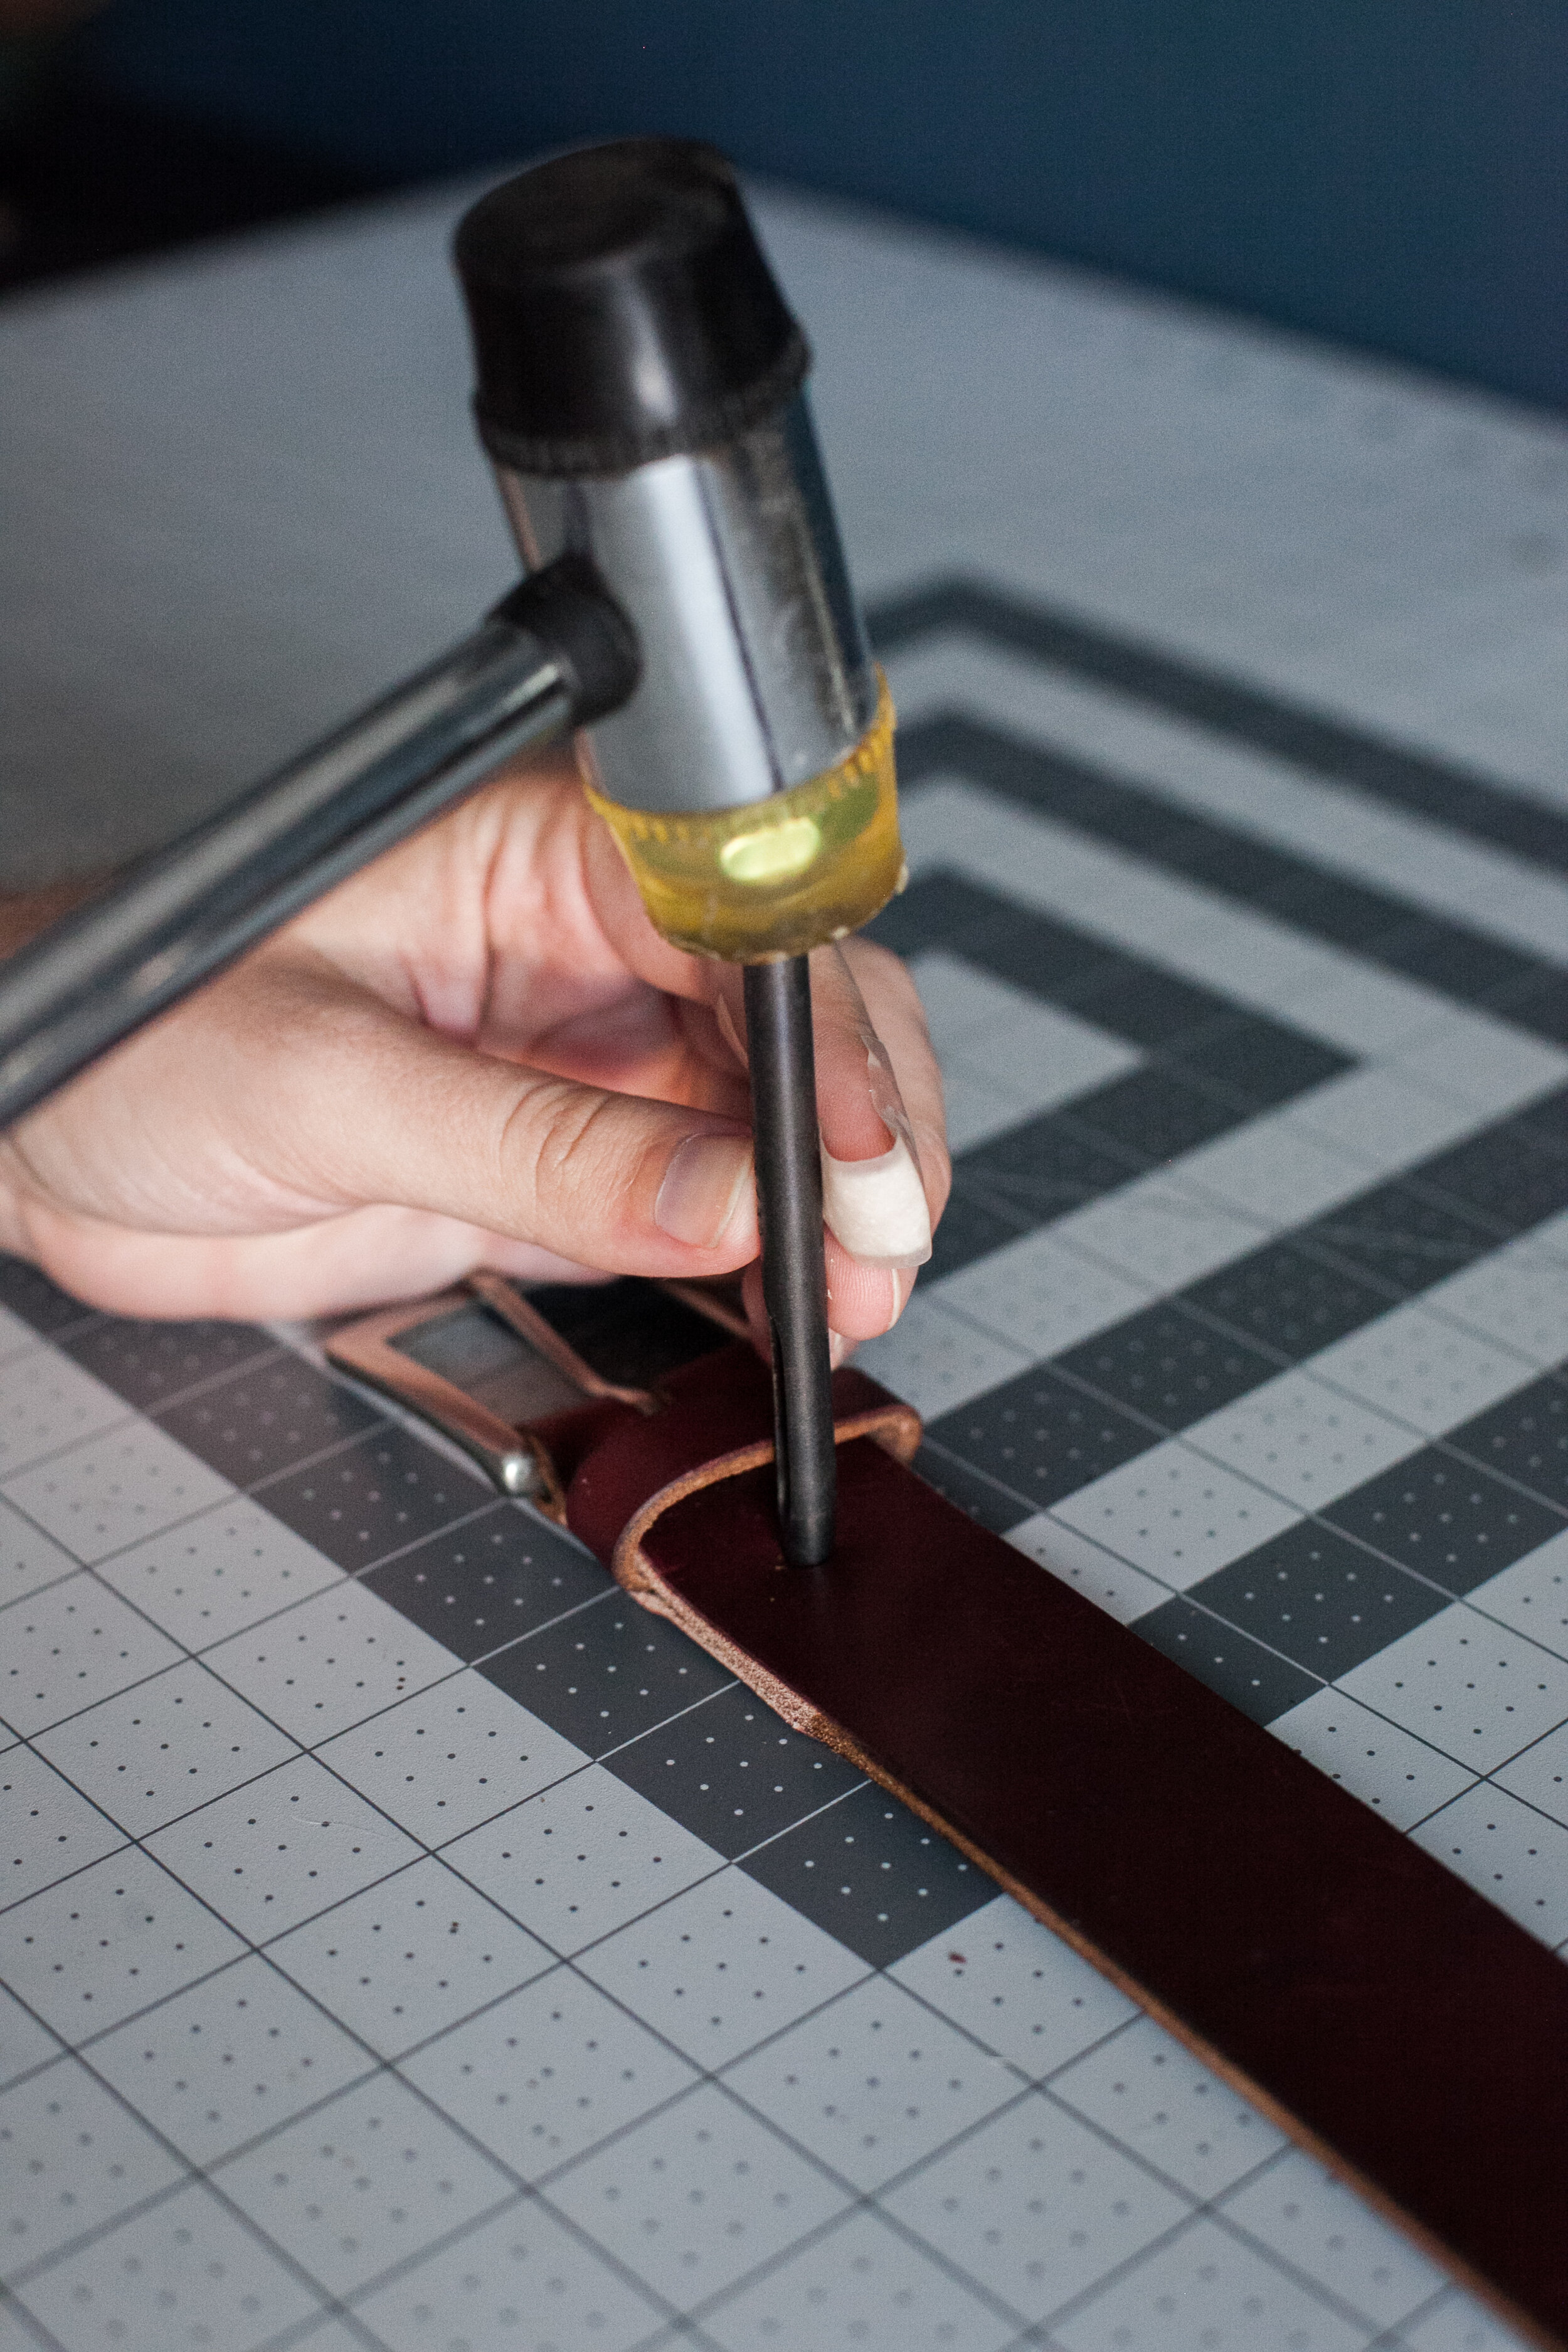
Step 4: Punching the Holes
Need: Cut Leather Strap, Ruler, Scratch Awl, Hammer, Hole Punch.
Use the ruler to measure out the first hole, 5 inches from the tip of the English Point. Create a mark at that 5" point in the middle of the belt. Then create the other 4 holes 1" from the previous always moving away from the English Point.'
With the five holes marked use the hammer and hole punch to make the holes. If you have multiple sized punches, you may want to test them out on a scrap piece of leather to see which best fits the tongue of the buckle.
Next on the opposite end of the belt, create two marks in the center of the strap 2 5/8" and 3 3/8" in. Punch a hole at both of these marks with the same size punched you used for the previous holes.
Using your ruler and scratch awl, create two lines to connect the two holes you just created. Then using a ruler and your knife, carefully cut out that small strip of leather, making sure not to cut beyond the two holes.
Don’t let the English Point on this picture confuse you. If you followed the directions correctly, it should be squared off and the other end of your belt should have the English Point.

I was trying something new when I made this and tried an English Point on both ends of the strap. It didn’t work out like I hoped. Sorry for the confusion!
Step 5: Create the Belt Loop
Need: Leather, Leather Knife, Scratch Awl, Diamond Chisels, Thread, Needle, Glue, Belt Strap, Skiving Knife
Cut out a strip of leather that is about 3/8" in width. Make sure that this thin strap is at least 4" long, longer if you want to be safe or you decided to make a belt that was wider than 1 1/4".
Now fold the belt strap (not the strap you just cut) over on itself, so that it is now two ply. Then wrap the thin strap you just cut around it. Make a mark .5" past where the thin strap overlaps with itself, this is the required length of your belt loop.
Using a knife and ruler cut off the excess.
This next part requires a skiving knife. Skiving knives are used to reduce the thickness of leather, specifically along the edges where leather either overlaps or rests on another piece of leather. This keeps edges looking sleek with a uniform thickness and prevents ugly and bulky looking edges. In this case, it will also make the belt a bit more comfortable, my guess is you probably won't notice in the long run though. If you don't have a skiving knife, don't panic. You can skive with pretty much any leather knife. If you're using a rotary cutter, still don't panic. You won't be able to use it to skive, but you can still create a great belt without it. Just skip this next paragraph.
Assuming you do have a knife that is able to skive, you'll want to skive both ends of the thin strap. On the back side of the leather create a line with your scratch awl and ruler .5" in. Now flip the leather over, on the other end of the strap, create another line .5" in. These marks should be on the parts of the strip that will overlap once rolled, one of the flesh side of the leather and another on the grain side. Set your knife on the line, and angle it upwards. You want to angle of the knife to match the red line. Once lined up at the correct angle, push down and to the right to cut into the leather (or to the left if you're left handed). Since it's just a small strap one movement of the knife should do it. All-in-all skiving is one of the hardest leatherworking skills to master. If this is your first time doing it, I suggest trying it out on a few scrap pieces of leather first.

Place glue on both skived parts of the leather, and let it sit for a few minutes until tacky. Once tacky, fold the strap to create a loop and apply pressure for a few minutes to allow the glue to cement. I use binder clips in situations like this, and they work well with leather that isn't super firm.
Once the glue has dried, use a 3 to 6 prong chisel and hammer to create stitching holes where the two skived parts of the loop overlap.
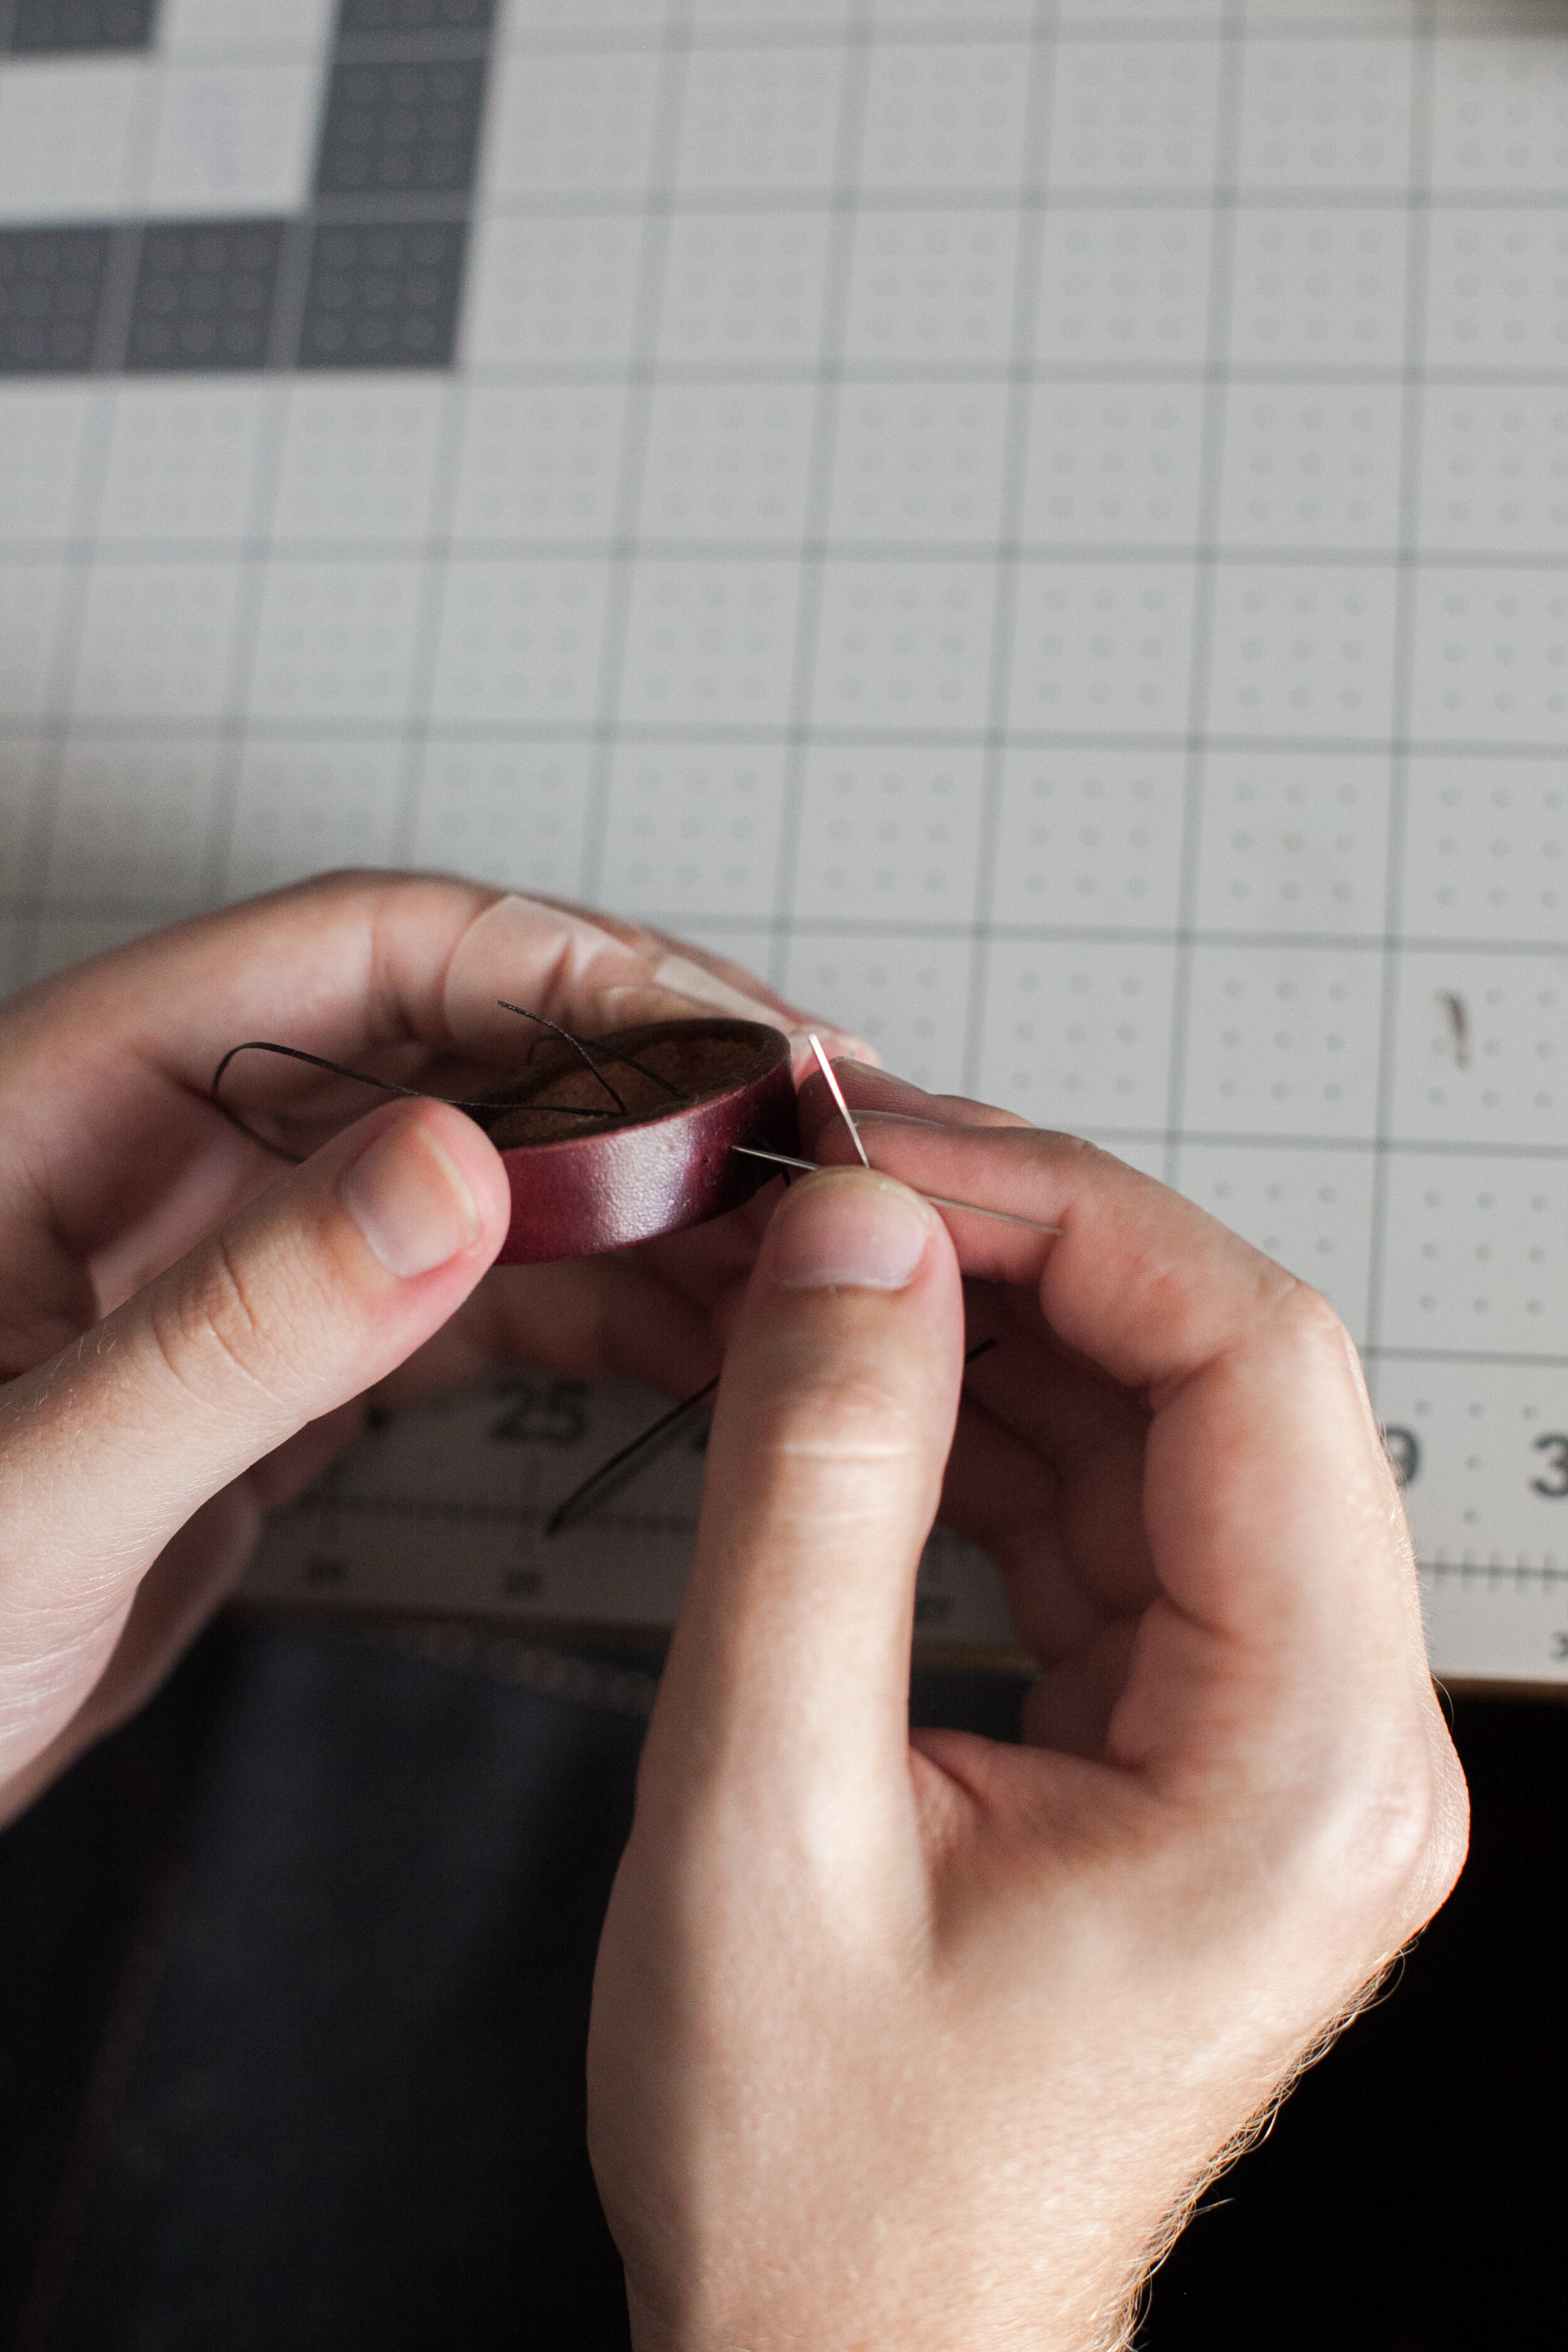
All that's left is to stitch up the loop. Stitching takes a bit of time to master as well, and a blog post of it's on. You can FIND IT HERE.

Don’t cut yourself when you’re leatherworking, it hurts.
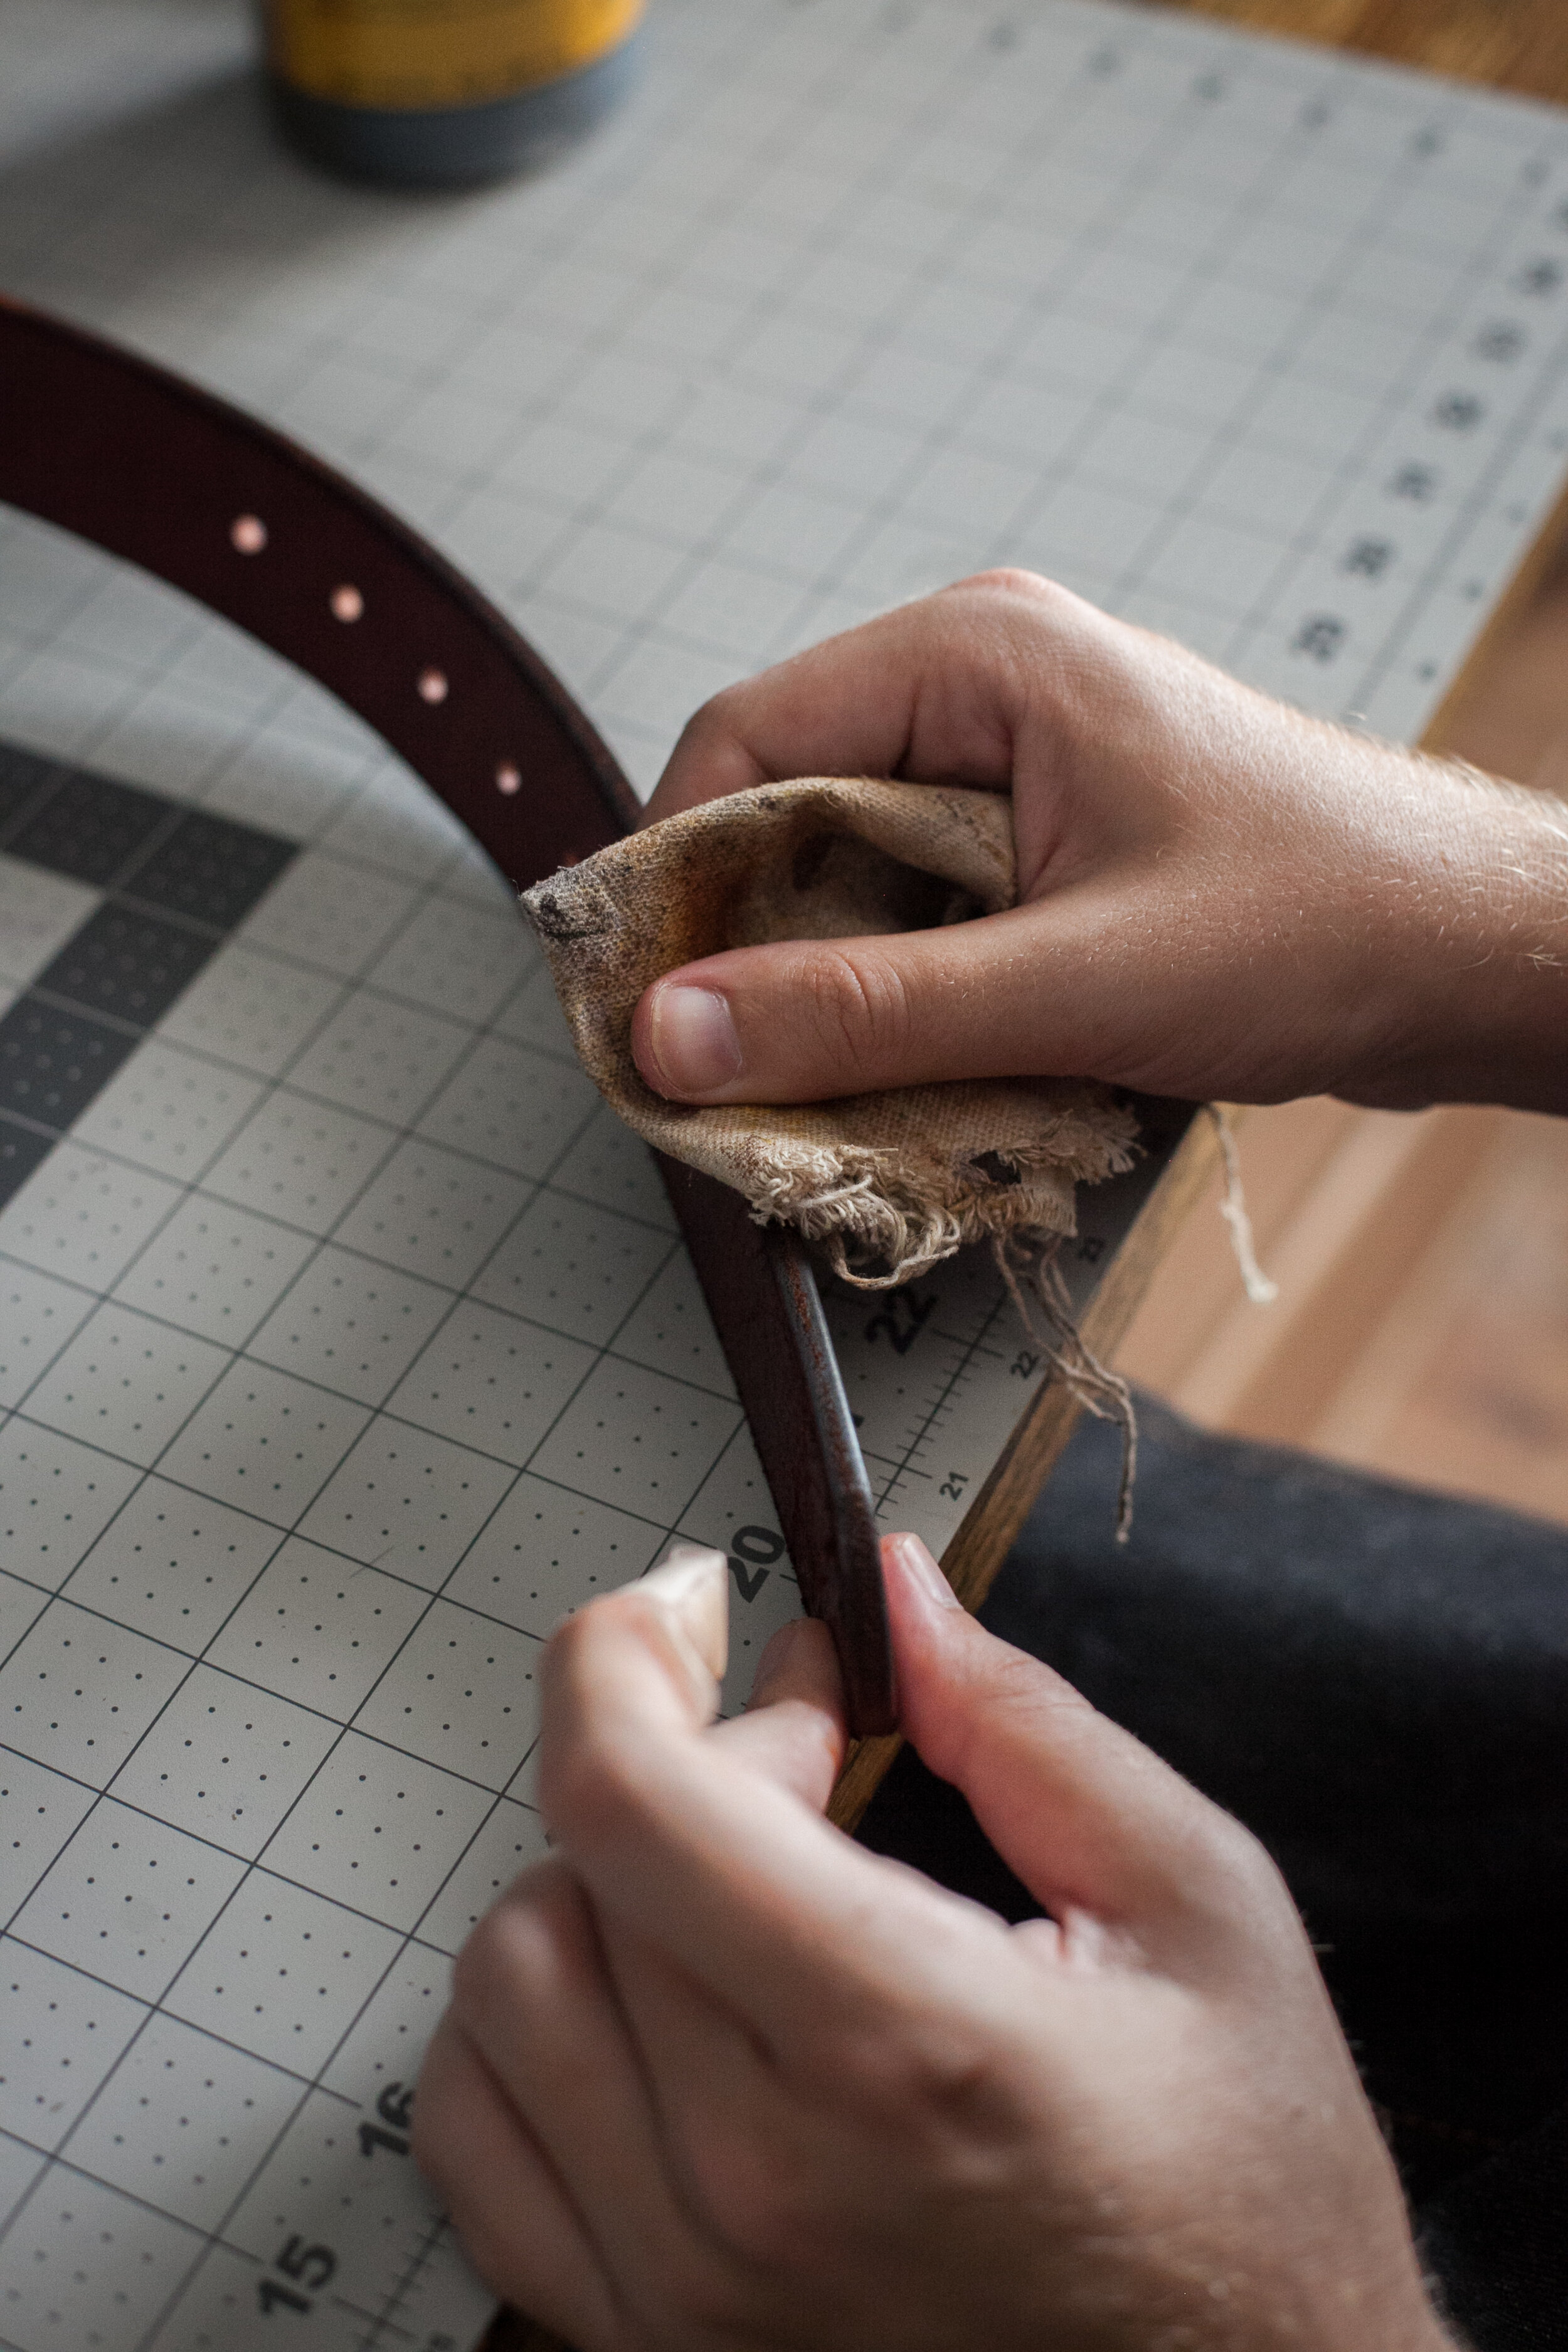
Step 6: Burnish the Edges
Need: Water, Dye (optional), Craft Sponge, Canvas Cloth
If you like the color of your edges, no need to dye them, but if you'd like them to be darker you can apply dye before the burnishing process.
Either way, your edges need to be wet to be burnished. So you can use a craft sponge and apply dye to your edges or you can use the craft sponge to apply water to your edges.
Once whetted, use a canvas cloth and briskly rub the edges until they start to shine and you hear a tacky sound. For a more information about burnishing you can check out THIS BLOG POST.

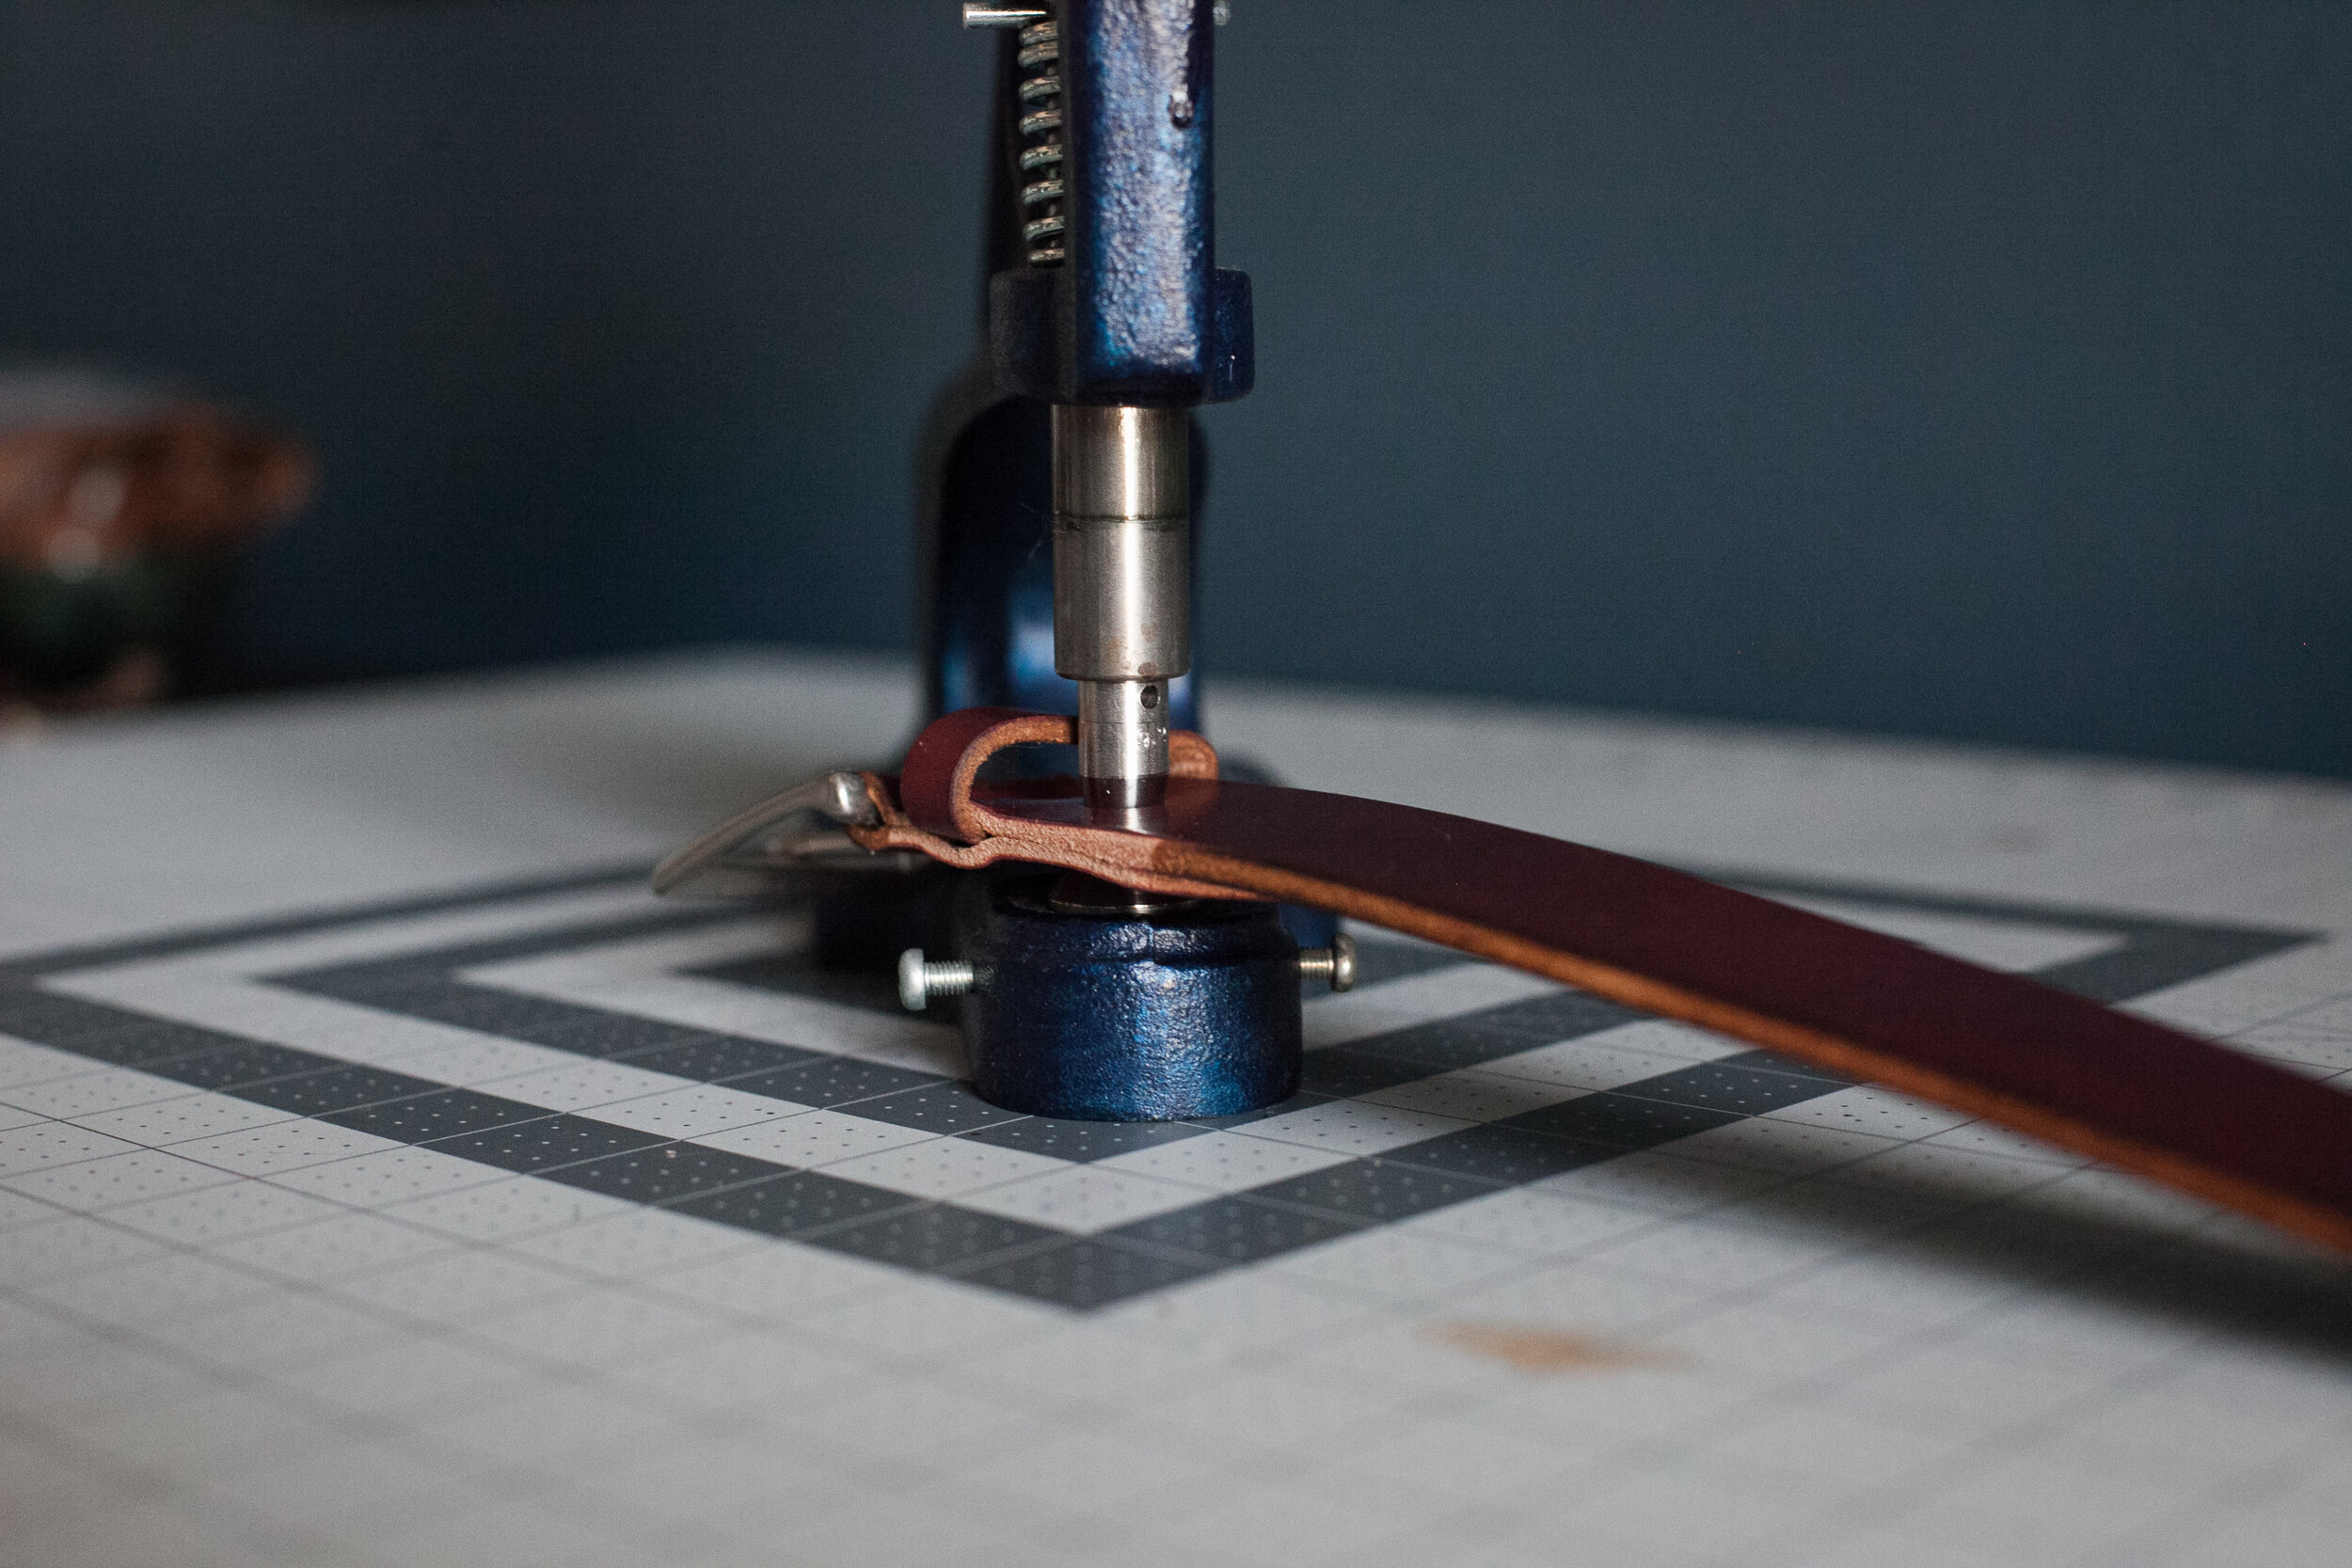
Step 7: Install the Buckle
Need: Glue, Belt Strap, Belt Loop, Hole Punch, Rivets, Rivet Setter
Place the buckle into the side of the belt that does not have the English Point, making sure the tongue of the belt buckle is situated correctly. Then slide on the belt loop and situate it about 1 inch from the belt buckle. Place glue on the the leather both 3 inches to the right and to the left of where the buckle sits in the middle of the oblong hole you punched out and cut earlier. If the leather that you're using has a finished flesh side, you may need to sand the leather a bit to make sure the glue adheres. Once the glue is tacky fold over the leather and press it down firmly. Because of the belt loop, the leather is going to want to come apart. If you have binder clips, now is another good time to use them, if you don't you can simply set some books on top of the belt on either side of the belt loop while the glue dries.
Once you've given some time for the glue to cement, punch two holes, one on either side of the belt loop in the center of the belt. Last, set the rivets in the belt to keep both the buckle and the loop in place. If you're lucky, like me you'll have a rivet setting machine that makes setting rivets easy. If not, I used hand rivet setters for years and I know your pain. You can still get good results, but it takes some skill. If you need to brush up on your rivet setting skills, you can do so HERE.
And now you're done!
If you made it through this blog post and created a belt, I'd love to see it. Be sure to share it on INSTAGRAM AND TAG @GOLDBARKLEATHER so I can check it out!