There are lots of different situations in leather working that require folding leather, and I don’t mean just bending leather, I mean a sharp clean fold. For instance, the edges of your gussets need to be folded to lay flat with the front and back panels of your project. Maybe you just want to make a folded pocket. Or you want a more shaped bag that has hard angles instead of smoothed curves. In any case, folds are super important. They’re something that appear in almost every project. Here's something I've recently been working on that required nice clean folds.
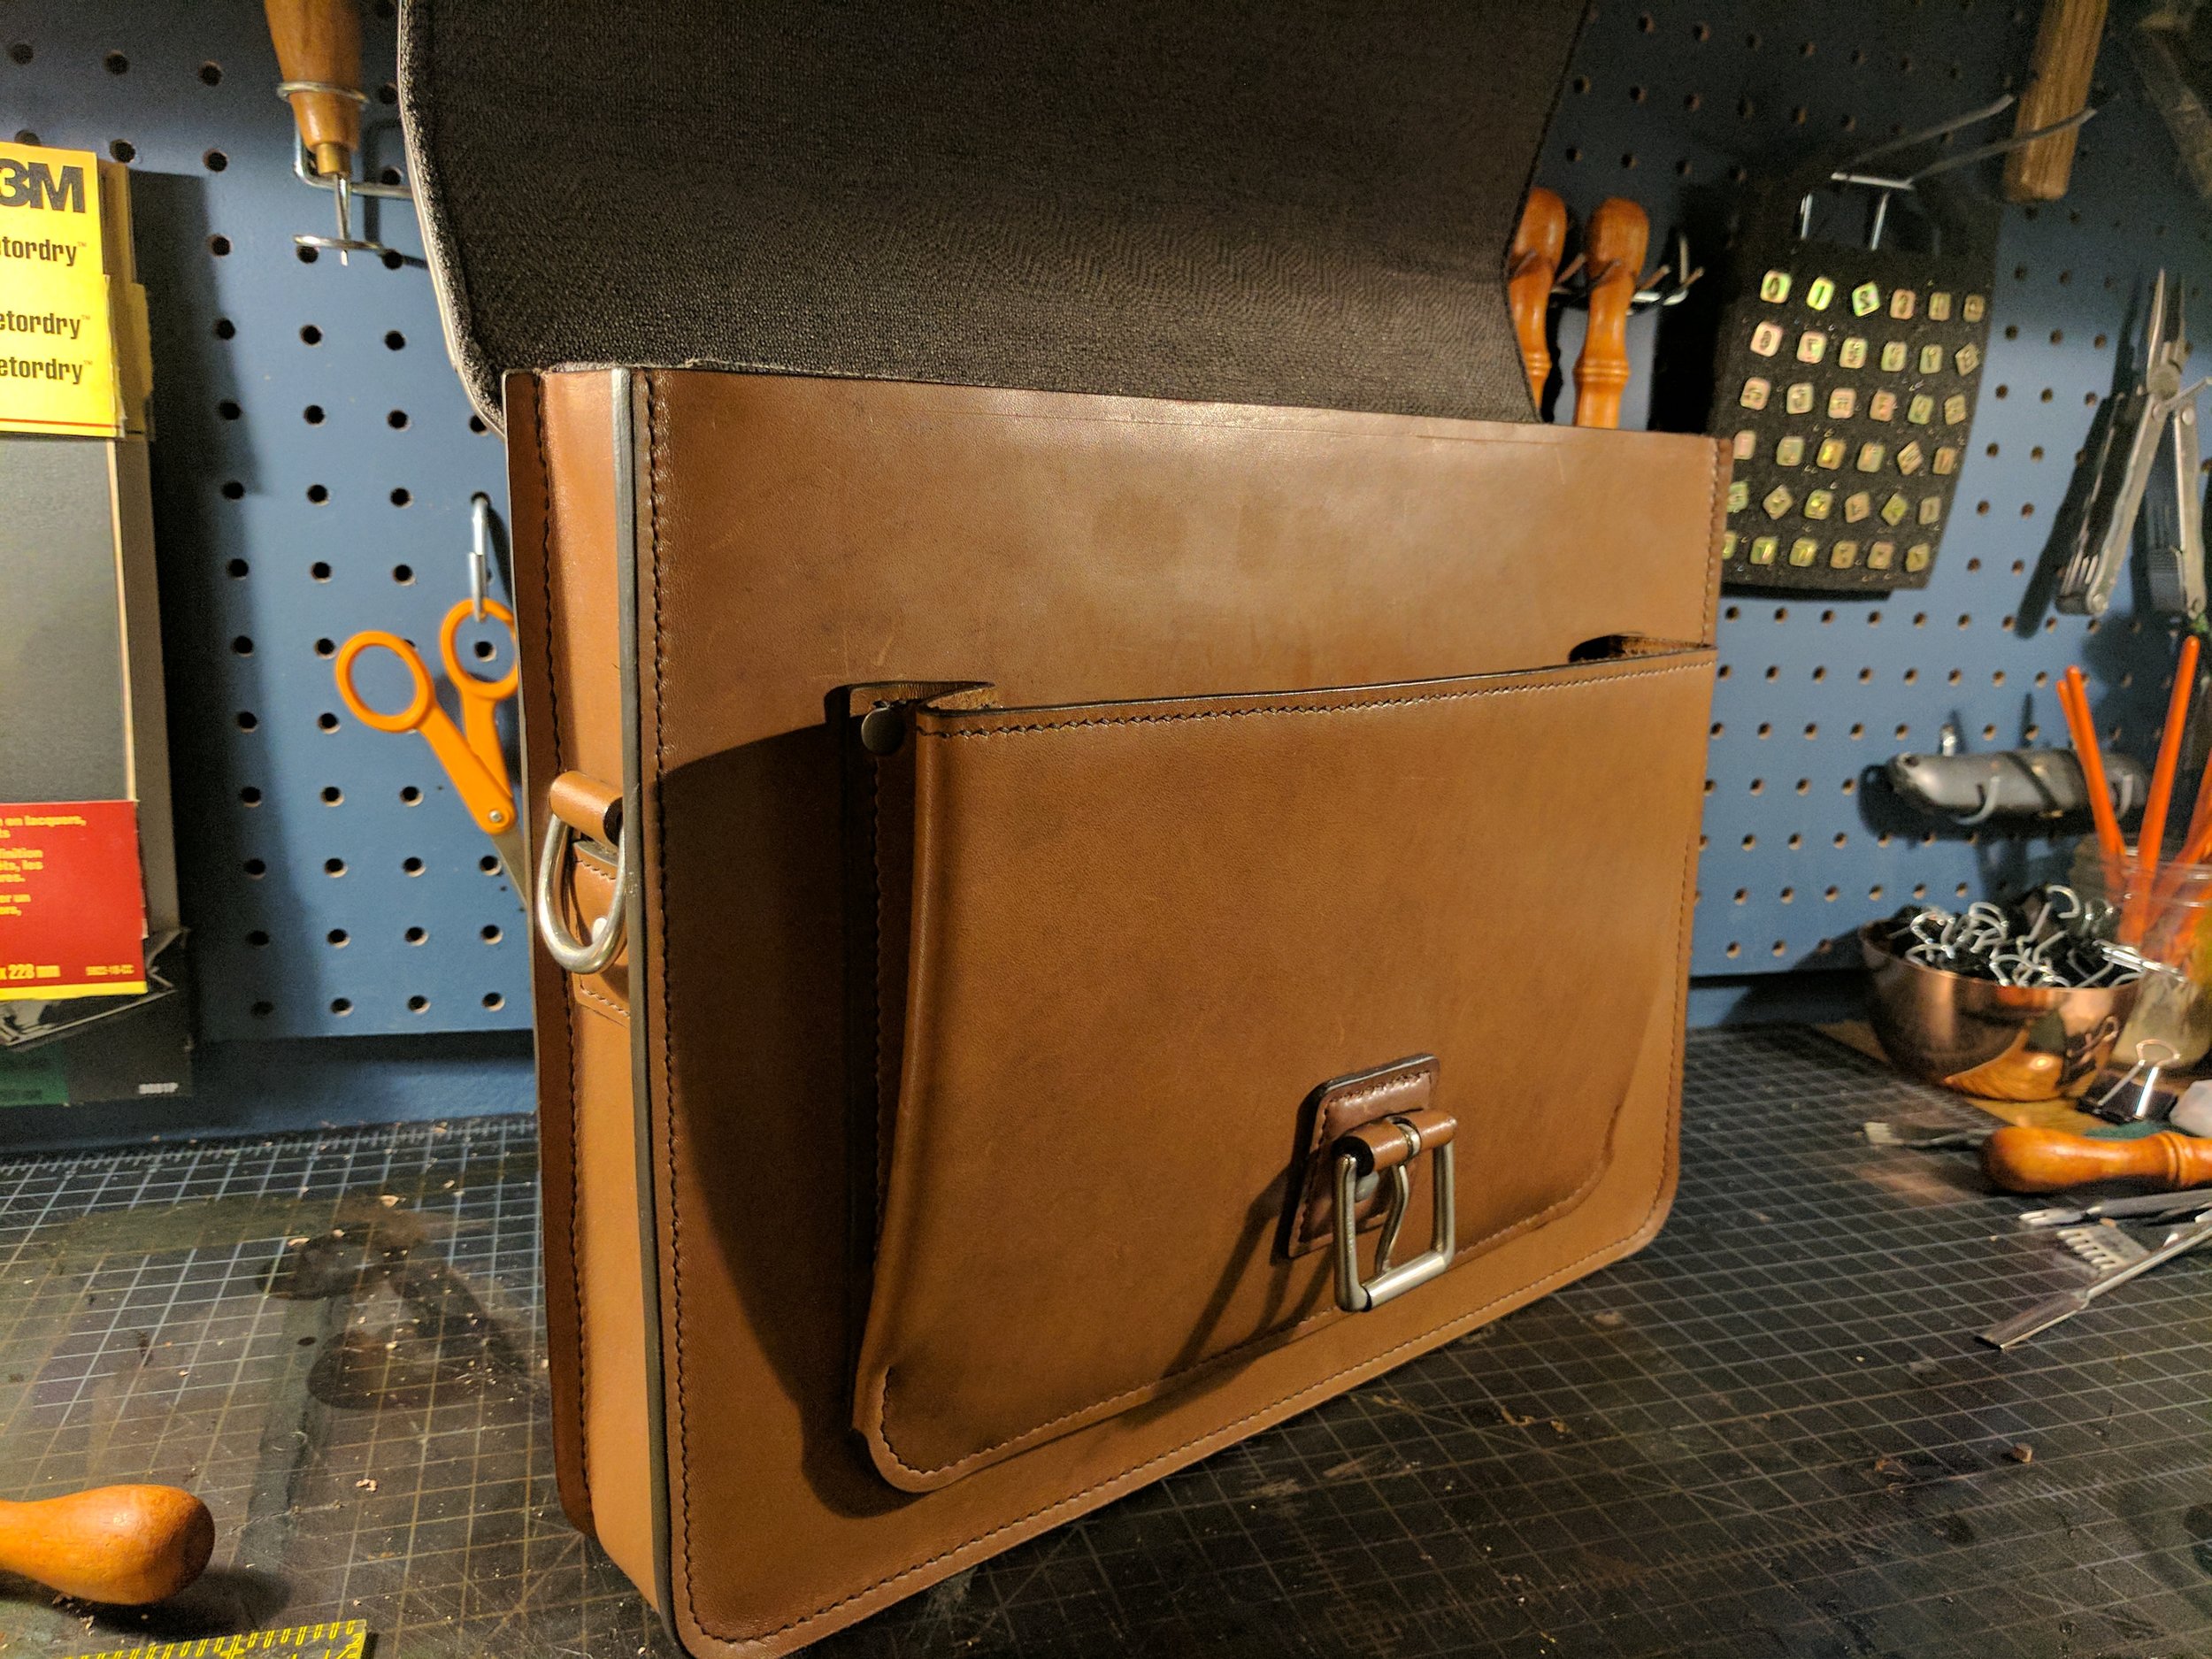
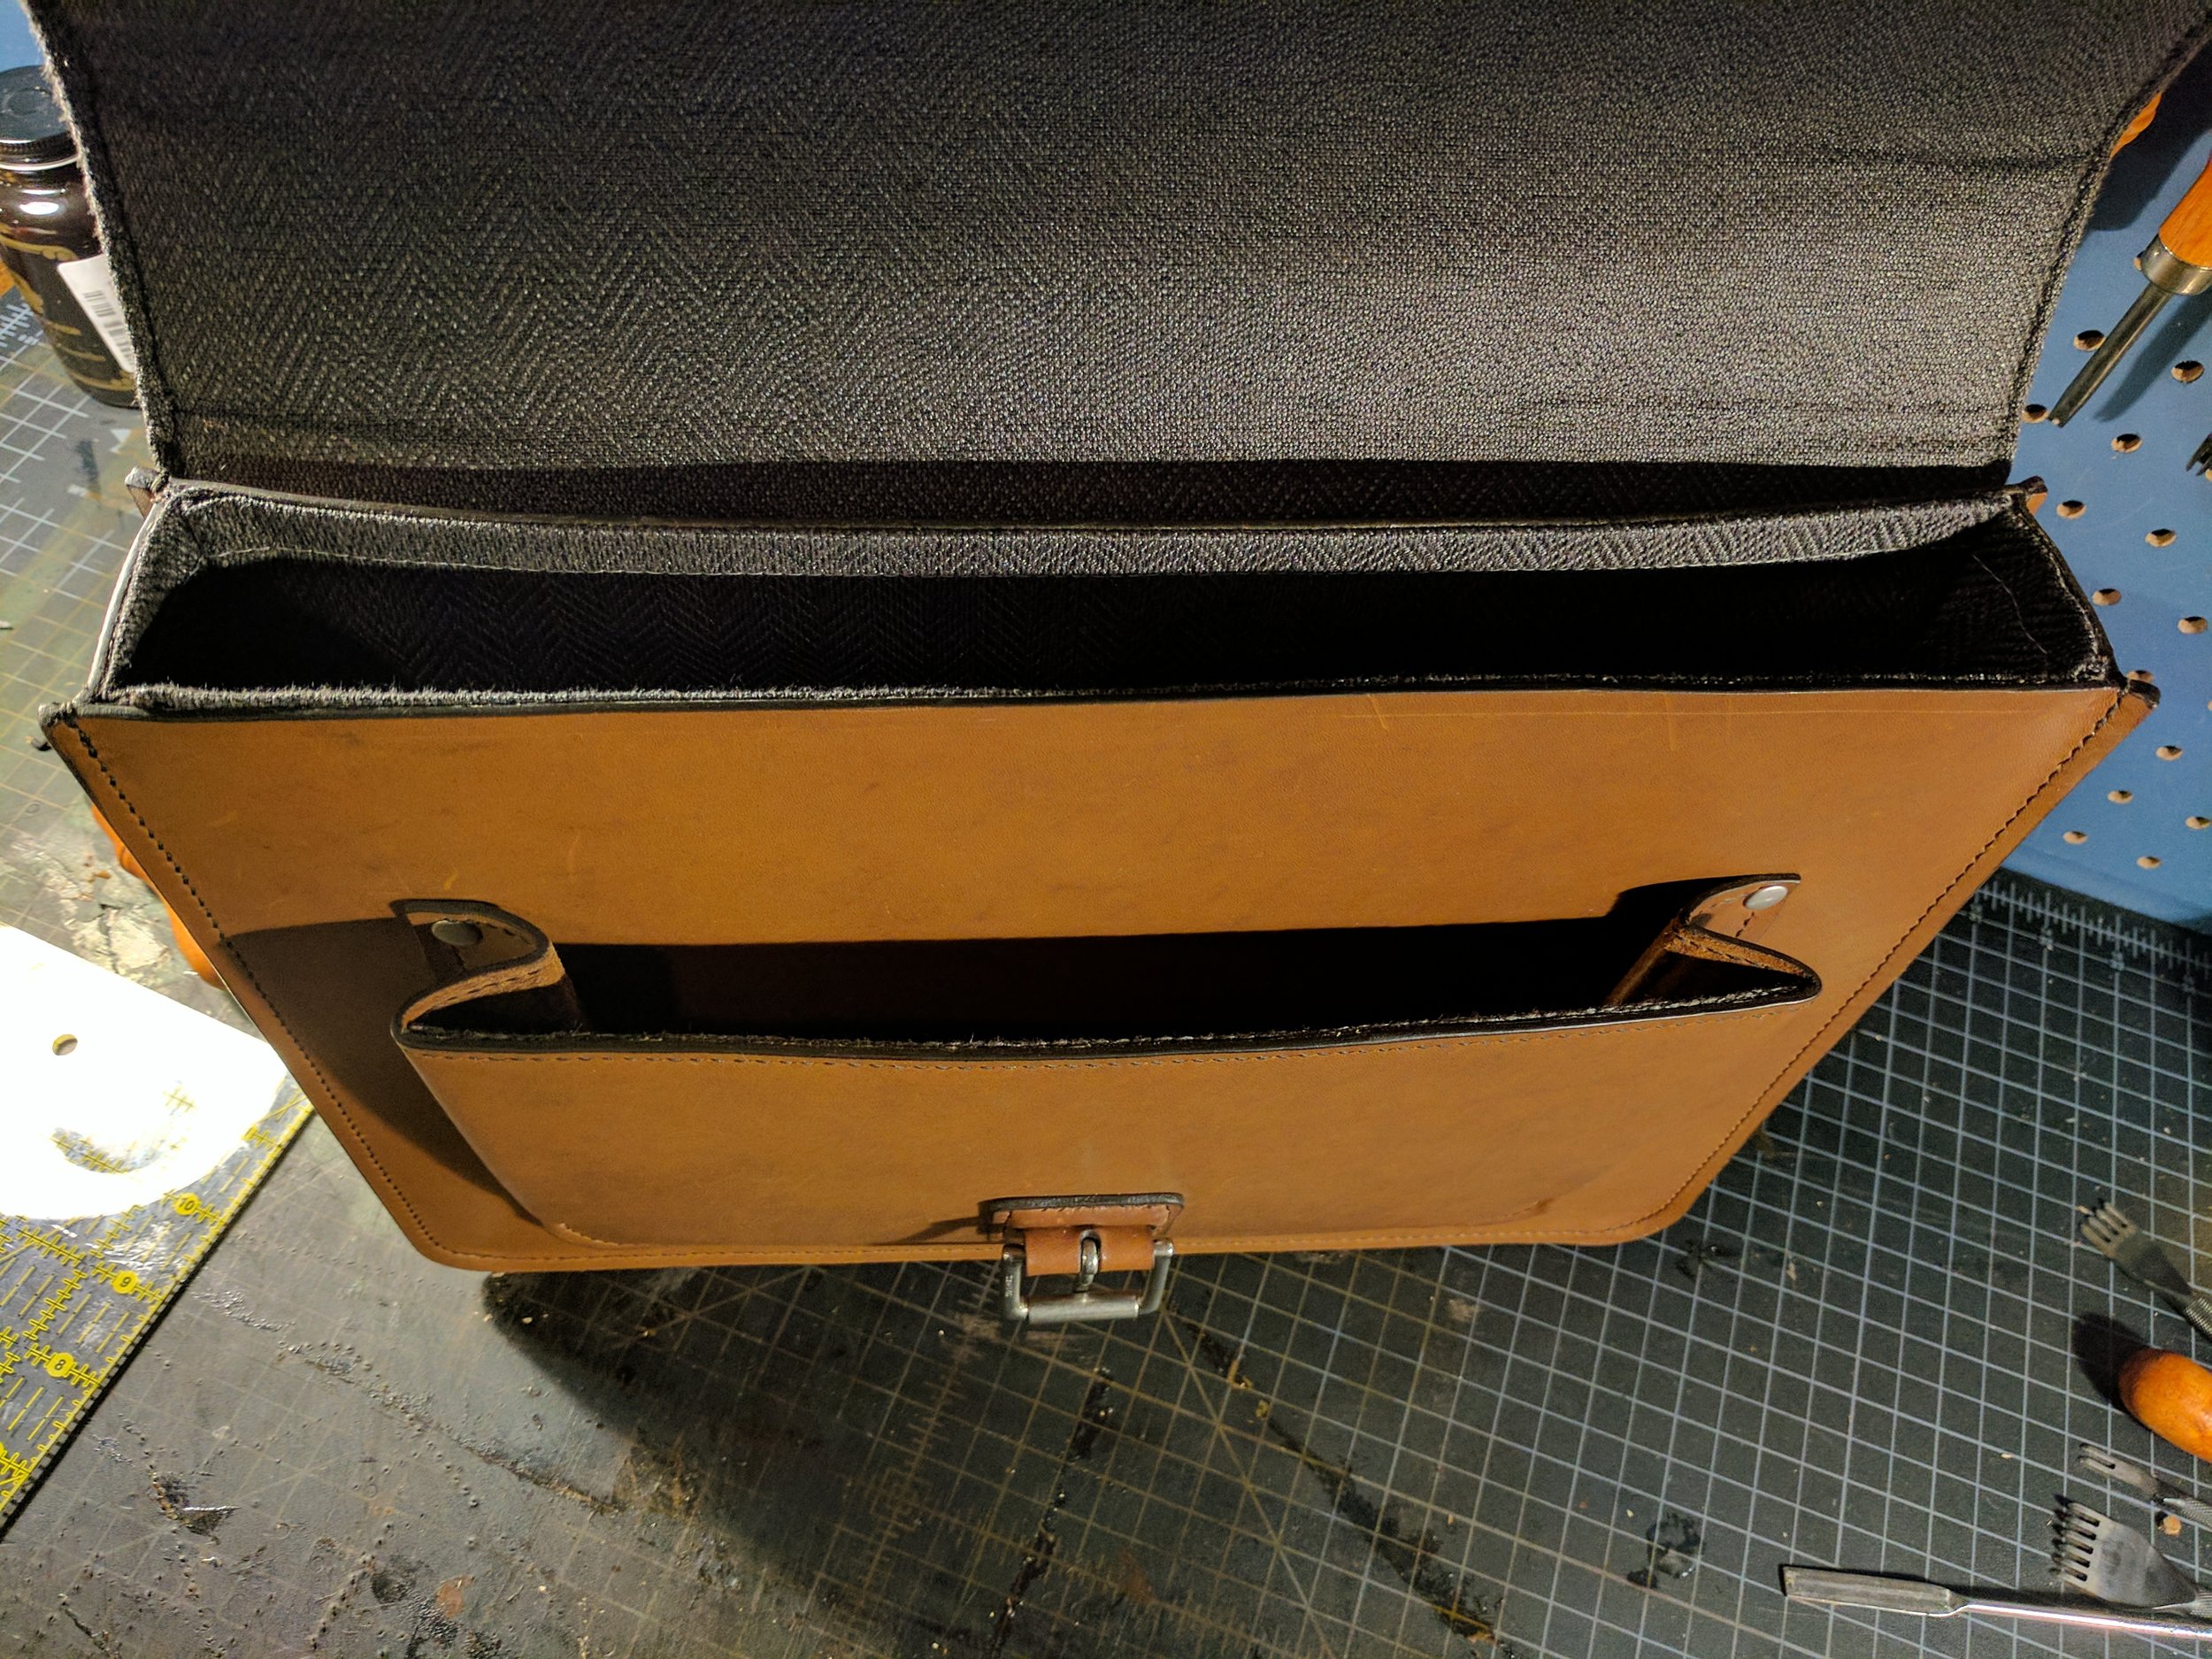
I used folds to create a the pocket on the front and also used folds on the gussets to make sure the bag very square. The gussets would look bowed or looked u-shaped if I had not wet formed the edges outward.
All that said, making sure you fold well can have a big impact on the professional look of a project. Here's a simple three step process for making sure you get clean folds every time.
Step 1: Groove
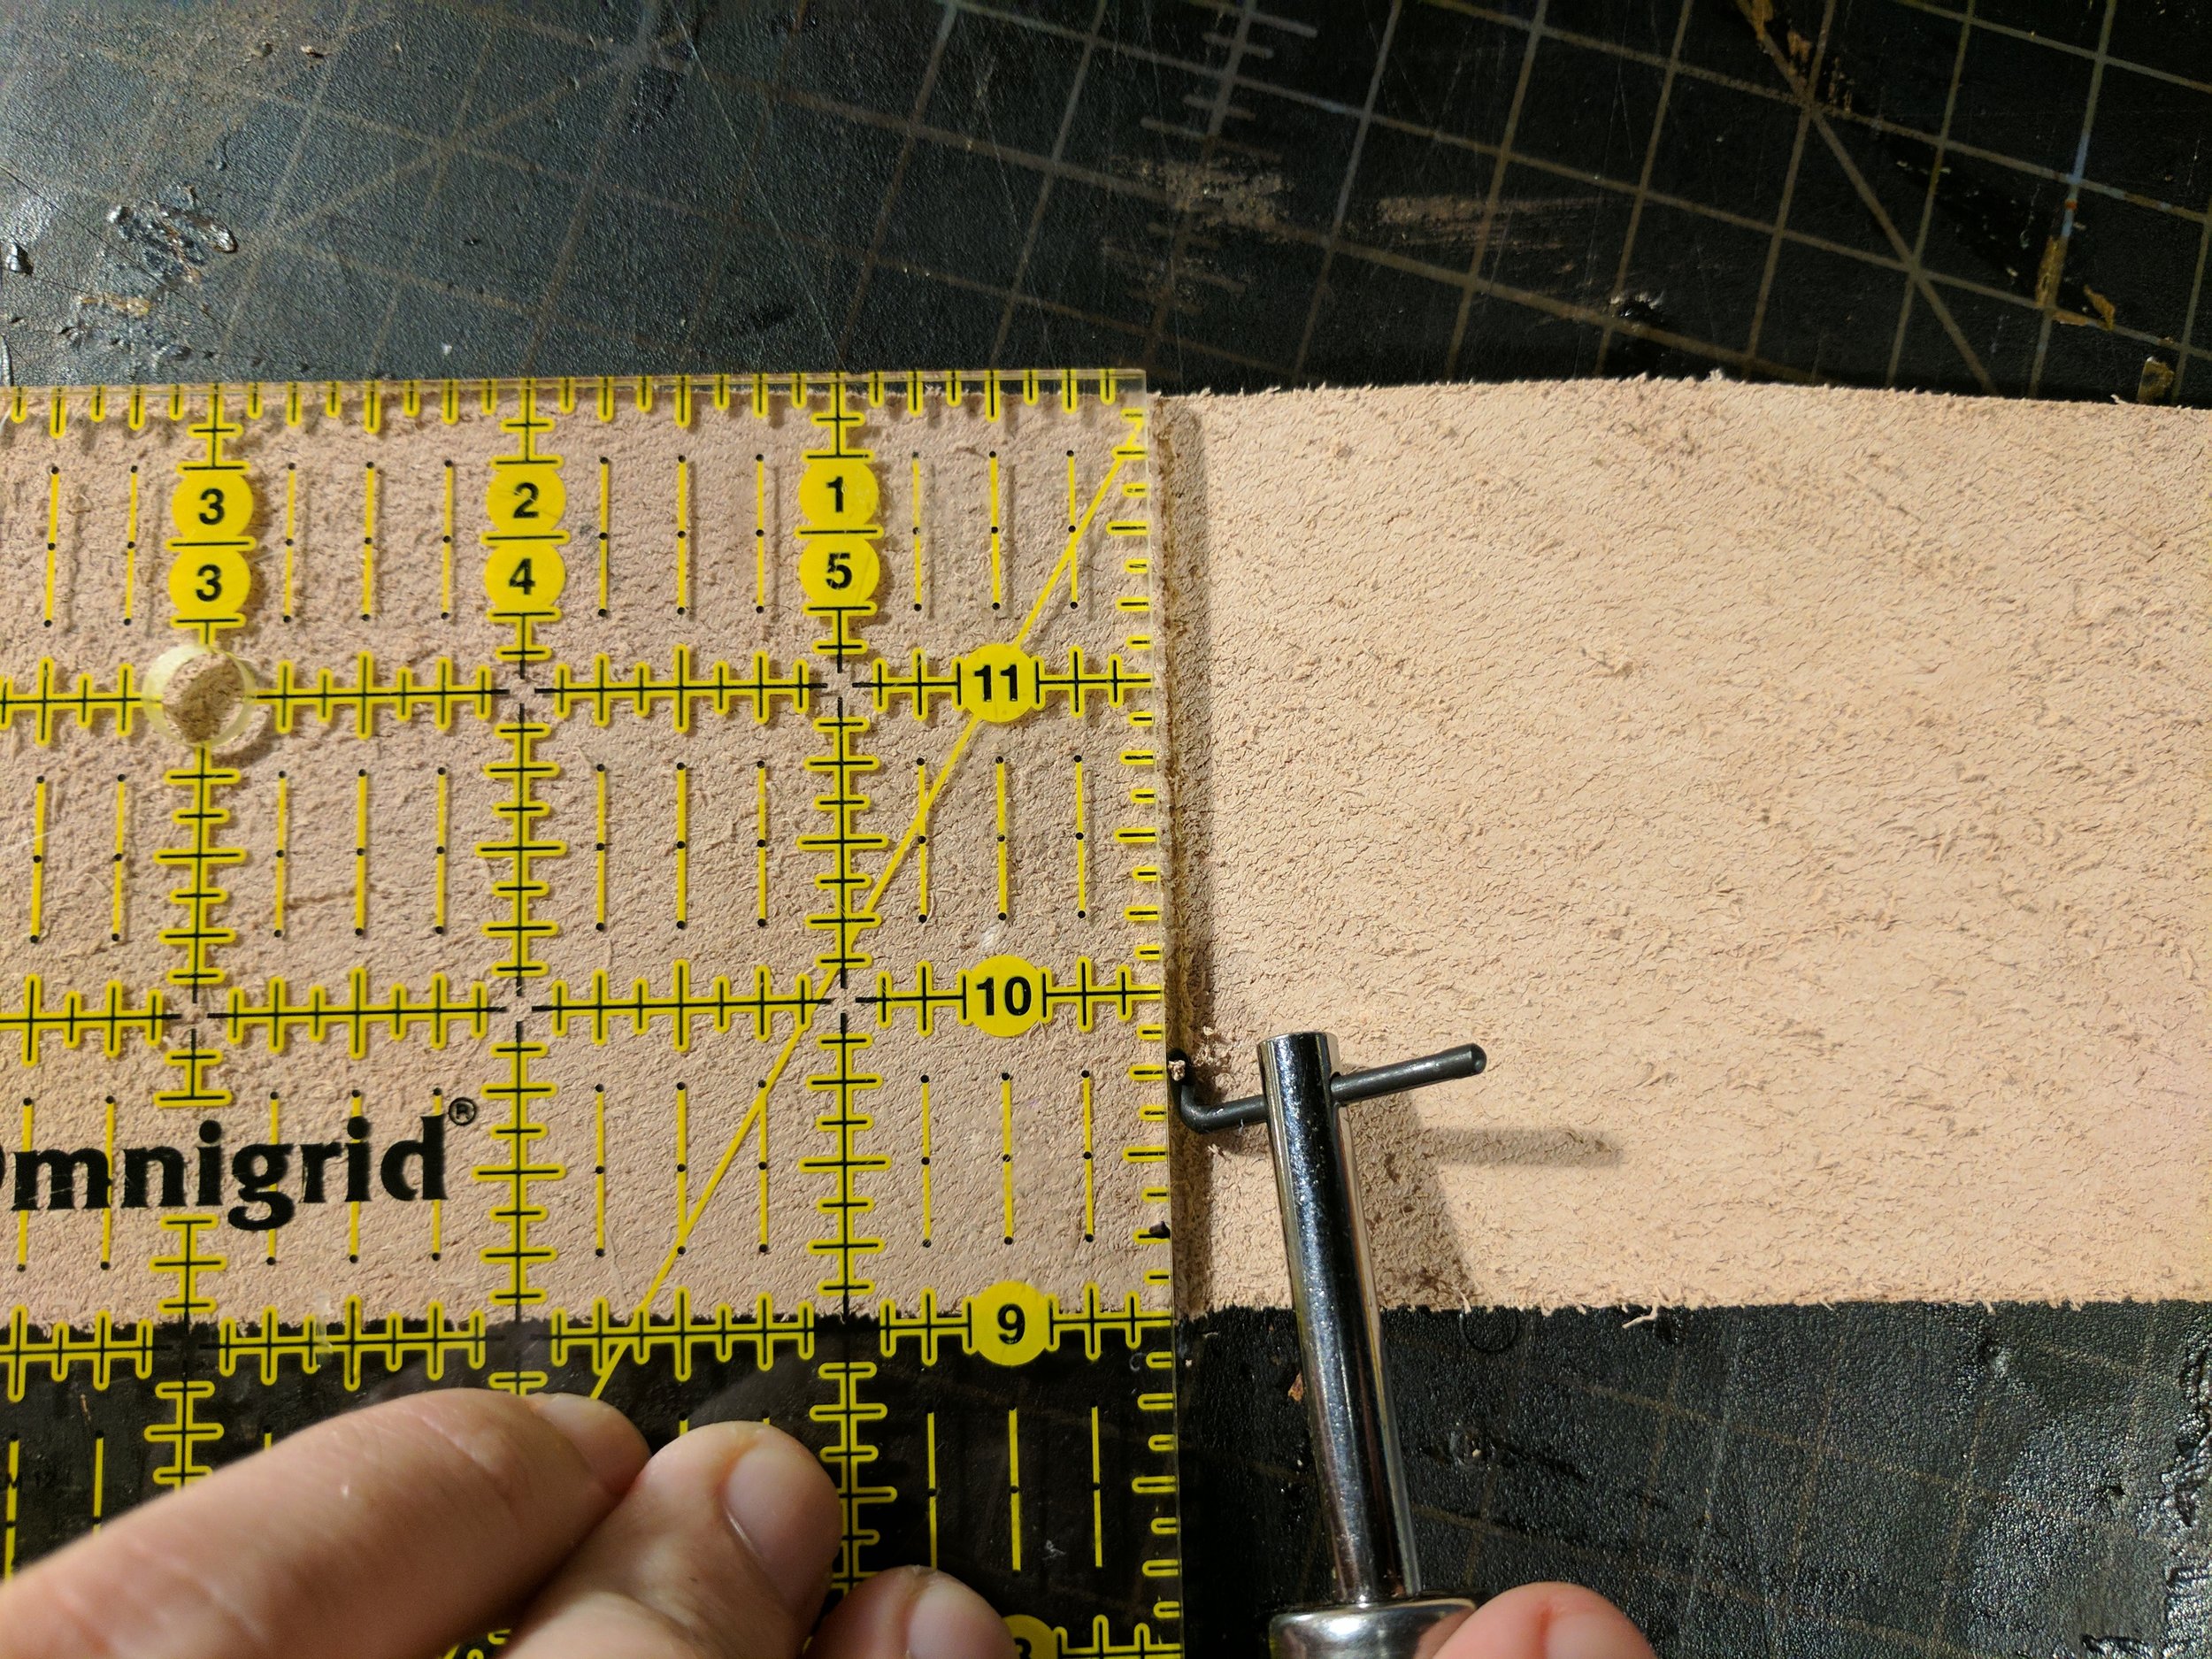
By reducing the thickness along the fold of the leather, not only does it make it easier for the fold to stay once made, it also makes sure that your fold is nice and straight. To create this groove, I use a groover on the back side of the leather. I set a ruler alongside the fold line, and then move it back about 1/16th of an inch. This is to account for the groover, which doesn't make cuts right against the ruler due to it’s shape. I then run the groover along the ruler three to four times until the groove is about 1/3rd the way through the leather. But, if your leather is thinner than 3oz, you can probably skip this step. Thin leathers are already pliable enough to fold and if it’s thin you also run the risk of grooving all the way though the leather, which, if you haven't done before, makes for a sad day.
Step 2: Wet
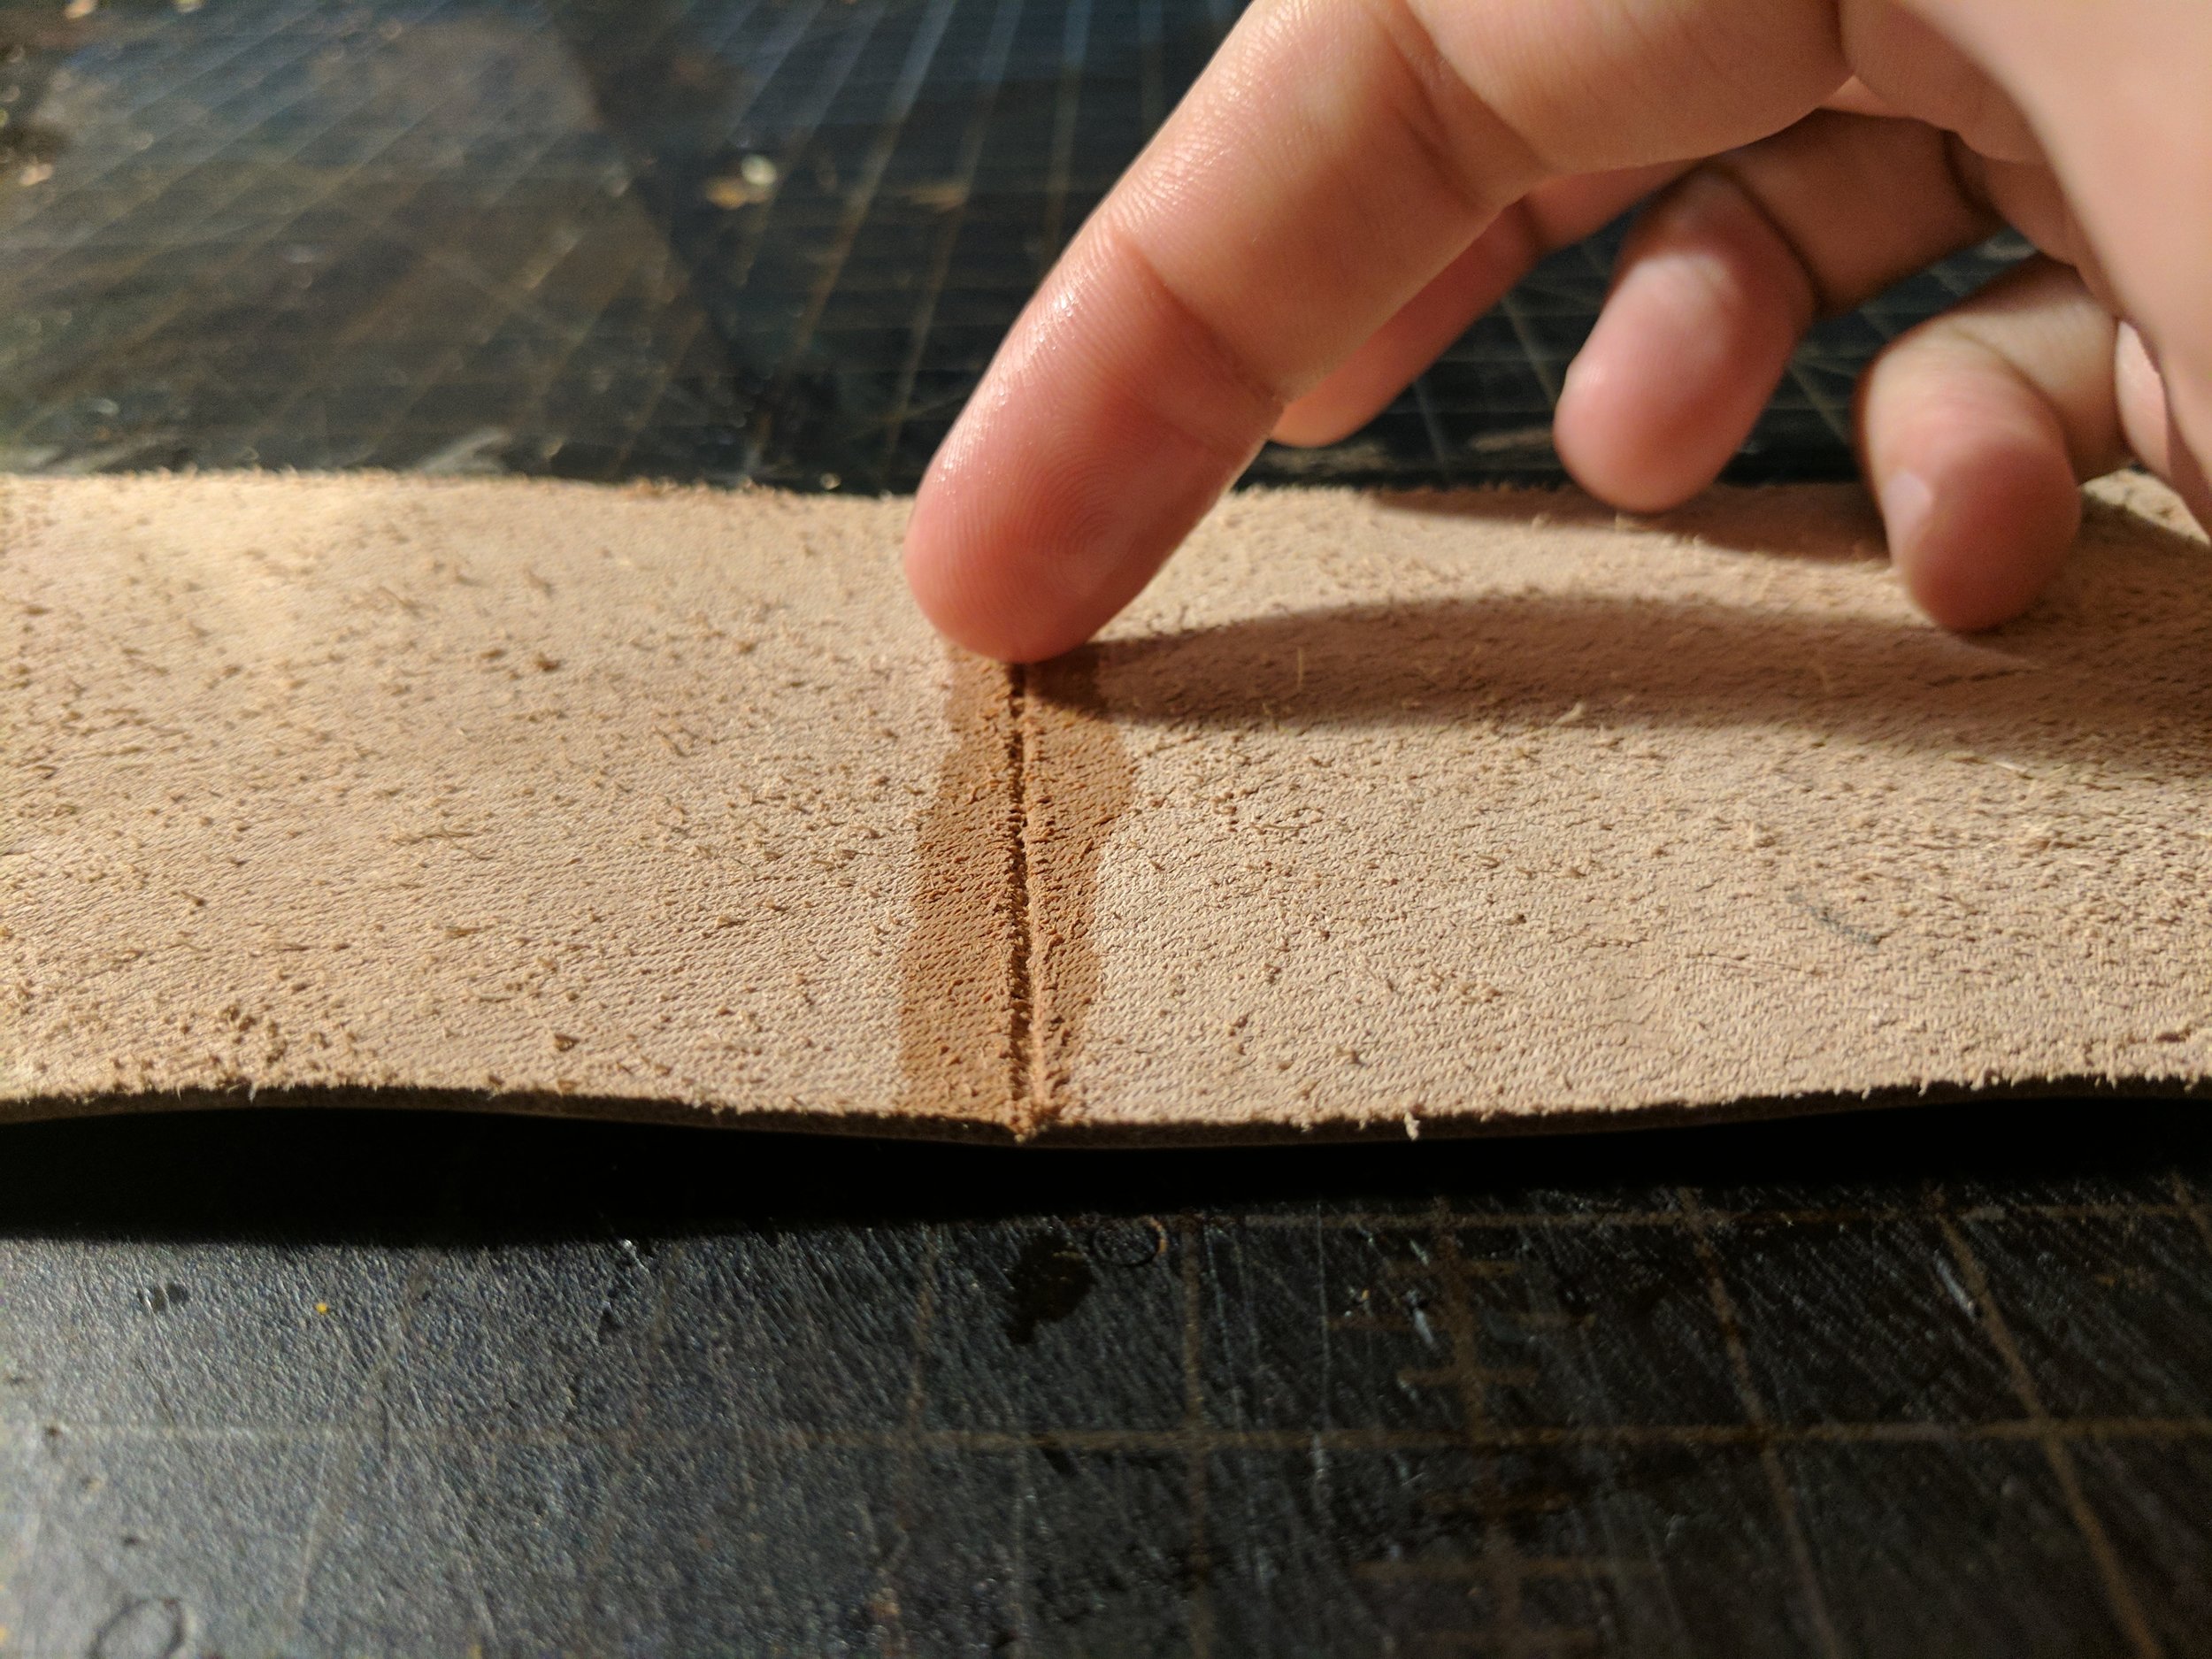
This is where the magic happens. If leather becomes wet, it will dry into the shape of whatever it’s pressed against. So if you wanted to make a crazy mask out of leather, no problem, just soak the leather and stretch it over a mold. Once it’s dried it will keep the shape. Lots of people have done it, and what they’ve come up with is pretty impressive (http://imgur.com/a/b7J6v). But we aren’t making masks, we are just folding stuff, so don’t soak your leather just yet. Instead, using a paint brush or your finger, place water along the groove you’ve made on the back side of the leather. Repeat this process until the area is soaked through. You’ll know when you’re done when the top side, or flesh side, of the leather starts to darken. Once it starts to darken even a little, make sure to stop so you don’t over soak the leather.
Step 3: Fold and Hold
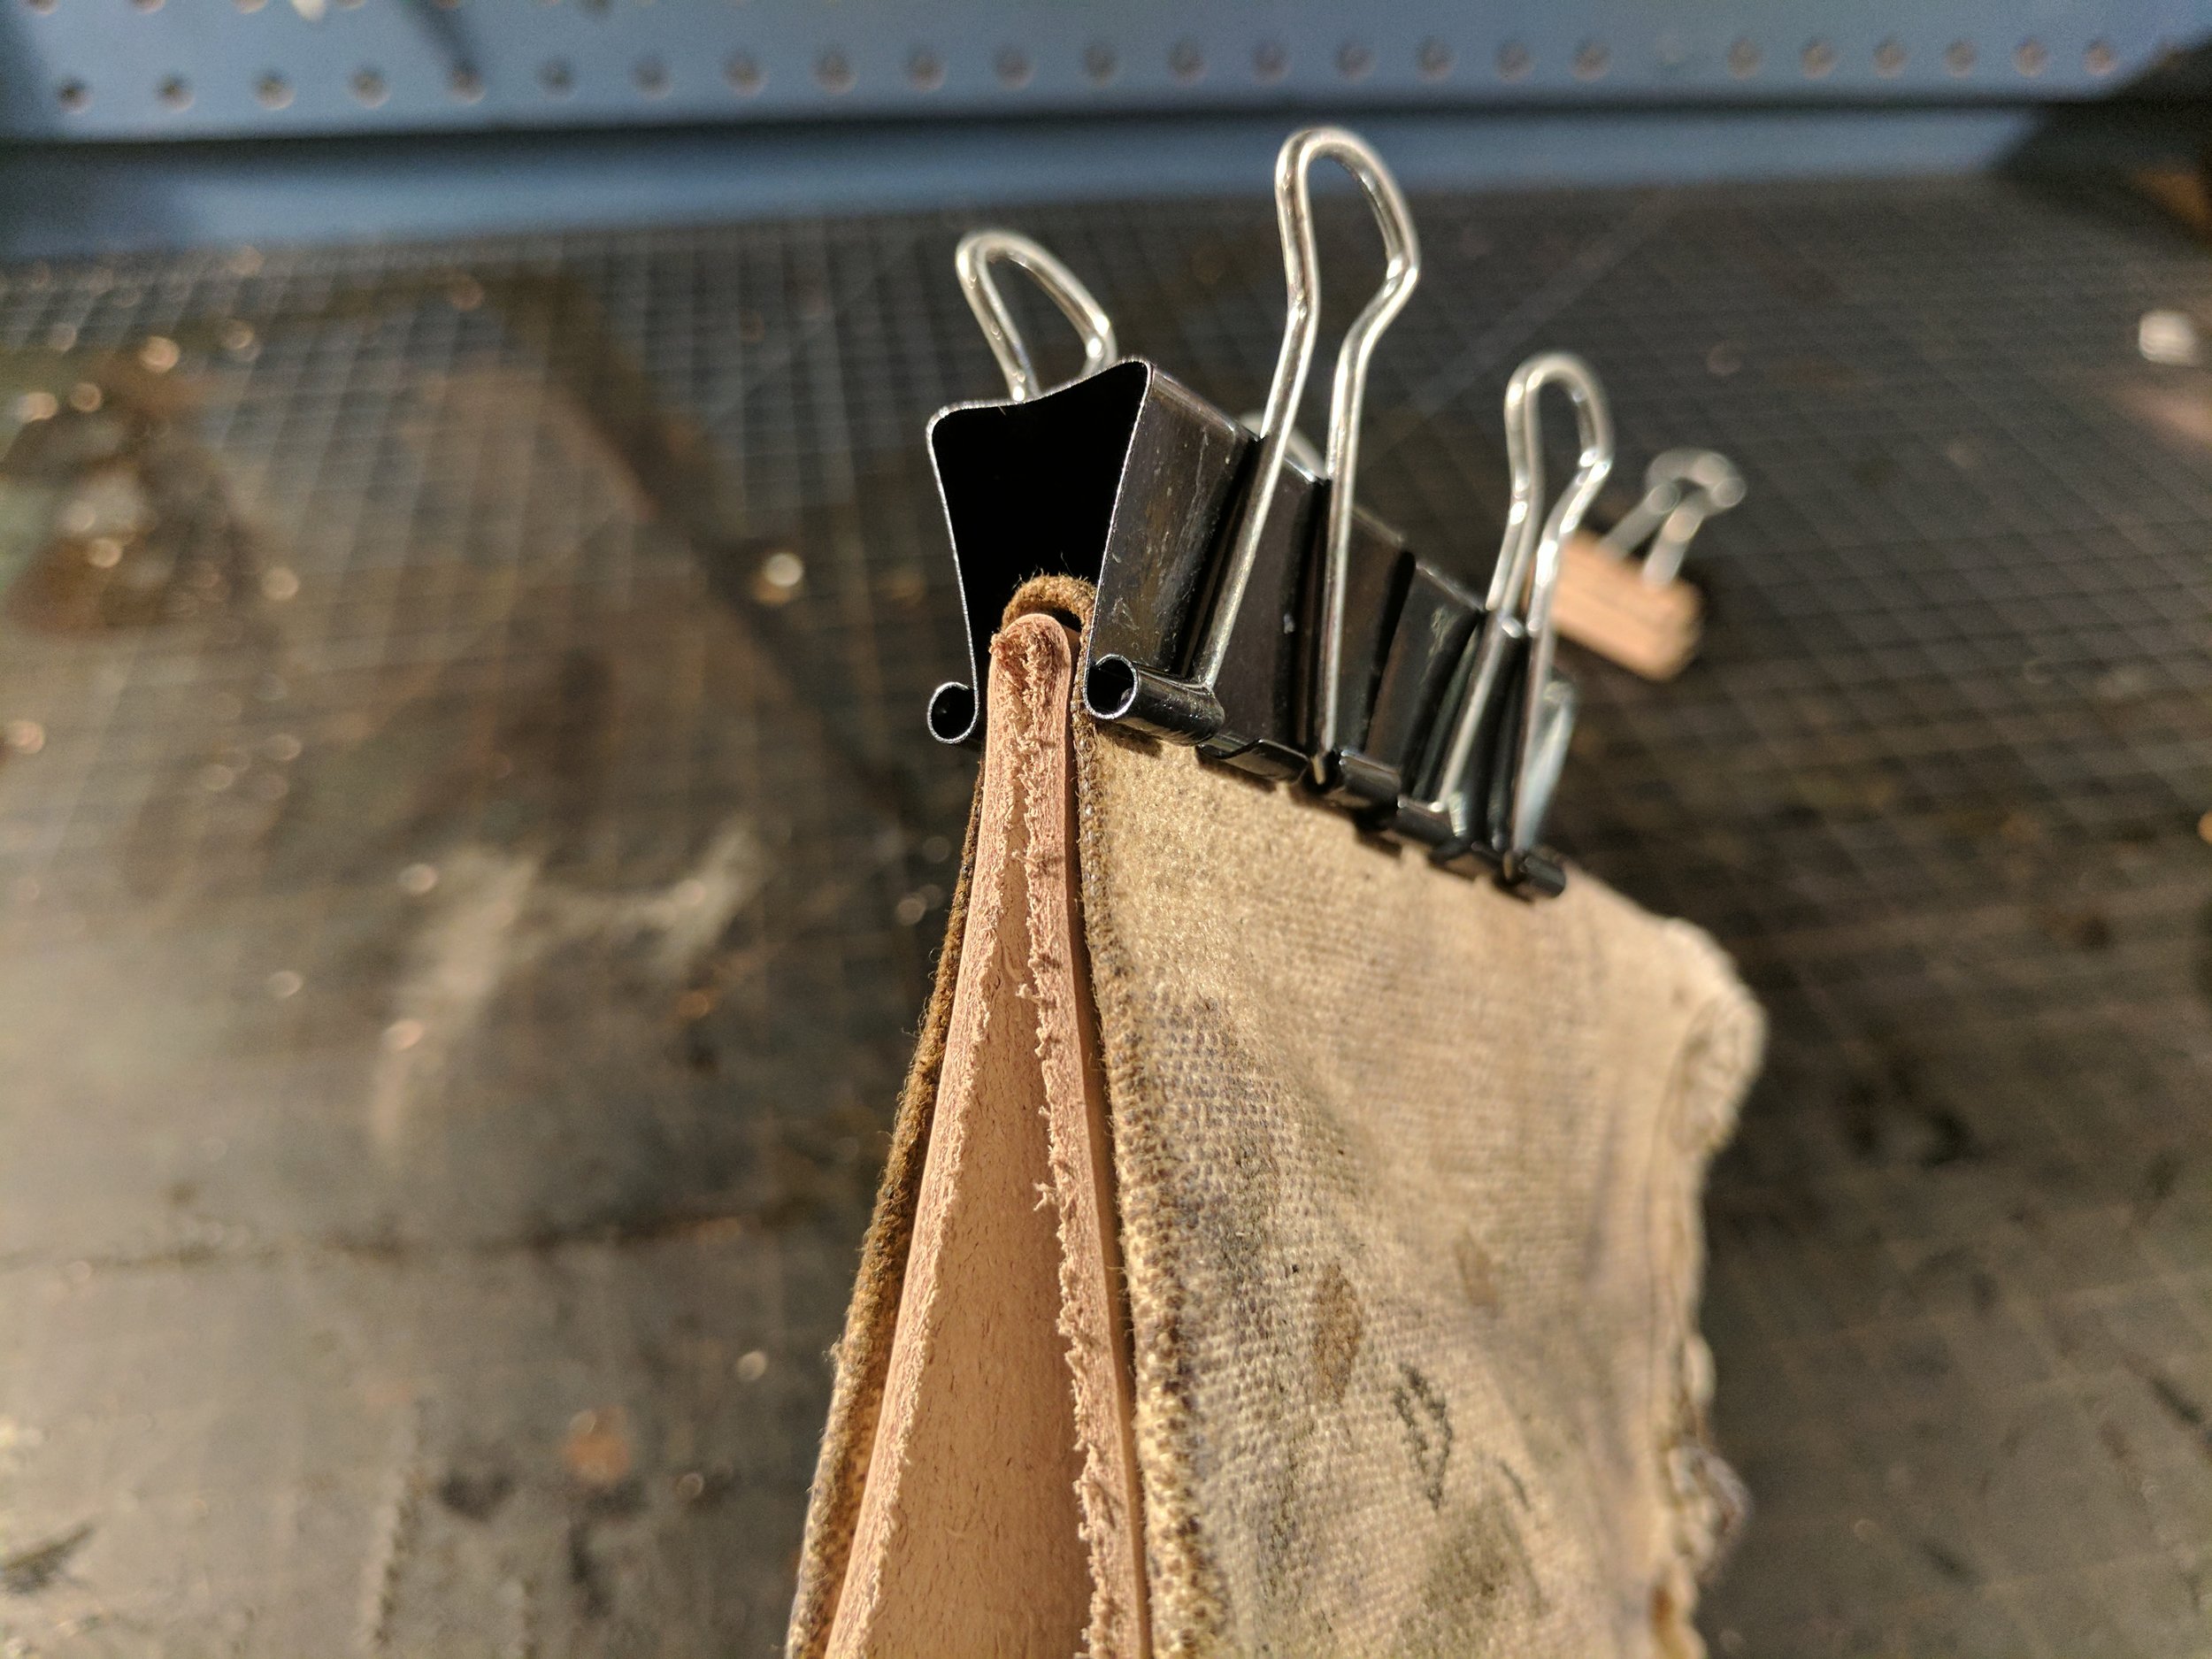
Once the groove is soaked through you’re ready to fold. Making the fold straight can actually be a little bit tricky if the fold is a longer one. To make sure the fold stays straight I always fold the leather over a bone folder and then tap it a few times with a cobblers hammer. Once I’ve done this the entire way down the fold, I think set something heavy on top (usually a few books) or clamp it down with some binder clips. If you use the binder clips, make sure to pad them or cover the fold in cloth, so the clips don't leave indentations. It’s also really important to keep the leather pressed firmly down while it dries. I then leave it sit for about 2-3 hours while the leather dries out. Depending on how much water you put on the fold, it may take longer. Just make sure the leather is completely dry when you remove the books or binder clips.
And that’s it! As I mentioned at the top of the post, there are a ton of leather working projects that require a good clean fold. I gave a few examples of when I use folds, what projects have you guys made that requires these kind of folds? Feel free to drop a link to some of your work with folds in the comments.