Gluing is something that you'll do in almost every project. And taking three minutes to evaluate how you're gluing will drastically improve the quality of your edges. I'm using Seiwa Leathercraft Glue in this guide, but any glue cement should work. Here's three things to make sure that you're doing during the gluing process:
1. Use Wax Paper
I can't tell you how long I went without using wax paper when gluing... and I have no idea why. It's cheap, takes almost no time to prepare, and keeps the glue from being where it shouldn't be.
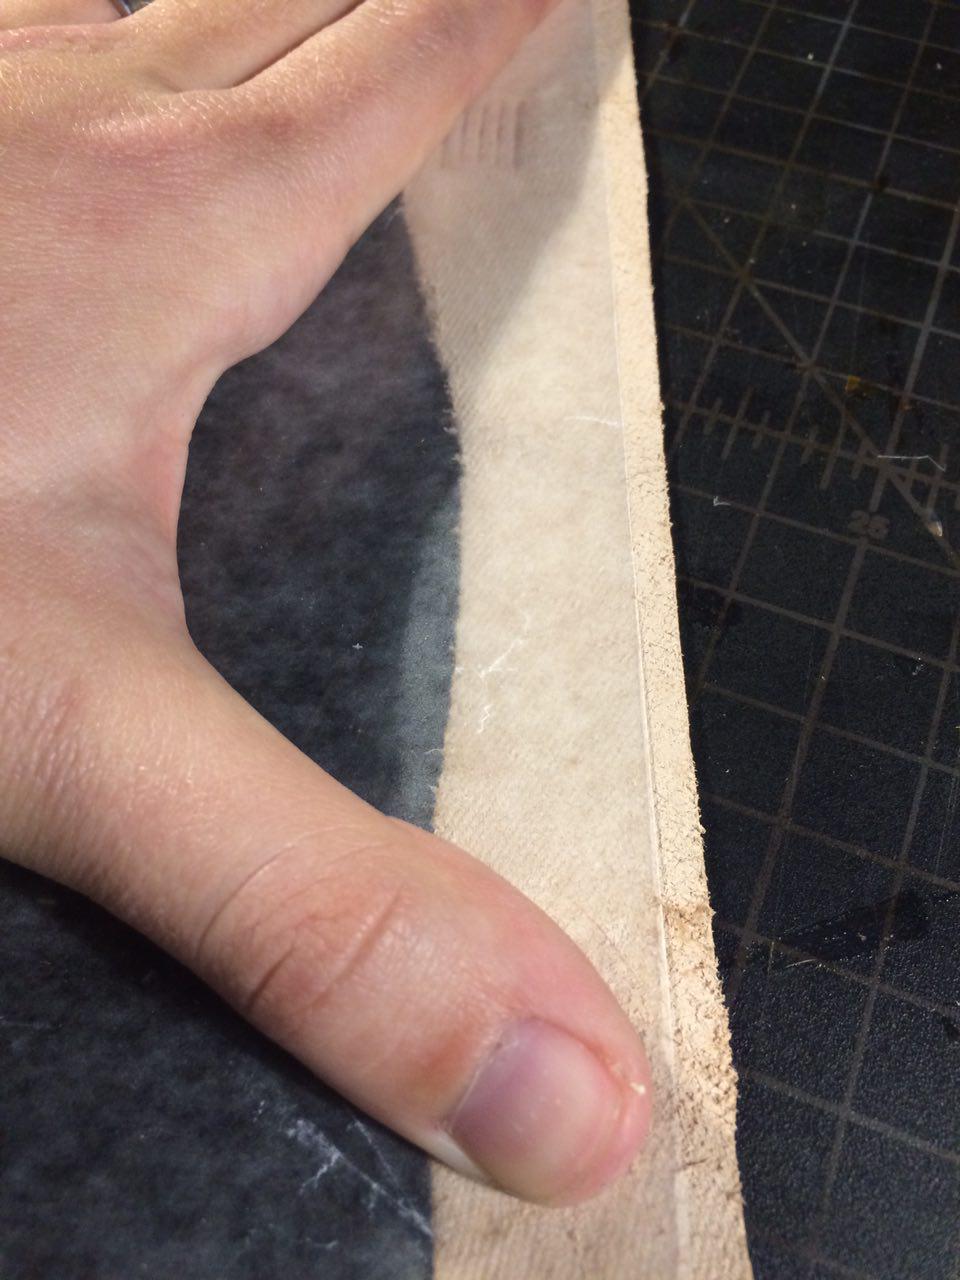
There's really only two things you need to make sure to do when using wax paper. First, always use the flat side of the wax paper for a straight line. This probably goes without saying, but, for awhile, I would make sure to cut the ends straight when the wax paper already has perfectly straight edges on two sides.
The other thing you'll want to keep in mind is to set the paper back to where your stitching will be. If you set it back further, you'll have a smaller opening than you planned for. In some situations this may not be a problem, but in complex projects, especially projects with linings, this can create a problem.
2. Glue All the Way to the Edge
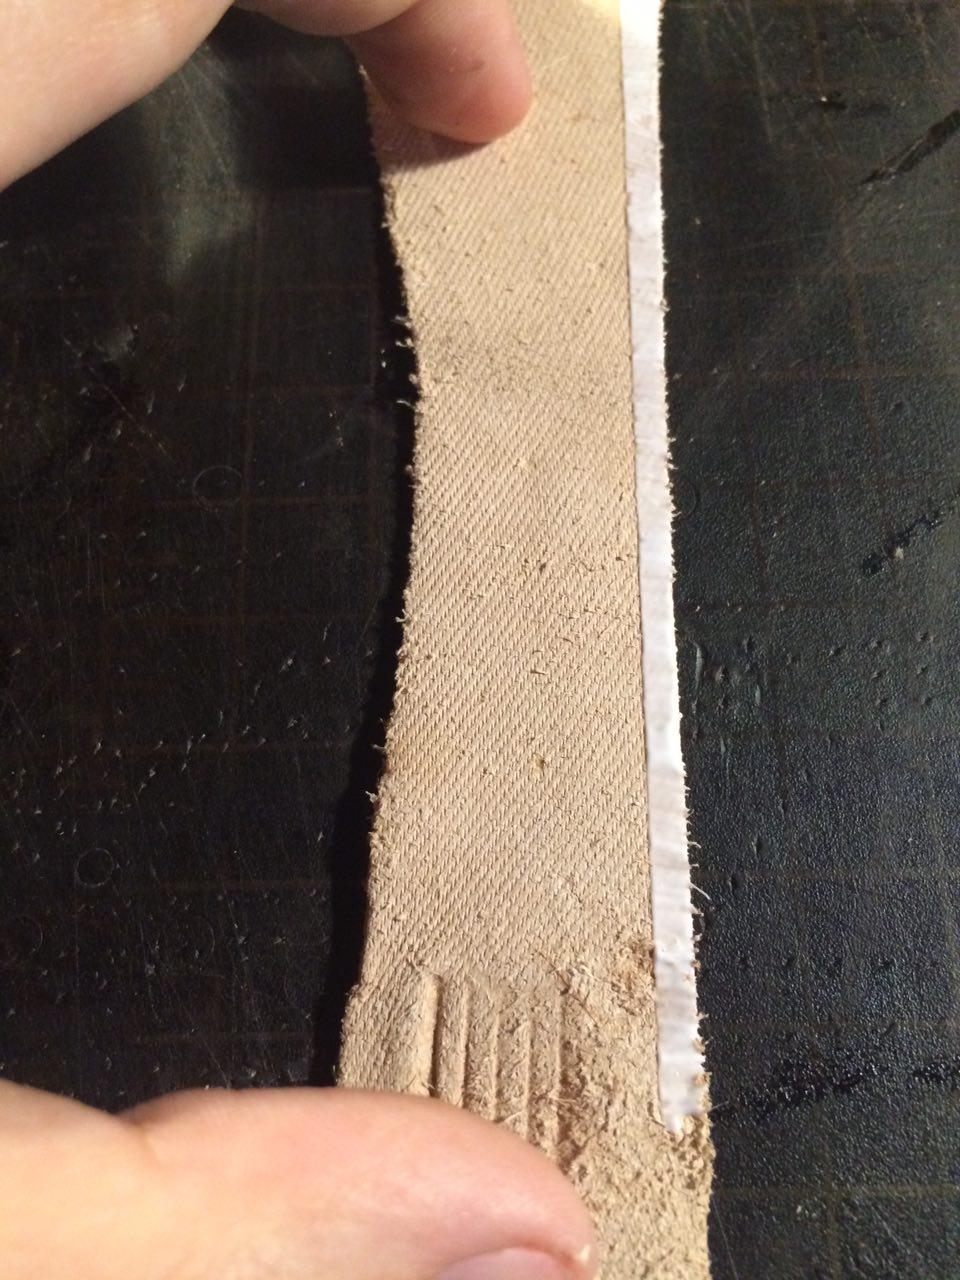
I use a paintbrush when gluing because it allows me to apply a thin and even coat on the leather. Whatever you use, make sure you apply the glue all the way to the edge. You can see the difference between a sloppy application and a smooth one in this picture. If you do not glue all the way to the edge, your edges will start to come apart during the burnishing process. Also make sure that you're only applying a thin layer. It's inevitable that glue will seep out as you press the edges together, but you want to keep that to a minimum.

3. Apply a lot of Pressure
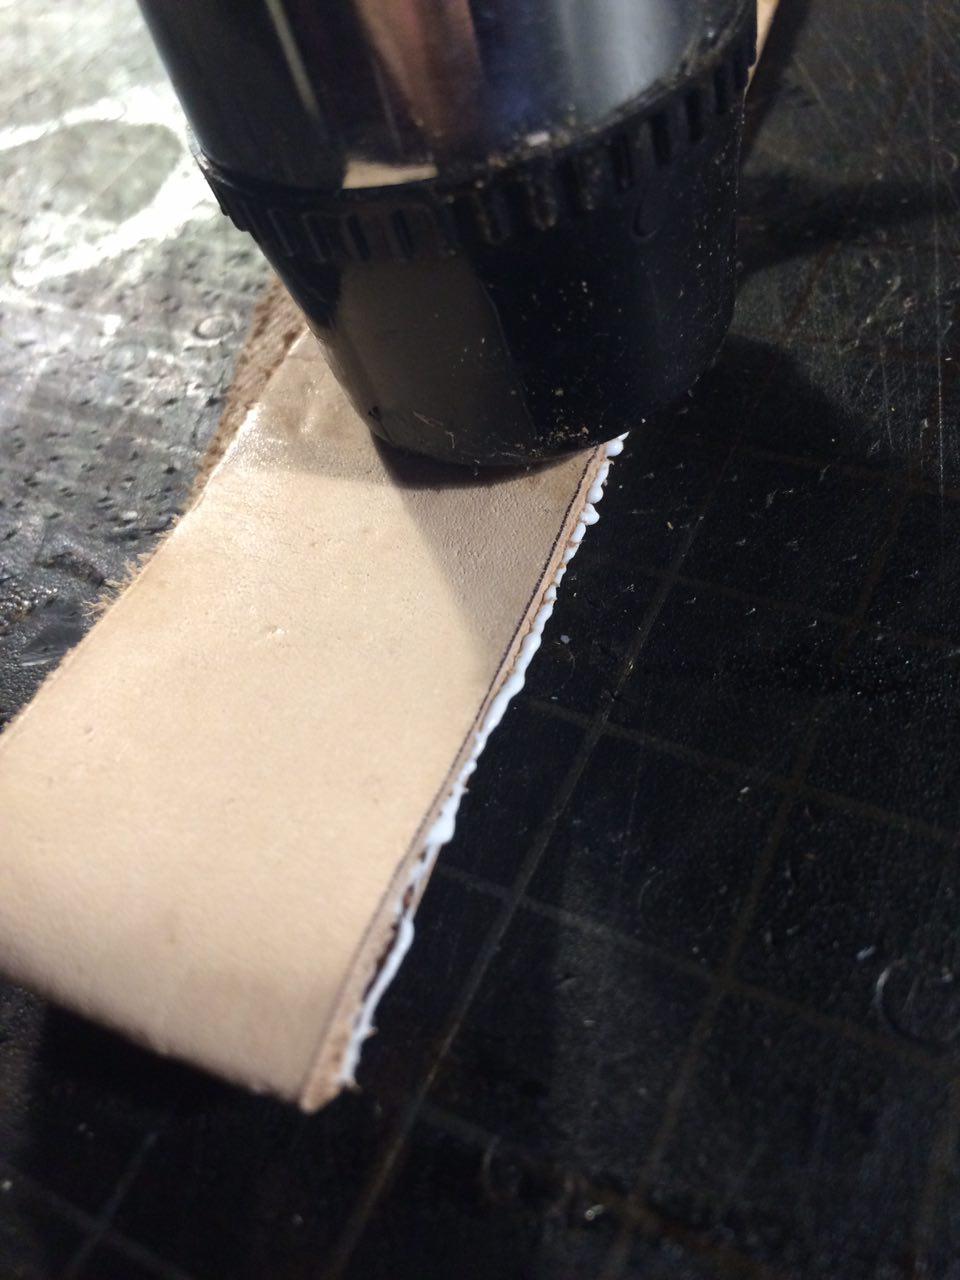
After carefully lining up my edges, I generally hammer along the entire edge to make sure it's pressed together well. Just make sure the leather you're using is supple enough that the hammer won't leave an impression. For bigger projects and longer edges, I'll use binder clips along the entire edge while the glue is drying. Binder clips will leave an impression more often than a hammer does, so make sure to test them out on a scrap piece of leather first.
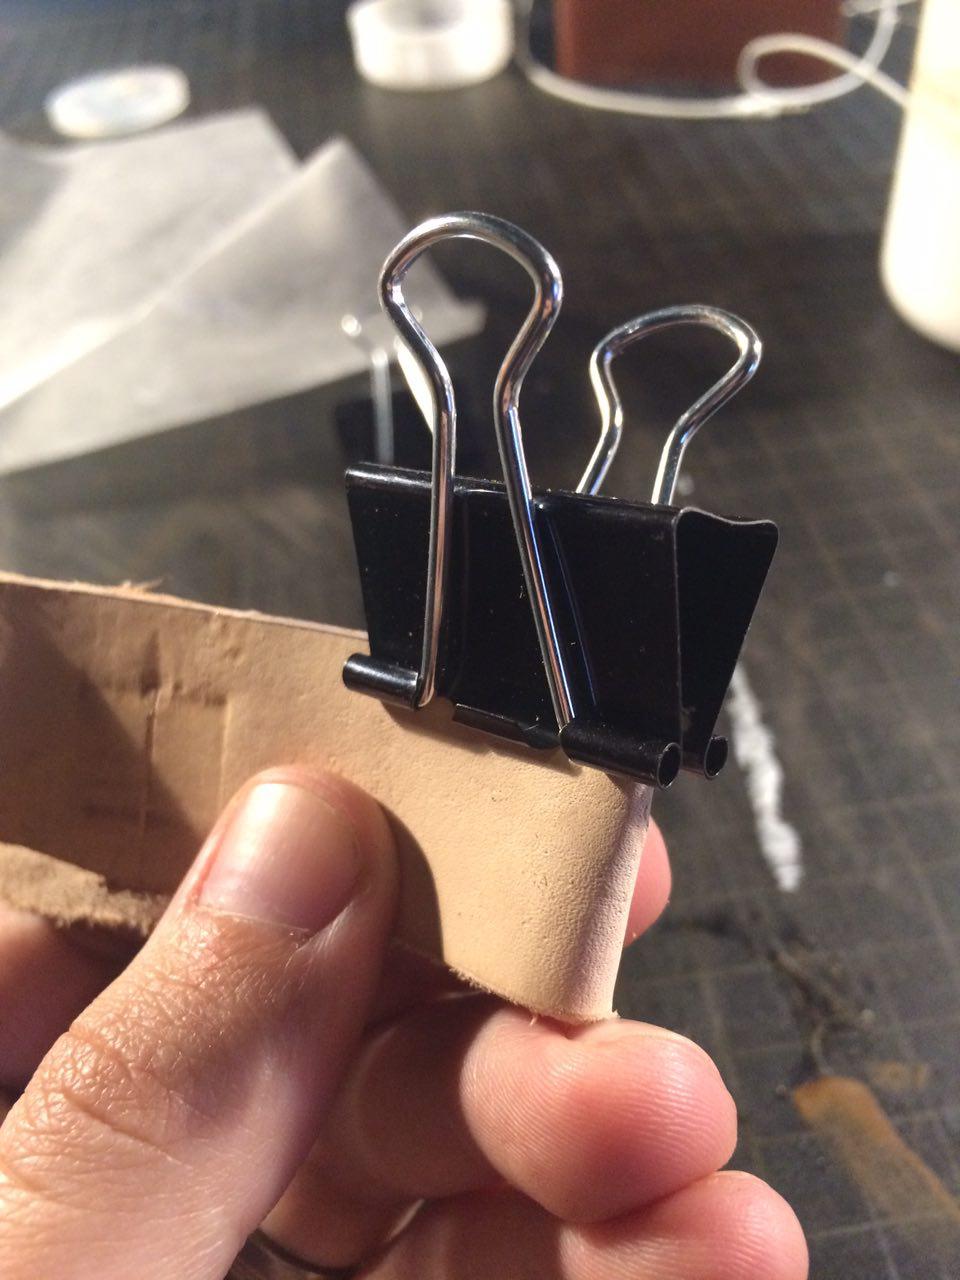
You can get around this problem all together if you make padded binder clips. They are extremely easy to make, check out how to make them here.
Neat gluing goes a surprisingly long way in improving your edges. And now that you're edges are properly prepped, it's time to get them looking fine through the burnishing process.