Dyeing leather is tricky (Yes. I’m still working on it.) Getting a nice even coat of dye on leather takes not only the know how, but also the skill that comes with lots and lots of practice. After trying out a number of different ways to dye leather, this is the one that I’m most happy with.
Step 1: Prep the Leather
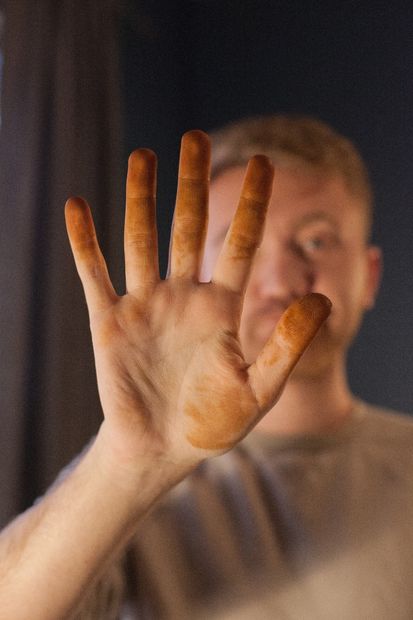
This is what your hands will look like if you don't put on gloves. People will look at your weird.
Put on Gloves
Sure this is obvious, but I cannot tell you the number of times I thought "I’ll just be careful and won’t get anything on my hands.” That has not once worked out for me. Don’t be dumb like me. Wear gloves.
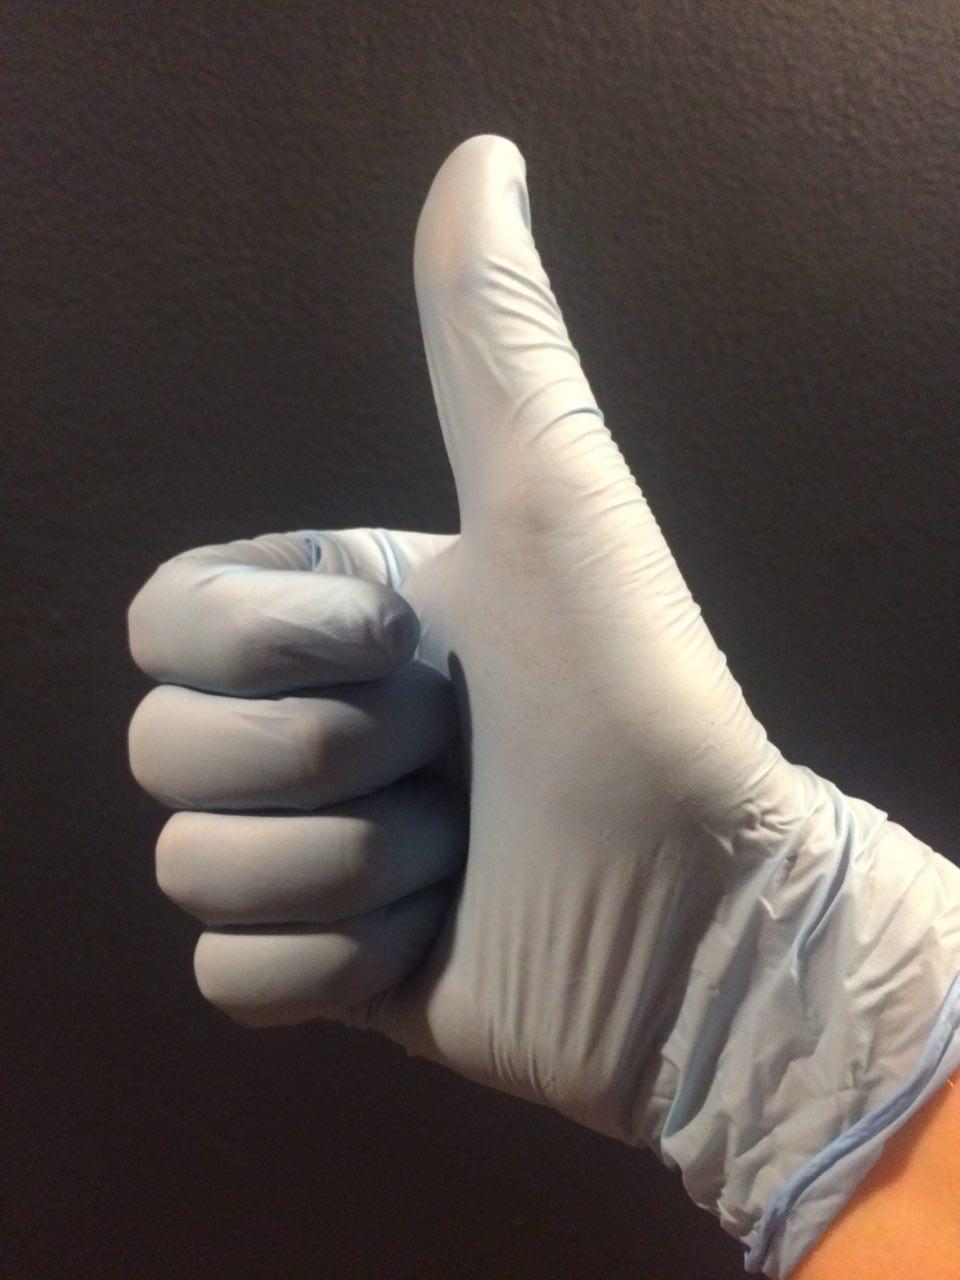
This is what it will look like if you put gloves on. This is better.
Ventilate the Room
This isn’t an insta-death situation, but the fumes of the oil dyes are seriously not good for your to be hanging out in for a few hours. So figure out some way to ventilate the room. A fan in the window does the trick.
Select the Correct Leather.
You can dye any un-dyed veg tanned leather. In fact, you can probably dye pre-dyed veg tanned leather… but why? (serious though, if you do this, just be aware that there are waxes on top of finished leathers that will not allow the dye to penetrate the leather well). That said, there’s not a ton of considerations when it comes to choosing leather. Just know, that if you’re using 100% top grain leather, you’re going to see all the marks and different shades on the leather. 100% top grain leather is great for quality, but it does mean that the top layer (and imperfections that come with) have not be removed. This is going to really show up when you use a dyeing using this method (instead of the method most industrial places uses, which involves submerging the leather completely in dye. This takes a lot of dye, but is more penetrating and offers a smoother finish). So, if you use an inexpensive piece of leather, that has more marks and inconsistencies, just know that it is going to show up no matter how great you are at dying.
From left to right: Water Based Dye, Oil Based Dye, Dye Reducer, and finally Tan-Kote Leather Finish
Wipe Down the Leather
If your leather has been in your shop for more than a day, there’s a good chance crap has accumulated on it (especially if you’re sanding your edges). Wiping it down quickly with a dry rag prior to dying will help create an even coat. Some suggest using a deglazer on the leather, which will remove any oils that have gotten on the leather from things like your hands. I’ve not used this before, but I’ve seen it recommended many times. Fiebings offers this.
Loading up the sponge with dye.
Cut Your Dyes
I use Fiebings Pro Dye when using an oil based dye and Tandy's Eco-Flo for water based dyes. I like the Pro Dye from Fiebings. Out of everything I’ve used it’s given the most consistent coat, but both work well. I do really suggest cutting it though. If it's an oil dye, Fiebings sells a dye reducer, and if it's a water based dye, you just add water. The more coats you do, the smoother your dye is going to look. So if you achieve the color you want on your first pass of dye, you won’t be able to apply more dye to help even out dye. Instead, you’ll get a very marbled look… which is okay if that’s what you’re going for. As a side note, doing multiple passes of water based dyes will eventually dry out your leather. When you are done dying with water based dyes, it's best to apply some Neatsfoot Oil to put oils back into the leather. Okay, now on to the actually dying process.
Step 2: Apply a Base Coat in Circles
I always do the first coat in a circular motion. Notice how I start to squeeze the sponge to release more dye as it dries out.
This is easily the most important coat. First you’ll dip your cloth or sponge into the dye. Now rub it into the dye in circular motion until the leather is covered with dye. Then allow to dry.
Here’s a few things I’ve learned along the way to applying this coat consistently.
- When you first set your cloth or sponge onto the leather it is going to be loaded up with dye, and if apply pressure when you first set it onto the leather that one spot is then going to be loaded up with dye. When you first start apply little to no pressure, as you keep going and less dye is being released from the cloth/sponge begin applying more pressure to release an equal amount of dye as before.
- When the dye starts getting spotty, reload the cloth/sponge with dye. Basically when the area you just passed over isn’t completely covered in dye, it’s time to get some more.
- Overlap a half at a time. As your dyeing in these circles I usually overlap 1/2 of the previous circle with the new circle. 1/2 isn’t some magic number, it’s just what I do. Whatever you do, make sure you’re consistently doing it with each circle you make.
- Don’t shy away from the edges. Make sure you dye the leather on something you don’t mind getting dye on, because you should be dyeing beyond the edge of the leather. If you treat the edge of the leather like the end of where you should dye, you’ll approach it timidly and the edges will look less dyed than the rest of the project.
Second and third coats are applied diagonally. Make sure to go beyond the edge, as is shown in this gif.
STEP 3: Apply a Second Coat Diagonally to the Right
I do this one in back and forth diagonals. Then allow to dry.
STEP 4: Apply a Second Coat Diagonally to the Left
I do this one in back and forth diagonals as well, but in the other direction. This way, between the 3 coats, the grain has been hit from every direction and there should be un-dyed part of the project.
Buffing the finish with a cloth once it has dried.
STEP 5: Apply a Finish and Buff
Once this final coat has dried, you need to put a finish on the leather. If you decided to skip this step, whoever is using the item you made will end up with dye on their clothes. This is bad, so use a finish. I use Fibbing’s Tan Kote, which can be purchases as either a gloss of matte finish. This can be applied in one coat, and I just work it into the leather using the same circular motion from before. Once you’ve worked it in evenly, leave it alone and let it dry. Touching it at all during the drying process will ruin the finish. After the finish has had time to dry, buff it with cotton cloth.
Dying and finishing process complete!
At this point your project should be dyed and ready to go. Hopefully your got a beautiful and completely smooth finish. If you did not however, don't worry, with practice we'll get there. P.S. I swear this isn't a paid advertisement for Fiebings, I just really like their dyes, hah.