Craftsman Oak is the cheapest version of leather that Tandy sells. And it’s no secret that it’s rough, but that’s a good thing when you’re beginning. The low quality is why they are so cheap, and cheap leather is great leather to practice on.
But just because you receive it in rough shape doesn’t mean you can’t make the best of it. While Craftsman Oak is a far cry from say, Horween’s leather (which will cost you a heck of a lot more), you can still create beautiful pieces with it. It just takes a little more coaxing.
I used Craftsman Oak a lot when I was learning. And I started to notice similar problems with each of them, and eventually learned how to deal with those problems. Hopefully this list helps you create beautiful end products, even though you are still learning with cheap leather.
Problem #1: Holes, Scars, and Folds

Top side blemish.

Check for blemishes on the underside as well.
Solution: Any piece of cheap leather is going to have these defects, but these defects don’t need to make their way into your project. If you’re creating something small like a wallet, it’s easy to cut around these defects no matter what cut of leather you purchased. If you are wanting to make something larger, like a bag, you need to get a bigger cut of leather. You’ll have a hard time finding enough space without blemishes on a smaller piece, even if it is technically enough leather for the project. When you’re inspecting the leather, prior to buying it, make sure there is enough distance between the blemishes to fit the pieces of your project.
Problem #2: Too Stiff
Solution: There are ways to lessen this, but just know you aren’t go to make an extremely stiff pieces of leather extremely flexible. It’s more like, it was once really stiff and now its just sort of stiff. Putting oil on the leather prior to sealing it with a wax cream will help loosen it up. There are a number of different oils you can use, but I like to use olive oil because I always have it around. Also, unlike some other oils, olive oil will not darken the leather too much.
Don’t be afraid to be generous with the oil. Depending on the leather, it will take a decent amount of oil to start seeing results. Just make sure you apply it evenly because it does darken the leather a small amount. Using a sponge is a great way to apply both oils and dyes.
Problem #3: Feels like Cardboard
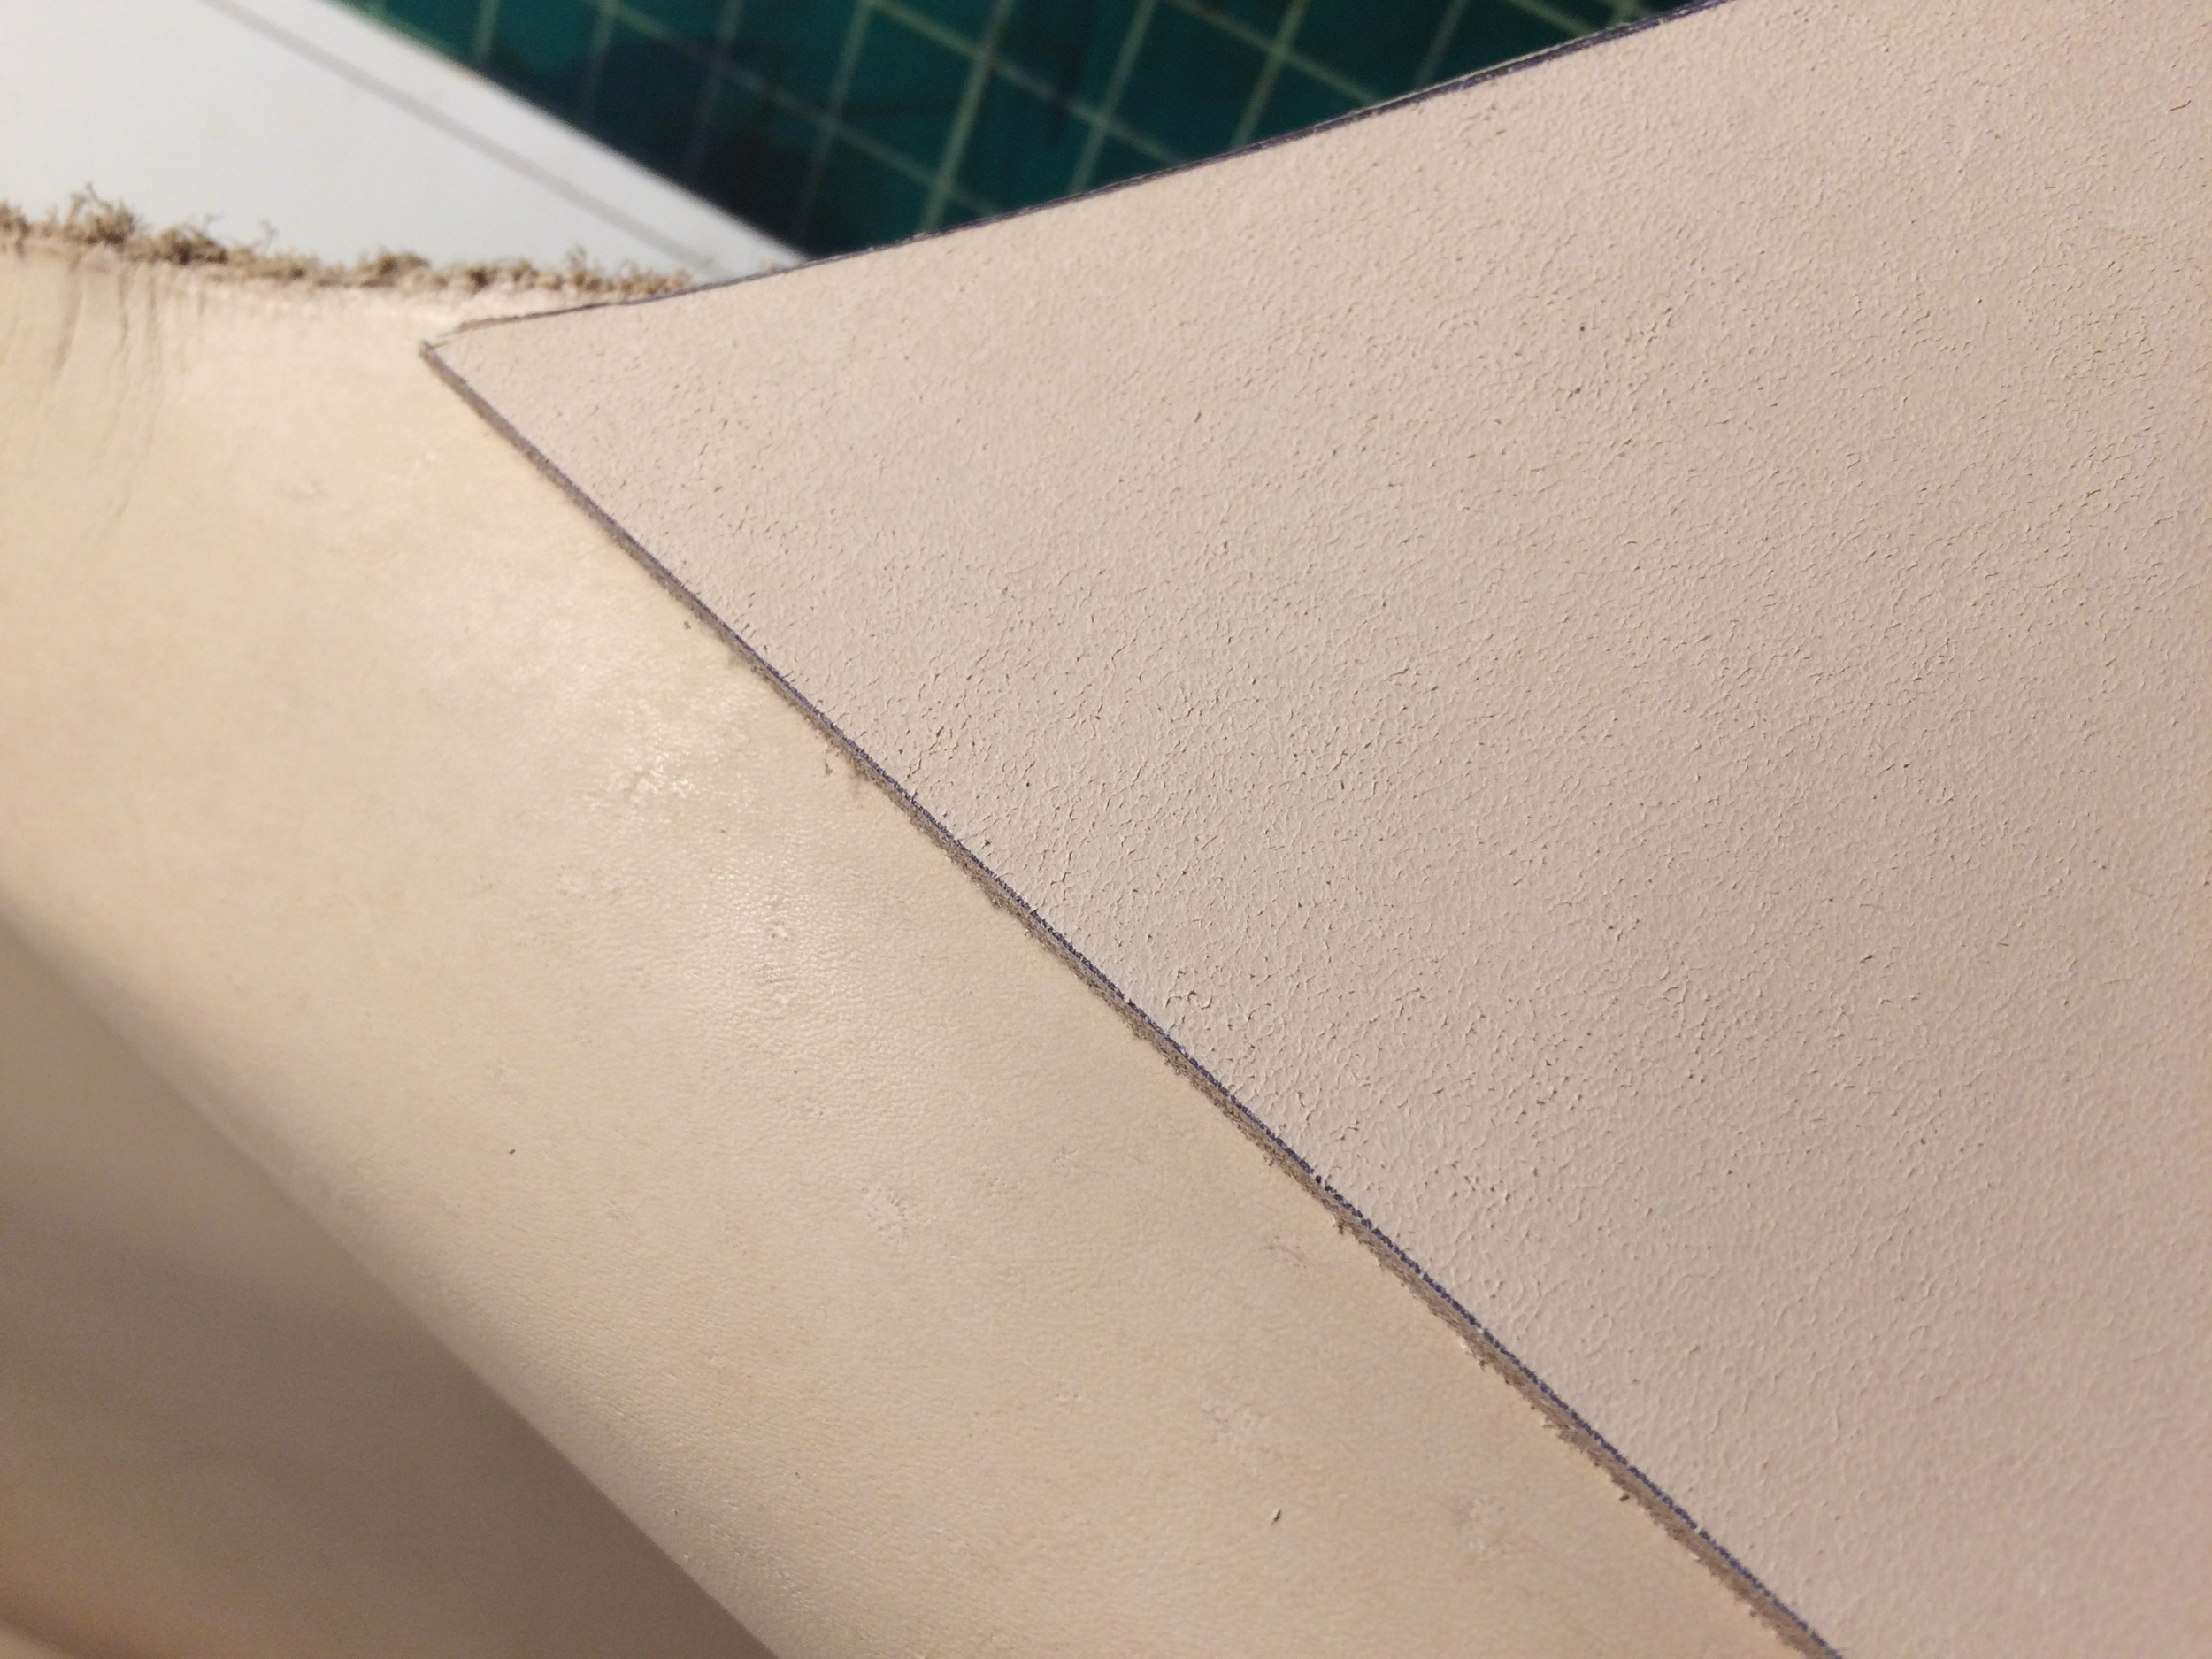
This is the topside of two different pieces of leather. The one on the left looks as it should, while the one on the right almost looks like its the underside due to how coarse it is.
Solution: First of all don’t panic. I remember getting a piece of leather that I had shipped to my house (go in to the store if you can), and thinking that the top layer had been skived off somehow. It hadn’t, it was just insanely coarse. Go ahead and dye it just like you would any other piece of leather and then make sure to be generous when you apply the carnauba cream. You may have to give it a few coats, but you can get it looking healthy again.
If it still looks and feels coarse after applying a few coats of carnauba cream, you can also take your slicker/burnisher and buff the surface of the leather by running it quickly back and forth across the top of the leather. This will give it a shinier look.
Problem #4: Messy Underside
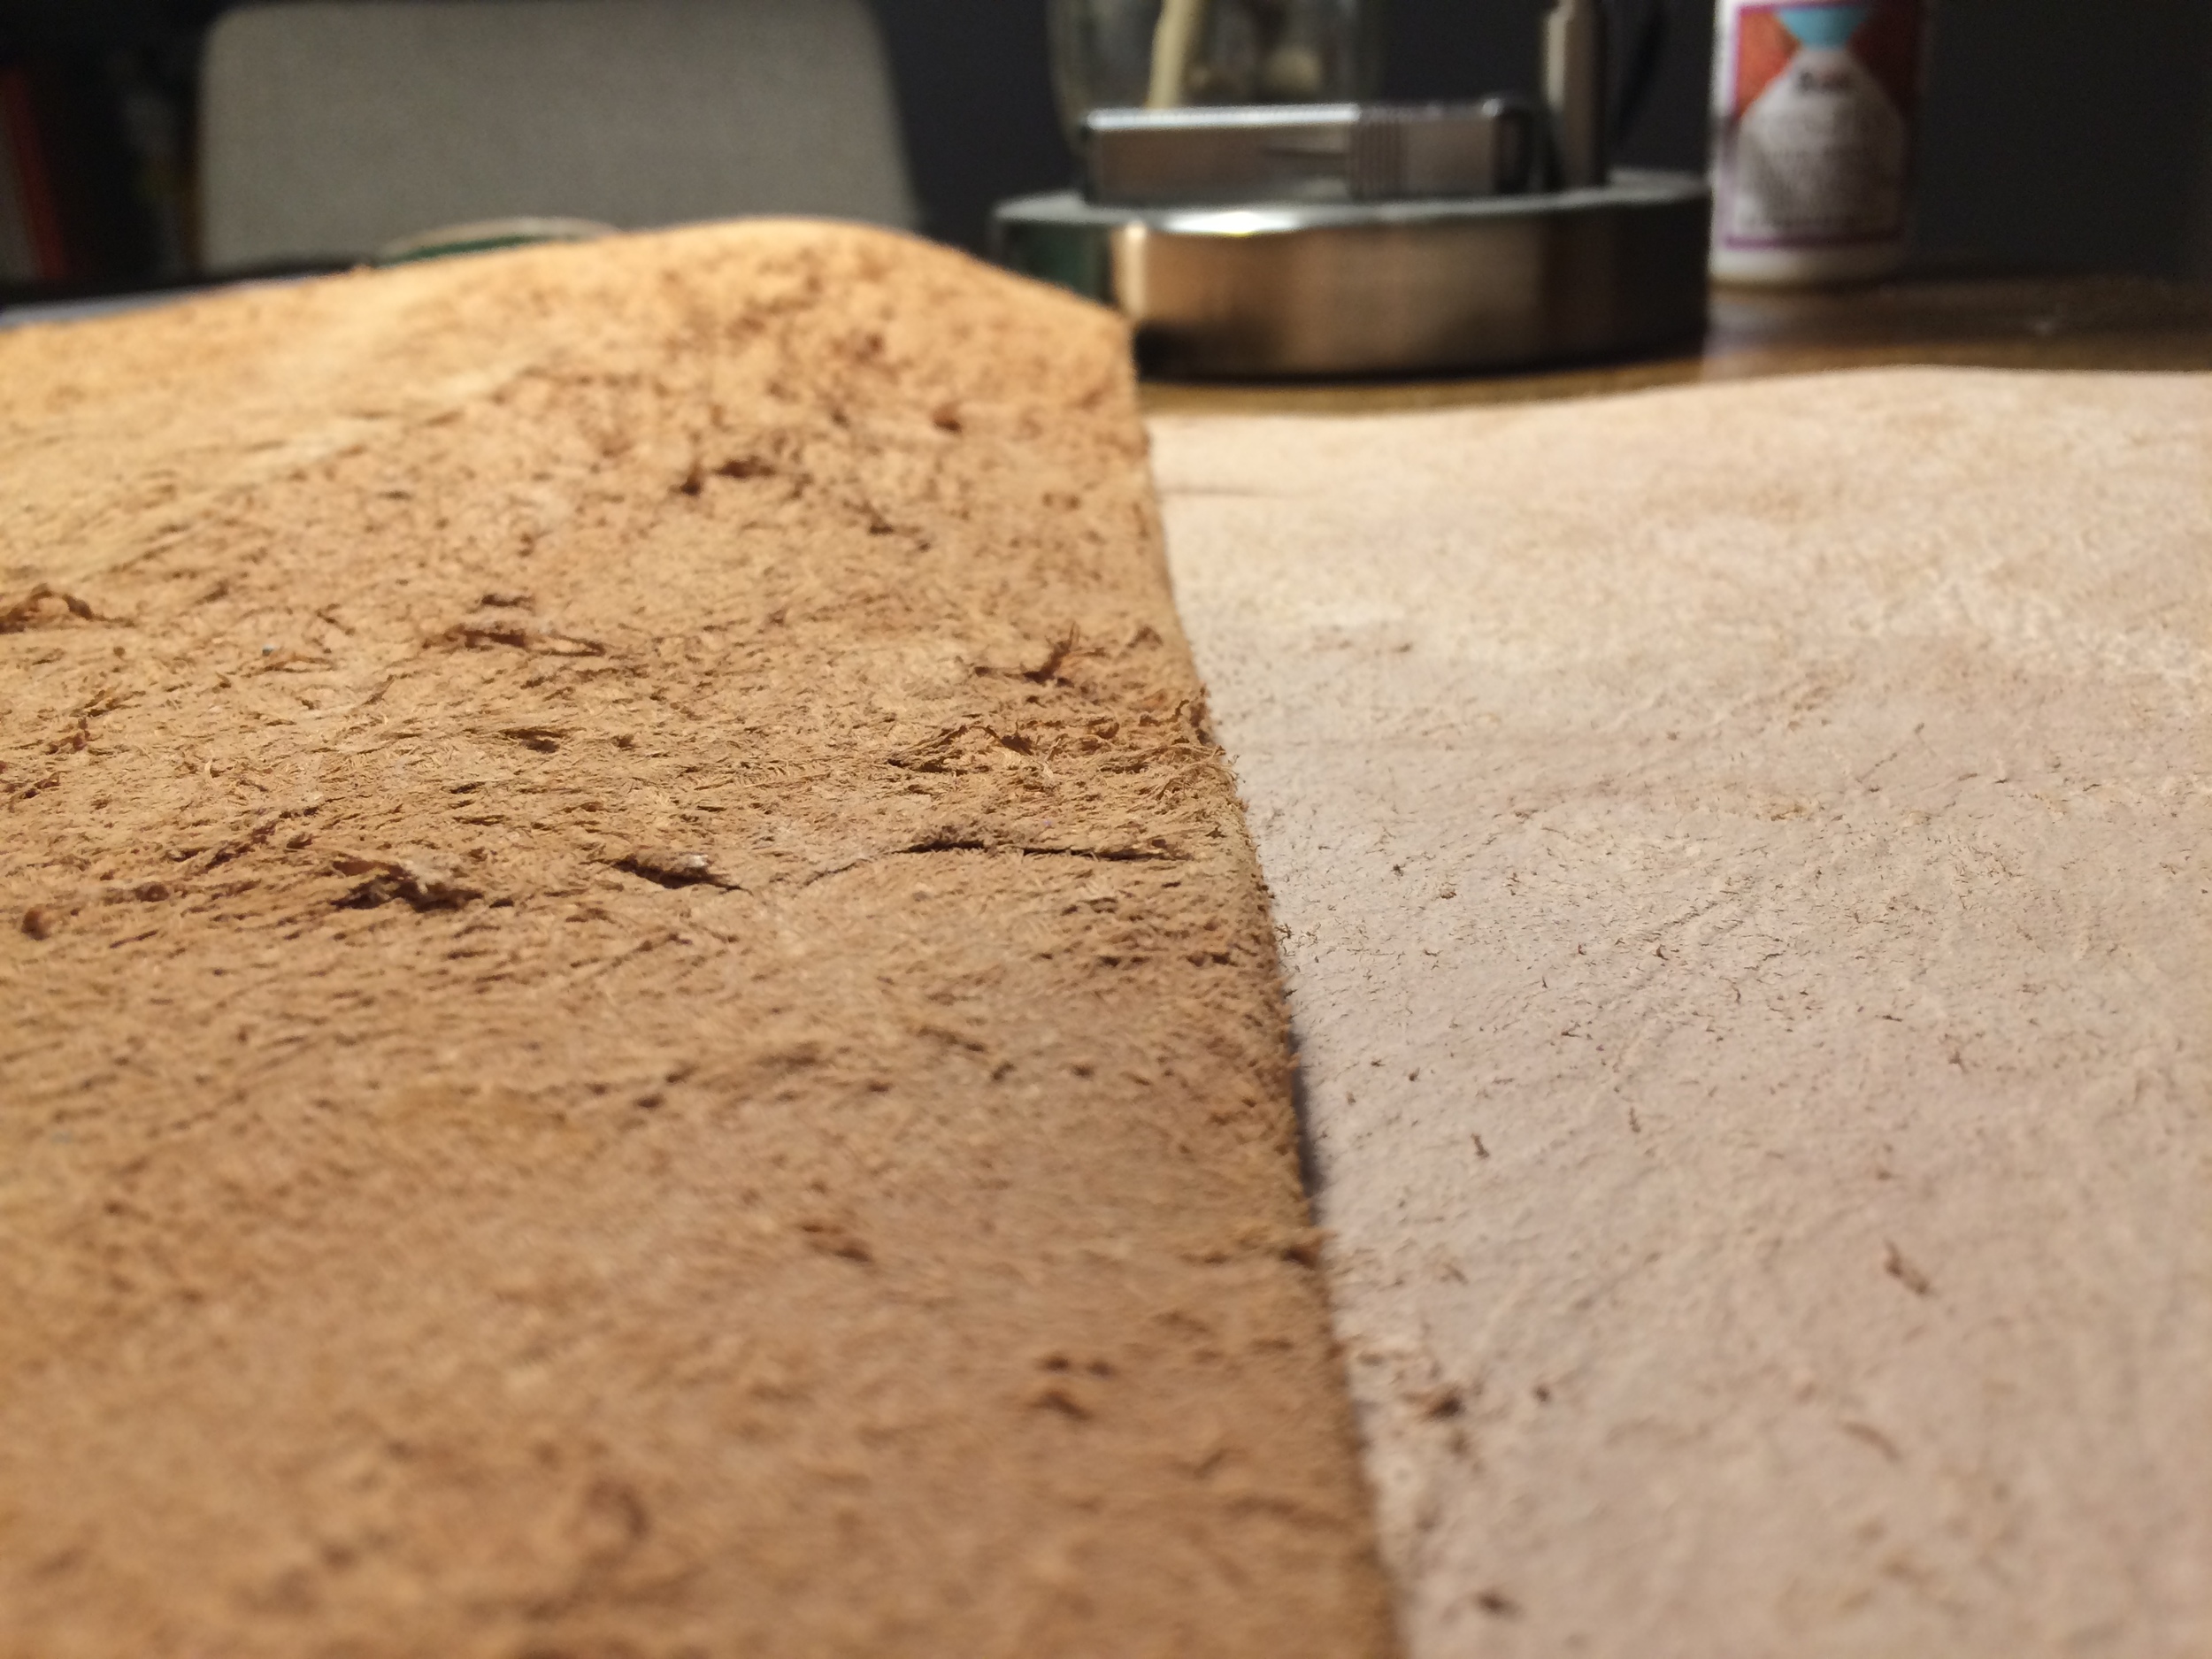
Neither of these would be considered high quality, but you can tell the one of the left definition has messier fibers. Be sure to matte down the fibers in both situations.
Solution: I thought way to long about how to get a joke out of that problem title, no luck. Anyway, on really nice pieces of leather none of the fibers on the underside will be sticking up, but on cheap pieces of leather that is not the case. Some craftsman oak cuts aren’t too bad, but then again there are some that are really bad. If that is the case, just take a slicker/burnishing tool and run it back and forth across the back of the leather with gum tragacanth to matte down the fibers. It won’t be as nice as a quality piece of leather and after some use the fibers will stick up a little, but it still makes a noticeable difference.
These are just some of the things I did to get more out of the craftsman oak leathers. Adding oils and waxes, cutting around blemishes, and matting down loose fibers really helped increase the quality of my early projects. But I know there are more tips out there on how to work with this kind of leather. If you’ve come up with any, or heard of any, share them in the comments below - they just might get added to this list and, even better, help everyone here.