I don't know about you, but I live in a small apartment, and while I am lucky enough to have an entire room dedicated to leatherworking, space is premium.
One thing that has continually taken up too much room is the sides of leather, which were previously still rolled up in the boxes they were shipped in and leaning up against the wall. It was definitely not the best way to store the leather, especially the firmer leathers. It's also an eye sore and source of clutter, which can inhibit my productivity. So I decided to make a rack I could hang the hides on.
This rack cost me about $200 to make. It's a bit more than I was hoping to spend, but still a worthwhile investment for my work space. A good amount of that $200 was spent on the galvanized pipe, and I imagine you could find a cheaper alternative.
Just a warning: I am not a wood worker. But I thought this might be helpful for other leatherworkers, so here's how I made it.
MATERIALS

- 3 - 4ft x 5.5in Oak Boards
- 2 - 16.5in x 5.5in Oak Boards
- Wood Glue
- Wood Putty
- Sand Paper (1000, 800, 600, 200)
- Polyurethane (I used matte)
- Wood Stain (I used walnut)
- Screws #8 1.25in
- 4 - 3/4in Elbows
- 4 - 3in x 3/4in Nipples
- 4 - 6.5ft x 3/4in pipe
- 1 - 3.5ft x 3/4in pipe
- 4 - Industrial Wheels
- 4 - 3/4in Floor Flanges
- 2 - 3/4in Tees
- S Hooks
- Drill + Drill Bits
- Rotary Sander
- Clamps
STEP 1
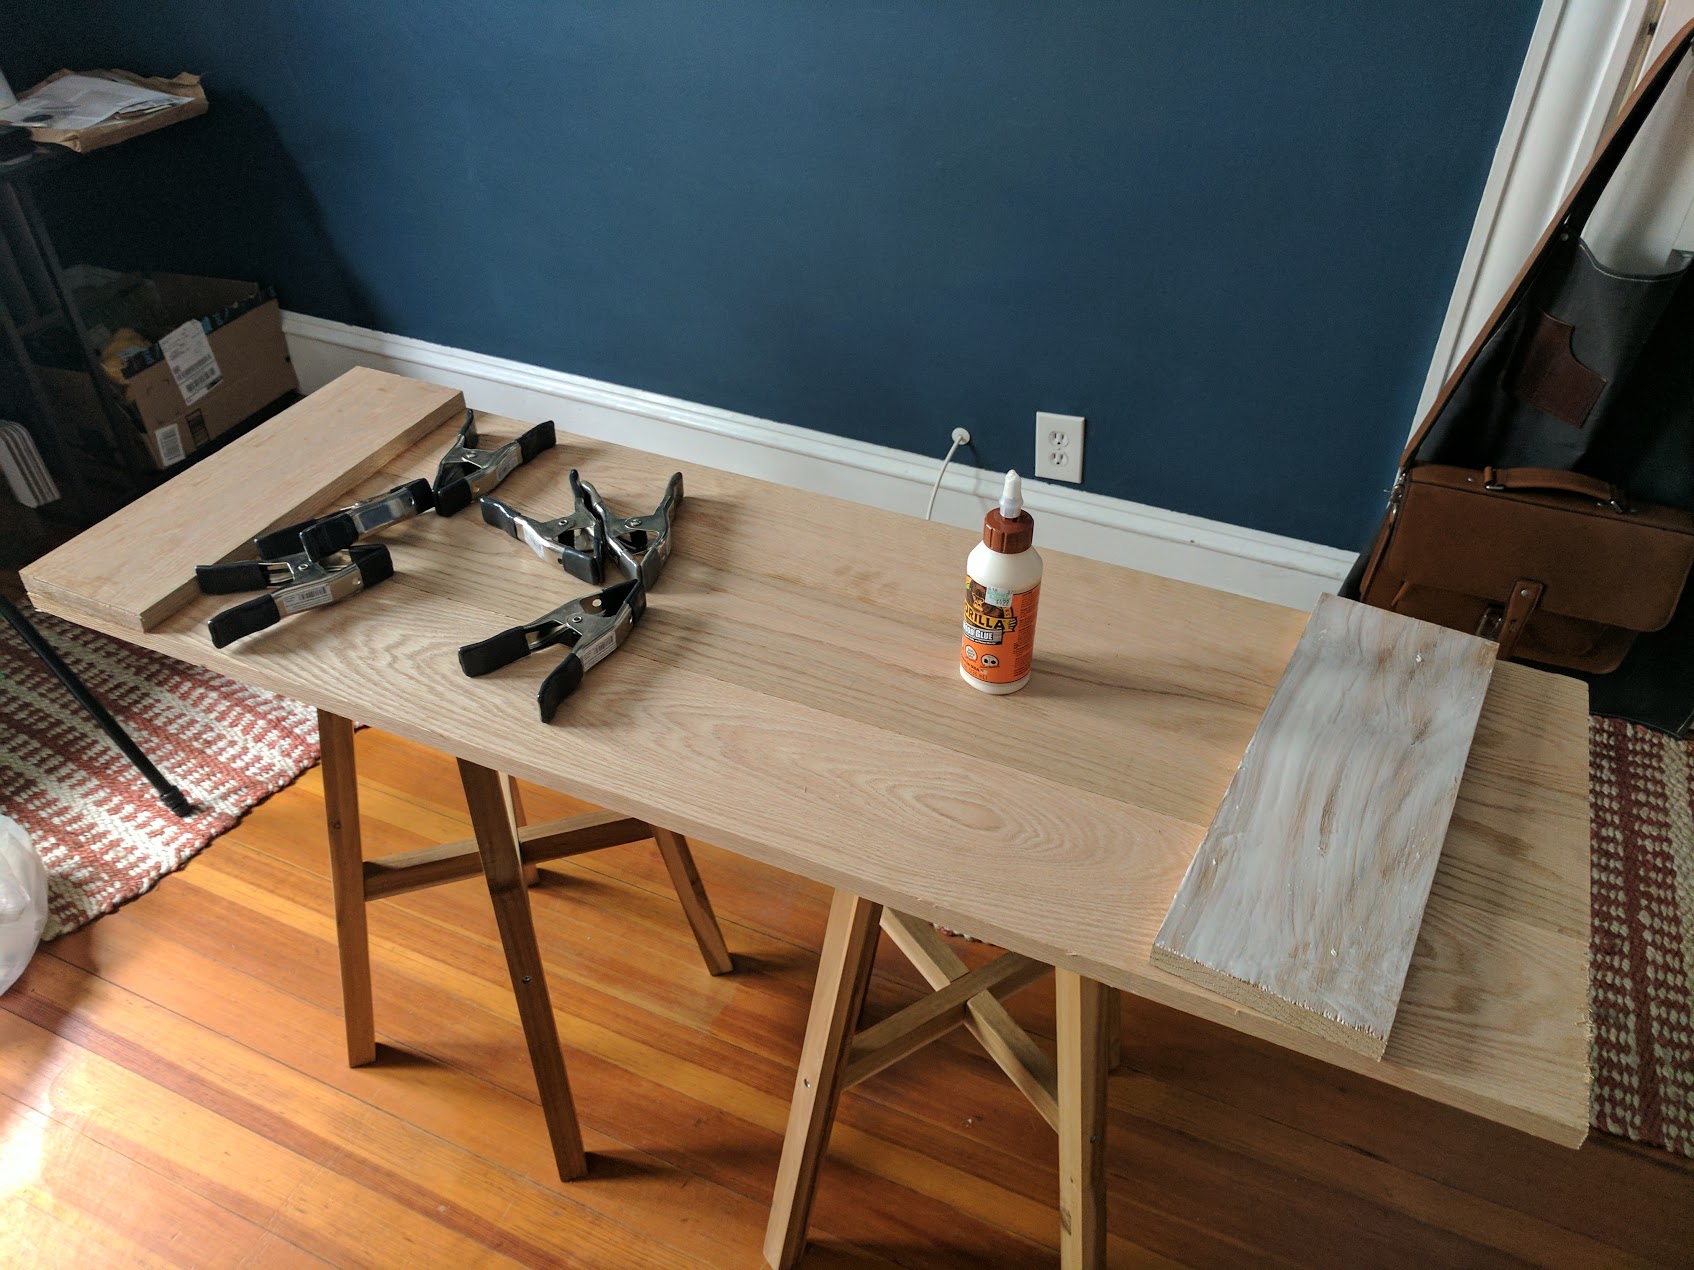
A light amount of glue on the bottom of the 16.5in boards.
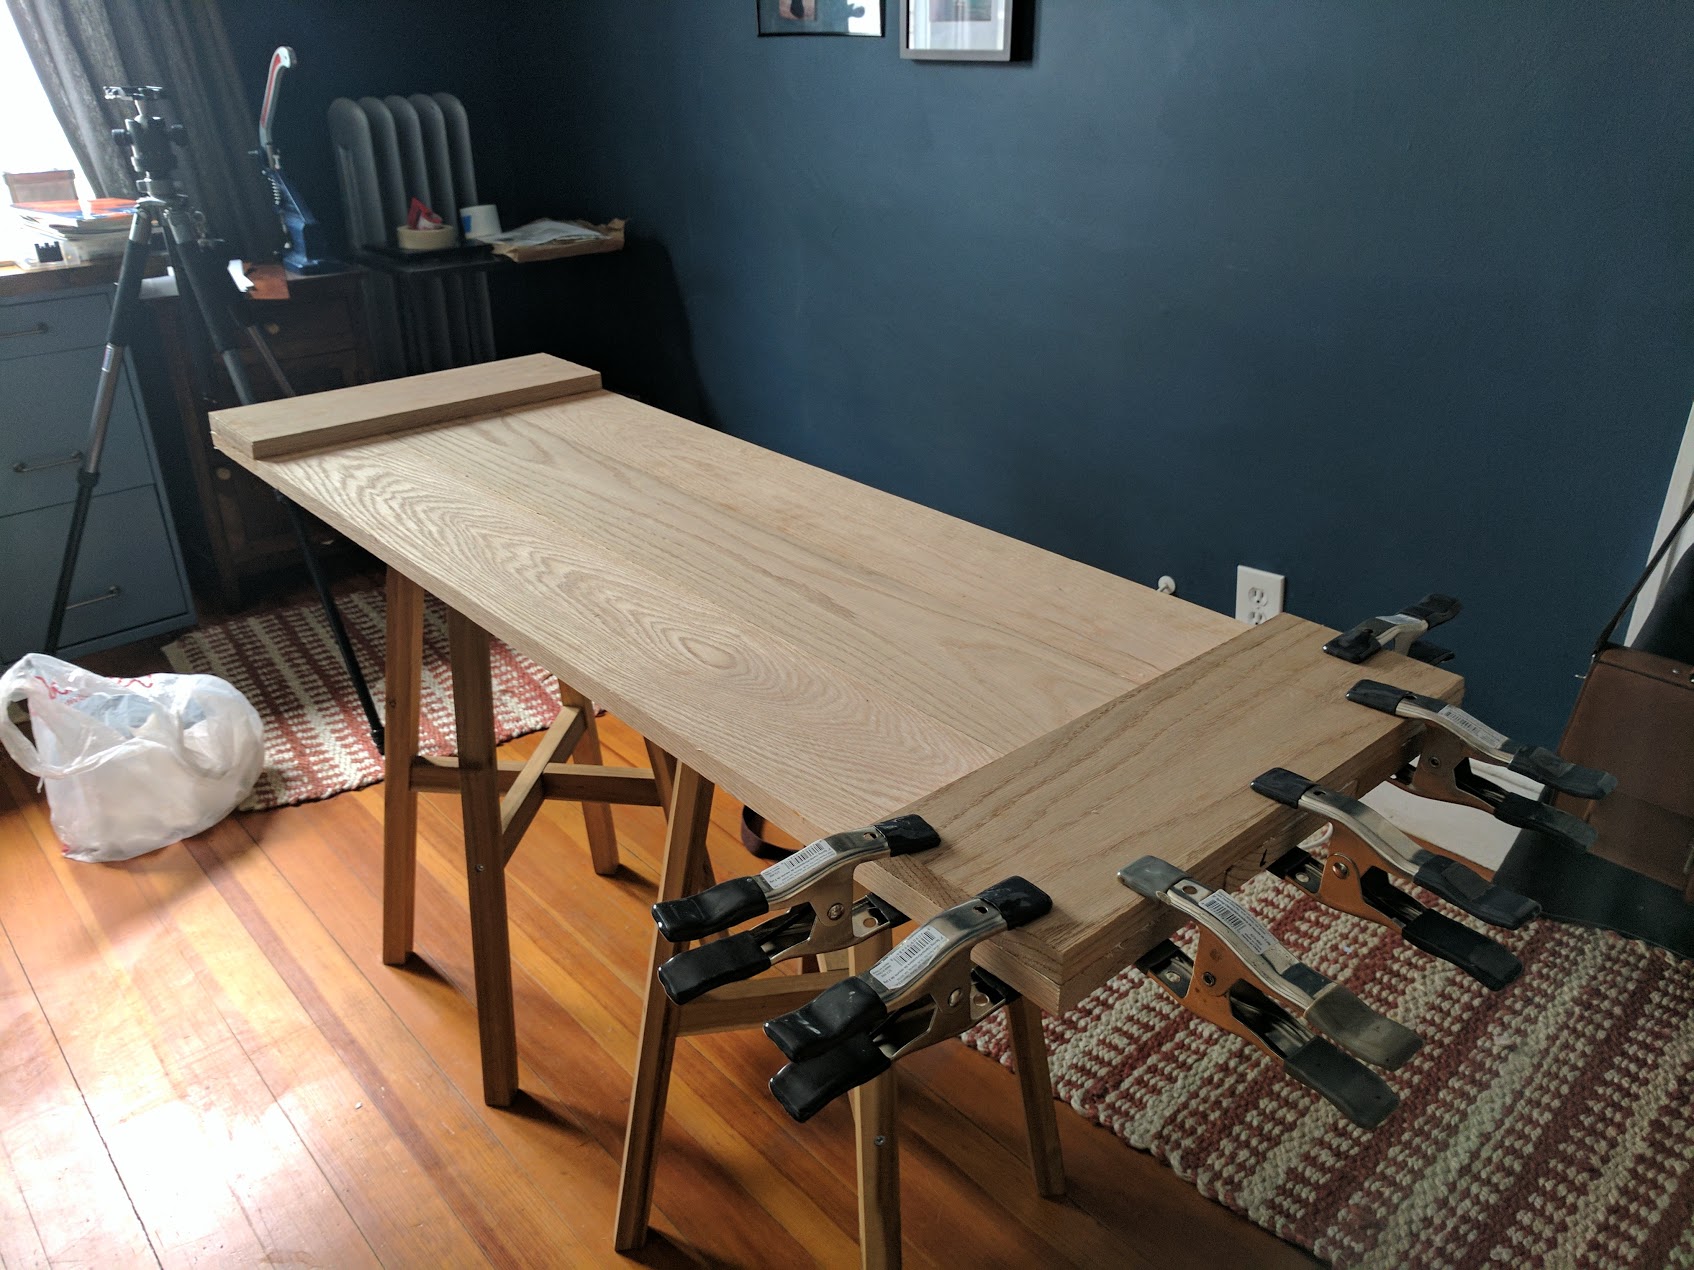
Boards clamped together after gluing.
To get started, I put a thin layer of glue on the bottom sides of the two shorter boards and placed them on the ends of the three longer boards. After, I placed clamps on the ends to allow the glue to dry. You'll save yourself a ton of sanding work if you wipe of any excess glue that squeezes out after you've placed the clamps.
I don't have a ton of wood working tools, but for easiest/best results, I suggest using a longer clamp to keep the three long boards pressed together as well. Those kind of clamps are expensive, so I just made sure to keep the three long boards pressed together as I clamped on the two shorter pieces.
STEP 2
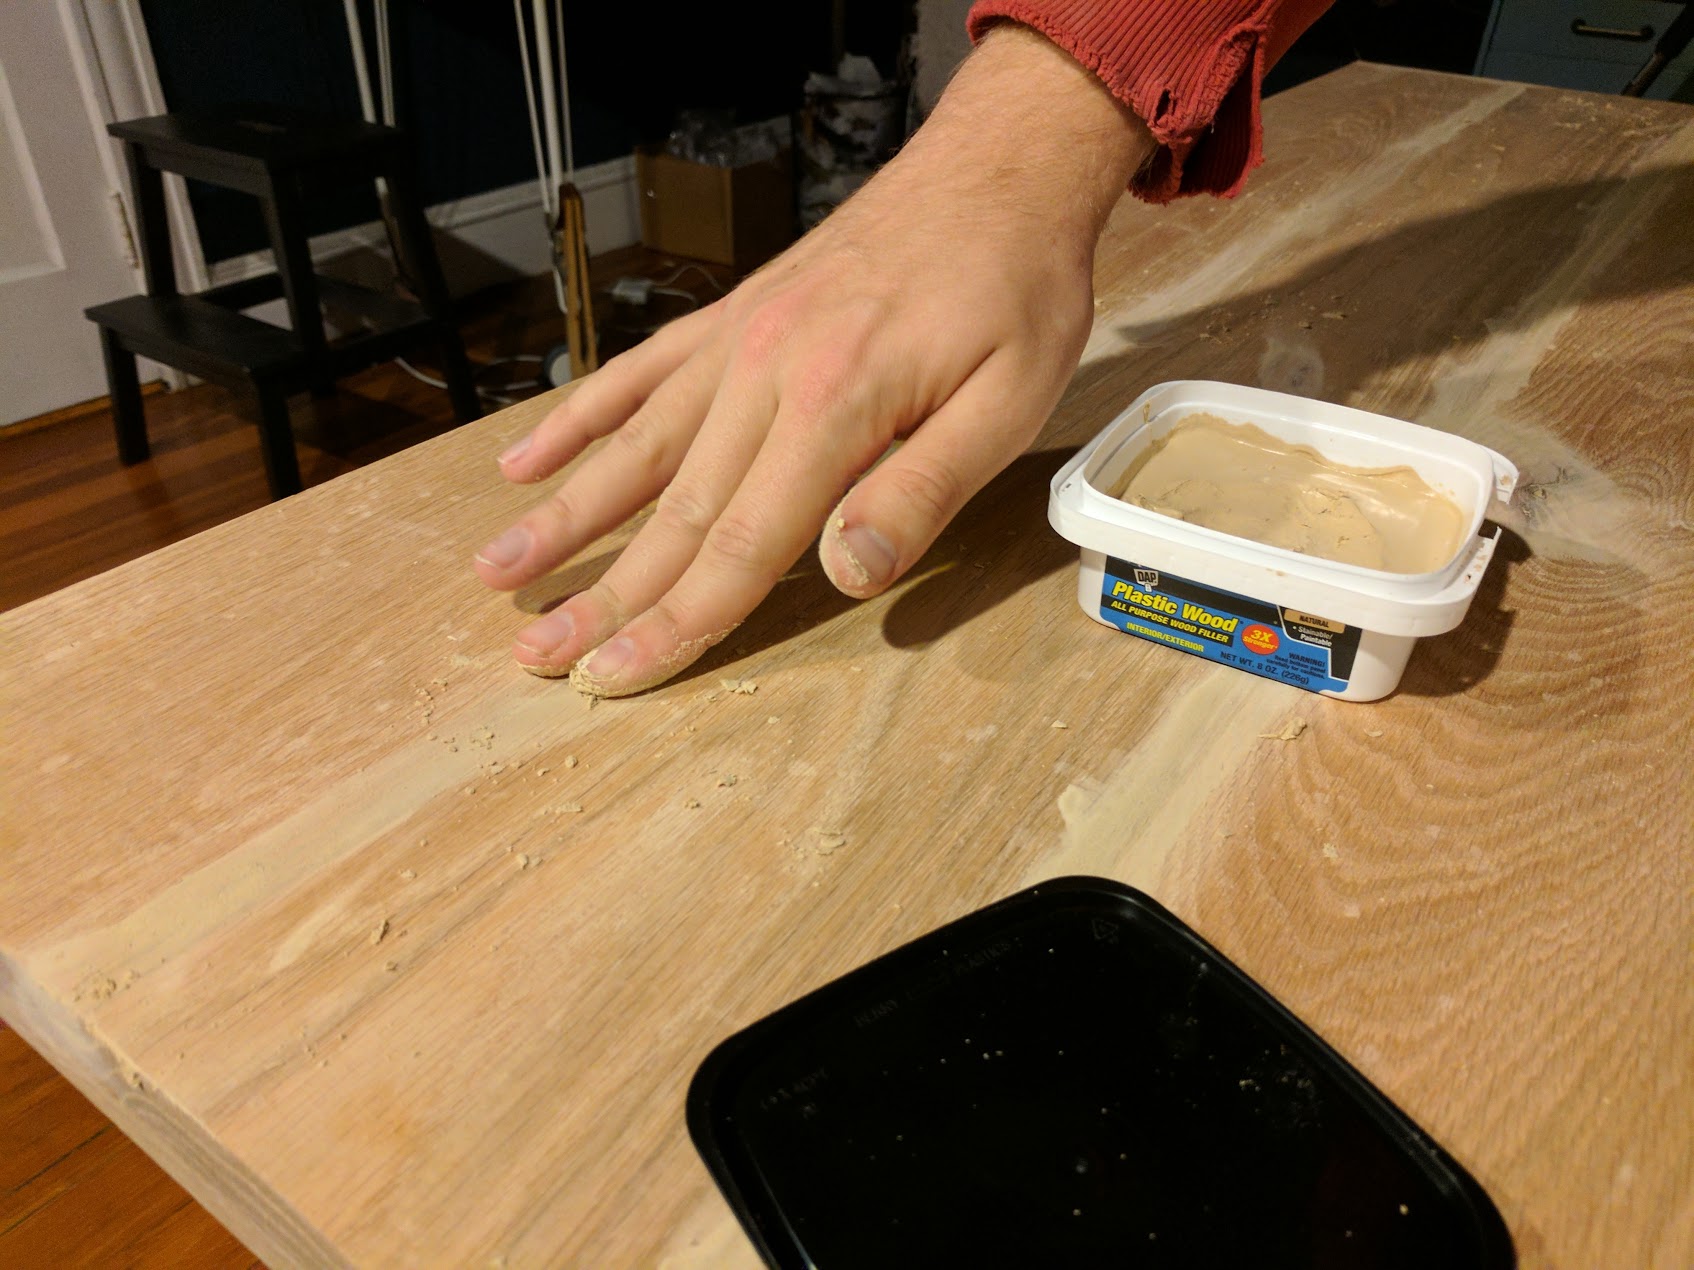
Apply wood putty.
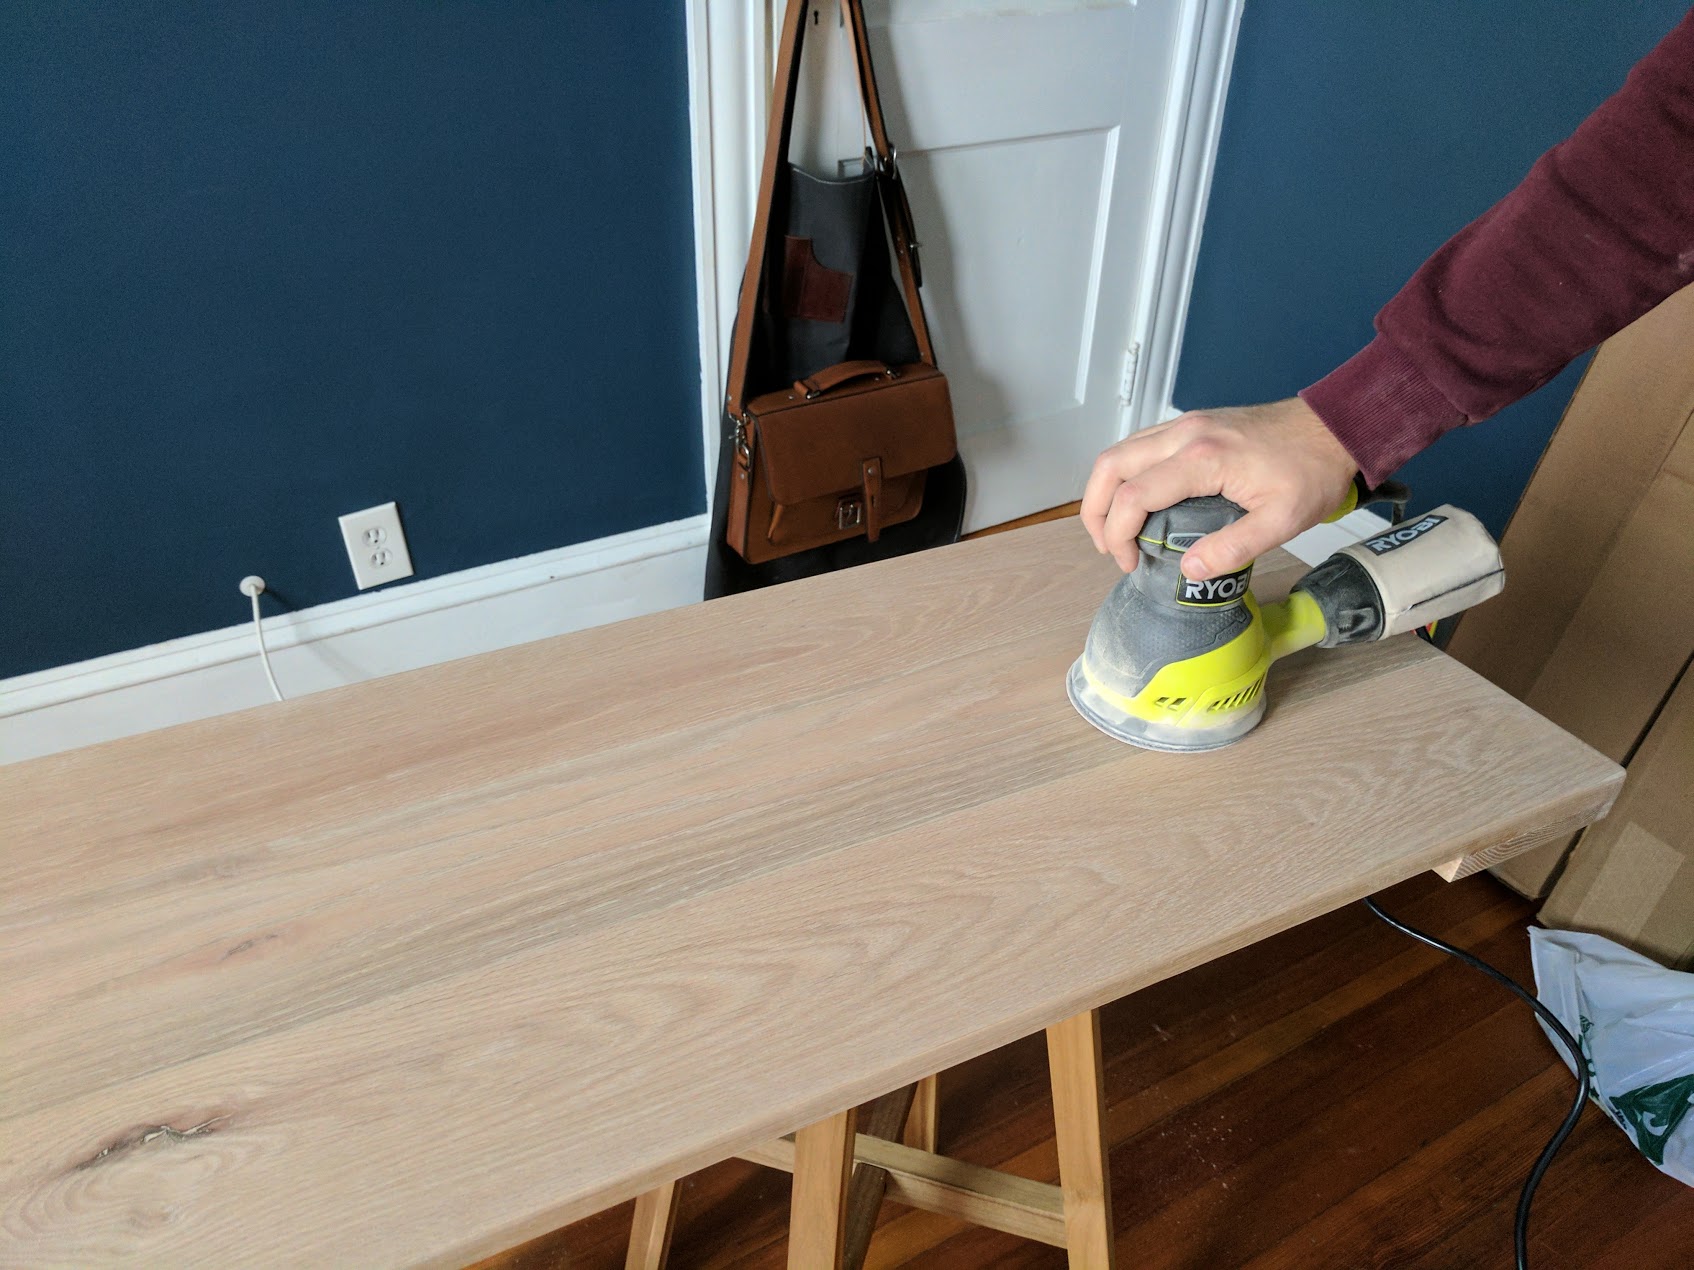
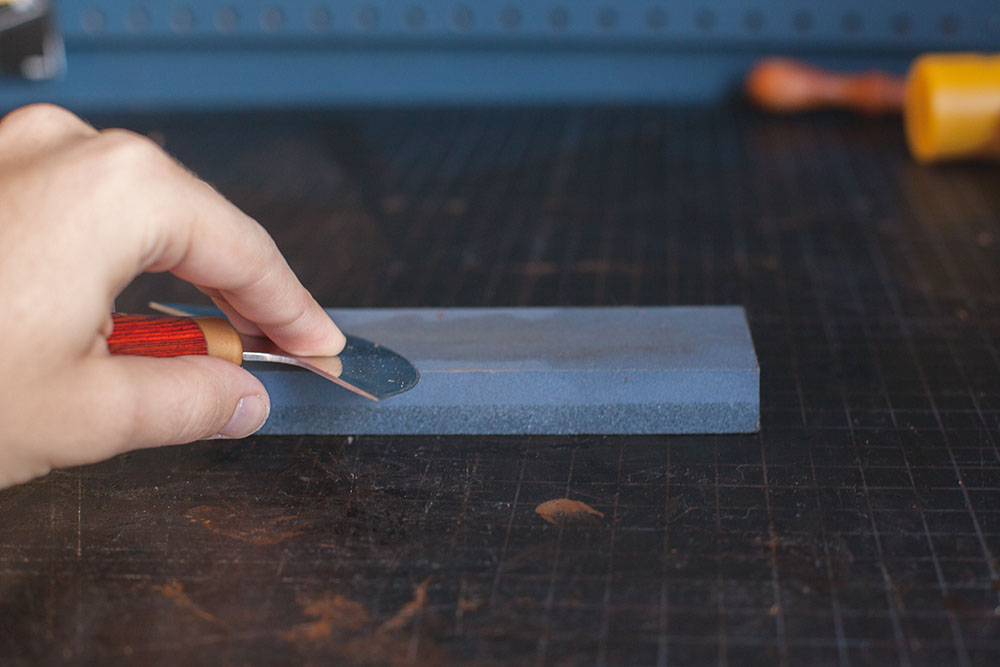
Sand smooth.
Once the glue had dried, I put wood putty in some of the cracks between the boards. After the putty had dried, I used a rotary sander to smooth everything out, round out the sharp edges, and eliminate the excess putty. I started with 1000 grit and worked my way down to 200ish.
STEP 3
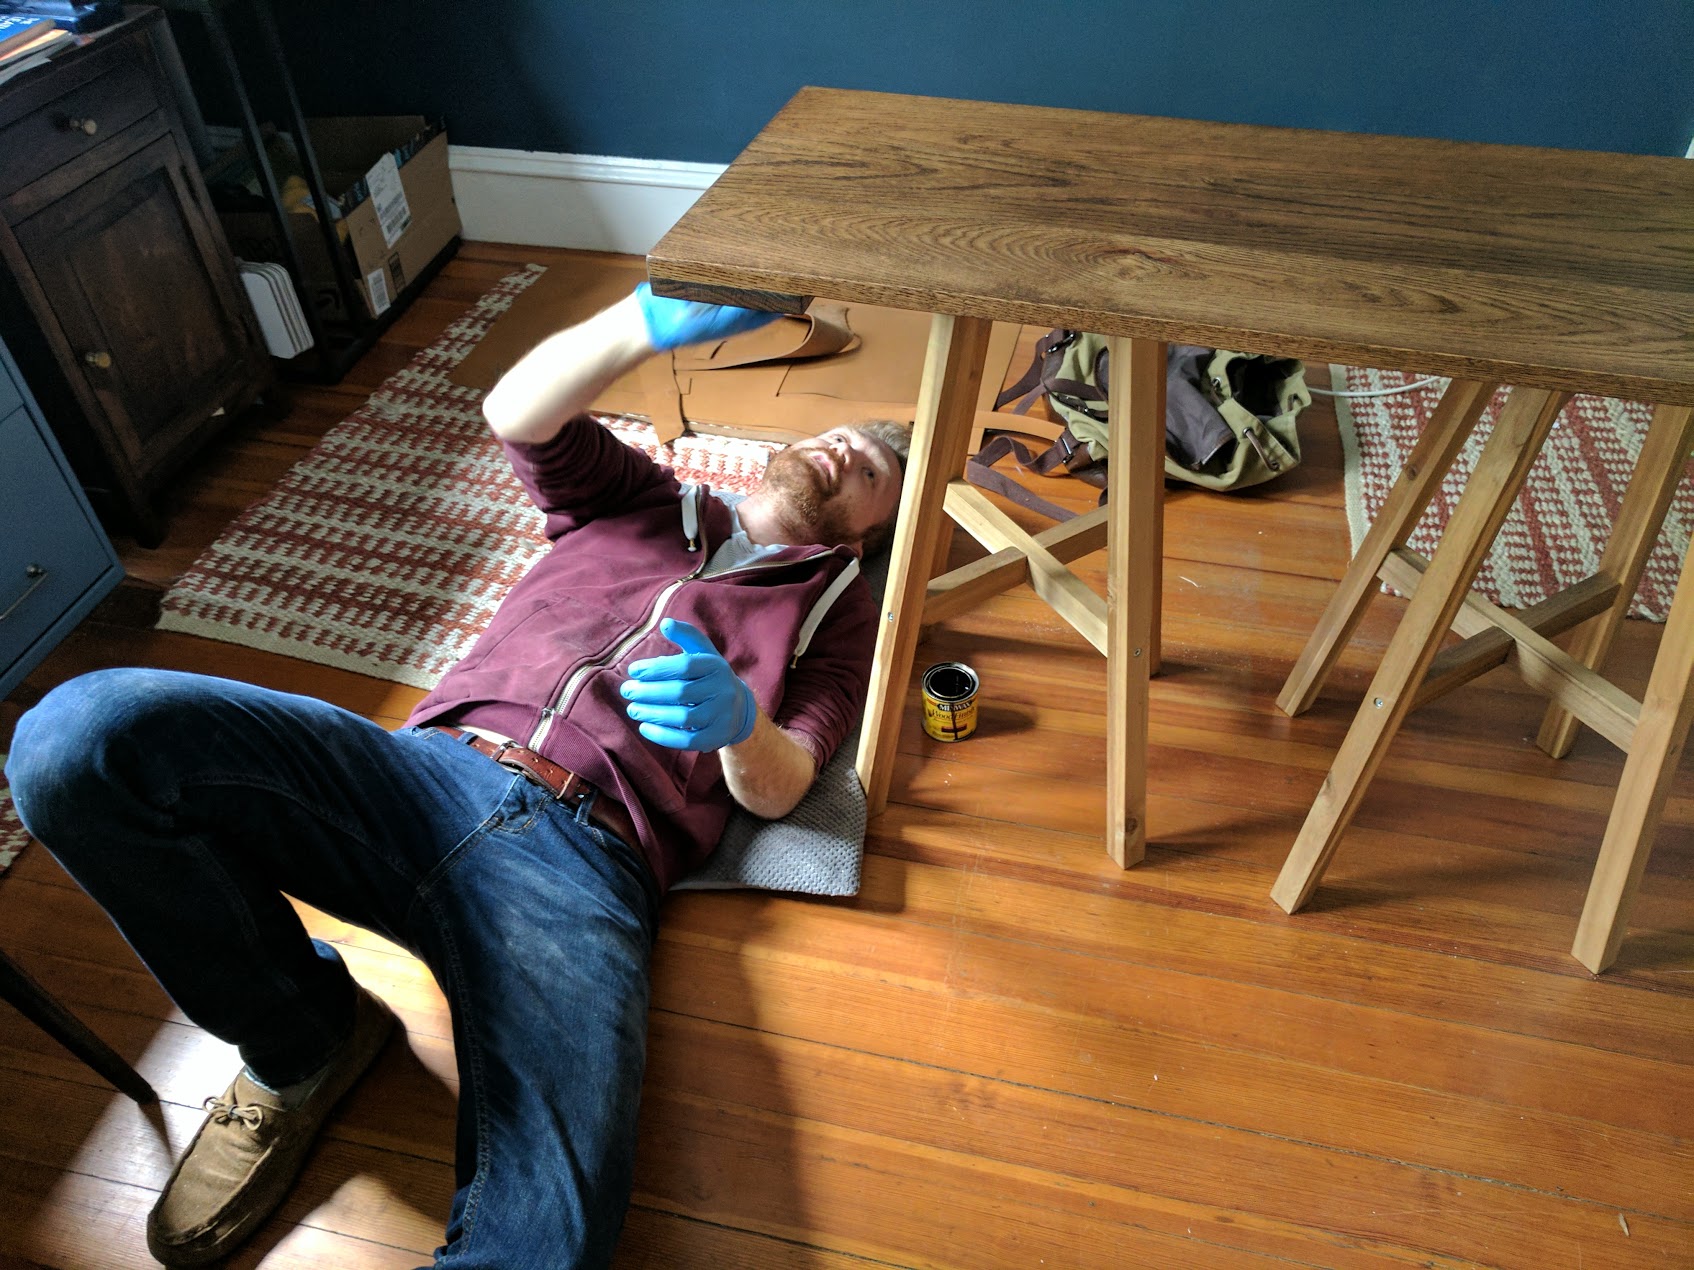
Laying on my dog's bed while I apply stain to the underside of the base.
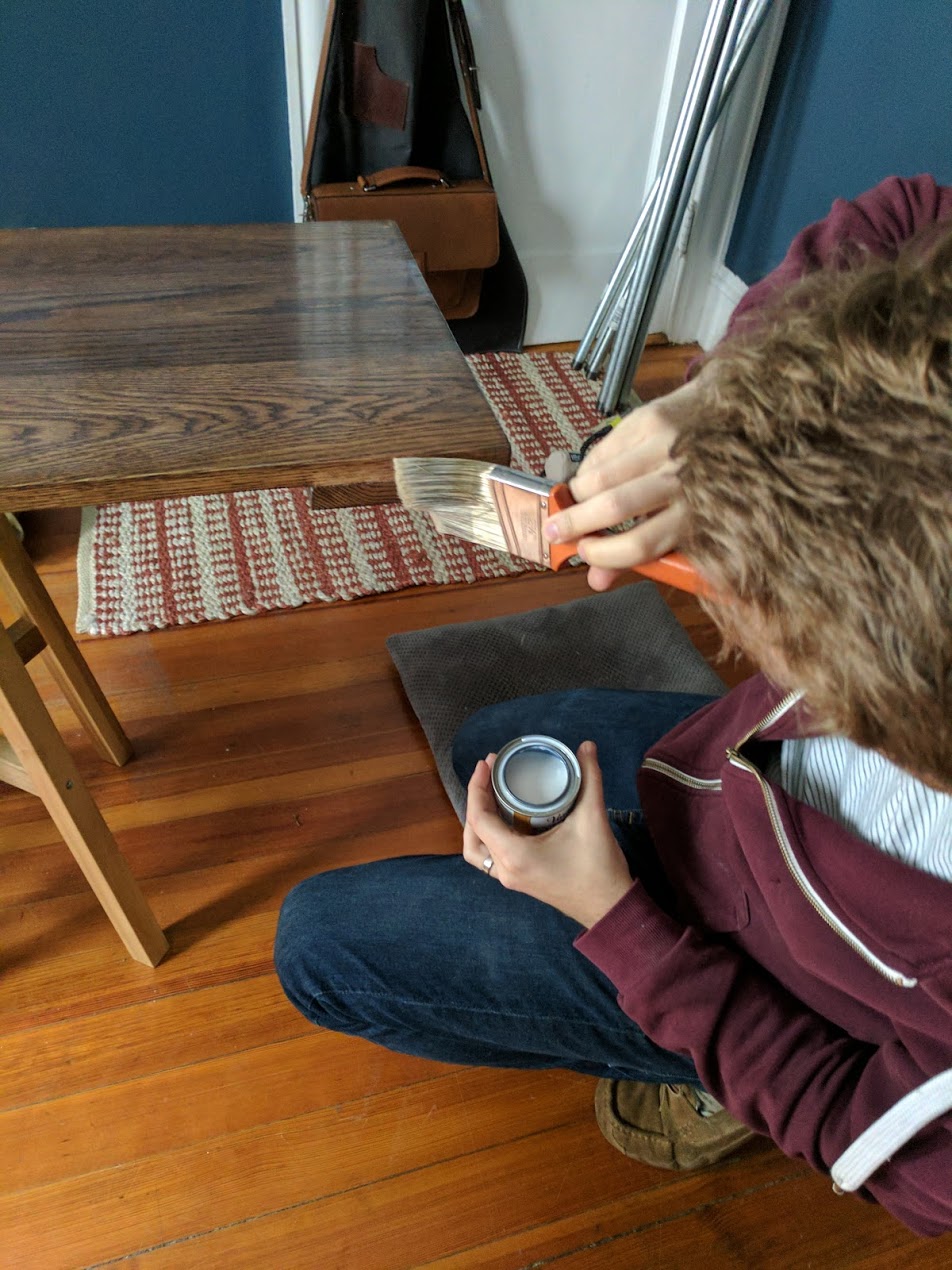
Brushing on polyurethane.
I wiped down the boards with a slightly wet paper towel to get rid of any leftover sawdust. I then applied one coat of walnut stain with an old t-shirt and allowed it to dry. Finally, I brushed on a layer of matte polyurethane let it dry, and brushed on one final layer. Once it was all dry, I hit it with an extremely high grit sand paper to give it a nice smooth feel.
STEP 4
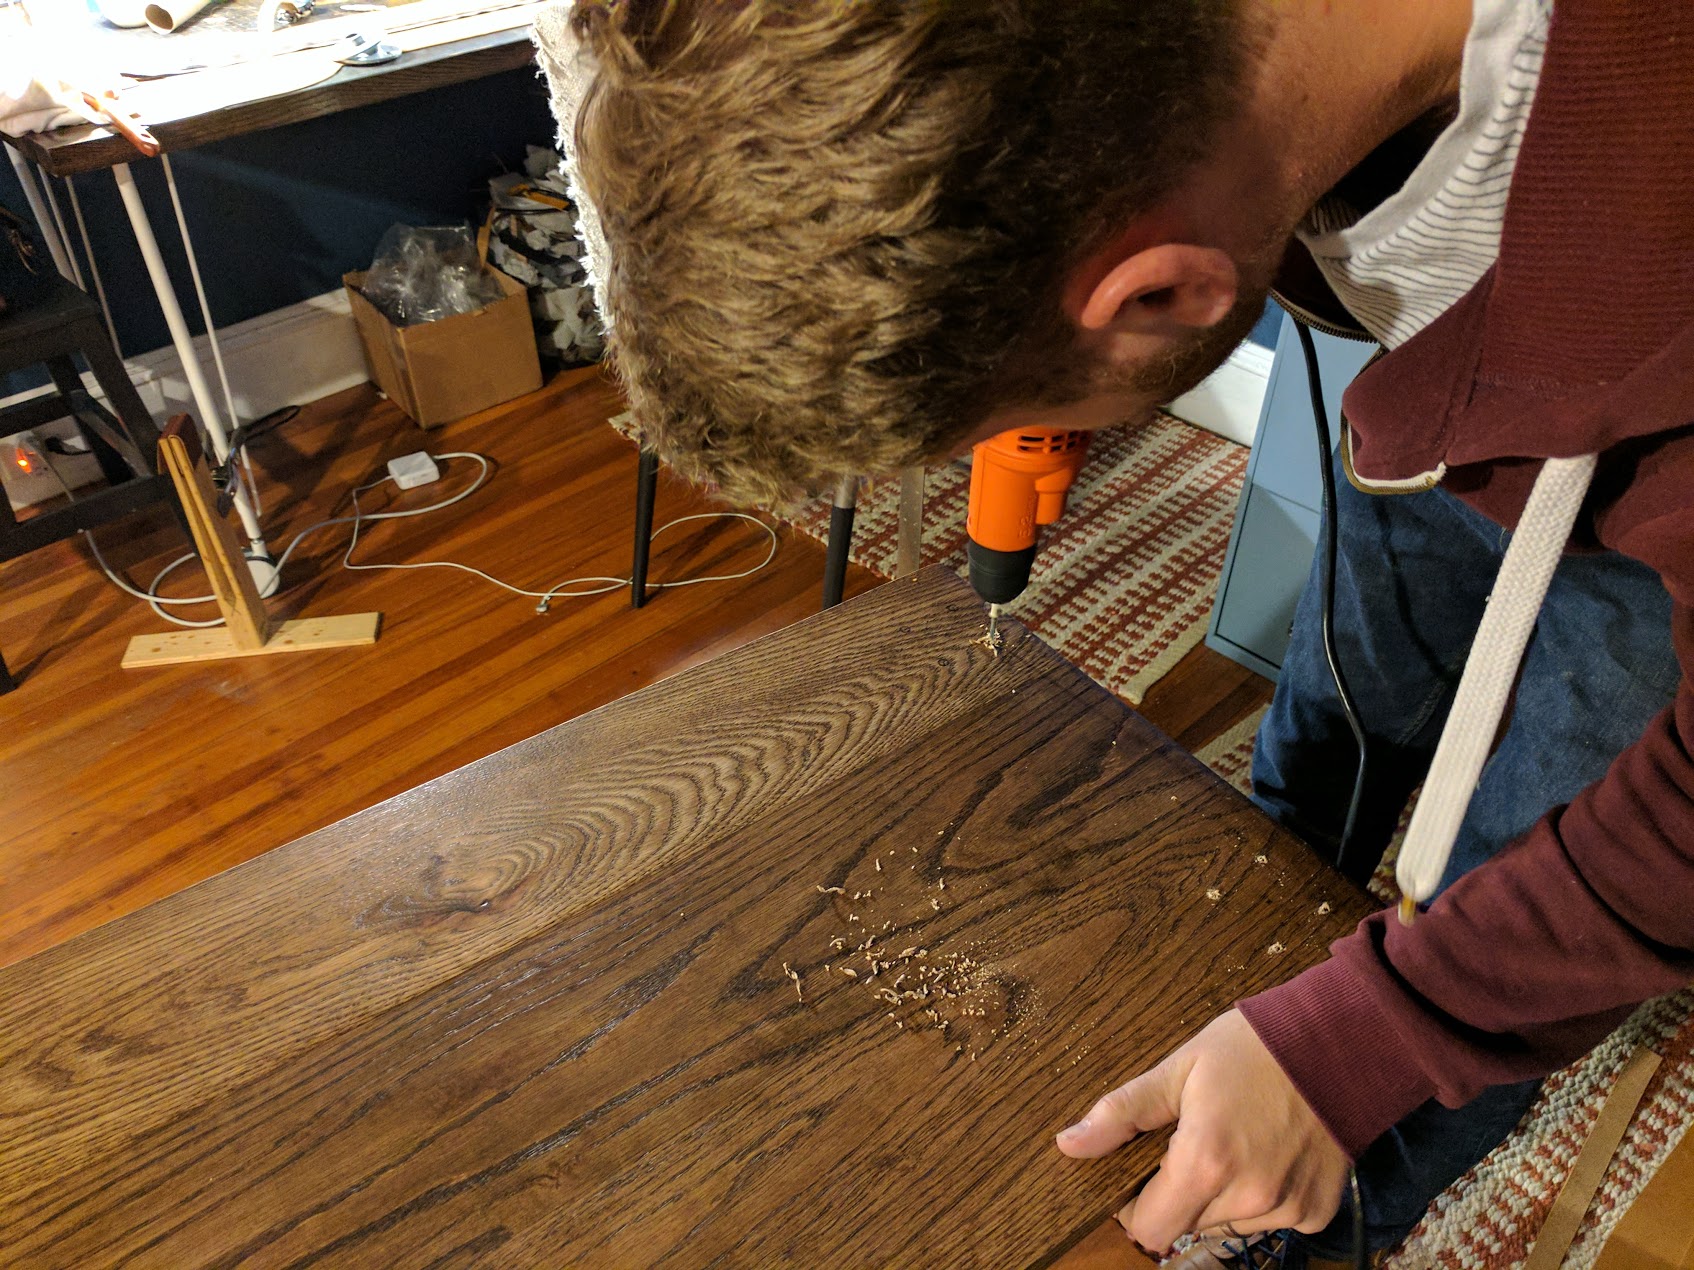
Drilling pilot holes.
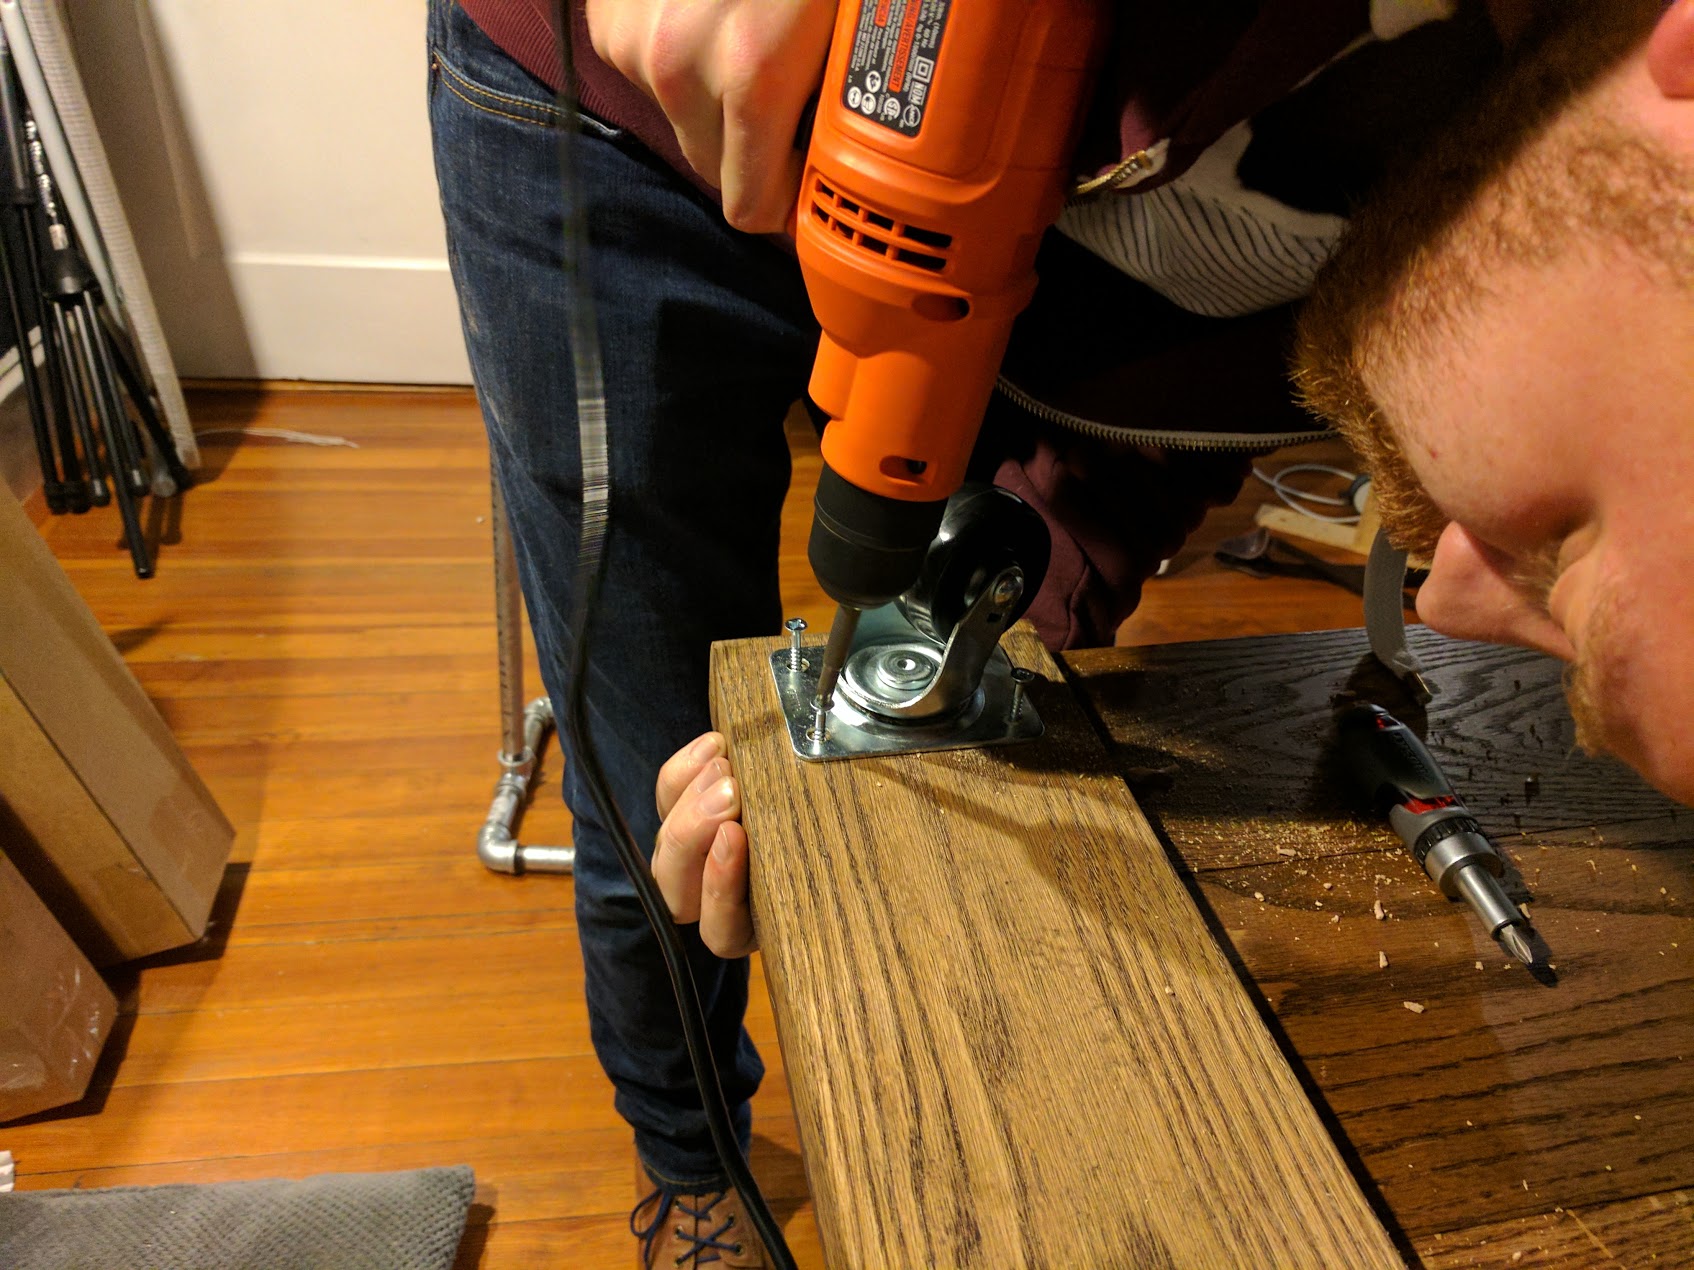
Screwing in the wheels on the bottom side of the base.
On the bottom side I drilled the pilot holes for the wheels and on the top side I drilled the pilot holes for the floor flanges. I put them roughly in the same area, so make sure that your holes don't line up on both sides. This can be achieved by rotating the floor flanges when marking the holes. For the floor flanges, I drilled the first hole 2in in from the long edge and .5in in from the short edge. For the wheels, I placed them 2in in from both edges, again making sure that the holes wouldn't line up on both sides. Finally, I screwed the wheels into place on the bottom side of the base.
STEP 5

The base of the leather rack where the floor flanges have been attached.
The top of the leather rack where the leather hangs from.
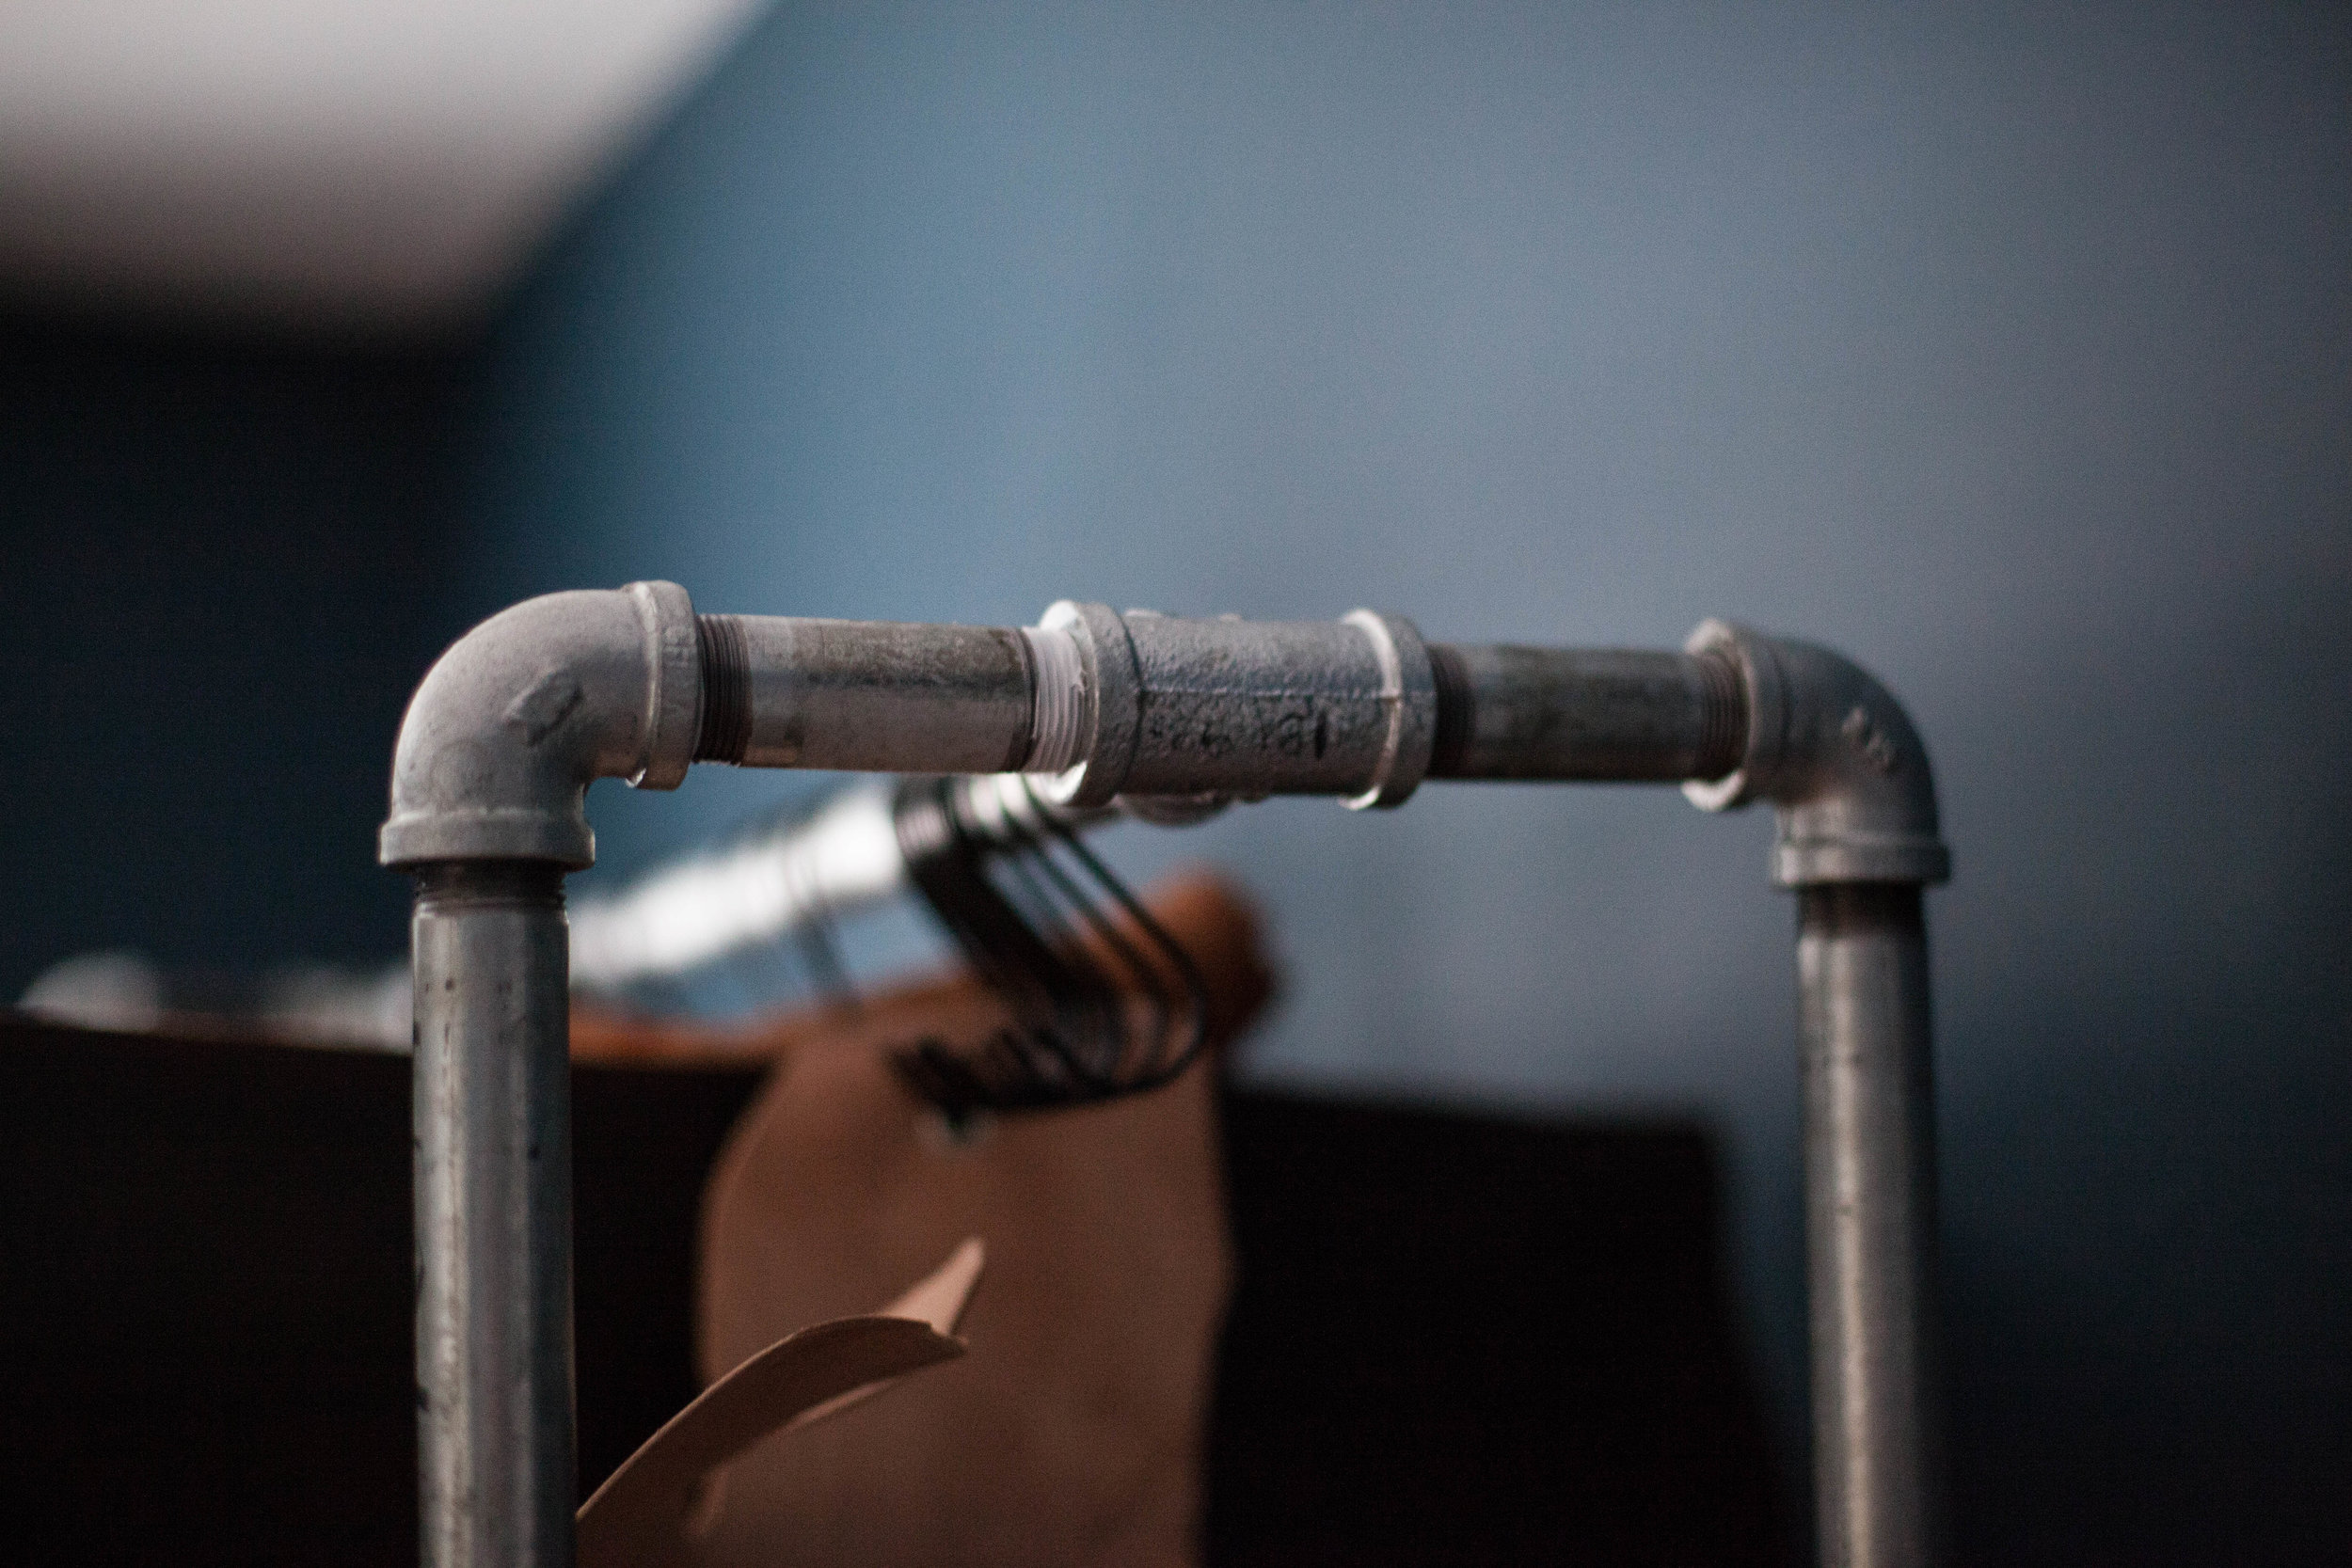
Finally I put all the pipes together. Unfortunately, I wasn't able to get a good picture of it all set up on the floor, but am hoping you guys will be able to see what I did through the first picture on this post and these two pictures here. The two 6.5ft pipes have the flanges on one end and the elbows on the other, Then the elbows have the 3in nipples attached and those are attached to a tee. Each sides tee is attached by the 3.5ft pipe.
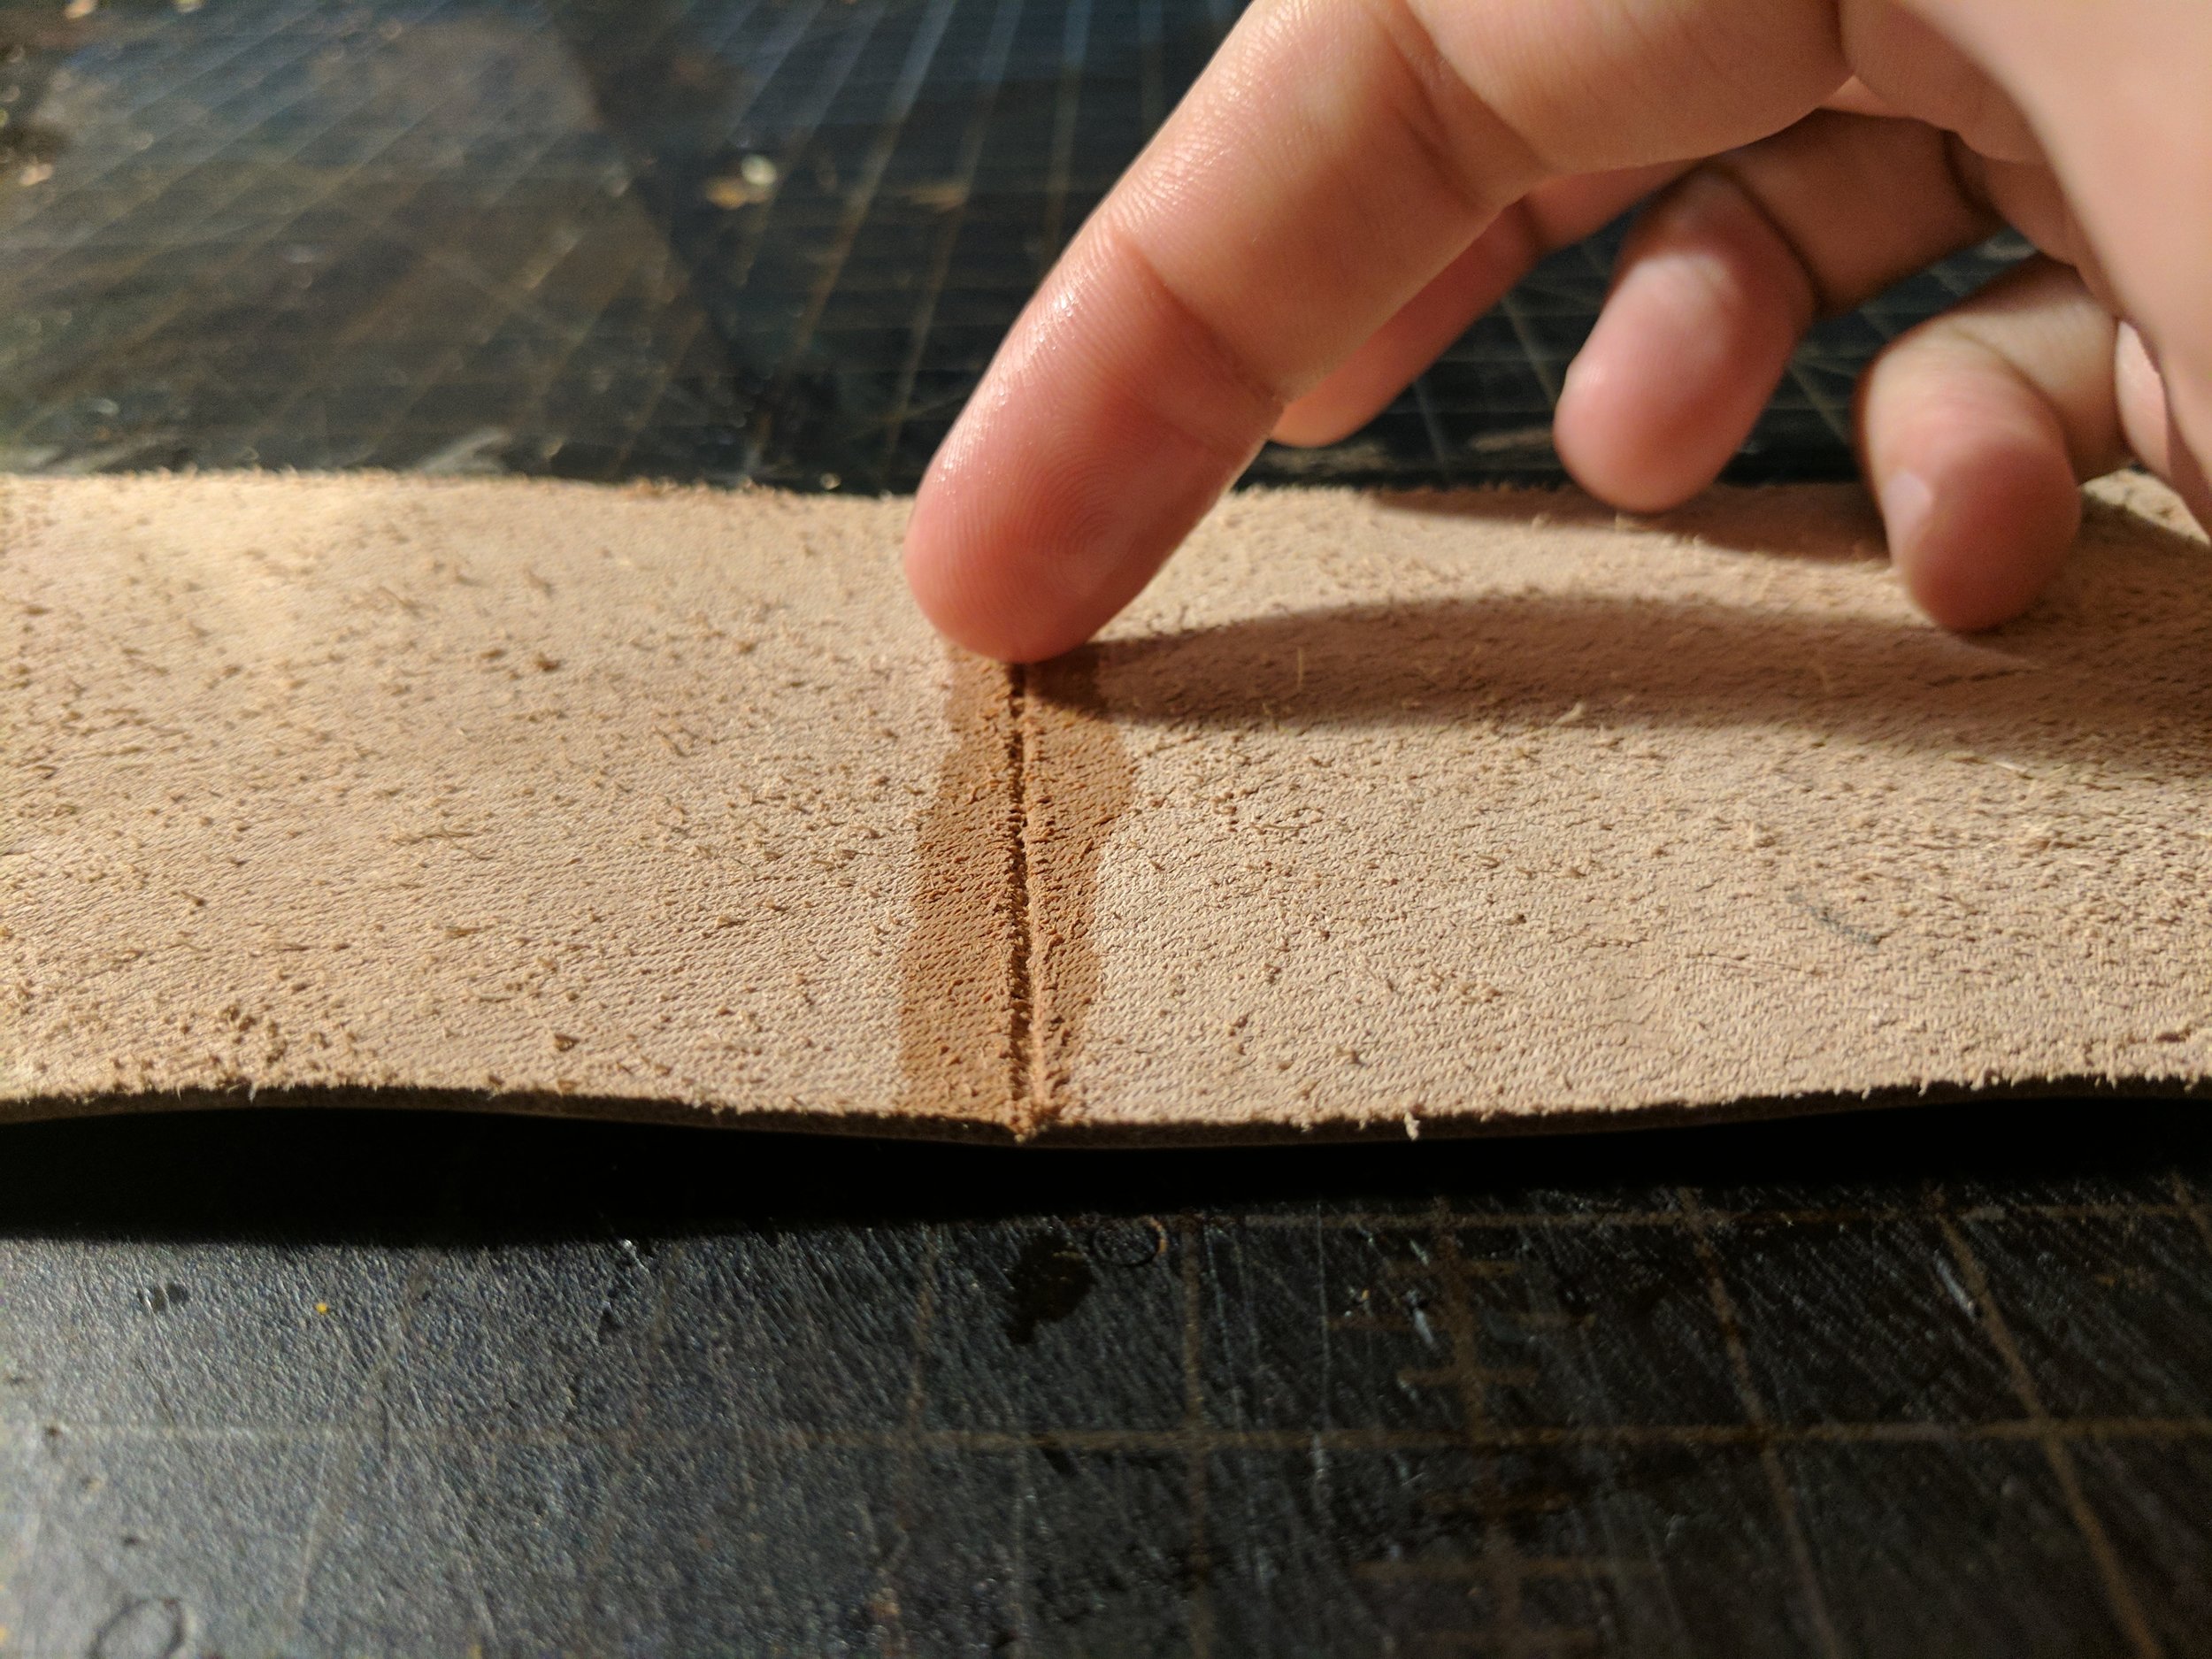
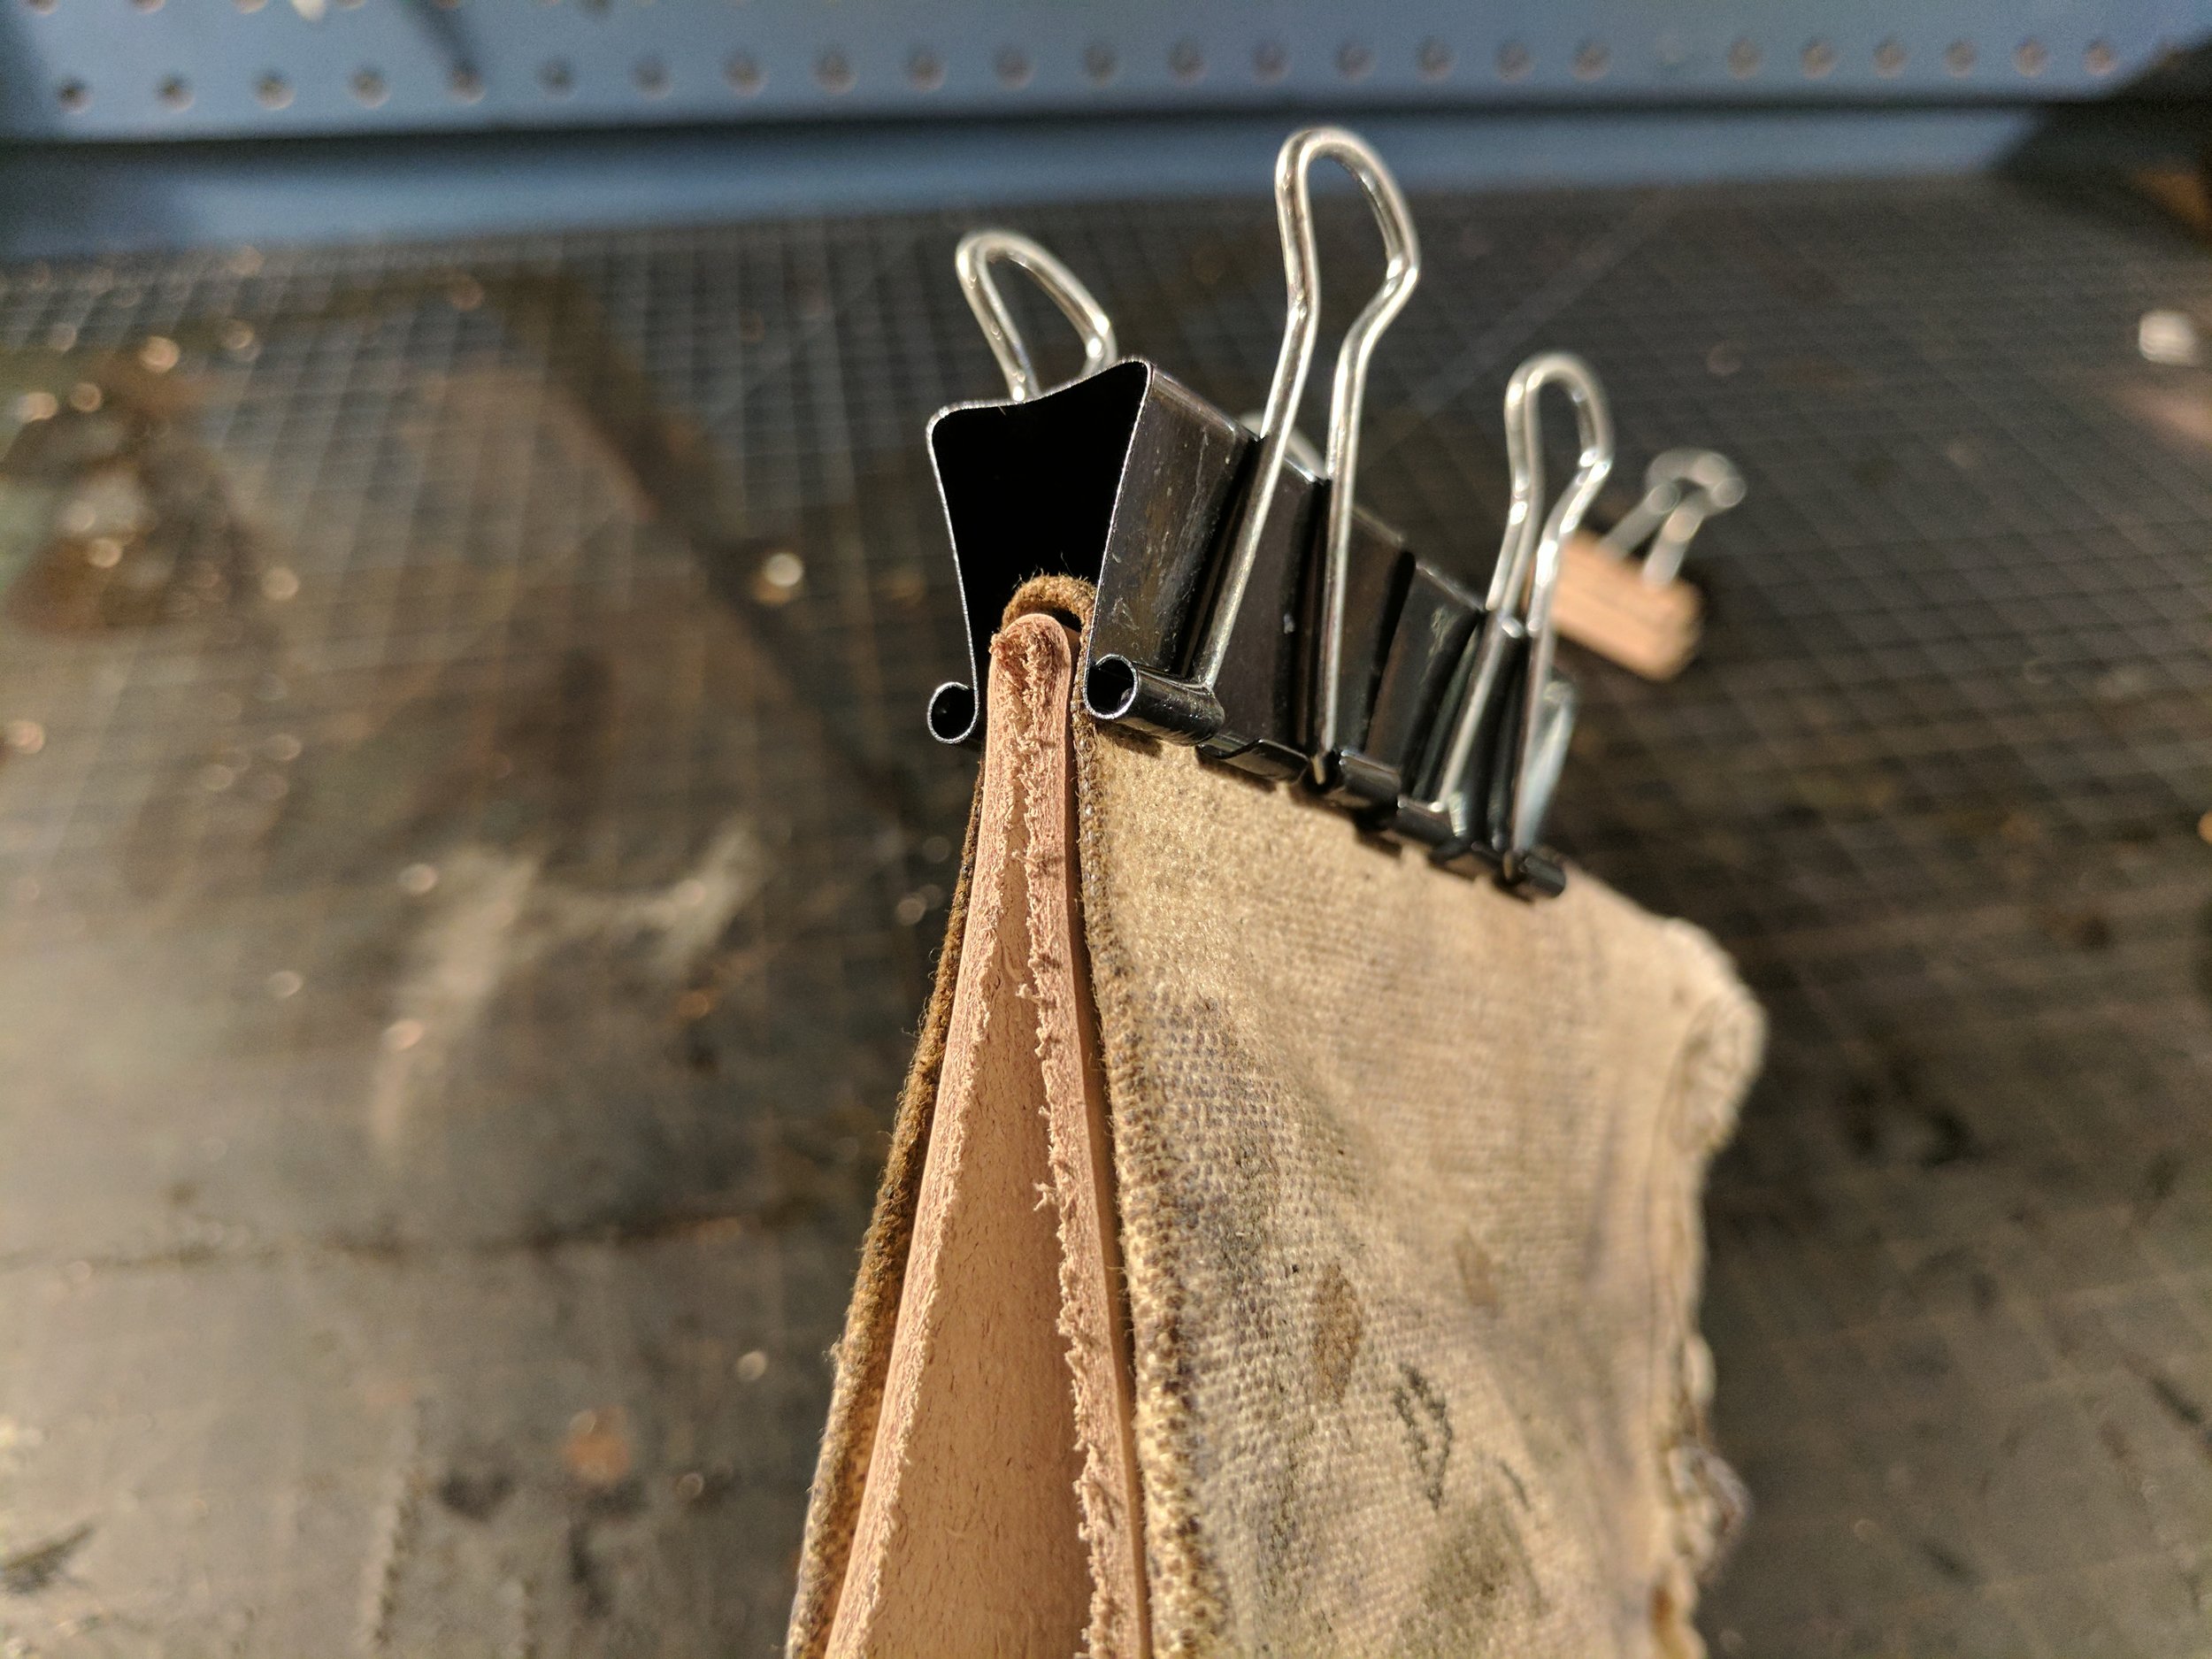
Once I assembled the pipes, I then screwed the floor flanges into the wooden base. Finally I put grommets in my sides of leather and hung them up with the s hooks.
All in all this project was worth the time (which wasn't much) and money required to make it. It's been much better on my leather, which is no longer getting permanent creases in it from sitting upright in the box. And this rack doesn't take up much room at all, which is fantastic for the small size of my leatherworking room.