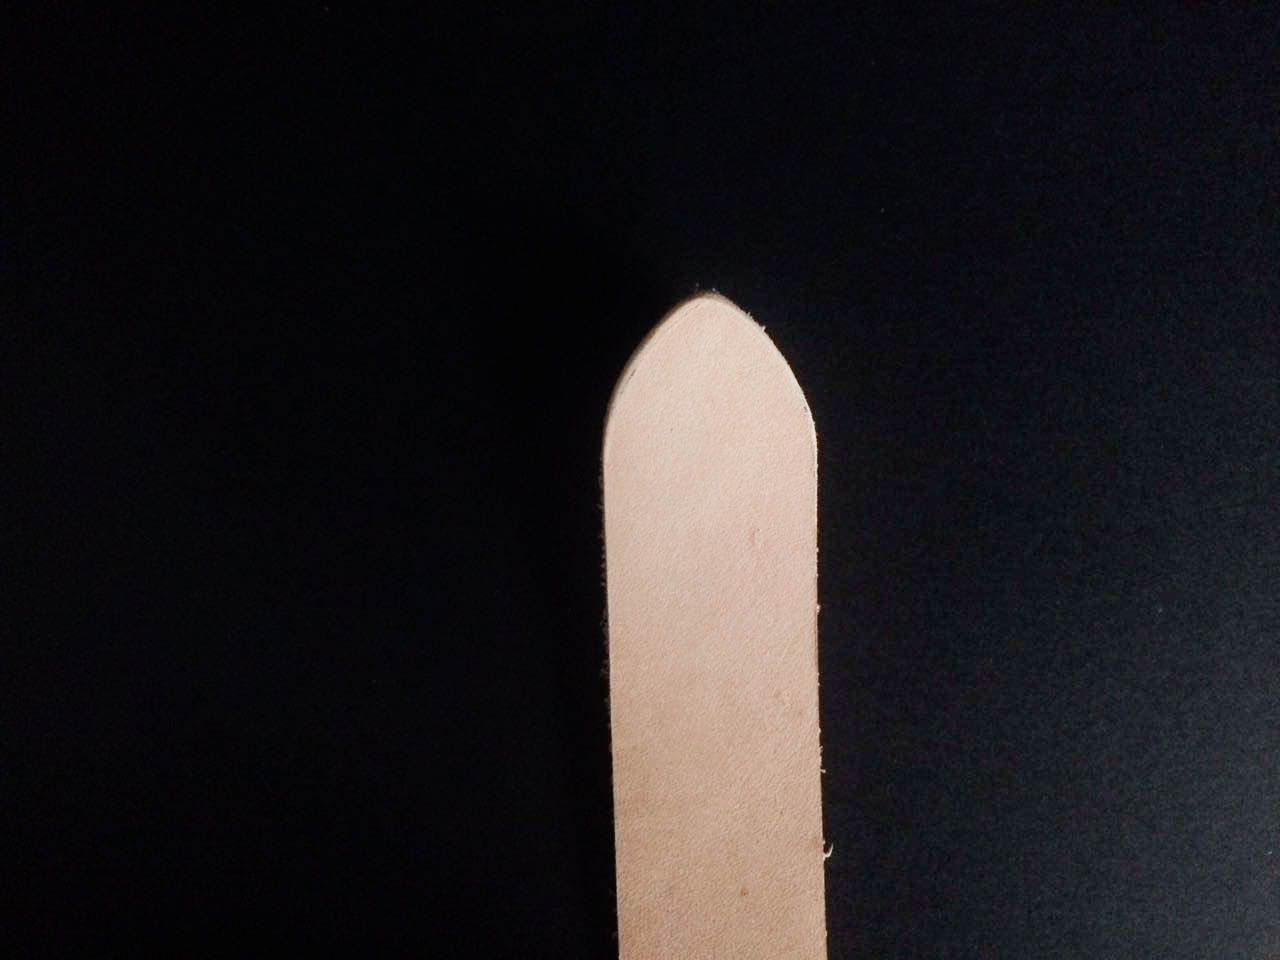
This is an english point
English points are a great way to finish off the belts or straps that you make, and is one step you can take in making you work look a little more ‘classic.’
Many places sell punches that will punch out english points with the hit of a hammer. It’s nice and easy. But quality english point punches will cost about $30+ and they aren’t a ;one size fits all’ kind of thing. Usually sets are sold going up by 1/4” increments. This means that if you want to buy a set it’s going to cost you $150+. And that’s not a bad price, but it’s probably not worth it if you’re not selling belts regularly.
Now that I’ve thoroughly stressed you out, let me destress you by letting you know that, there is actually a really simple way to make english points with out a punch. And while it isn’t as fast as a punch, it actually doesn’t take much longer. All you need is a divider and a knife.
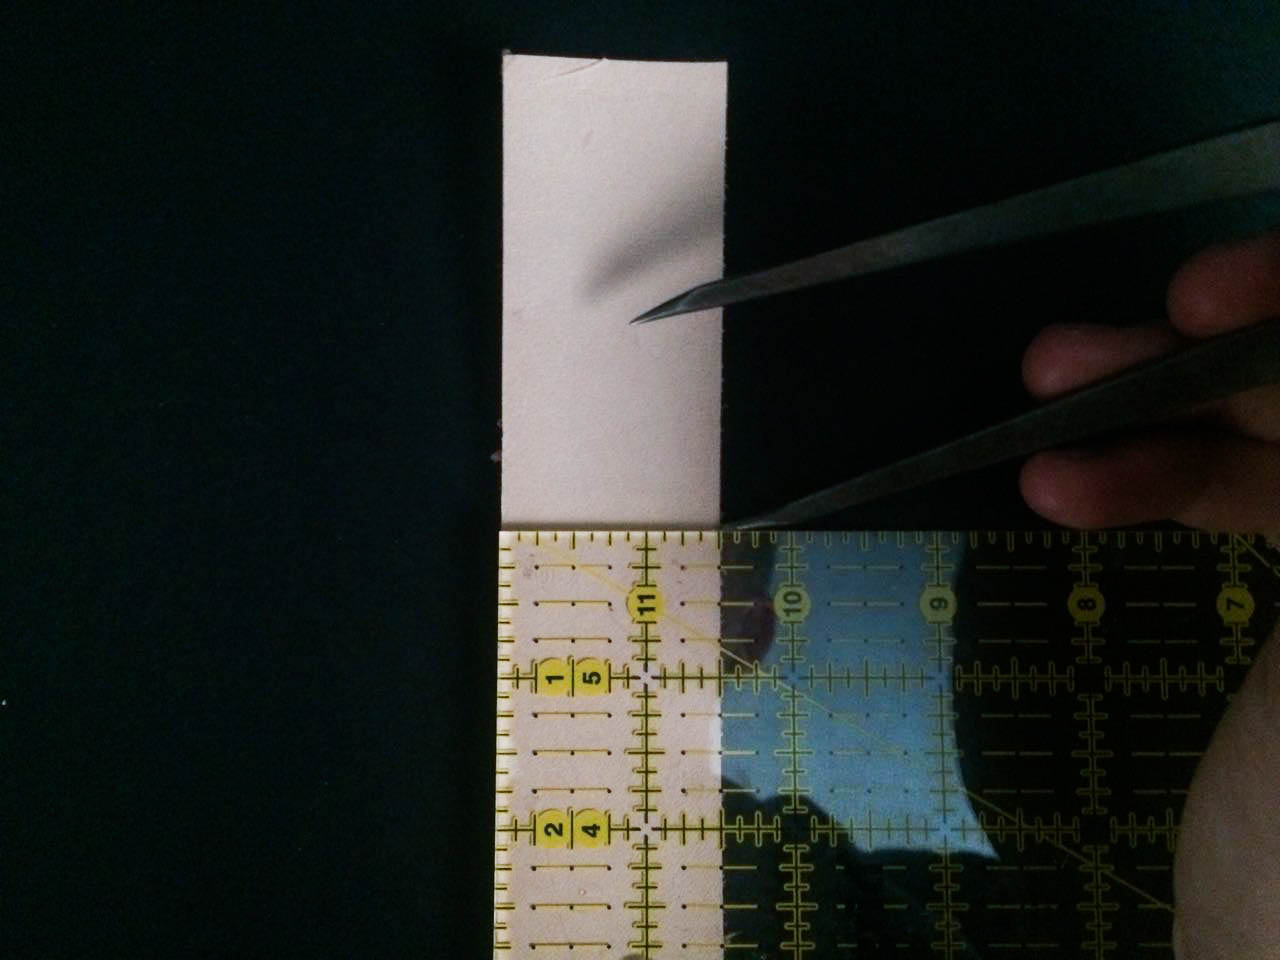
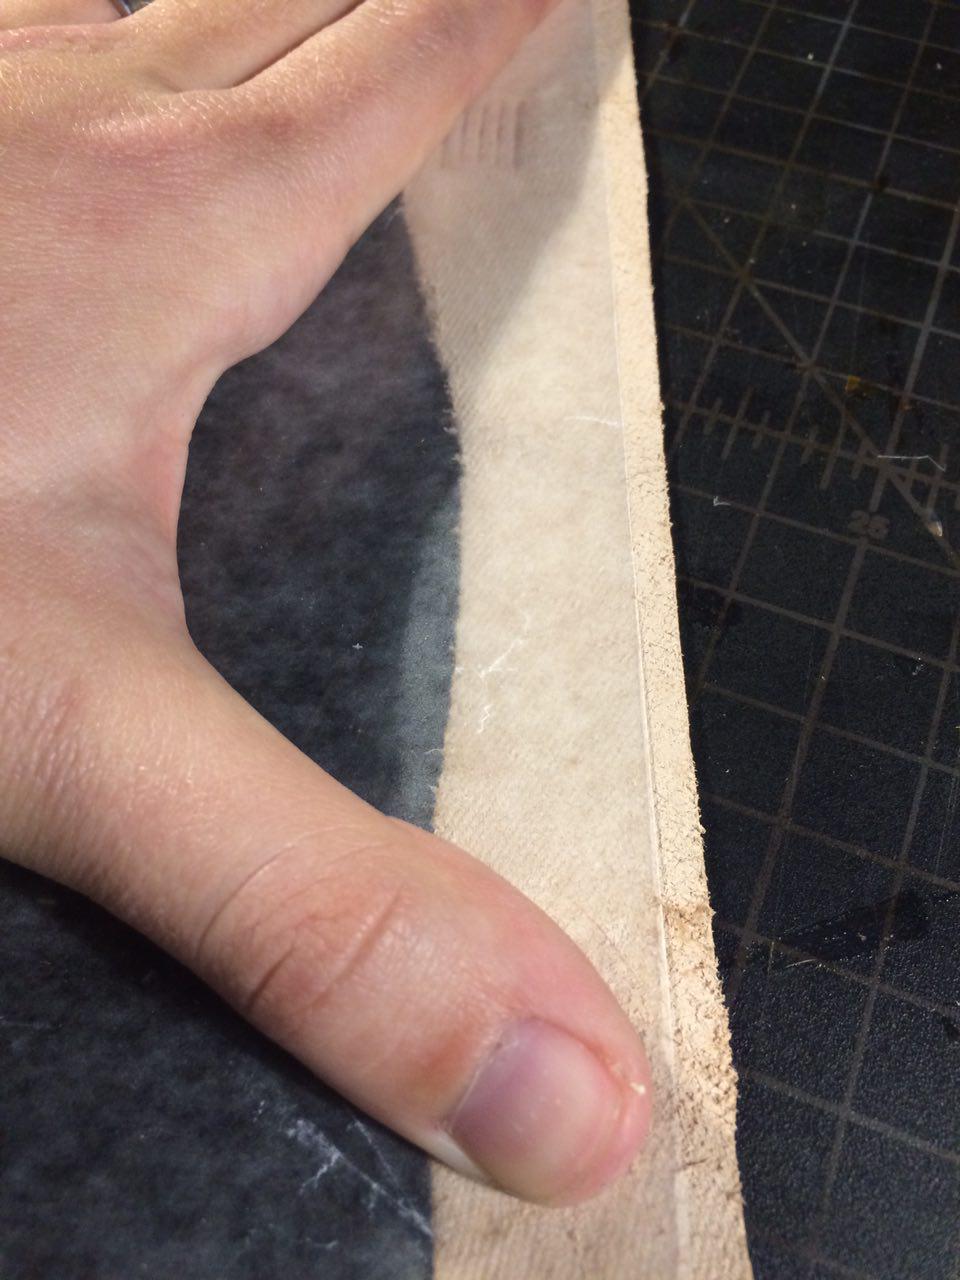
Step 1: Using a ruler mark where you want your english point to begin on both sides of the strap. When you’re finished the english point will be barely shorter than the width of the strap.
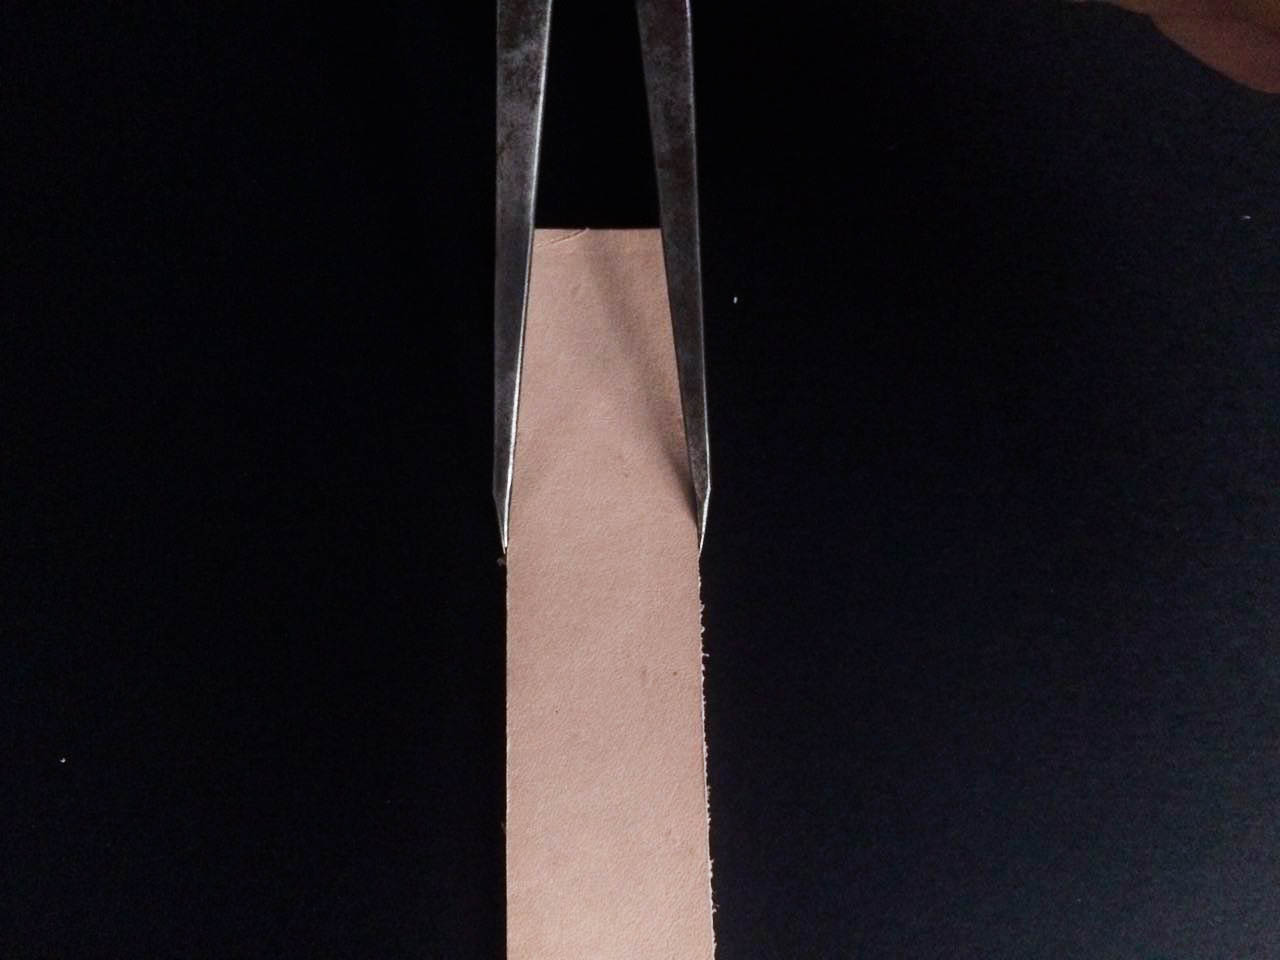
Step 2: Set the divider to the width of the strap.
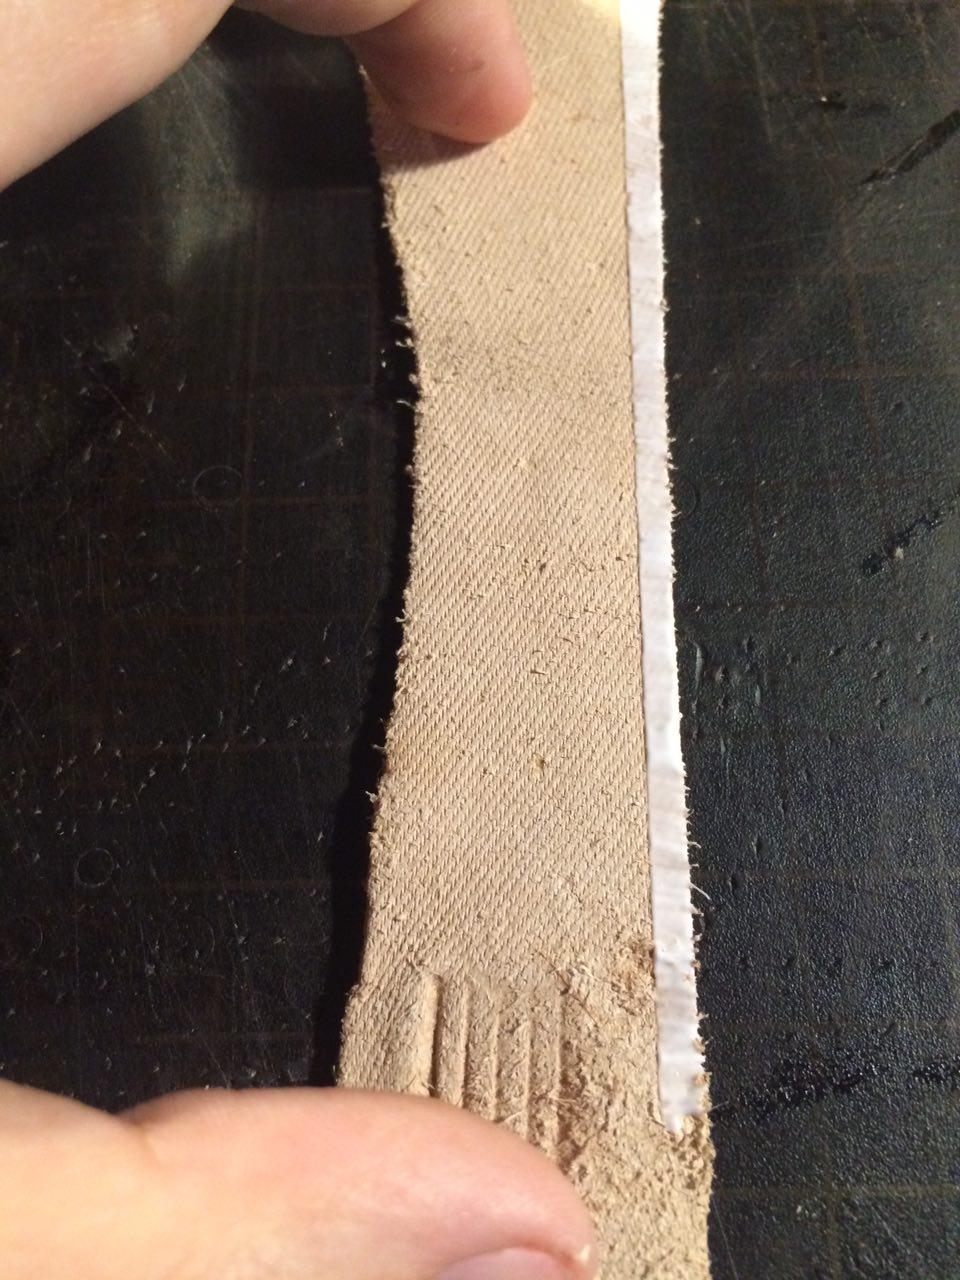
Step 3: With the wing divider set in place to where you made your marks in step 1, keep one arm firmly pressed down while you drag the other arm of the divider upwards and across the strap.
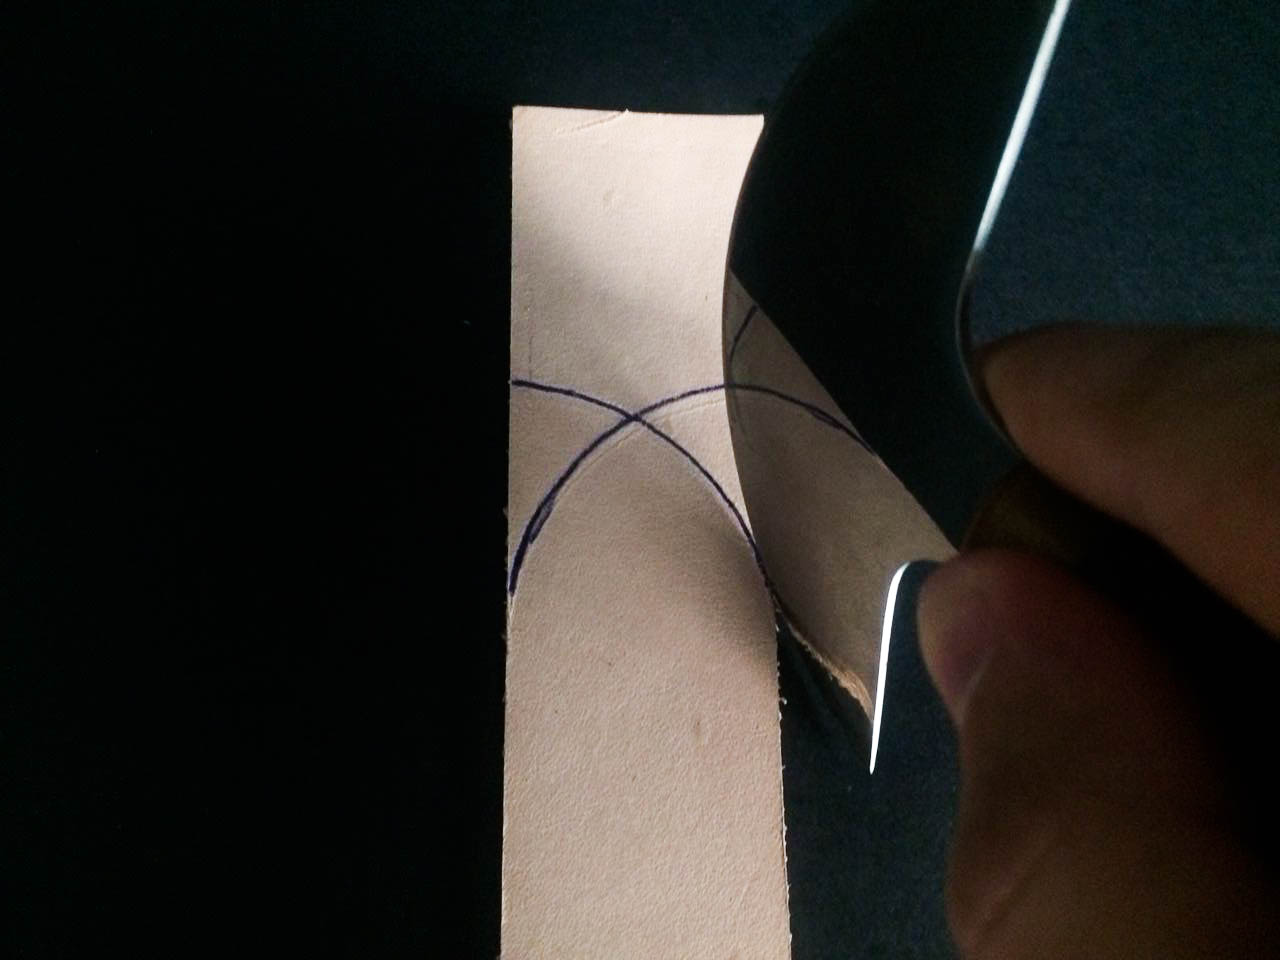
Step 4: Put both arms of the wing divider back in place, where you made your marks in step 1, and repeat step 3 but in the other direction.
Step 5: Now that you’ve traced the english point, cut it out. There’s a number of ways to cut out something with a curved edge. You can check out different ways to cut out curves here.
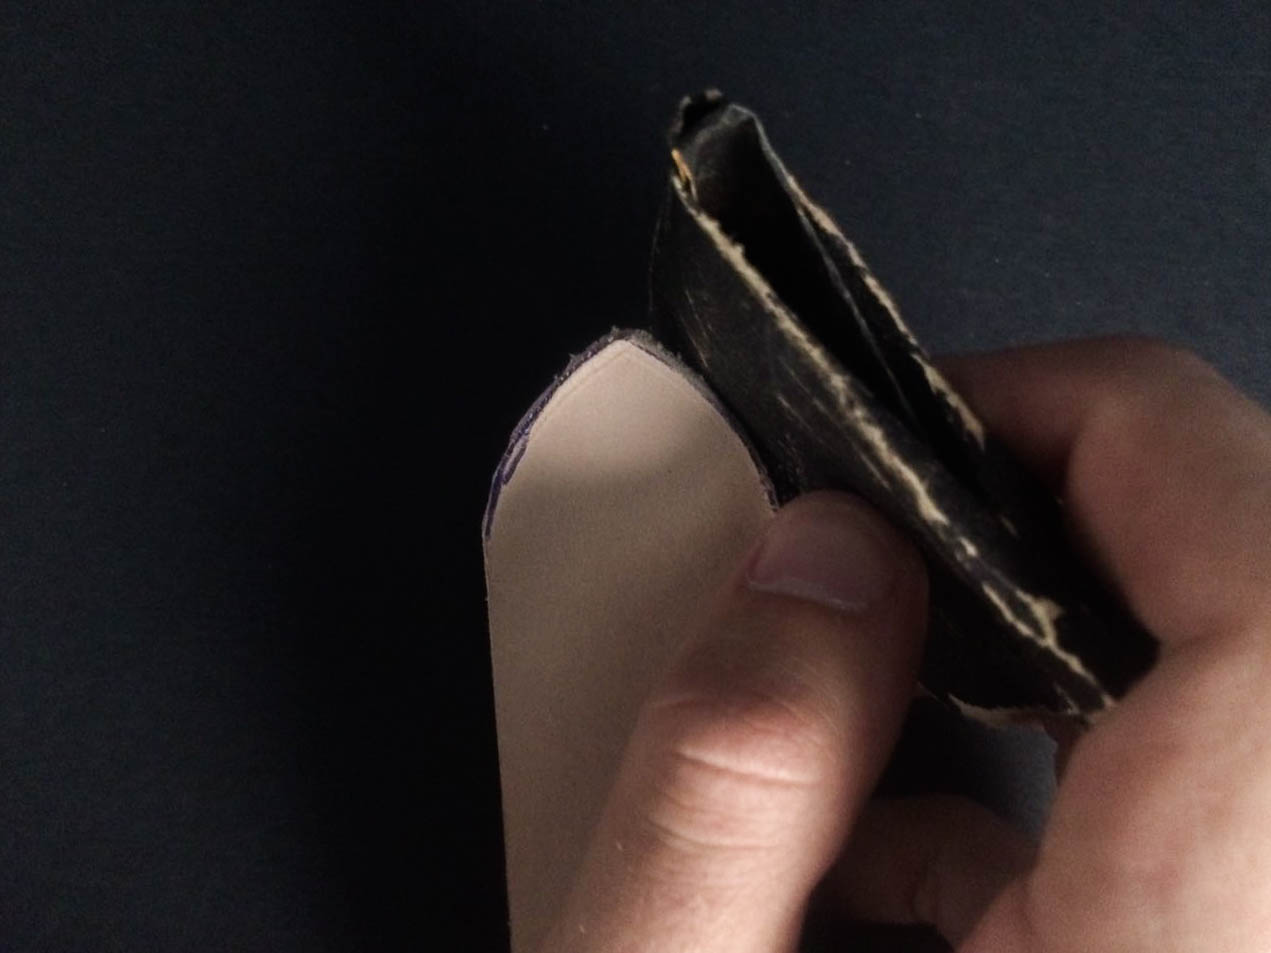
Step 6: Sand out any irregularities and then your english point is ready to be burnished.