Each piece of leather is unique and in general just has a lot of character. It’s what I love about leather. Somewhere along the way though, I had failed to apply that beyond just the look of leather. In other words, yes, each piece of leather looks different, and you can get many different kinds of leather that have been tanned differently, but that also means you need to treat them differently when working with them. I quickly found out that some of the skills I learned working with a very thick and stiff piece of leather, didn’t really apply to kinds of leathers that were thin and soft (even though it was still veg tanned). So let’s talk about working with thin leathers.
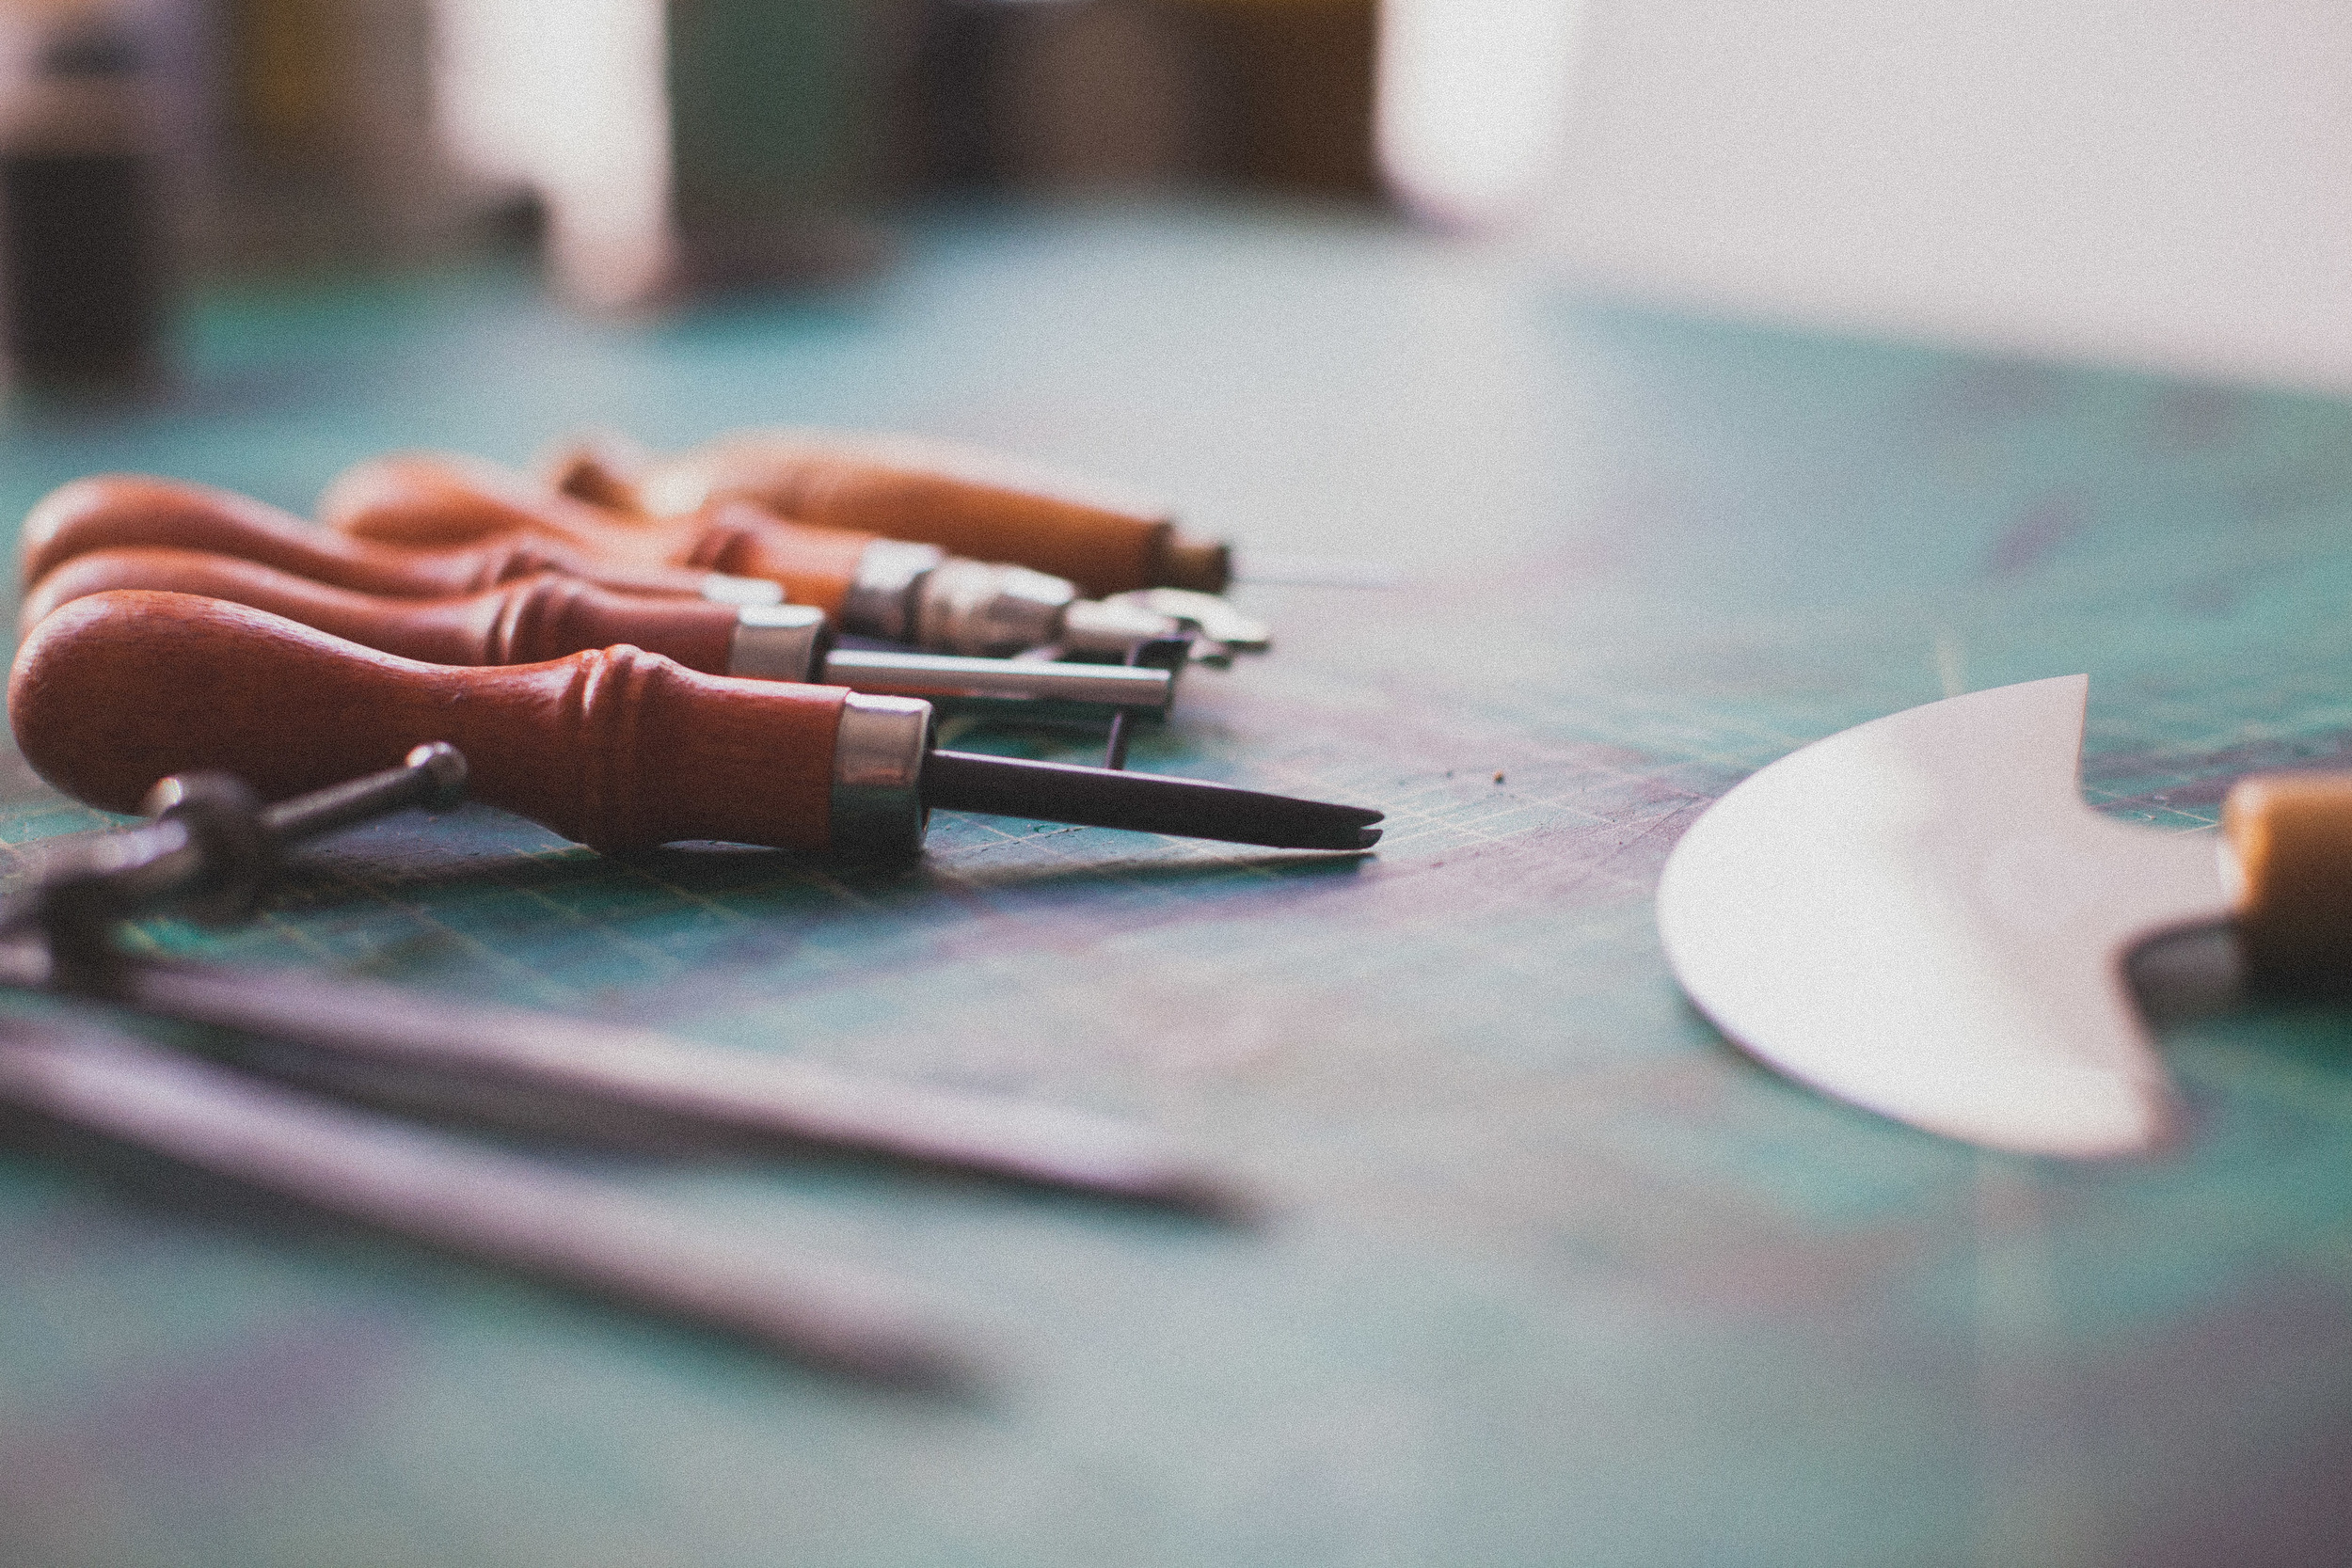
When cutting thin leathers: use a rotary cutter.
Unlike thicker leathers, soft leathers can snag if you don’t have a good balance between moving the blade downward and forward. This problem really only rears it’s head if your blade is dull, which is sometimes the case because I’ve yet to master sharpening. For this reason, I usually use a rotary cutter when it comes to thinner leathers. The blade itself is thinner than that of a round knife (especially a dull one) and has much less of a tendency to snag. If your blade of your rotary cutter is dull, they are easy to replace and easy to sharpen with a rotary blade sharpener. Alternatively, you could be really good at sharpening… I’ll get there one day!
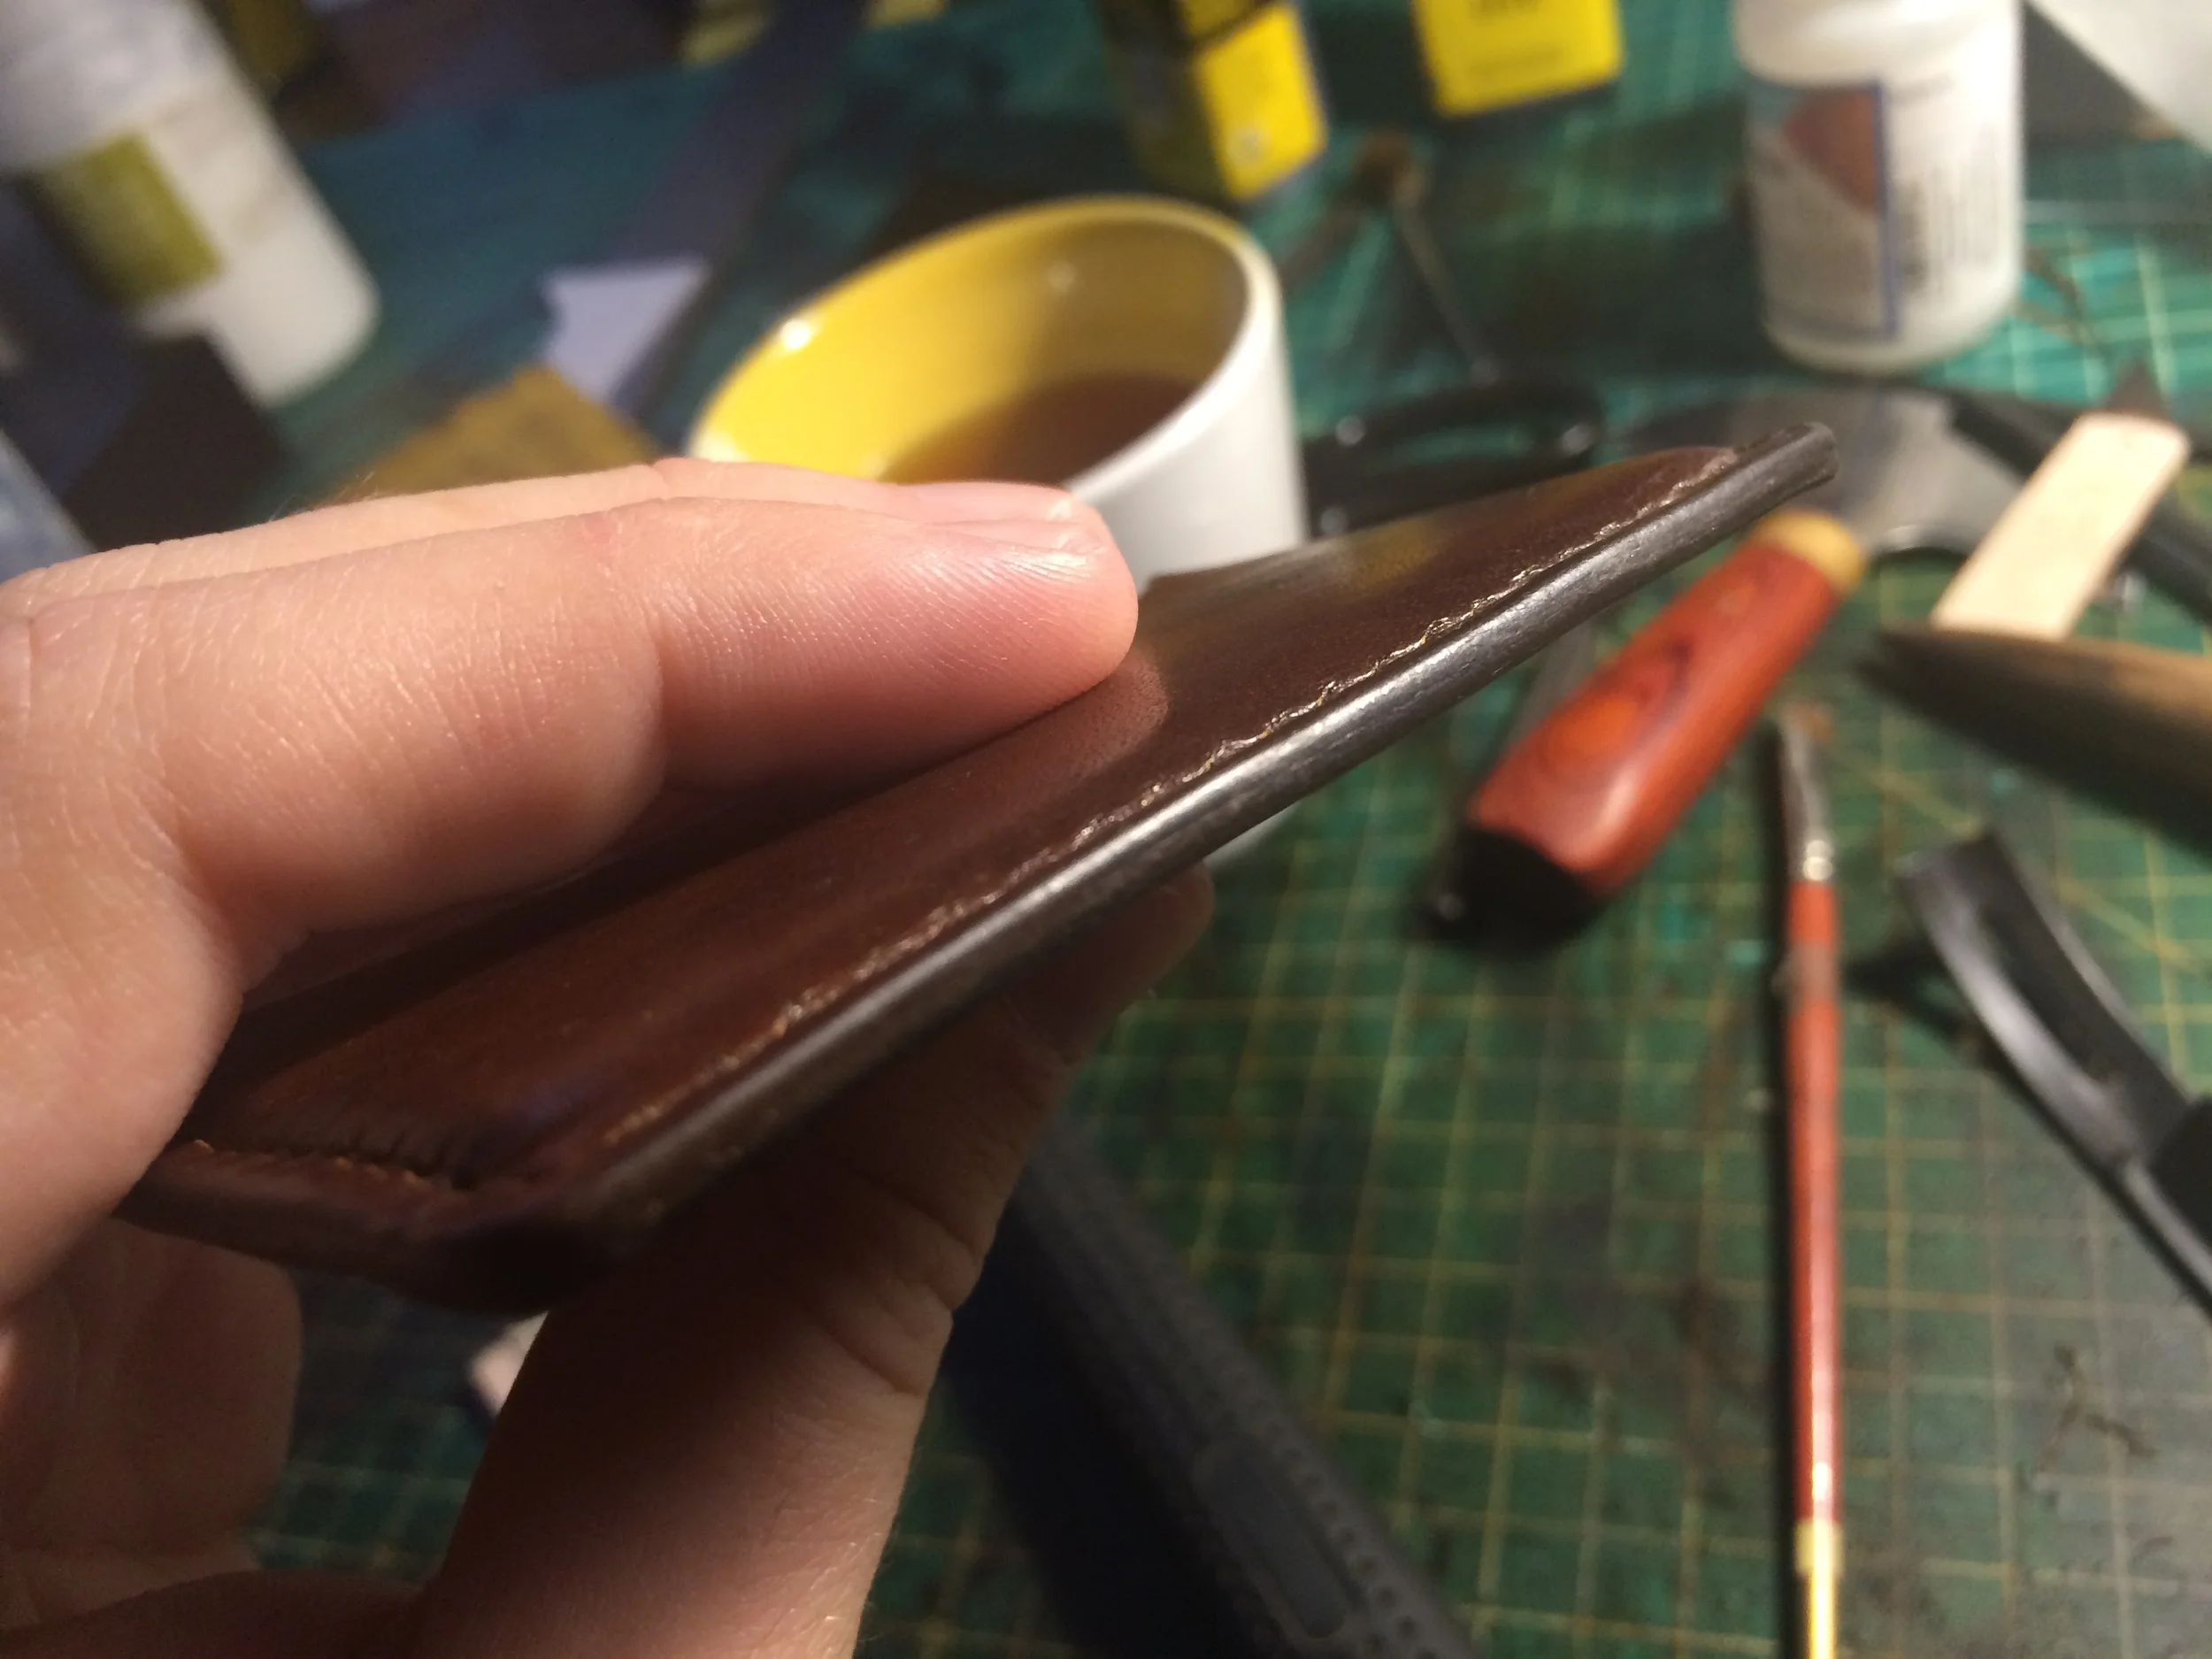
When dying edges on thin leathers: use edge paint.
When I first started I don’t think I really understood the point of edge paint. It just seemed like something that was easier to mess up. Well no surprise, it actually has advantages, hence it’s popularity. The reality is that a lot of thin leathers, especially soft/supple ones just don’t burnish well. The fibers are simply too loose. So instead of using dye, that sinks into the leather and still allows you to burnish the leather itself, why not use something you sits on top of the leather and burnish that instead. This is the strength of edge paint. It adheres to, but doesn’t sink into the leather the way dye does, and is very easily burnished. It also tends to look much smoother than dyeing, unless you’re really proficient at sanding your edges smooth. That said, I find edge painting to be trickier than dyeing. As I mentioned, it’s easy to mess up, so make sure your using the right applicator (which Tandy sells for cheap). Before burnishing the paint you also need to make sure you build up a few layers of it. I plan to write a post about this a little bit later, but for now the general process is this:
When burnishing thin leathers: don’t use a burnisher.
Example of a mashed edge, even if a bit exaggerated.
This especially applies to thin leathers that aren’t soft and supple. Because of the downward force that a burnisher needs to create friction (especially when doing it by hand) the edges often get pushed down too hard and keep that shape because it’s a rigid leather. You can sometimes get away with it on very supple leathers, because they don’t hold shape well, but usually won’t burnish anyways. There’s a few ways to get around each of these problems.
Use a piece of canvas instead of a wooden burnisher. Often times I’m more pleased with my results from canvas anyways, but this is especially the case with thin leathers. The reality is that you can create a lot more heat with canvas with a lot less downward force. Basically, you can burnish with out mashing your edges.
Using a wooden burnisher on a flat surface.
You can still use a wooden burnisher, but you’ll have to use it differently. To prevent a lot of force coming down on top of the edge, you can instead lay the piece of leather down and use the burnisher alongside it. This keeps the direction of your movement purely going across the edge, instead of into it. Do make sure to flip the piece of leather and do both sides of the edge.
When stitching thin leathers: cast the thread over your needle.
A lot of the times when you see a project made of thin leather, you’ll see one side of the stitching be very diagonal, but the other side be very flat. This is because the the threads don’t have a enough space to twist around the other before coming out the other side. One way I’ve heard it suggested to get around this problem is casting the thread over your needle before you start the stitch. It’s a little confusing, but it’s explained well here. After talking to some leatherworker friends and trying it out myself, I don’t think this always fixes the problem and think it may just be something you have to deal with. But, it is definitely worth trying out yourself. If you find a solution, let me know and drop it in the comments below.
Another small tip in addition to this: make sure you’re not pulling your thread too tight as you finish off your knot. On thiner leathers this can actually cause the leather to bunch. And in addition to your leather being ugly from bunching, your stitching will look uneven as well. So, tighten your knot with constant force, but not with all the force you have.
When beveling thin leathers: don't
Awhile ago, I had used a burnisher on a project made from thin leather and in addition to the edges getting mashed, the surface of the leather began to fold over. This can happen even if your using a piece of canvas. So naturally, I thought I’ll just use a beveler and get rid of it. Well… my beveler was a little bit too serious for a thin piece of leather, and I ended up just cutting off the entire edge. I know there are bevelers with a slighter angle that won’t cut as deep, but in general I don’t think it’s a good idea to bevel thin and supple leathers. Supple leathers especially don’t bevel well, and the process generally creates lots of snags. Instead I’ll usually sand those edges round with a high grit sand paper. It is a lot easier to make a mistake doing this by slipping and sanding the surface of the leather, so make sure you’re controlled when you do it. I start by sanding the top of the edge like you normally would, and then slowly angle my hand downward so I’m hitting the edge of the edge. I’m not sure that last sentence made sense, so here’s a picture to help out!
What I mean by "edge's edge."
Sanding the edge.
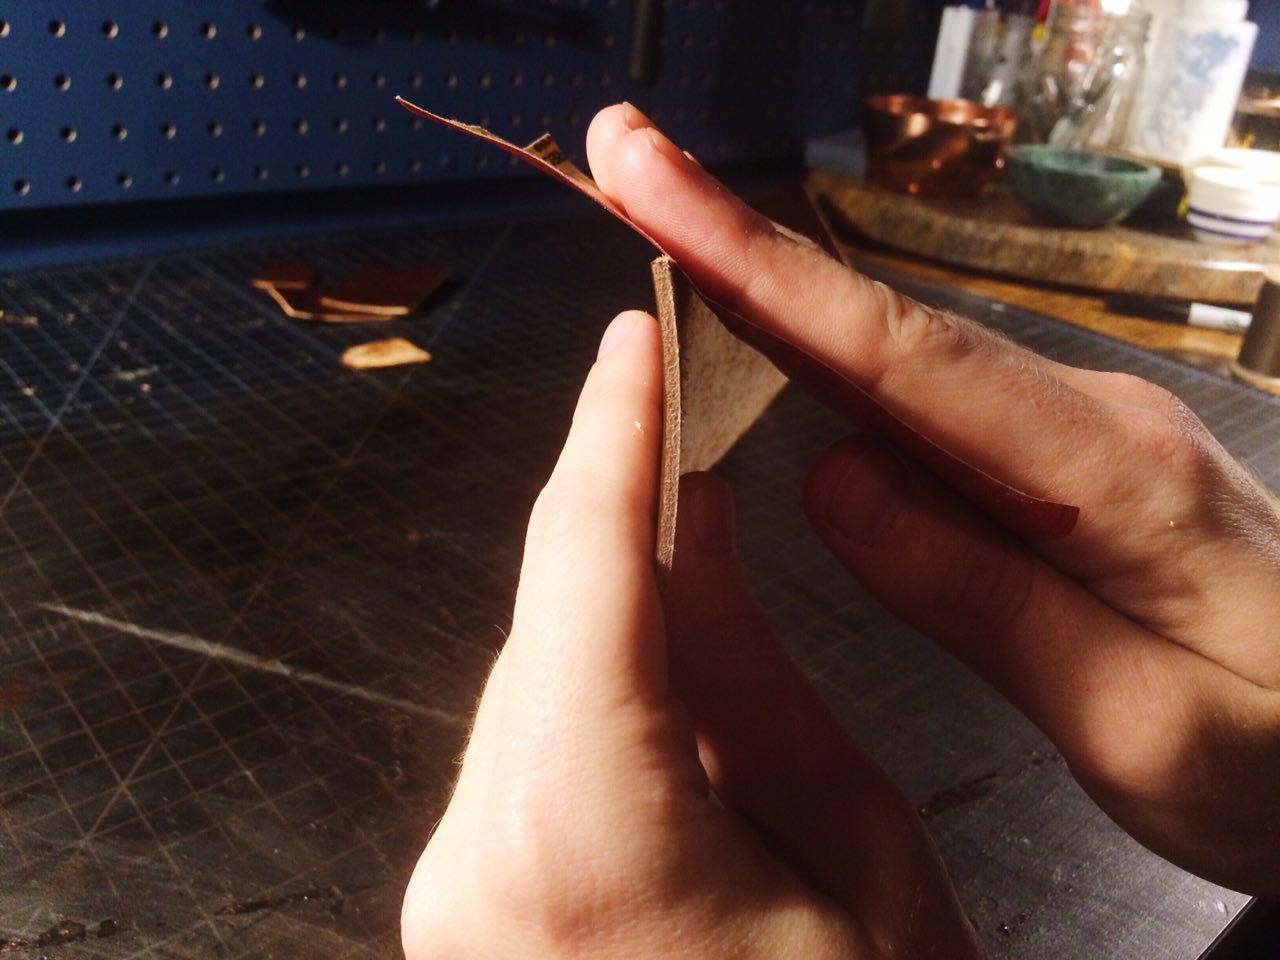
Sanding the edge's edge.
It’s really easy to get frustrated when you’re learning and working with different kinds of leather. You thought you had finally got your burnishing down (seriously it took me to long) only to fail at it on your next project that was made with a different leather. When you’re first starting it’s easy to think the problem is a lack of proficiency, which is generally the case, but do keep in mind it could be the type of leather. Hopefully these tips about beveling, stitching, burnishing, dyeing, and cutting thin leathers will help you keep your attention on what skills you need to keep practicing, as you work with many different kinds of leathers.